The pedal on one of Mary’s Kenmore Model 158 sewing machines lost most of its speed control abilities, which past experience has shown indicates its carbon / graphite disks have deteriorated. Fortunately, I still have a supply of disks from the Crash Test Dummy machine and have gotten pretty good at dismantling the pedal housing.
While I had the pedal apart, I filed the brass contact plates smooth again:

Most of the deterioration happens within half a dozen disks snuggled up against those contacts, a few more on the other end of the stack against the graphite button applying the pressure, and an occasional grimy disk in the middle of the stack.
I filled both stacks flush to the top of the ceramic housing, then removed one disk from each to let the brass contacts slightly compress the stacks:
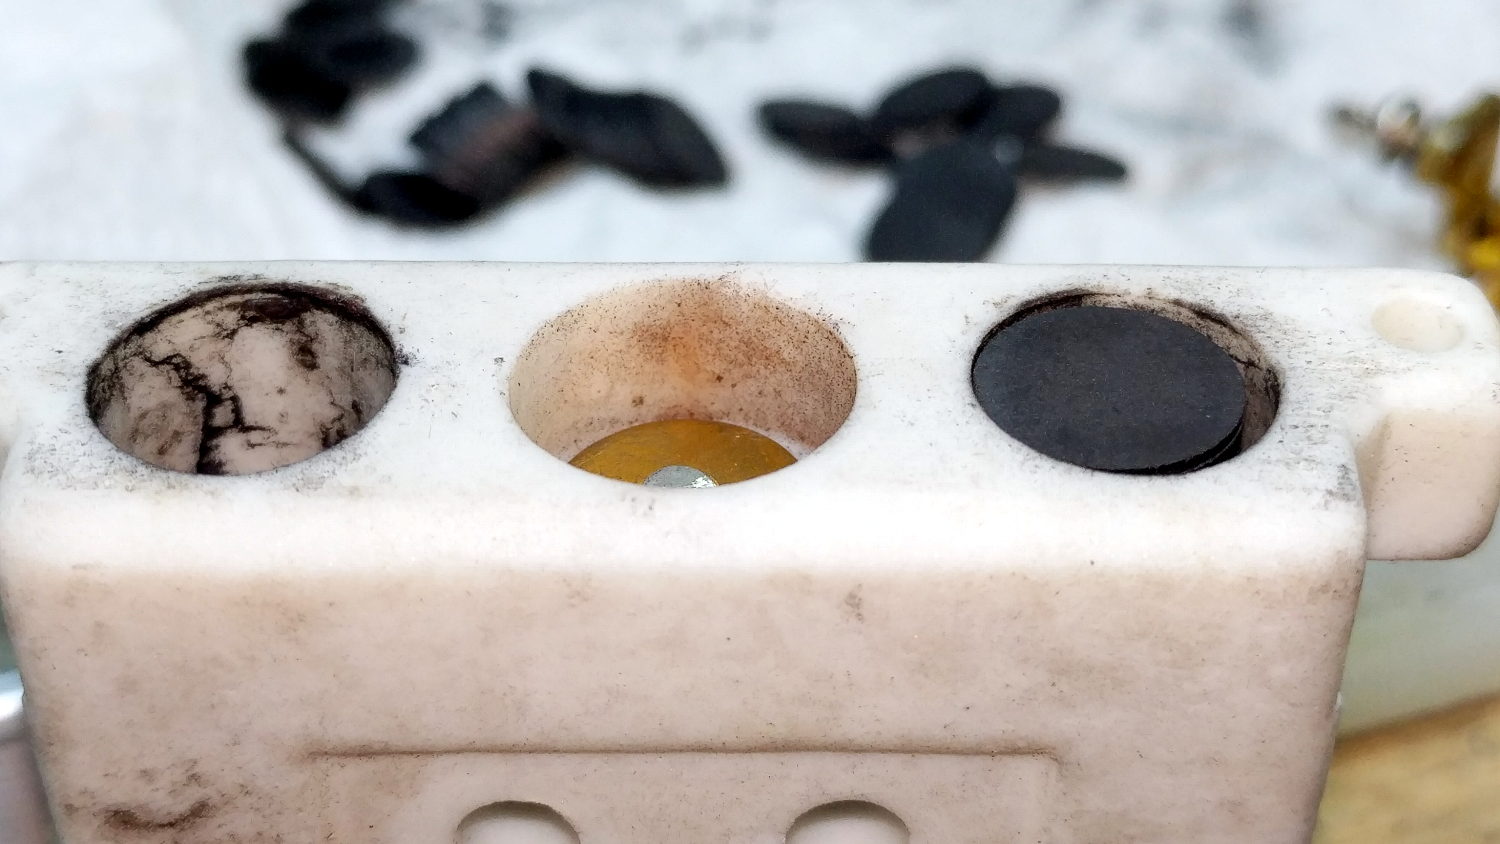
A quick test showed the control range started a bit too fast, so I removed one more disk from the stacks, buttoned it up, and it’s all good again: a slow start with a good range.