We recently replaced a defunct can opener with an OXO opener that removes can lids without creating razor-sharp edges. Unfortunately, the knob doesn’t agree well with Mary’s hand, so I laid out a prototype doorknob-shaped cap (and also removed all the can lids that confronted her):
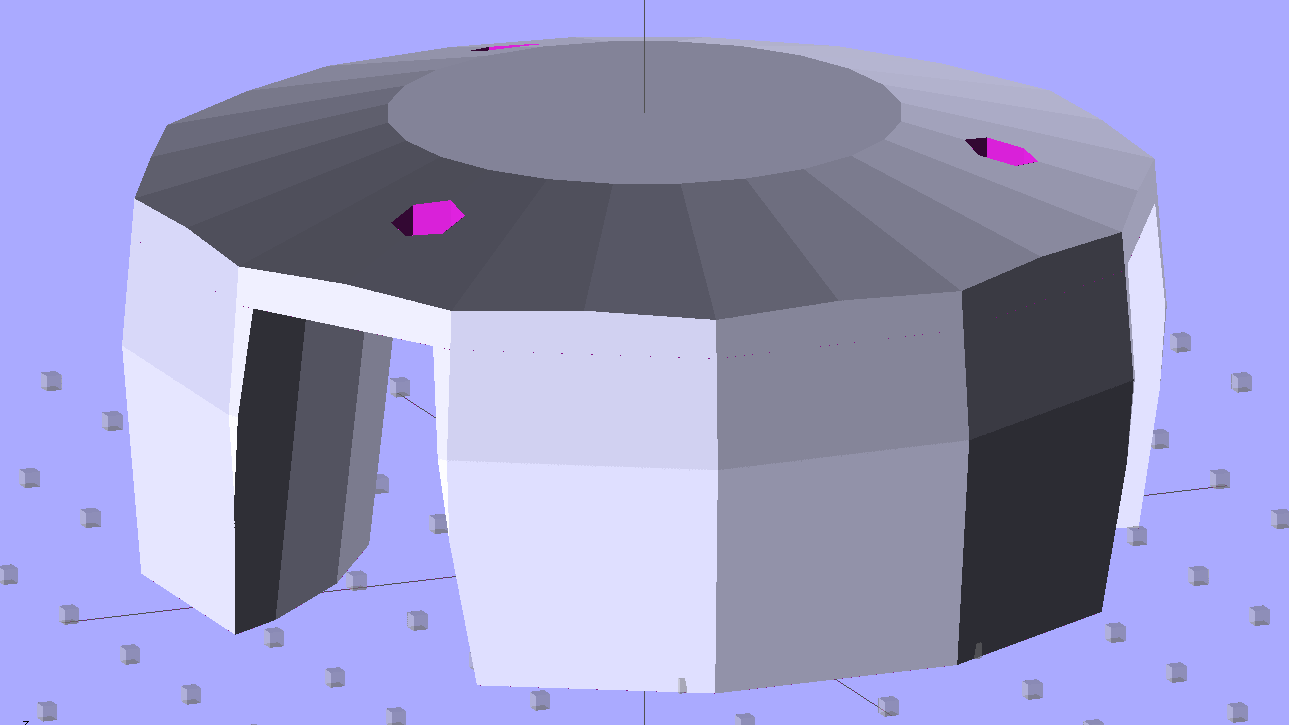
It prints in four parts: the flat cover and three pillars, with two filament snippets aligning each pillar. The internal openings of this model do not fit the OXO knob’s lobes correctly; a Dremel sanding drum worked wonderfully well to make it fit. The next version should have much smaller pillar bases with a bit more clearance at the top: measurements from the as-adapted pillars will be in order.
Gluing everything together once again justifies having Too Many Clamps:

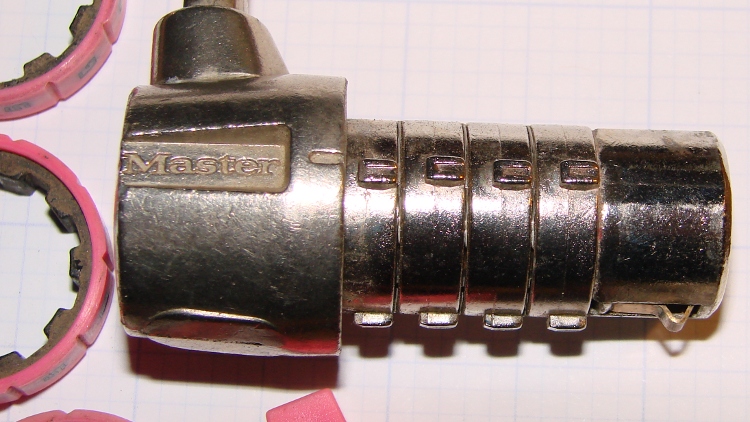
I intended to secure cap to knob with 2-56 screws in those recessed holes and even went so far as to flatten the top of the knob’s lobes in preparation for drilling:
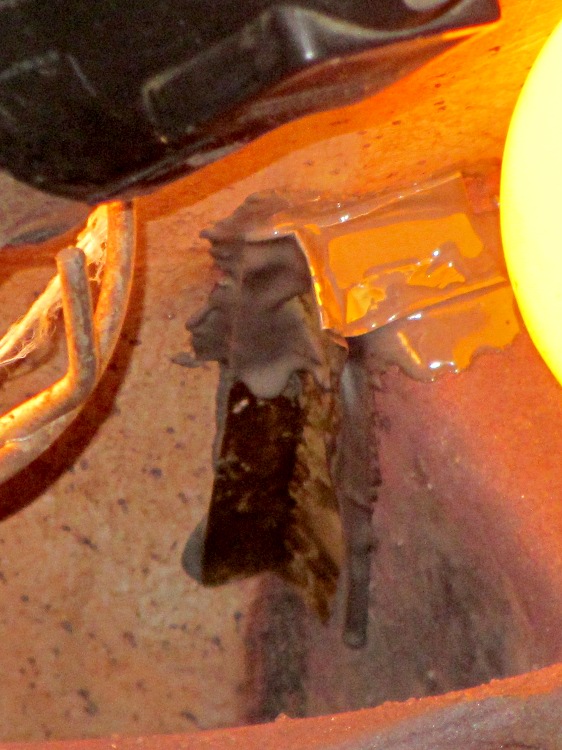
However, Dragorn of Kismet gave me a few packets of only slightly outdated Sugru (a great idea that’s far too spendy and short-lived for my shop) that solved the problem:

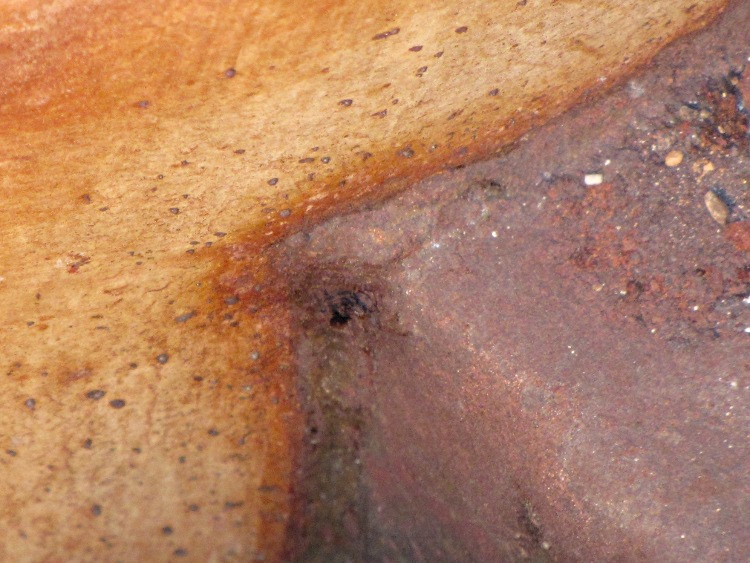
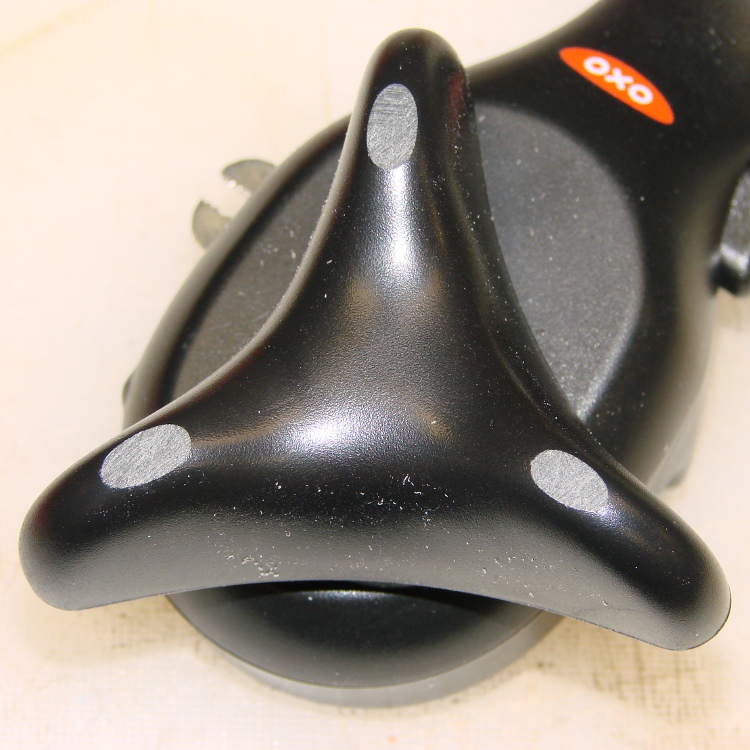
The silicone tape wrap greatly improves the griptitude.
Early returns indicate this works reasonably well, but the top should be more rounded and tapered. It goes without saying that black filament would be much less ugly…
The OpenSCAD source code, with the caveat that the as-printed knob won’t fit without considerable abrasive adjustment:
// OXO Softworks Can Opener
//  Enlarged & rounded knob
// Ed Nisley KE4ZNU December 2012

include </mnt/bulkdata/Project Files/Thing-O-Matic/MCAD/units.scad>
include </mnt/bulkdata/Project Files/Thing-O-Matic/Useful Sizes.scad>

// Layout options

Layout = "Cap";
                    // Overall layout: Build1 Build2
                    // Parts: Cap Knob

//- Extrusion parameters must match reality!
//  Print with +1 shells and 3 solid layers

ThreadThick = 0.25;
ThreadWidth = 2.0 * ThreadThick;

HoleWindage = 0.2;

function IntegerMultiple(Size,Unit) = Unit * ceil(Size / Unit);

Protrusion = 0.1;           // make holes end cleanly

//----------------------
// Dimensions

TriLobeRad = 37.5;					// radius: center to end of lobe
TriLobeOD = 2*TriLobeRad;
TriLobePeakRad = 23.0;				// radius: center to peak height
TriLobeHeight = 22.5;

WingArcRad2 = 48;					// Arc between knob lobes, top
WingArcRad1 = WingArcRad2 - 5;		//
WingArcOffset = 14.0;				// Knob center to arc2 radius

KnobOD1 = 70;						// maximum dia without chamfer
KnobOD2 = 65;						// top dia

KnobSides = 3*4;					// maintain 3-side symmetry

DomeHeight = 8;						// dome shape above lobes

KnobHeight = DomeHeight + TriLobeHeight;

DomeOD = KnobOD2 + (KnobOD1 - KnobOD2)*(DomeHeight/KnobHeight);

DomeArcRad = (pow(KnobHeight,2) + pow(DomeOD,2)/4) / (2*DomeHeight);

ScrewDia = Tap2_56;
ScrewHeadDia = Head2_56;
ScrewBase = 0.6*DomeHeight - Head2_56Thick;

AlignPinDia = 3.0;
AlignPinCircleRad = 0.55*(WingArcOffset + KnobOD2/2);
AlignPinDepth = 3.0;

//----------------------
// Useful routines

module PolyCyl(Dia,Height,ForceSides=0) {           // based on nophead's polyholes

Sides = (ForceSides != 0) ? ForceSides : (ceil(Dia) + 2);

FixDia = Dia / cos(180/Sides);

cylinder(r=(FixDia + HoleWindage)/2,
         h=Height,
         $fn=Sides);
}

module ShowPegGrid(Space = 10.0,Size = 1.0) {

    Range = floor(50 / Space);

    for (x=[-Range:Range])
        for (y=[-Range:Range])
            translate([x*Space,y*Space,Size/2])
            %cube(Size,center=true);

}

//-------------------
// Component parts

module TriKnob() {
	intersection() {
		difference(convexity=3) {
			translate([0,0,-Protrusion])
				cylinder(r=TriLobeRad,h=(TriLobeHeight + 2*Protrusion));
			for (i=[-1:1])
				rotate(i*120)
					translate([(WingArcOffset + WingArcRad2),0,-TriLobeHeight/2])
						cylinder(r1=WingArcRad1,r2=WingArcRad2,h=2*TriLobeHeight);
		}
		translate([0,0,TriLobeHeight/2])
		cube([2*KnobOD1,2*KnobOD2,TriLobeHeight],center=true);
	}
}

module KnobCap() {
	difference() {
		intersection() {
			translate([0,0,(KnobHeight-DomeArcRad)])
				rotate(180/KnobSides)
					sphere(r=DomeArcRad,$fa=180/KnobSides);
			difference(convexity=4) {
				rotate(180/KnobSides)
					cylinder(r1=KnobOD1/2,r2=KnobOD2/2,h=KnobHeight,$fn=KnobSides);
				TriKnob();
			}
			rotate(180/KnobSides)
				cylinder(r1=KnobOD2/2,r2=KnobOD1/2,h=KnobHeight,$fn=KnobSides);
		}
		for (i=[-1:1])
			rotate(i*120) {
				translate([-TriLobePeakRad,0,0]) {
					PolyCyl(ScrewDia,KnobHeight);
					translate([0,0,TriLobeHeight + ScrewBase])
						PolyCyl(ScrewHeadDia,KnobHeight);
				}
			}
		for (i=[-1:1]) for (j=[-1,1])
			rotate(i*120 + j*(270/KnobSides))
				translate([AlignPinCircleRad,0,(TriLobeHeight - AlignPinDepth - Protrusion)])
					PolyCyl(AlignPinDia,2*(AlignPinDepth + Protrusion));
	}
}

//----------------------
// Build it!

ShowPegGrid();

if (Layout == "Cap")
	difference() {
		KnobCap();
		cylinder(r=KnobOD1,h=Protrusion/2,center=true);
	}

if (Layout == "Knob")
	TriKnob();

if (Layout == "Build1")
	translate([0,0,-TriLobeHeight])
		difference() {
			KnobCap();
			translate([0,0,(TriLobeHeight - Protrusion)/2])
				cube([2*KnobOD1,2*KnobOD2,TriLobeHeight+Protrusion],center=true);
		}

if (Layout == "Build2")
	translate([0,0,TriLobeHeight])
		rotate([180,0,0])
			difference() {
				KnobCap();
				translate([0,0,(TriLobeHeight + TriLobeHeight/2)])
					cube([2*KnobOD1,2*KnobOD2,TriLobeHeight],center=true);
			}