Ed Nisley's Blog: Shop notes, electronics, firmware, machinery, 3D printing, laser cuttery, and curiosities. Contents: 100% human thinking, 0% AI slop.
This is a classic case of investing more time and effort creating the fixture than machining the parts.
Start by squaring up the block, which came from the end of a random chunk of smoke gray polycarbonate, with two 10-32 holes matching the tooling plate hole spacing:
Corner Clip Fixture – squaring
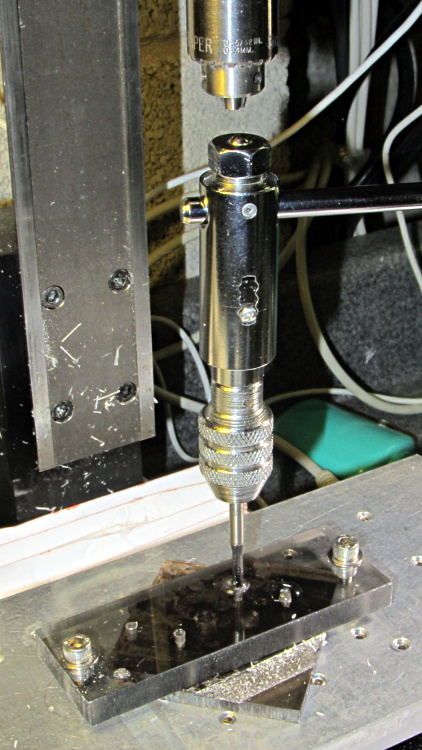
Then drill-and-tap four holes:
Corner Clip Fixture – tapping
The left station will be for drilling the blanks clamped under a sacrificial sheet, so those screw holes aren’t used for anything other than clearance; the top millimeter will get chewed up pretty quickly. The screws in the right station will clamp a stack of drilled blanks under a cover plate. If I went into production, I could see using both stations for both functions, but …
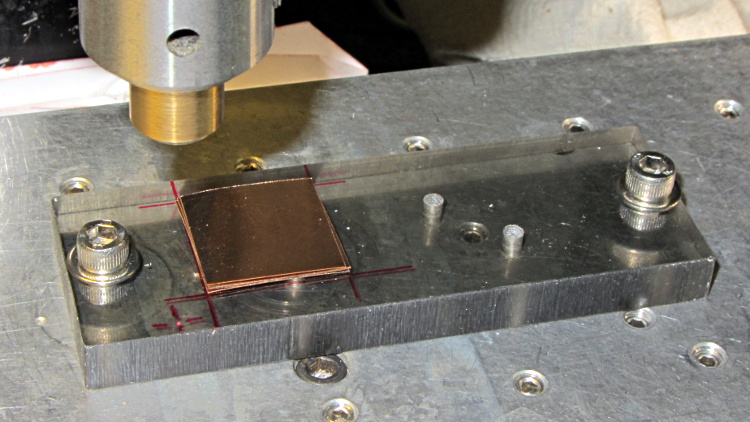
There’s a locating pip in the front left corner that works perfectly with laser alignment:
Corner Clip Fixture – aligning
The blank sheets show where they’d be located for drilling, minus the sacrificial sheet and its clamps that you’ll see below.
The G54 coordinate system origin sits at the locating pip. The G-Code then slaps a G55 origin at each of the two stations in turn to simplify their coordinates, with offsets from M54:
Drilling = (+5,+5)
Milling = (+40,+5)
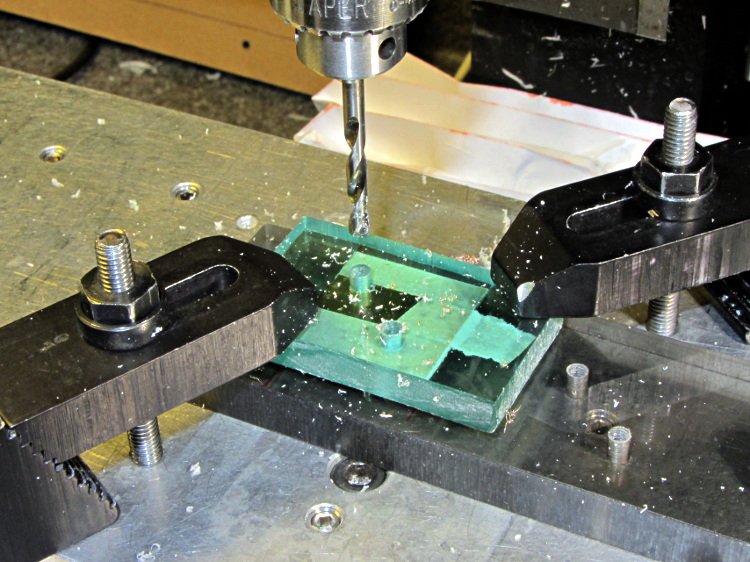
With all that in hand: stack, clamp, and drill some blanks:
Corner Clip Fixture – drilling
I tried milling a single drilled blank with a sacrificial plastic top plate:
Corner Clip Fixture – first milling setup
But that didn’t work well. I don’t know if this was due to an inept combination of climb milling, using the wrong speed / feed / material / cutter, and just poor style, but the edges of the blank mashed against the clamp plate and curled, instead of cutting cleanly:
Corner Clip Fixture – rounded-over milled edges
So I made a pair of aluminum plates to clamp both sides of the blanks, then milled another stack:
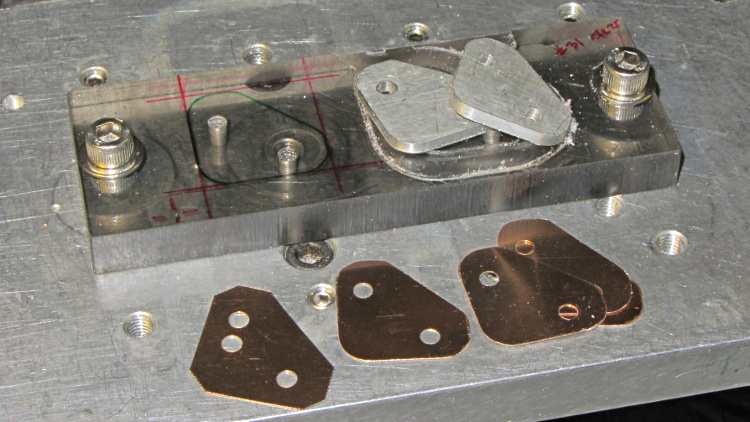
That worked quite well, although the top and bottom clips needed some slight attention from a riffler file and I did break the edges on all the clips. This shows four new clips along with a hand-cut prototype:
Corner Clip Fixture – end result
So I made a dozen more clips, picked the best eight for two sets, sent one set to Dan, installed the other, and … now I have a bunch of spares.
I suppose I should sell clip sets on Etsy / eBay to all the other M2 owners, but I have no idea how to price ’em. If you want some fancy corner clips, send whatever you think they’re worth … [grin]
The lawn mower began emitting horrible crashes, which turned out to be coming from a flange at the rear of the mower housing that was formerly spot-welded to the main chassis. Those welds broke and the flange occasionally vibrated into contact with the blade, causing heartache and confusion for both parties.
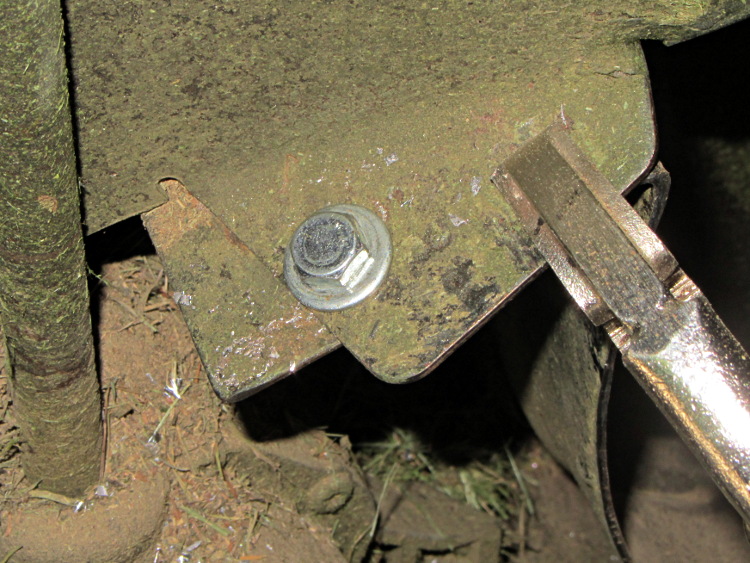
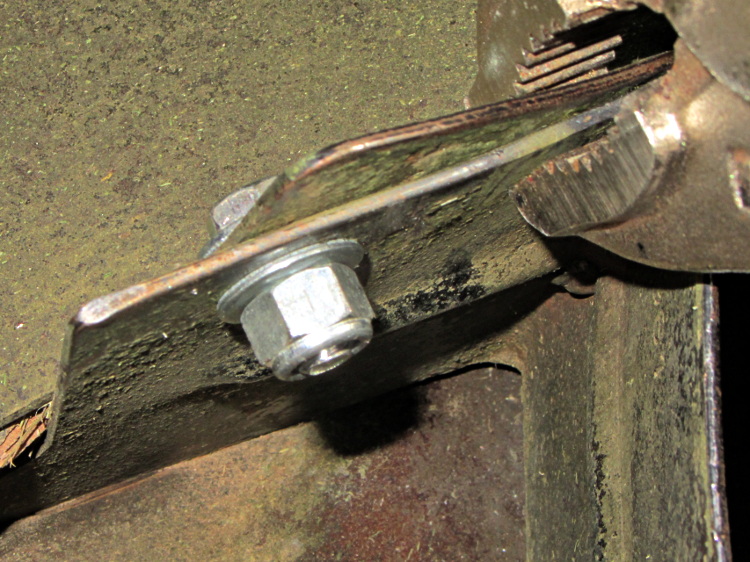
Re-spot-welding the flange wasn’t in the cards, but the elaborately formed piece of steel did have a flat section in contact with another part of the chassis with just enough meat for a bolt. I grabbed the two with a Vise-grip, whacked the flange until it was more-or-less lined up where it should be, drilled a hole, and popped in a 1/4-20 bolt:
Mower flange – side view
The curved section of the flange faces the blade, with the vertical end pointed anti-spinward: the blade nicks that edge.
A dab of red Loctite and a nylock nut topped it off:
Having recently kibitzed on a project using de-icing cables (with some success) to soften PVC pipe for bending, herewith the useful numbers.
Data printed on the original cable:
100 ft length
120 VAC
800 W
Derived values:
6.7 A = 800 W / 120 V
8 W/ft = 800 W / 100 ft
1.2 V/ft = 120 V / 100 ft
18 Ω = (120 V)2 / 800 W
180 mΩ/ft = 18 Ω / 100 ft
The starting point was a 62 ft length of the cable, as I’d long ago converted the end into a heated bed for starting plants early in the spring. That presented a resistance of 11 Ω, drew a current of 11 A, and dissipated 1.3 kW at 21 W/ft. A kilowatt-class dimmer handled the load, but adjoining sections of the cable got hot enough to melt the insulation and terminate the experiment.
A shorter length of cable might be suitable for a cheap laptop brick power supply. To keep the dissipation under, say, 10 W/ft, we have:
7.5 A = sqrt( 10 W/ft / 180 mΩ/ft )
1.3 V/ft = 7.5 A * 180 mΩ/ft
The Dell D220P-01 brick on the M2 provides 12 V at 18 A (!) and costs under $20 on eBay:
9 ft = 12 V / 1.3 V/ft
90 W = 12 V * 7.5 A
1.6 Ω = 9 ft * 180 mΩ/ft
You could run two 9 ft lengths cables in parallel from the same hulking brick. Whether that’s enough to soften a length of PVC pipe from the inside, without having the insulation get all melty, that’s another question…
This message may be useful, in the sense that it reports something about the internal state of the cash register:
Walmart cash register – buffer full message
But the fact that it appears on the customer-facing display means that the cashier won’t see it and can’t do anything about it. I’m not sure if the floor personnel know anything about buffers, either.
The cashier-facing display says: “Welcome to Walmart!”
As expected, that repair didn’t last very long at all; one hinge fractured along the same line as before. This time, however, we had a visit already in-plan, so I brought along my solvents and clamps.
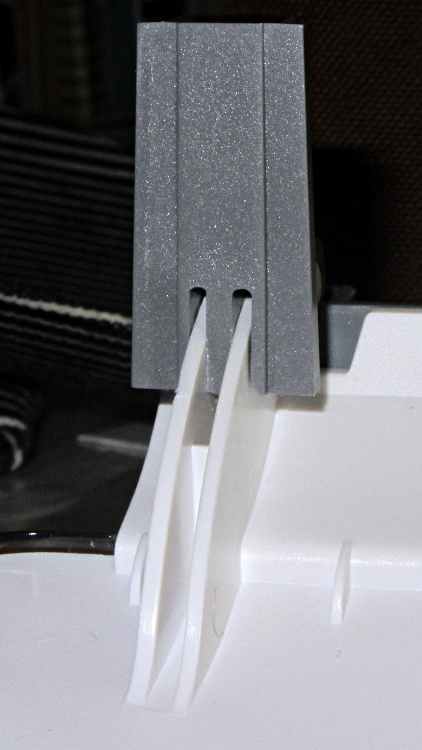
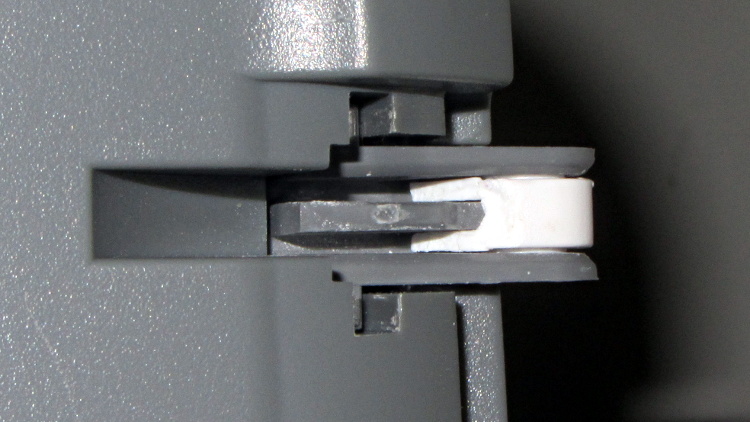
Perhaps you wondered how I could have been so remiss as to not brace those thin white flanges. One picture of the unbroken hinge in the “lid down” position is worth a thousand words:
HP 3970 Scanjet – intact hinge
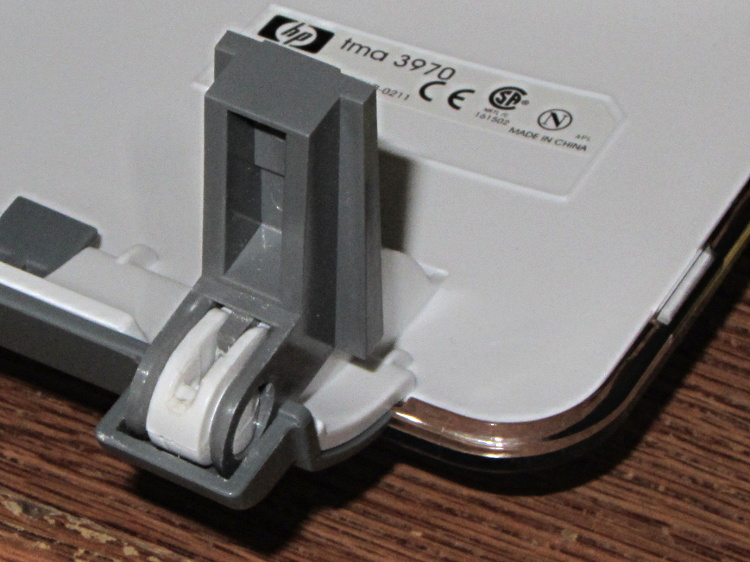
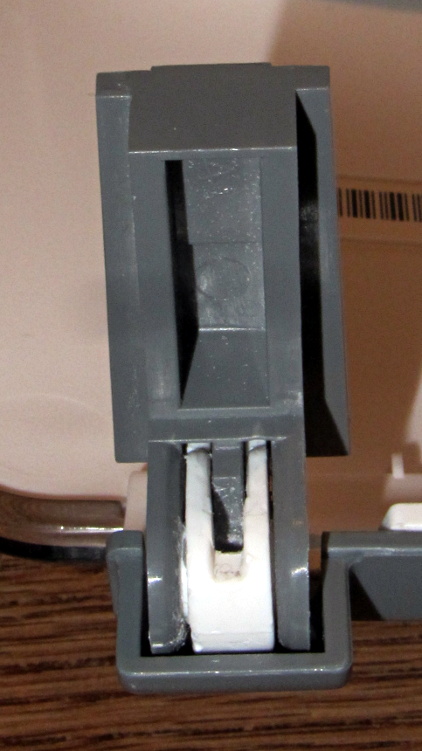
Need more? Here’s another thousand words from the other side:
HP 3970 Scanjet – intact hinge pivot
As the lid opens, the gray tab pivots toward the edge of the lid until it’s nearly parallel, at which point all of the force tries to yank those two flanges apart and then crack the tiny solid part at the pivot pin.
Eventually, it succeeds. This is a view of the scanner base with the gray tab inserted in its slot, with the broken hinge in the “lid up” position:
HP 3970 Scanjet – broken hinge pivot
Clever design, no?
I was unable to extract the broken fragment from the gray tab (actually, unwilling to apply more force, as I cracked part of the gray ring around the hinge pin), so this became an in situ repair. Once again, I applied solvent glue and squished the pieces together:
HP 3970 Scanjet – glued hinge
And clamped it while we ate lunch:
HP 3970 Scanjet – hinge clamping
The brass rod applies the clamping force to the fractured part of the hinge through the pivot point. This isn’t the most stable clamp arrangement you’ve ever seen, but it worked well enough.
I pushed the scanner back half a foot, so the lid now clunks against the wall just before the hinges reach their limit. Maybe they’ll survive until the next visit…
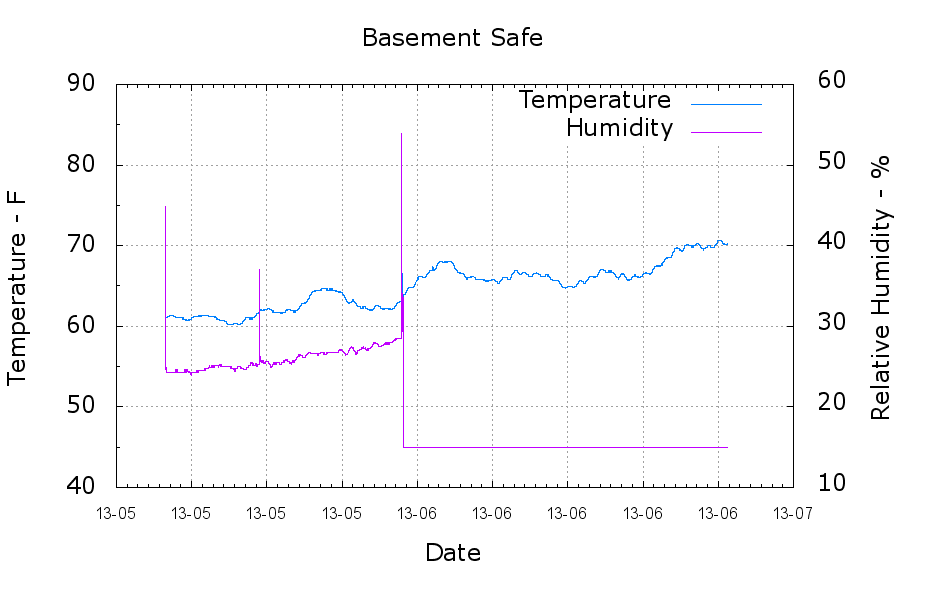
The last two months of temperature and humidity data from inside the basement safe indicate that Spring is becoming Summer down there:
Basement Safe – Temp Humid – 2013-06-30
The new bag of new silica gel beads once again dropped the humidity below the Hobo datalogger’s 15% threshold, so I don’t know the actual humidity. The indicator cards packed inside the silica gel buckets report they’re below 10%; that’s dry enough for me.
However, the bag now weighs 539 g, so it’s pulled 31 g of water out of the air over the last month. The old gel accumulated 63 g over five winter months, so there’s much more water in the air these days! The safe still has a tape seal around the door gap; perhaps a better gasket is in order.
The glitch at the end of May shows the datalogger coming upstairs on a hot, humid day, going back into the safe with the old silica gel tray, then, after a short pause for some Quality Shop Time, snuggling up next to the new bag. The mid-month glitch shows a peek inside the safe…
This plug for a portable air conditioner’s window vent may be un-buildable with my current state of 3D printer-fu. The top view shows the recess for a disk of insulating foam:
Portable AC Vent Plug – solid model – top
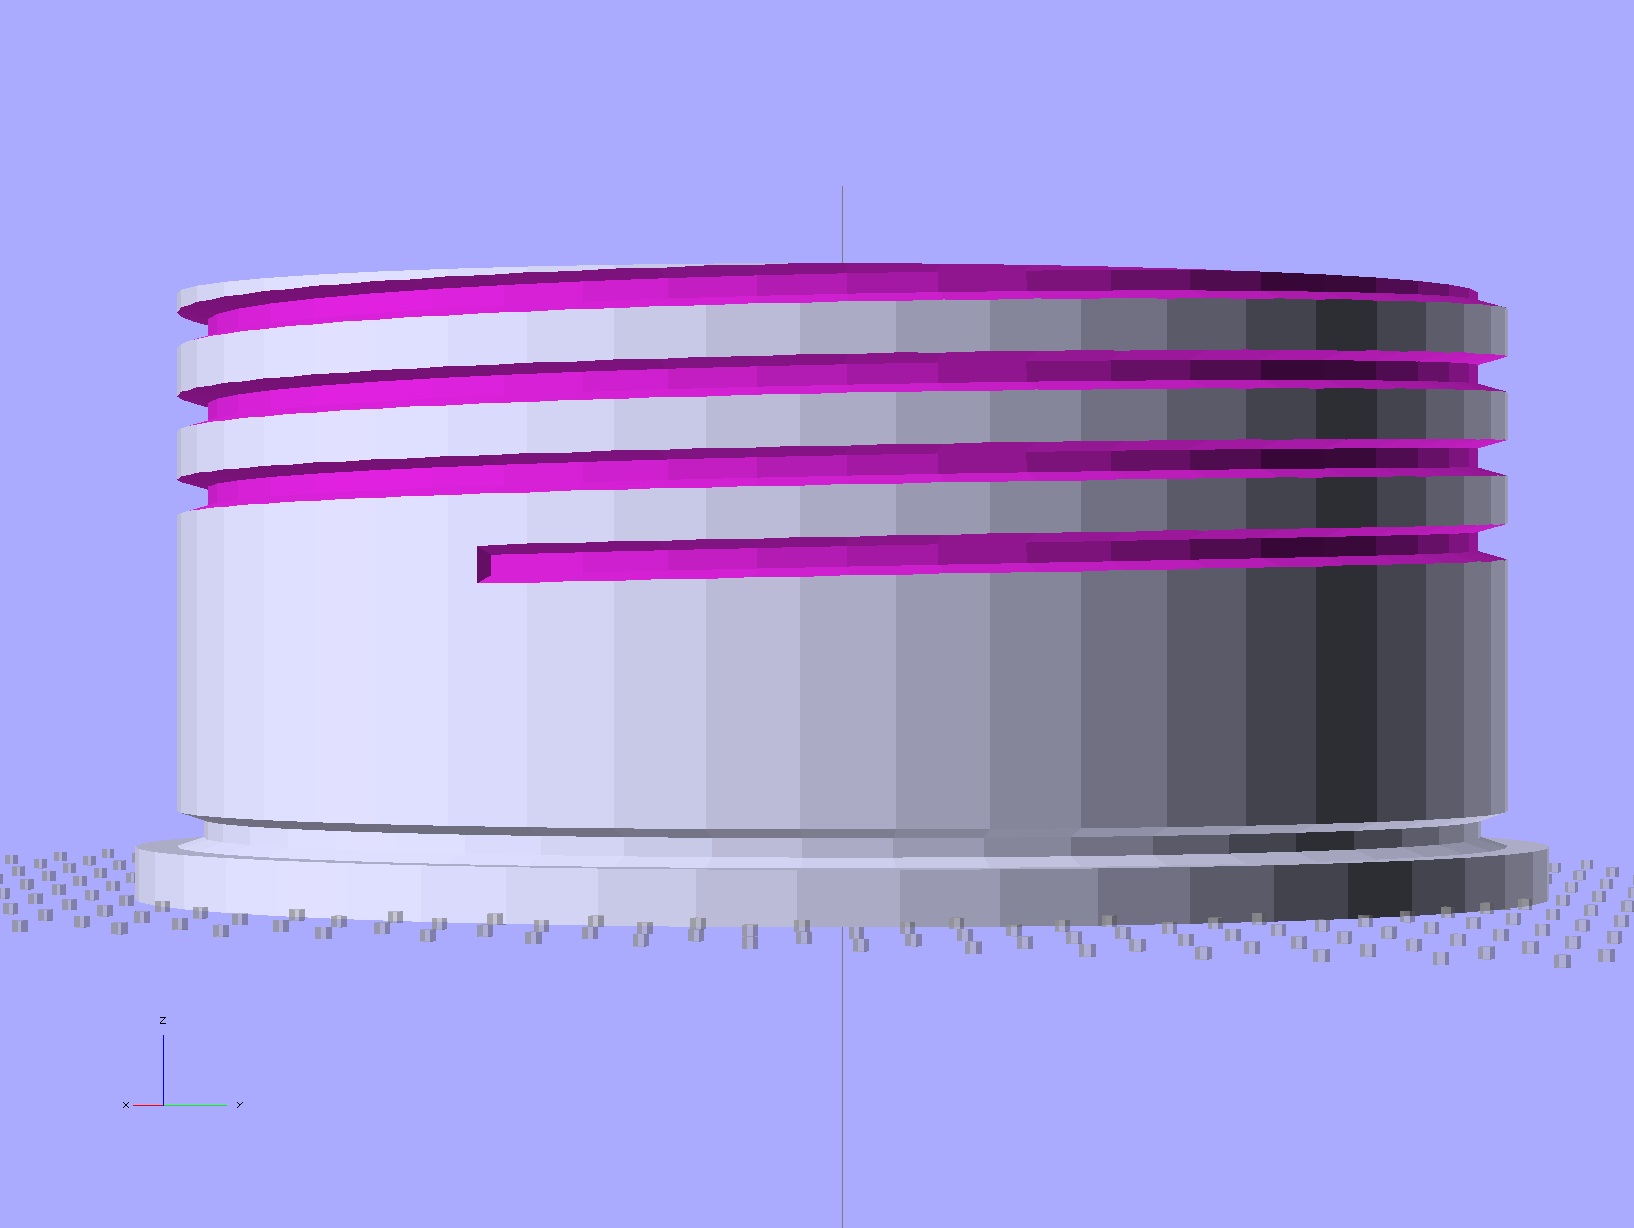
The side view shows the thread profile and the groove for the O-ring seal:
Portable AC Vent Plug – solid model – side
The bottom view shows the hemispheric finger grip recess:
Portable AC Vent Plug – solid model – bottom
Basically, that design requires extensive support material no matter how it’s laid out. I tried the obvious way without any support, but that huge flat surface popped off the glass:
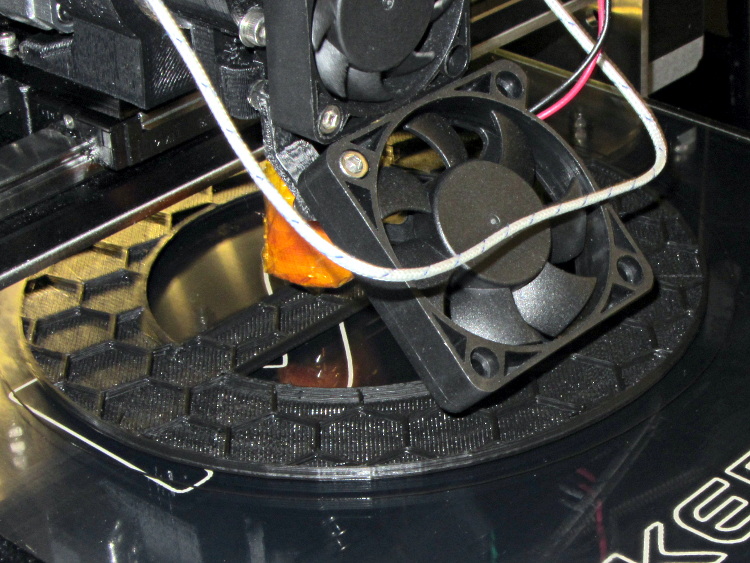
AC Vent Plug – flat build
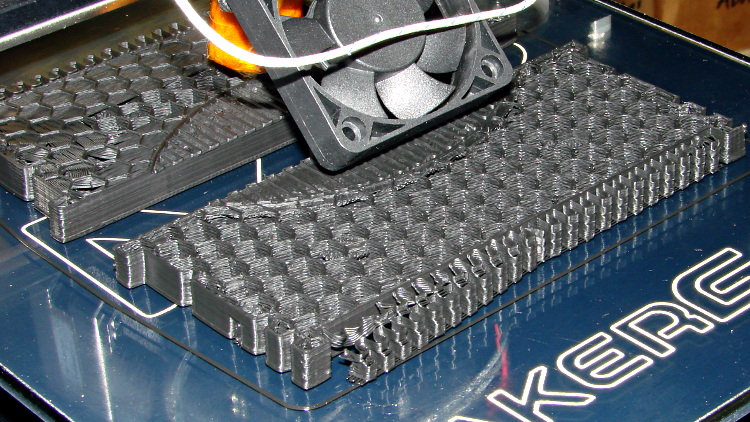
The thread and groove overhangs in that orientation would require support and then extensive cleanout. Slic3r doesn’t do a good job of supporting internal layers, so the bottom of the recesses tend to flop into the hexagonal infill. I’m not sure building internal support all the way up the inside of the threads would be a Good Thing, though.
Rotating by 90 degrees and cutting it in half failed because the automagic support structure popped off the platform:
AC Vent Plug – split build
Admittedly, that was before I started using hairspray (on the platform!), but both orientations require far too much support. In fact, the rotated version might weigh half a kilo…
I’m also generating the thread elements incorrectly; the joints don’t meet smoothly at the junctions. I think tapering each element so the smaller end nests inside the larger end will work better. Perhaps using a scaled hexagonal element would be better / faster than the current extruded 2D shape?
I think the correct way to proceed will be a 3D print of the finger grip and flange section, oriented so the hemisphere points upward, with the threaded section made from a length of PVC pipe with lathe-turned threads and O-ring groove, butted against the flange around the grip section.
Problem: that’s an 8 mm pitch thread and my inch-size lathe doesn’t do metric:
Need: 8 mm = 0.315 in → 3.175 TPI
Closest: 3-1/4 TPI → 0.308 in = 7.82 mm
Worse: 3 TPI → 0.333 in = 8.47 mm
The plug needs about three turns, which means the 3-1/4 TPI = 7.82 mm pitch thread would be off by 0.54 mm, roughly a third of the thread form’s crest. That might actually work, as the “thread” on the inside of the pipe this thing fits into is actually a thin ridge, rather than an actual thread shape, and the plug is supposed to jam against the flange anyway.
Maybe a four-axis setup in the Sherline, with the rotary table holding the PVC pipe (or whatever) aligned with the X axis? It would just barely fit under the spindle with the end mill in a collet.
The pipe rack doesn’t hold any suitable plastic pipe.