CO₂ laser power meters seem to depend on a flat-black absorbing surface to soak up a (typically unfocused) beam pulse, backed by a known metal mass with a thermocouple to measure the temperature rise above ambient. Knowing the pulse width, the temperature rise, the absorber mass and specific heat capacity, you can compute the pulse energy and average power during the pulse.
Previous tinkering with an old Gentec ED-200 showed this works well, although the absorber surface took something of a beating because it was definitely not rated for the OMTech’s 60 W (claimed) beam power.
Rather than using a spendy absorber surface with a durable coating, perhaps a geometric absorber using reflective surfaces arranged to channel the energy into the material, rather than away from it, might suffice.
Consider a pack of ordinary utility knife blades:
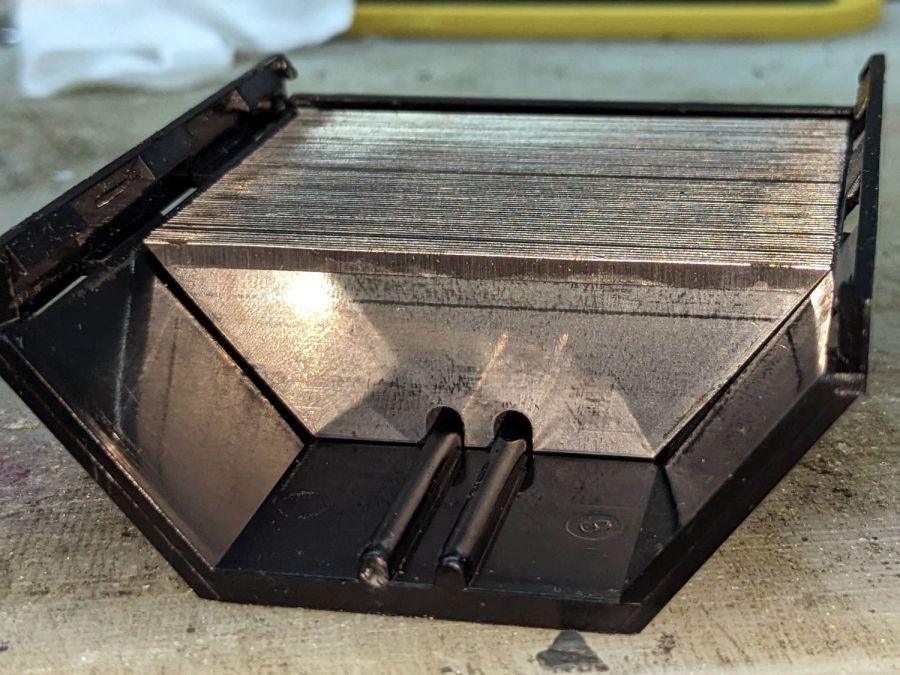
Seen kinda-sorta perpendicular to the sharpened side of the blade edge, they’re wonderfully reflective:
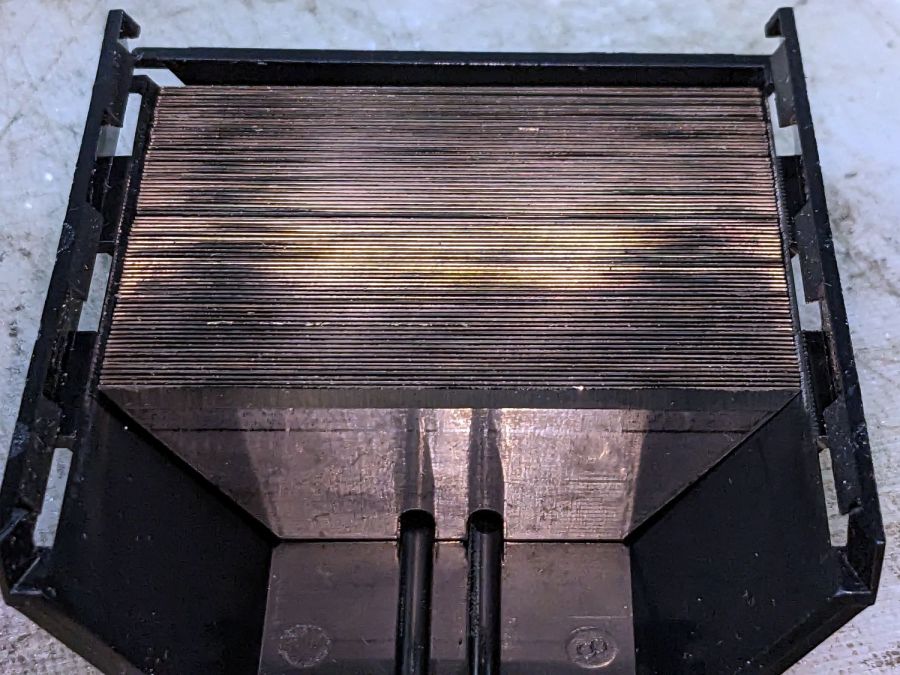
Seen perpendicular to the edge itself, they’re dead black:

Well, pretty close to dead black. It’s darker in real life, with glimmers along the edge and the rest of it a deep black. The edges are sharp, but utility knife blades will lead a rough life and they don’t start out Scary Sharp.
Xacto blades come closer to an ideal razor edge:
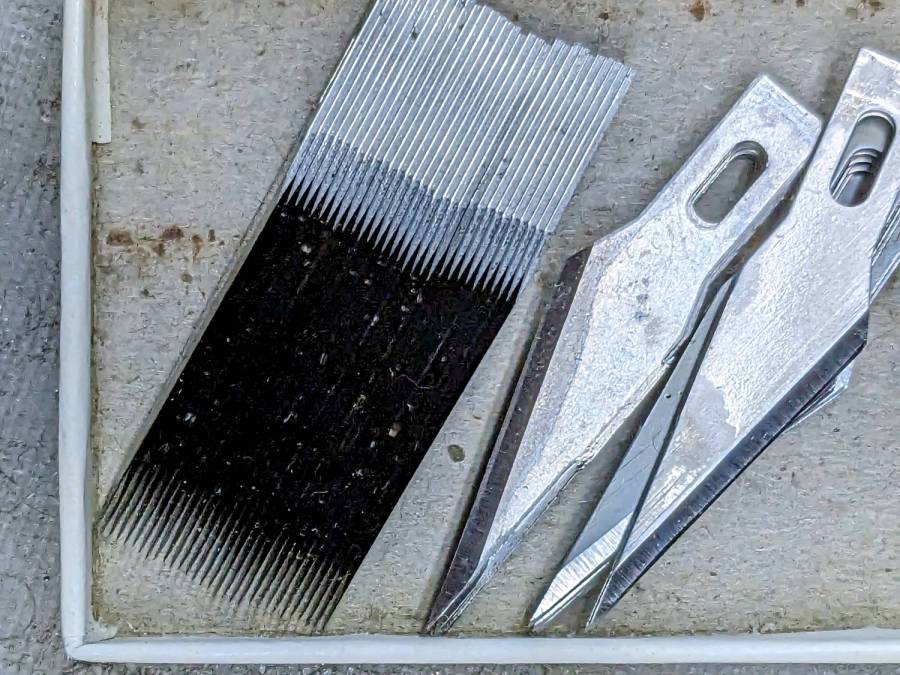
The only things you (well, I) see is dust on the edges. The rest is dead black, because light hitting any shiny surface is reflected deeper into the notch between two blades and eventually absorbed.
Double-edge razor blades are sharper and would likely be even blacker, particularly cheap ones without fancy lubricating coatings.
Bonus: the wavelength of CO₂ laser IR light is 10-20× that of visible light, which makes the surfaces that much more reflective. The geometry still channels the reflections into the block and nothing comes out.
There are some fairly obvious reasons why nobody uses a stack of razor blades as a beam absorber in real life:
- Lethally sharp cutting hazard
- Impossible to clean without wrecking the edge
But for personal use, why not?
Some doodles:
Steel has a specific heat around 0.47 J/g·K and a stack of utility blades weighing 140 g is 23 mm across. Soaking up a 60 W beam will raise the temperature of the stack by:
0.91 K/s = 60 J/s / (0.47 J/g·K × 140 g)
Which seems reasonable: fire a 10 s burst, measure the temperature rise, and multiply by 0.91.
Similarly, a stack of Xacto #11 weighing 15 g is 11 mm across and the temperature will rise 8.5 °C/s. You’d use that for lower power beams.
You could clamp the blades into a larger heatsink, perhaps with a thermocouple / thermistor in a hole drilled into the block.
Calibrate the stack / heatsink with an embedded cartridge heater: voltage × current × pulse width gives the power dumped into the block, so measuring the temperature rise gives you the temperature-power relation.
This feels like a great Arduino project, although it’s nowhere near getting started.
At least I got that scrap of paper off my desk …