Ed Nisley's Blog: Shop notes, electronics, firmware, machinery, 3D printing, laser cuttery, and curiosities. Contents: 100% human thinking, 0% AI slop.
The dotted rectangle in the lower left corner is the (turned off) front light in my low-budget light box and the glare in the upper left comes from the overhead basement LED strip lights.
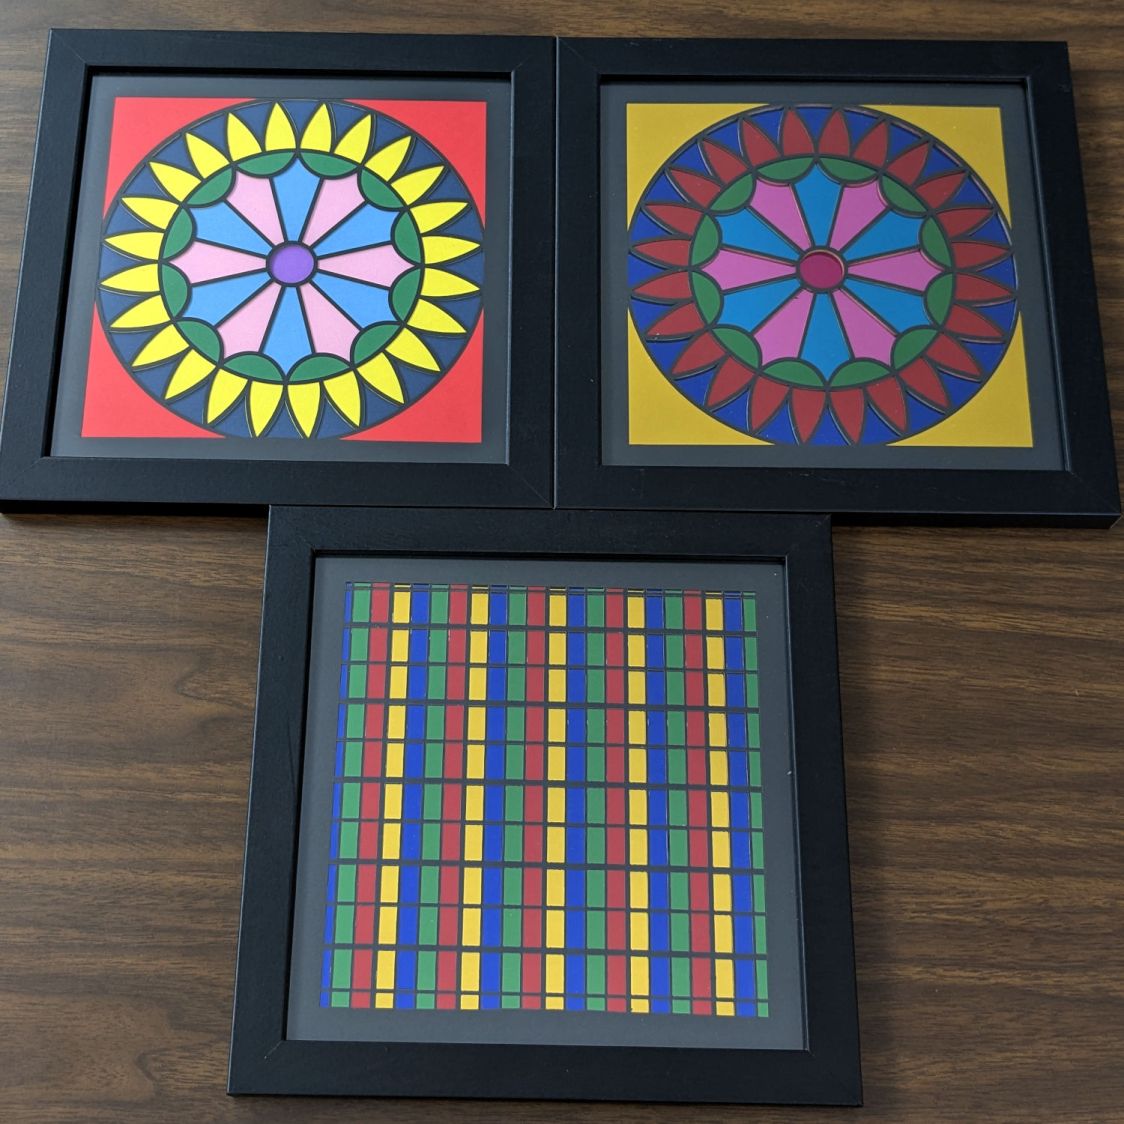
AFAICT, “metallic paper” consists of shiny aluminum film bonded to heavy paper / cardstock, with transparent colored film bonded atop the aluminum. The sheet is, of course, highly reflective, which looks dark unless it’s reflecting a bright surface, like the well-lit Sewing Room ceiling:
Metallic layered paper – vs art paper
I made the bright Pyrotechnics block in the upper left with art paper that looks bright & cheerful in any lighting:
Metallic layered paper – art paper Pyrotechnics block
Making 200×200 mm layered paper “pictures” involved cutting the square blanks from 8½×11 Letter sheets, putting those blanks in a fixture to hold them flat, then cutting the layer patterns:
Layered Paper cutting fixture – in use
That worked well enough, but it occurred to me that I should cut the patterns directly into the Letter sheet, with a couple of tabs on each edge holding the square to the sheet so it didn’t fall free.
A cardboard prototype showed this would actually work, at least after I fixed the tab width to keep them from just evaporating:
Pyrotechnics – metallized paper fixture
The top and bottom strips of tape hold cardboard bars that flatten the slightly curled metallic paper. The tape on the sides holds the cardboard flat to the knife bars across the laser platform.
A few adjustments later, I had an MDF version:
Letter paper fixture – cardboard vs MDF
Which fits atop the bars even better:
Letter paper fixture – on knife bars
Cutting colored paper definitely makes for cheerful chaff!
The two bar magnets hold the fixture in place on the steel platform rim. The aluminum knife bars stand slightly proud of the steel, so there’s a 1.4 mm chipboard shim glued under the fixture to put it flat on the bars.
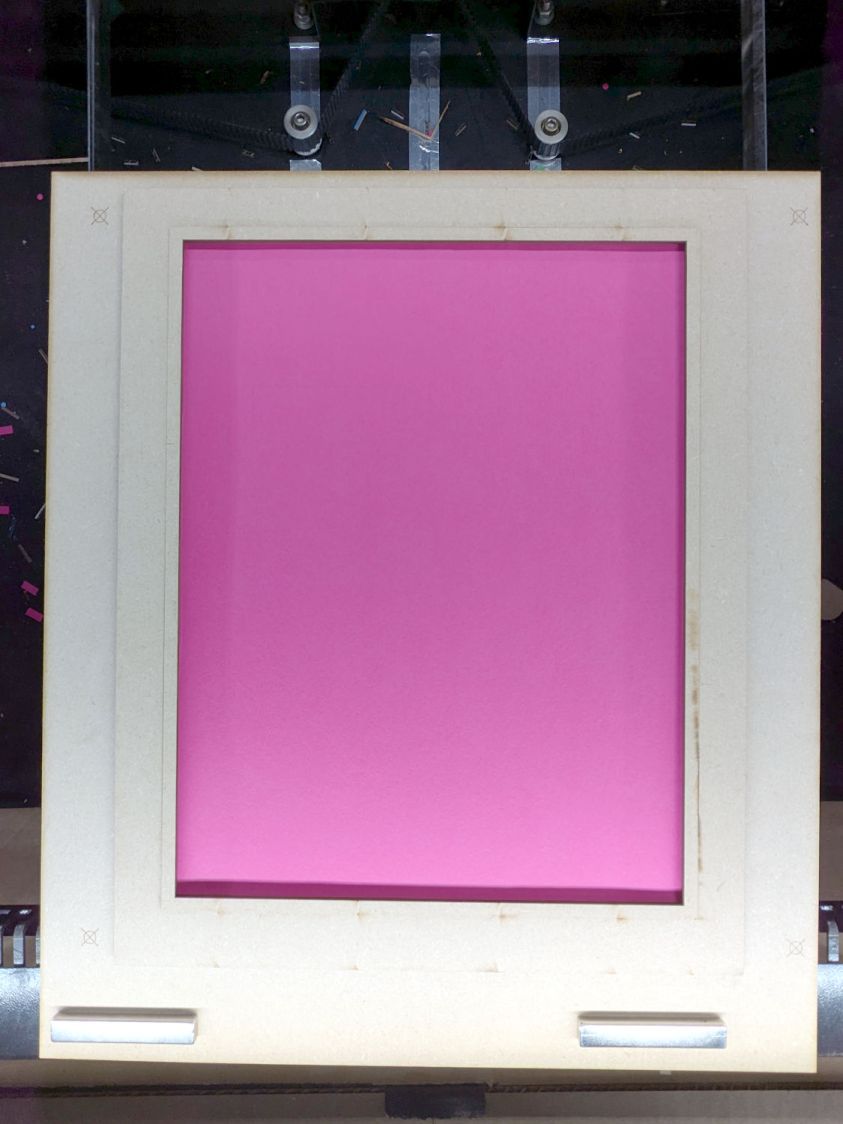
The opening is 10 mm smaller than the Letter sheet to support it all around. The recess is 1 mm larger than the sheet to allow for slight size variations, with an MDF ring flattening the sheet:
Letter paper fixture – sheet in place
The four targets in the corners correspond to targets in the LightBurn template suitable for Print and Cut alignment:
Letter sheet template – LightBurn layout
The alert reader will note the fixture targets on the MDF fixture sit juuuust slightly to the right of where they are in the template. It turns out the targets cannot be grouped with anything else (or even each other), because when you select a target on the template for Print and Cut the center of the selection must match the location of the physical target on the fixture.
However, it’s convenient to have the rest of the template grouped into a single lump, so it’s painfully easy to select and move only the template while leaving the targets behind. It seems while setting up to mark & cut the template, I managed to click-n-drag the group a few millimeters to the left.
I eventually used Print and Cut to align the template and target with the corners of that MDF frame, re-engrave the targets at the correct locations, and scribble over the misplaced targets. If I don’t tell anybody, they’ll never know.
The previous layout of Rt 376 had two lanes approaching the Raymond Avenue intersection from the south (from the right in this rotated & ruthlessly contrast-blown Google Maps screenshot):
Rt 376 at Raymond – prior two-lane striping
The right lane is marked Only ↱ for the Raymond intersection, starting just past the Vassar Security Office entrance in the top middle of the screenshot.
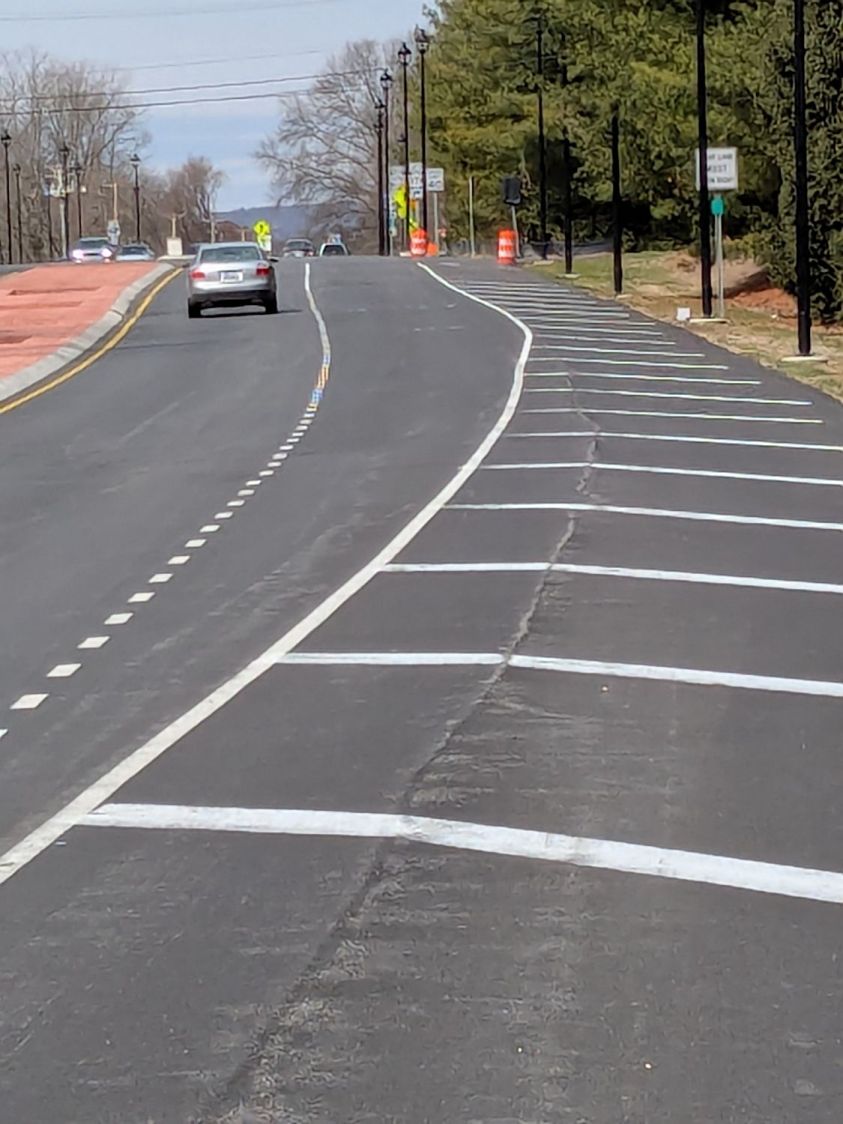
Given this preliminary striping with faded Only ↱ markings, one might assume a similar lane layout is in effect for the new traffic circle at the intersection:
Vassar Security Office Lane – A
The lighting poles may seem snugly placed, but not too much out of the ordinary:
Some drivers seem concerned at this point:
Vassar Security Office Lane – C
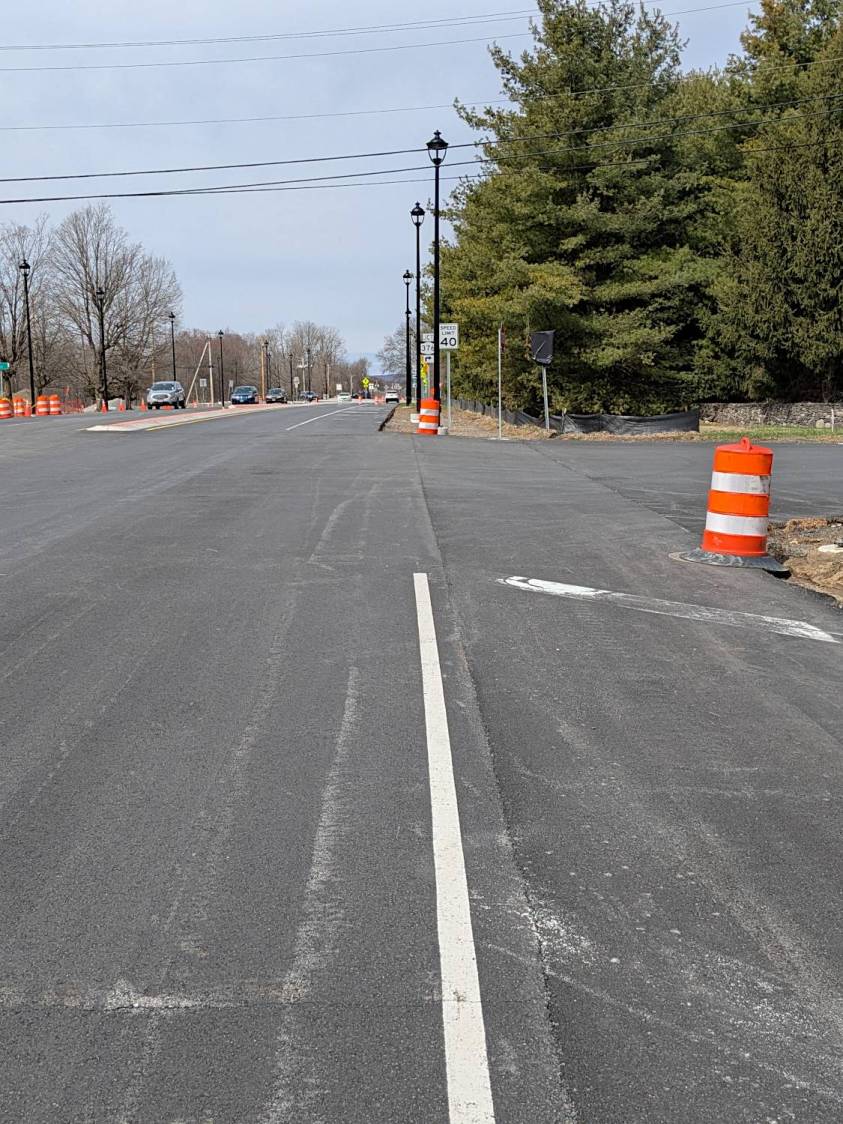
With any luck, they can swerve back into what is the only lane going all the way to the circle, because the right lane is dedicated to Vassar Security Office traffic:
Vassar Security Office Lane – D
If you happen to be walking southbound, toward the traffic, in the middle of the shoulder beyond the turn lane, you will look that driver directly in the eye, as happened to me while walking back from Mary’s garden.
As I mentioned last week, my money says that first lamp post, the one with the barrel guarding it, won’t survive the year.
Given the utter lack of pedestrian facilities (f.k.a. “sidewalks”) south of the circle, I can only hope the road furniture will absorb all the damage / fatalities.
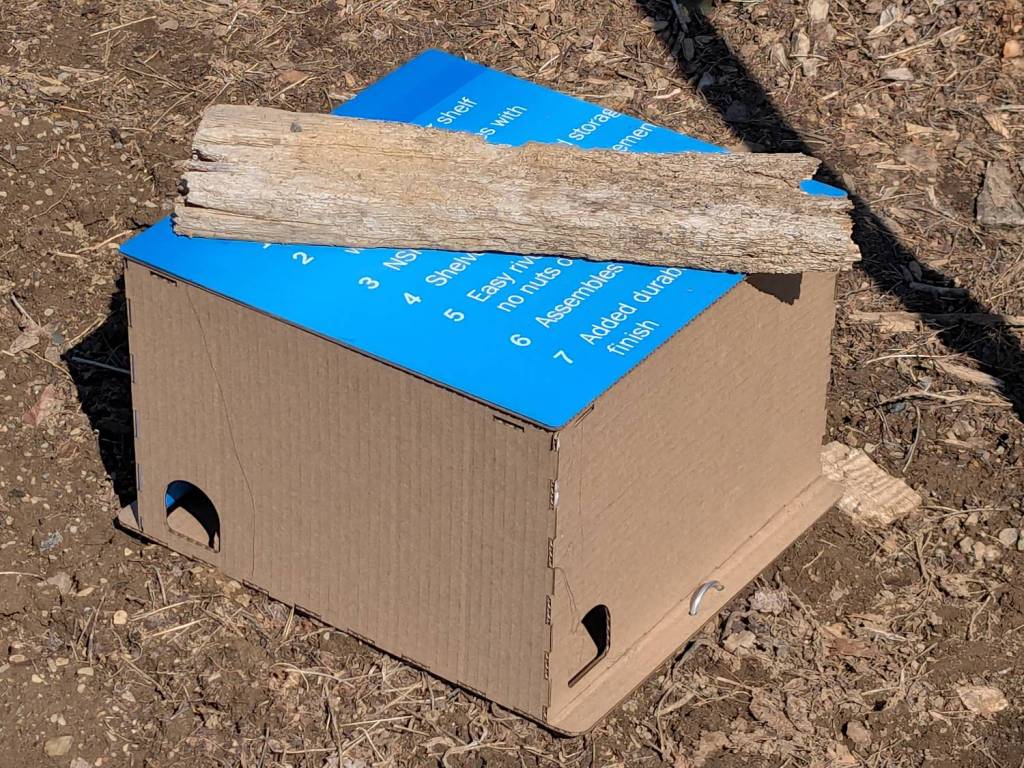
We deployed low-effort vole trap boxes a few weeks ago, only to discover no voles checked in, most likely due to wintertime gardens consisting of bare earth. I had weighted the boxes with convenient rocks that pretty much crushed them flat during rainstorms.
So I converted a few dozen square feet of cardboard into better-looking boxes and transferred the traps:
Vole Finger Box – large
That one has a rat trap inside.
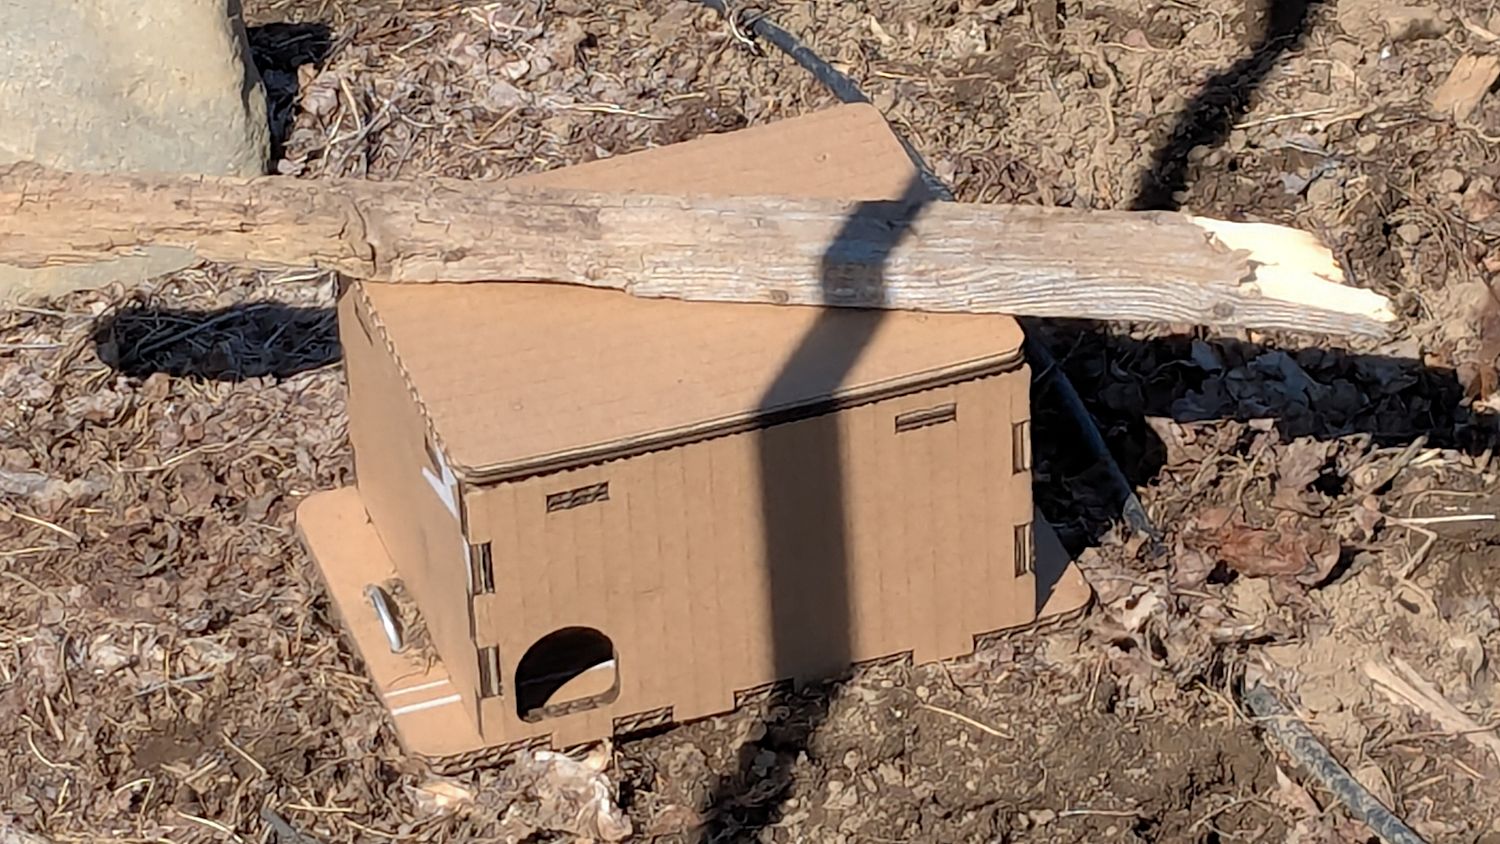
Smaller boxes hold mouse traps:
Vole Finger Box – small
Two pairs of 4 mm holes on the bottom flanges fit some spare irrigation pipe holddowns to, yes, hold them down, with those rotten planks keeping their lids in place.
They’re lightly customized “Electronics Boxes” held together by hot-melt glue. The jawbreaker URLs will get you started:
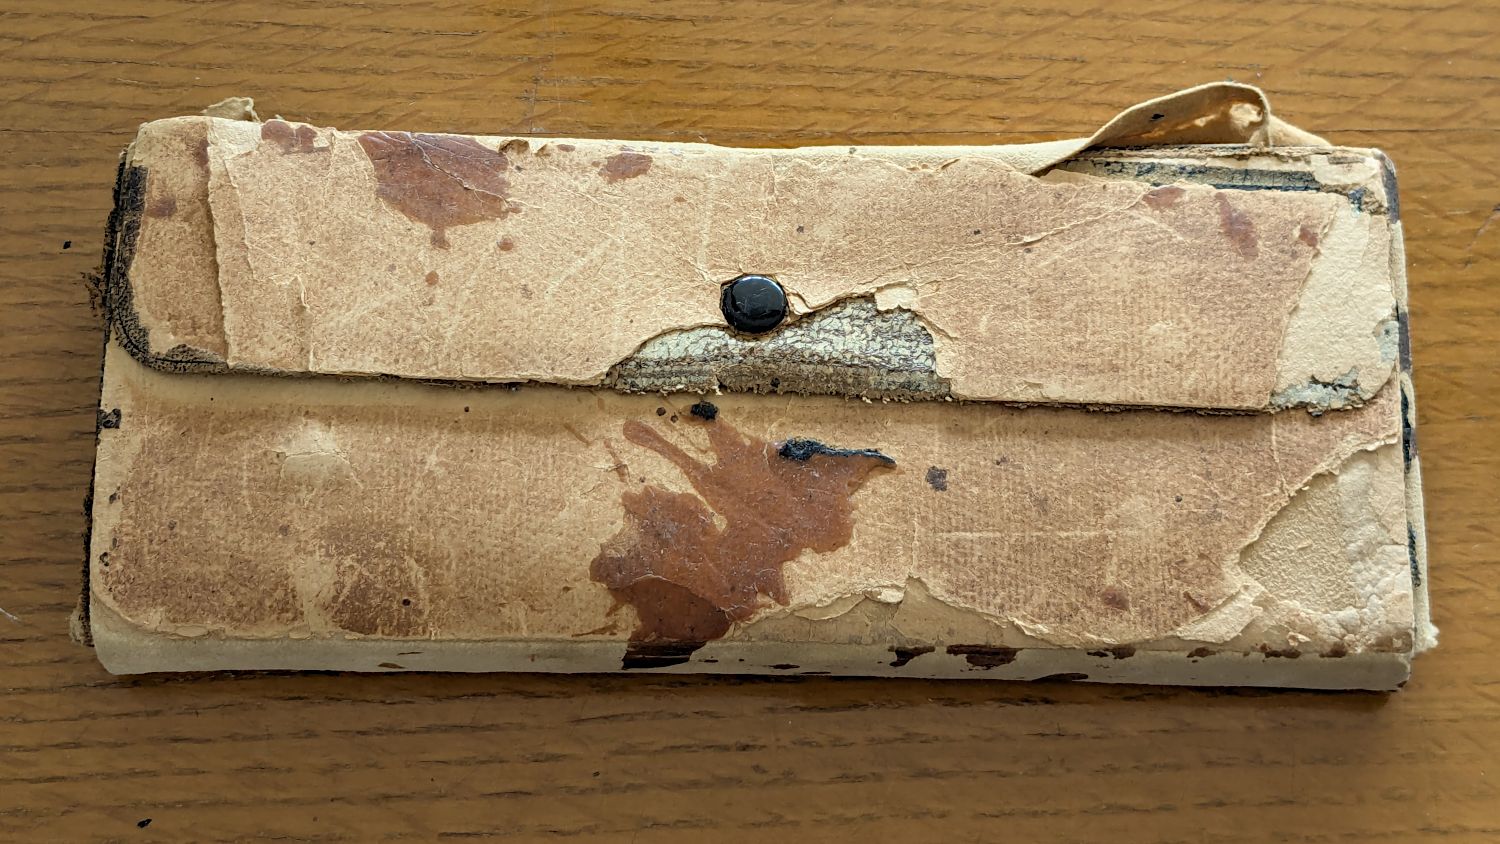
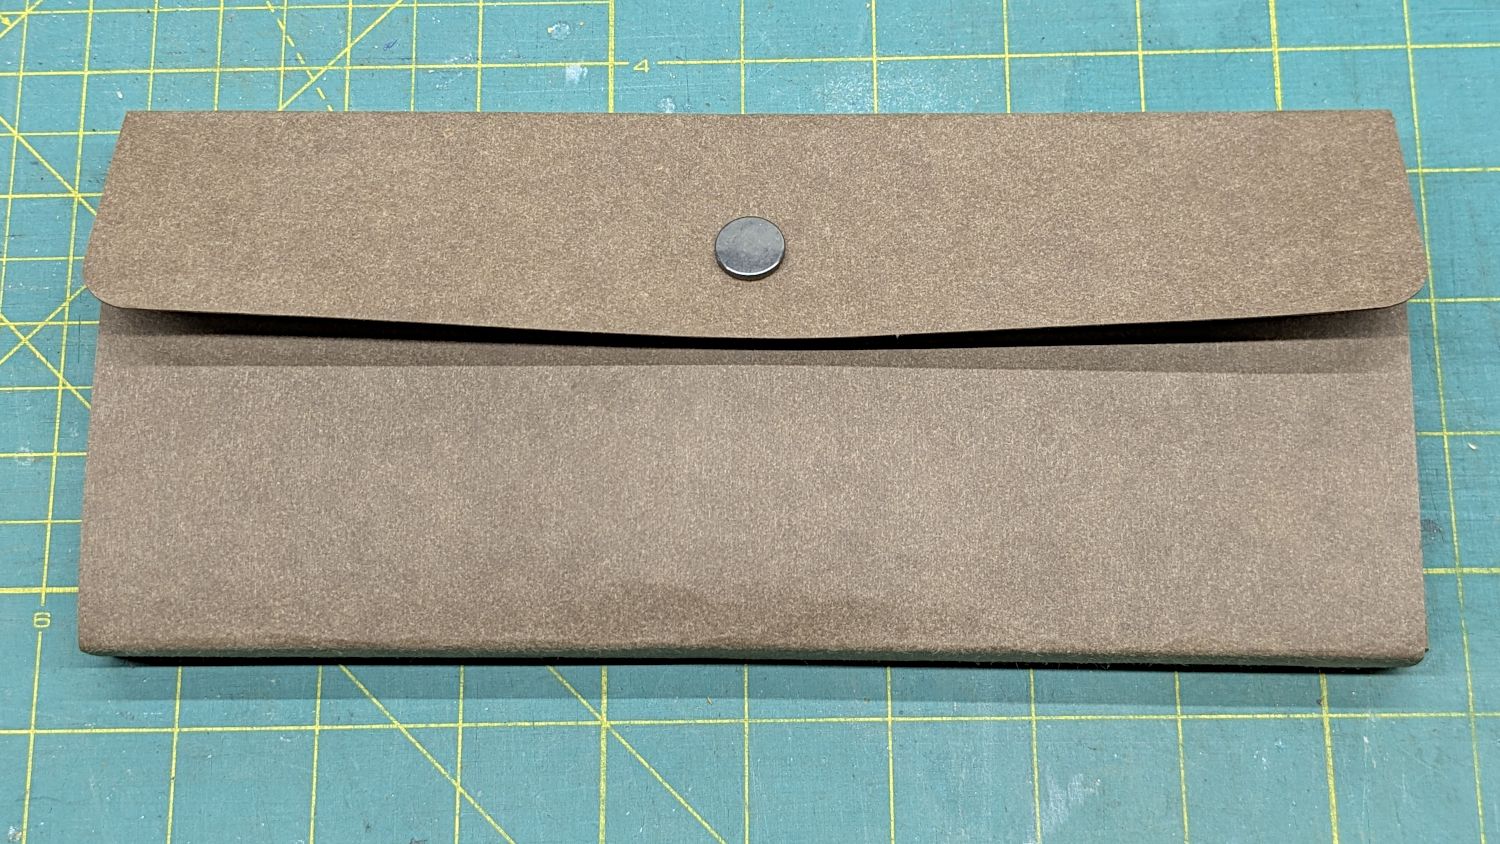
Our Young Engineer recently rebuilt the cover of a “vintage” drawing kit, with fabric pockets for protractors & scales and real leather hinges, thereby raising a long-procrastinated project to the top of my to-do list:
TEC Drawing Set – top old
I know my father used it when he took drafting after high school in 1929. His penmanship and drawing ability were up to par well before that.
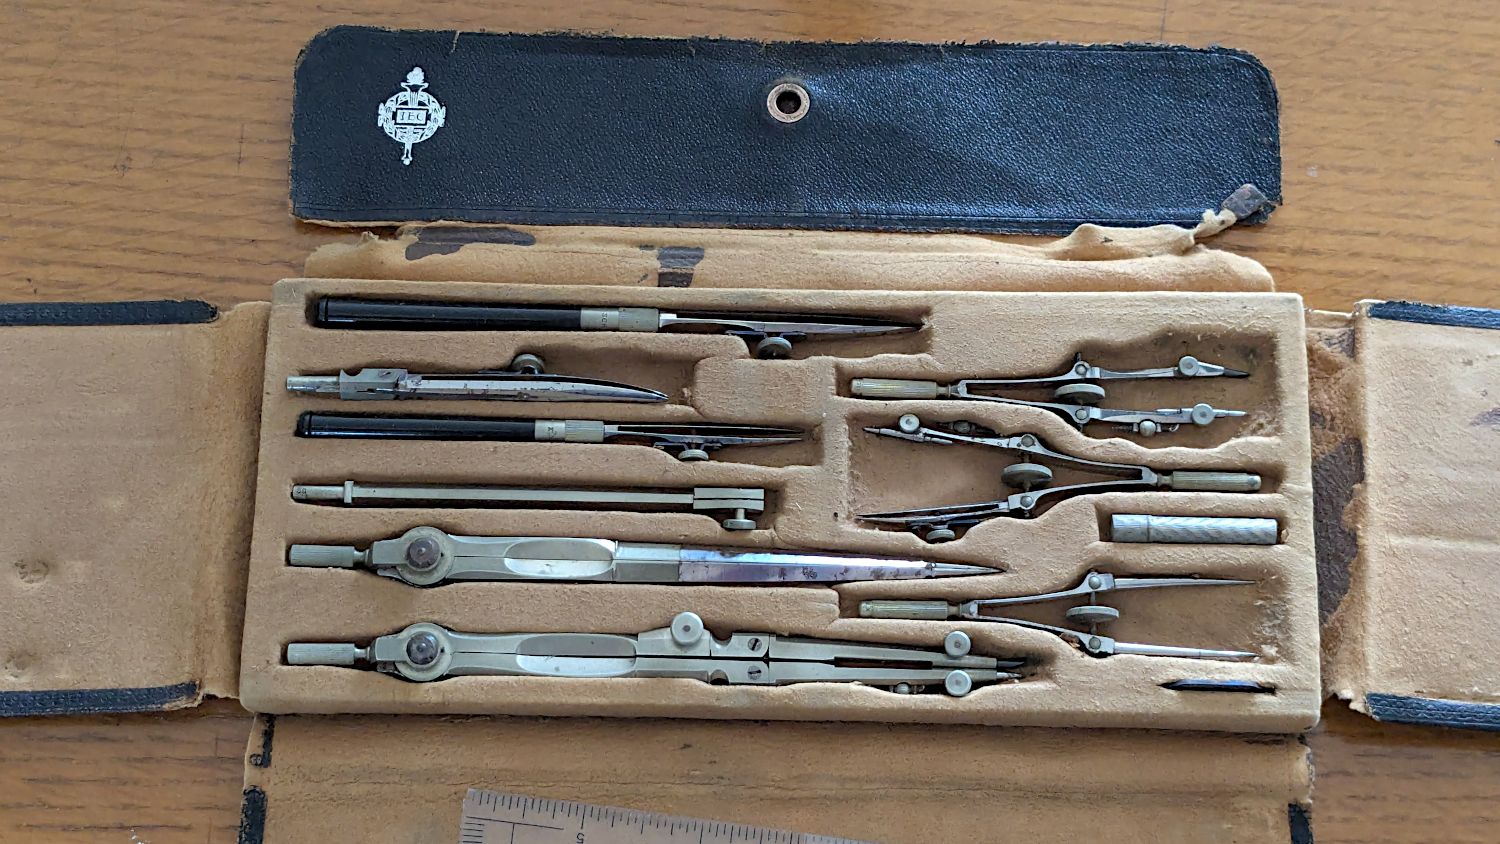
The inside sports a TEC logo:
TEC Drawing Set – open old
Some searching revealed it’s a No. 718 Drafting Set from the Technical Supply Company of Scranton and appeared in their 1913 catalog:
TEC Brand Catalog p68
The printing on the inside of the flap differs, but the logo has TEC in the middle.
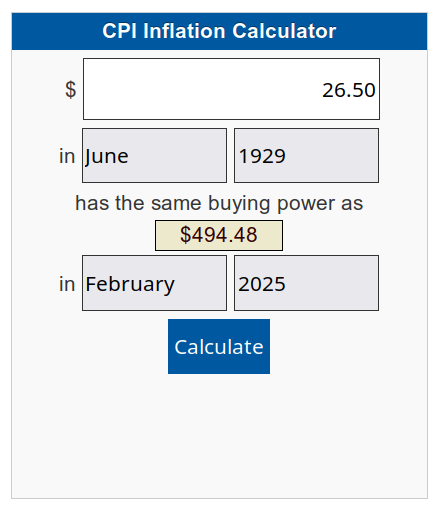
My father did not attend college and, in the teeth of The Great Depression, $26.50 was certainly too spendy for his family:
CPI Calculator – 1929 to 2025
When the catalog was printed in 1913, No. 718 cost the equivalent of $862.82. Nowadays, similar sets once again cost about twenty bucks on eBay, which tells you something about economics.
In retrospect, I should have used two leather snaps, but three would be excessive.
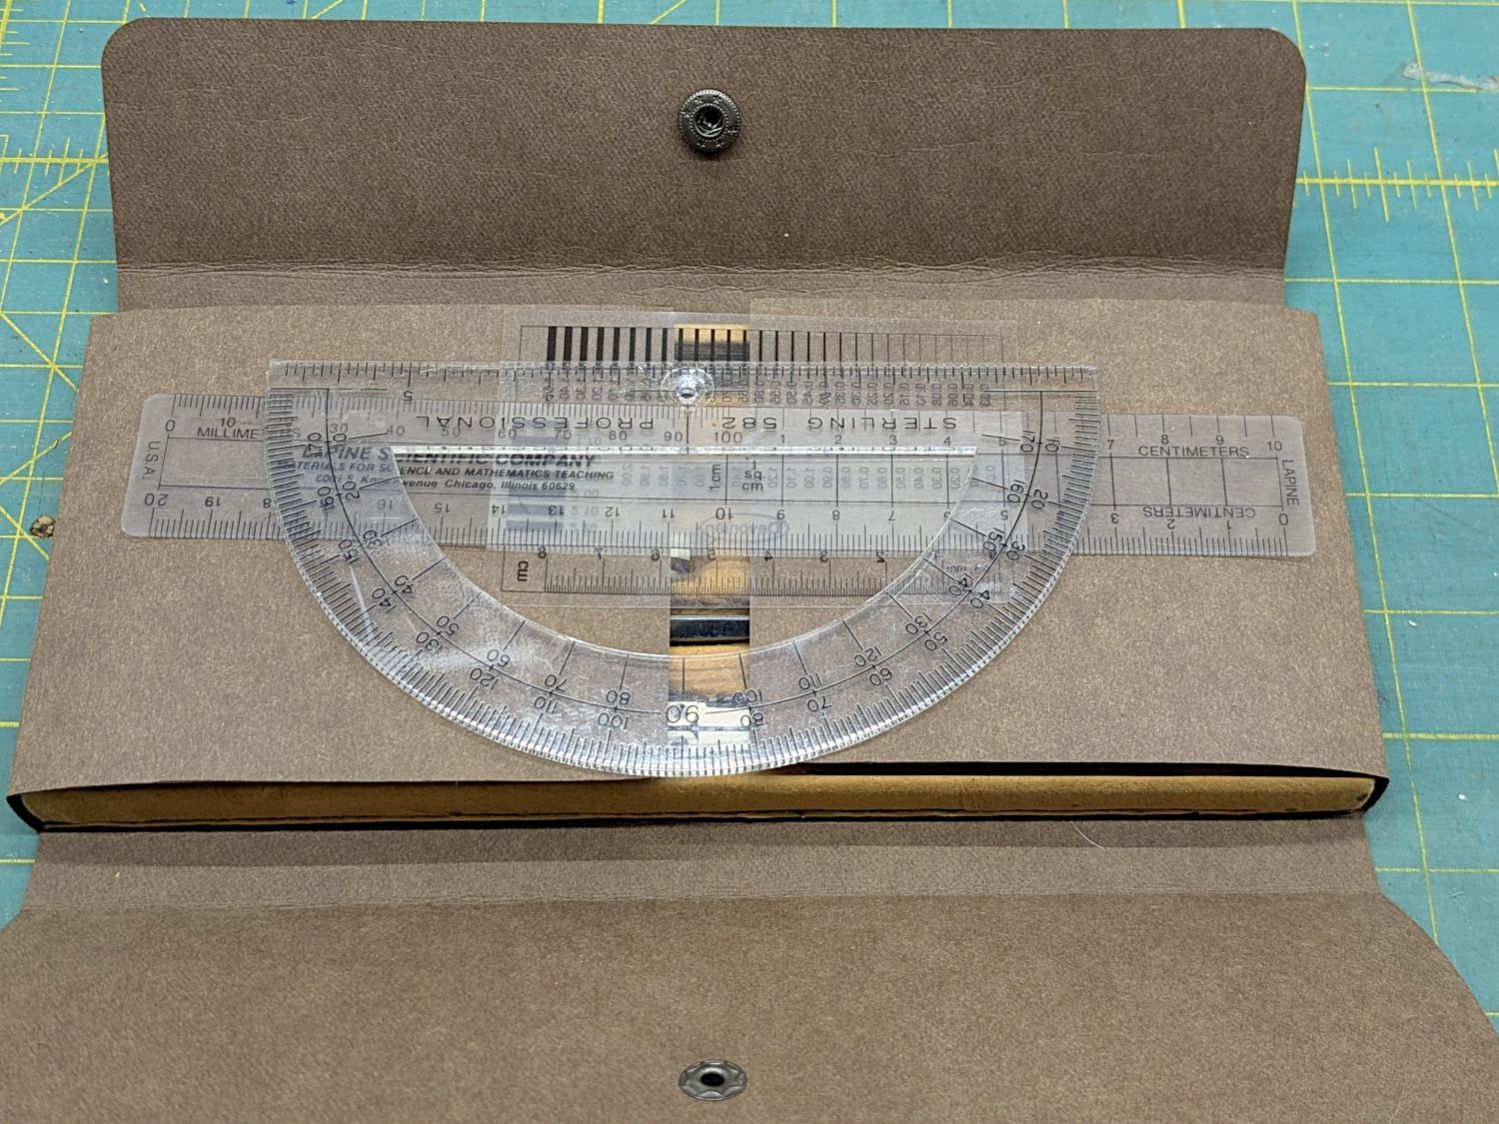
I folded the Kraft-Tex flat across a steel scale to make the first folds around the base, then finger-crimped folds at the top of the base with subsequent crisping around the scale:
TEC Drawing Set – open new
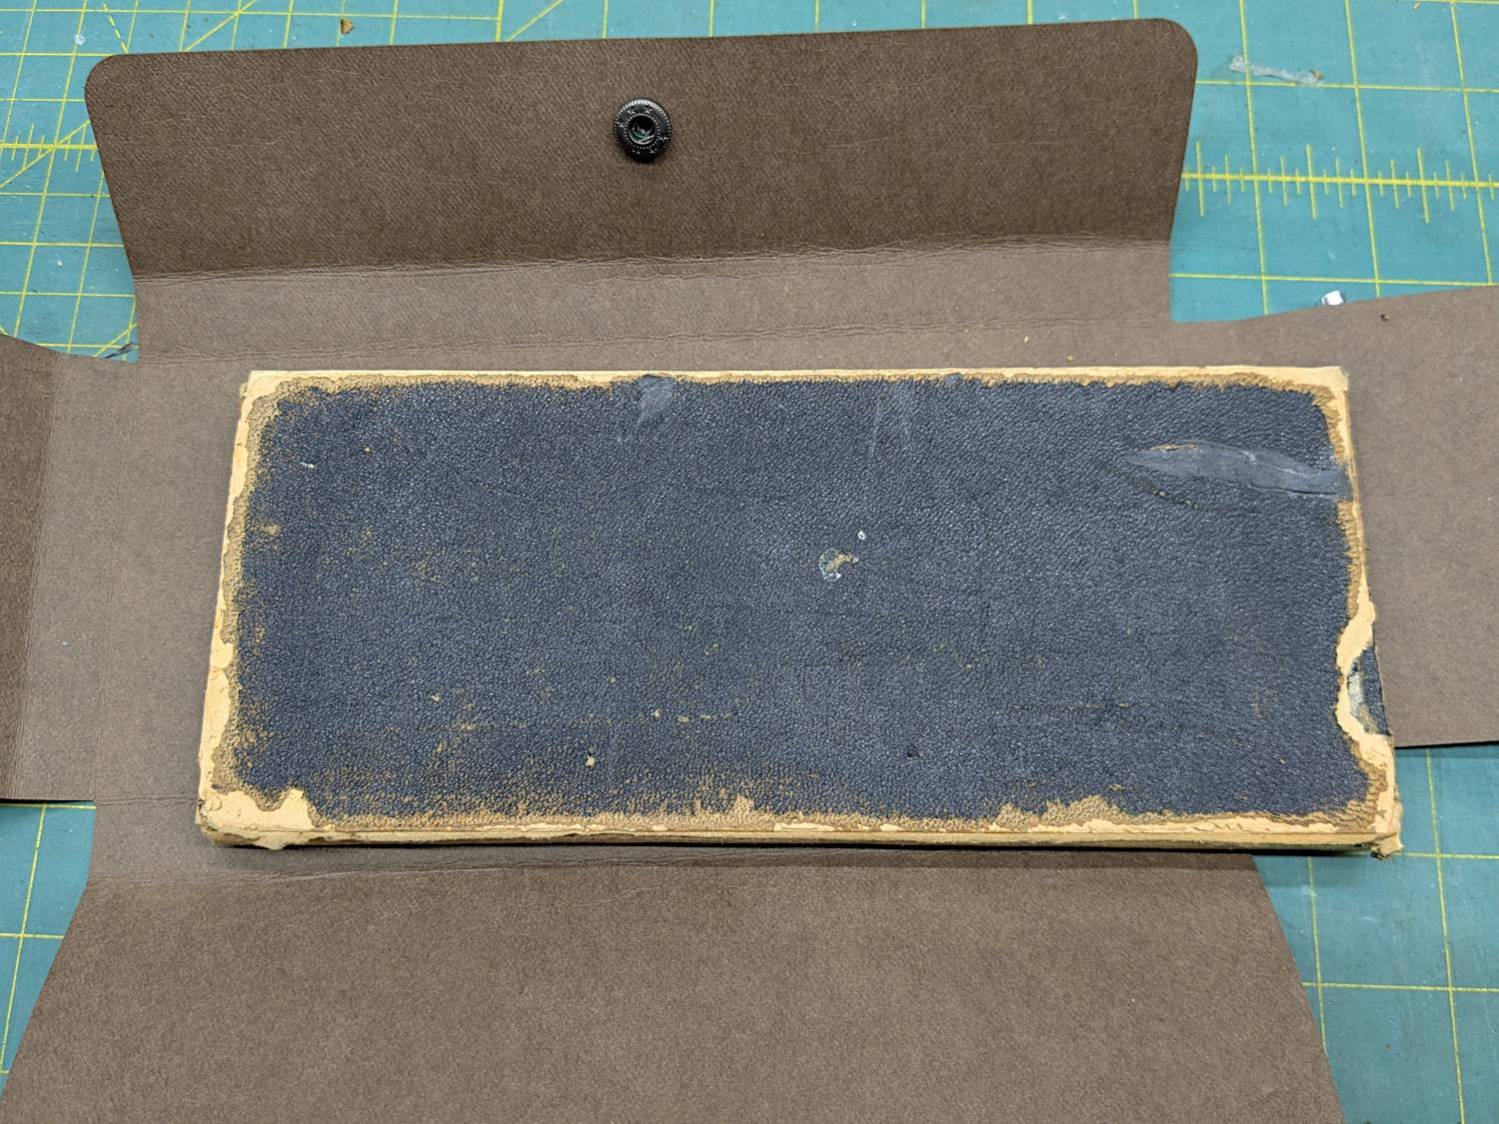
The underside of the original case seemed stable:
TEC Drawing Set – case bottom
This may be sacrilege, but I saw no point in peeling the bottom just to cover it up,so I stuck the Kraft-Tex in place with a rectangle of adhesive sheet.
It doesn’t look the same, but it still gives me a warm feeling.
It still has the tiny wrench needed to adjust all its screws:
TEC Drawing Set – wrench
It’s on 0.1 inch graph paper and is 40 mil = 1 mm thick, should you want to make your own. The blades taper down to essentially a knife edge, which is why it’s made from hard blue steel.
I remember being fascinated by that little pig when I was a pup.
Putting some scraps to good use, I stuck a cushion in the anvil for the next time I punch down a leather snap:
Apparently they excavated around the smashed bases and sawed off the conduits:
Street Lamp Base – sawed conduit
Then they yoinked the concrete cylinders, installed new bases, re-connected the conduits, cast more concrete, and installed the posts:
Street Lamp Base – Rombout House Ln – detail
I think the two “Signal” box covers flush with the surface on either side of Rombout House Lane lie just beyond the edges of what will eventually be the repaved road at the intersection.
Street Lamp Base – Rombout House Ln – overview
Given how much damage the base at that intersection encountered, my visualization of the Cosmic All says that pole will not survive the year unless they install a few well-spaced bollards.
There’s another pole on the other side of the road I expect will have a full-on collision, too.
The object of the game being to tilt the LED strip lights at (maybe) 30° to put more light higher on the wall and further out on the ceiling, with the overriding constraint of no visible holes. Given their eventual home atop the window moulding along the front wall of the Living Sewing Room, these seemed adequate:
LED Bar Lamp Mount – solid model
The hole on the angled part fits an M4 brass insert and the recessed holes capture the washer-like head of a sharp-point lath screw.
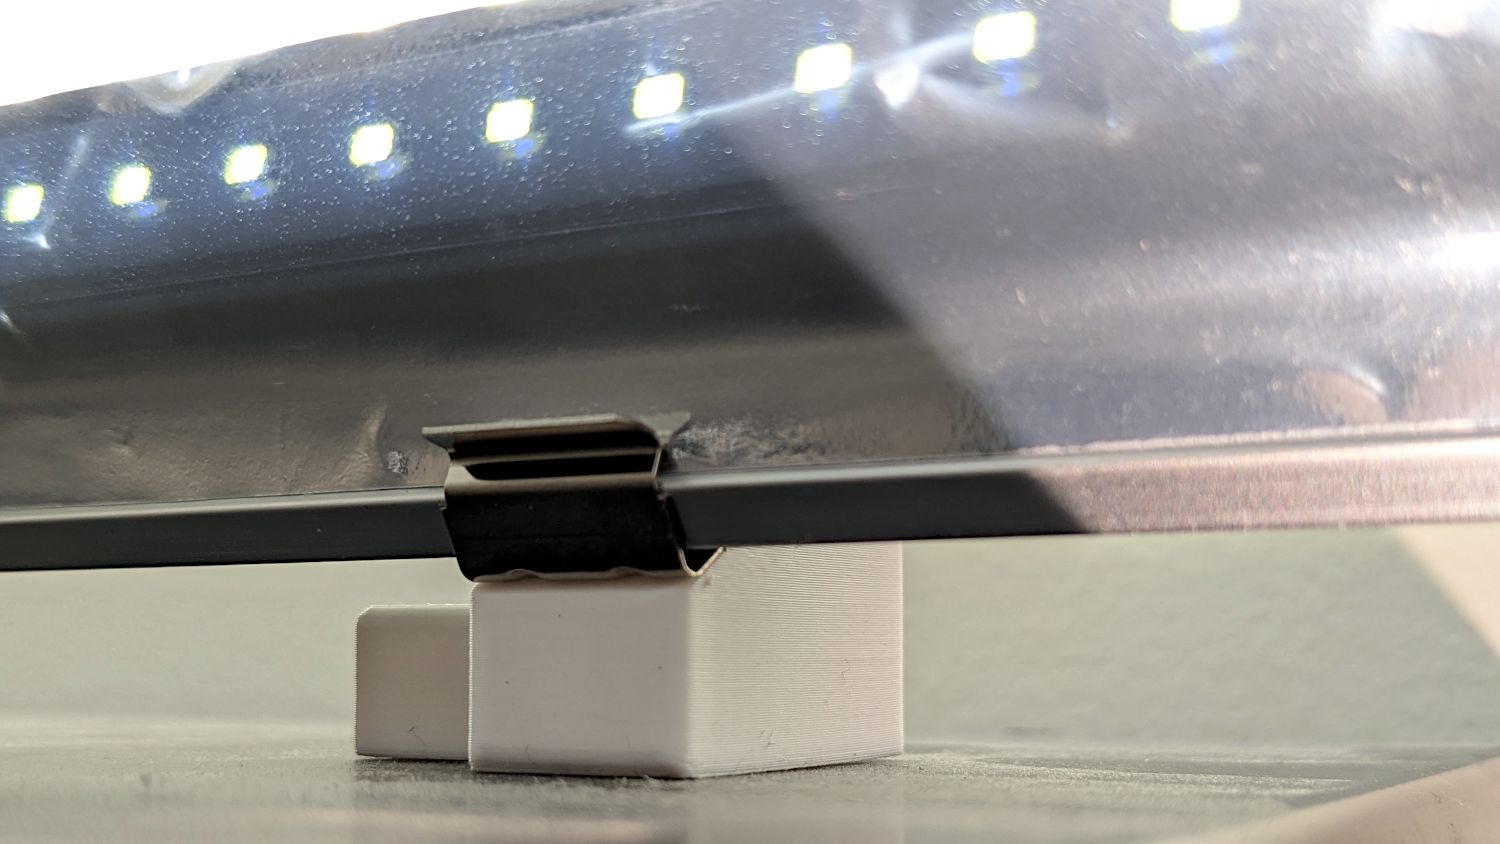
Two pairs applied to the lights sitting atop the Fabric Cabinets served to verify the fit:
LED strip light – moulding mount – on cabinet
They’re held firmly by the aluminum extrusion and don’t need a bigger footprint to remain stable.
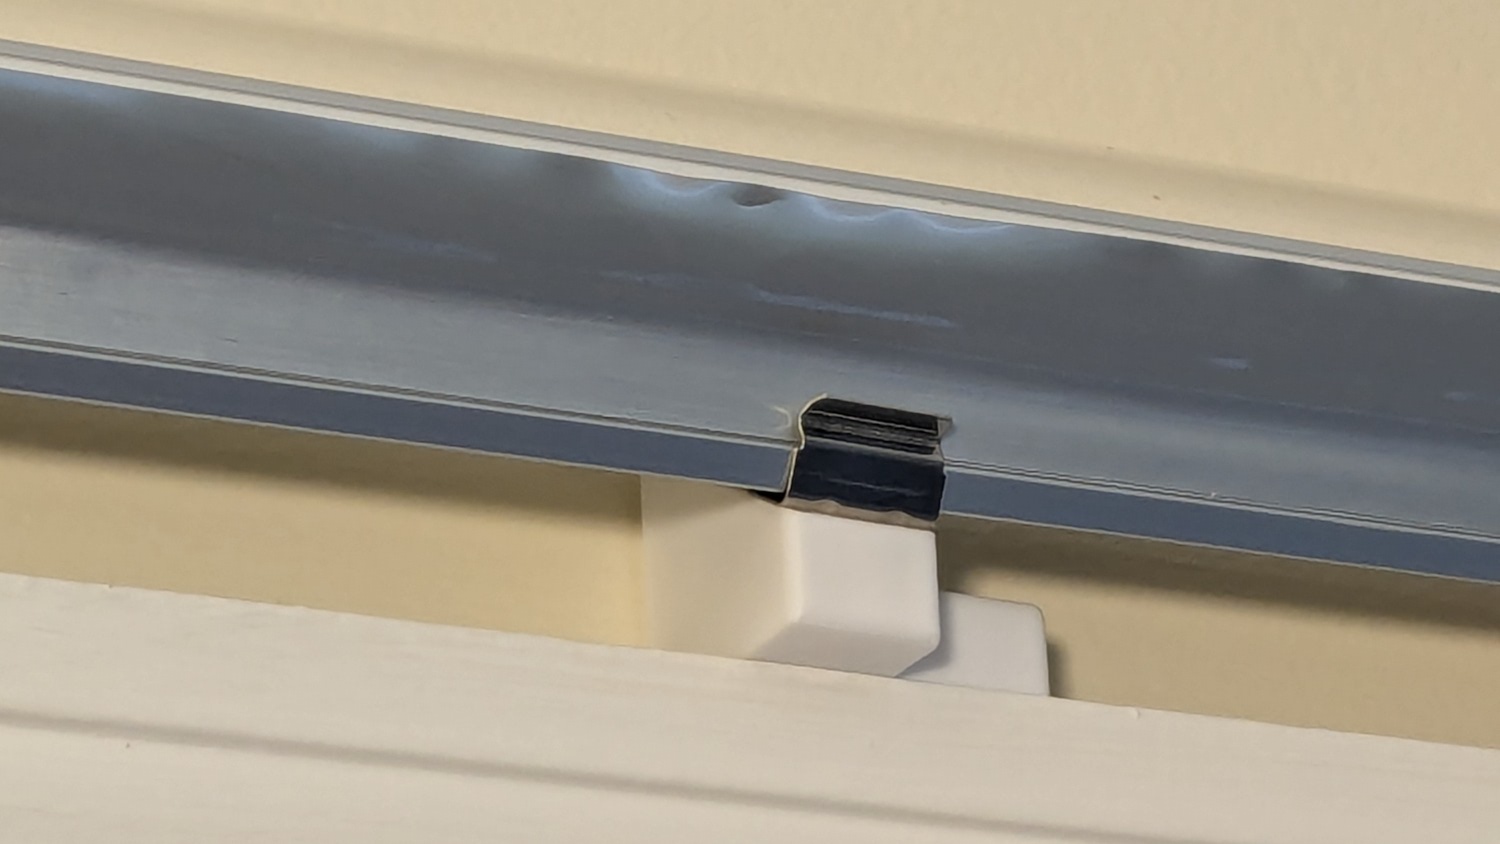
So I made another six, stuck on ⅞ inch strips of aluminized Mylar (cut from a bag in much better condition), and drilled holes where they can’t be seen:
LED strip light – moulding mount – installed
It’s almost too bright in there with 3 × 40 W of LED lights washing the wall and ceiling:
LED strip light – moulding mount – lit
I don’t like the cold 6000 K color temperature, but Mary doesn’t mind it. They fill the Sewing Table with shadowless / glareless light, although that kind of light makes the place look like a store.
I think moving the strip lower and away from the wall could hide the entire mount from view.
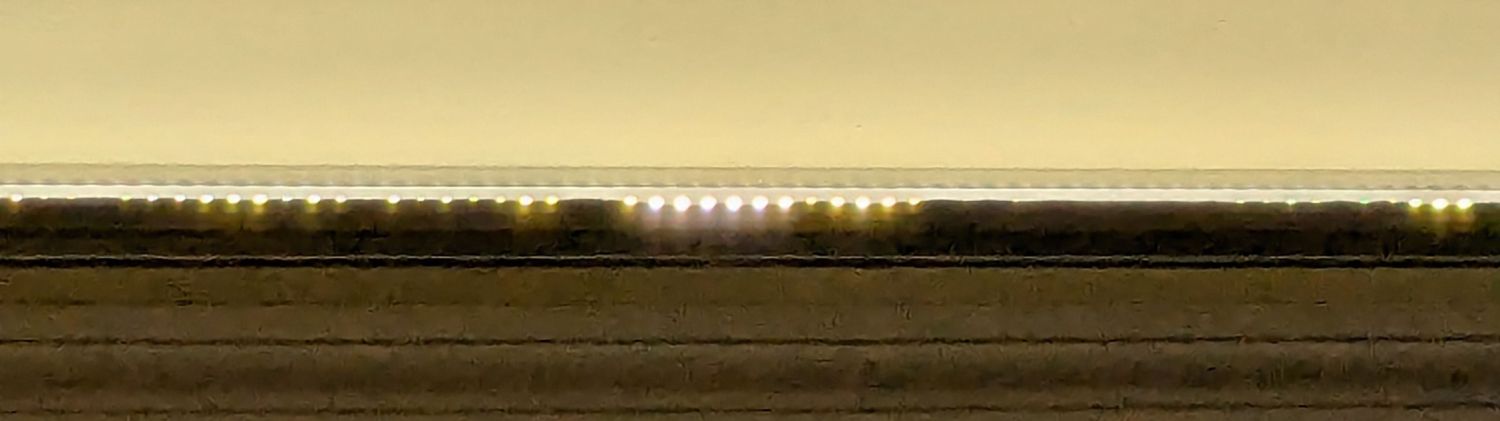
Contrary to what I expected, the Mylar reflectors must be at least an inch tall to avoid Baily’s Beads seen from across the room:
LED strip light – short reflector
With all that in mind, we’ll run these for a while to shake out any other improvements.
This file contains hidden or bidirectional Unicode text that may be interpreted or compiled differently than what appears below. To review, open the file in an editor that reveals hidden Unicode characters.
Learn more about bidirectional Unicode characters


