Ed Nisley's Blog: Shop notes, electronics, firmware, machinery, 3D printing, laser cuttery, and curiosities. Contents: 100% human thinking, 0% AI slop.
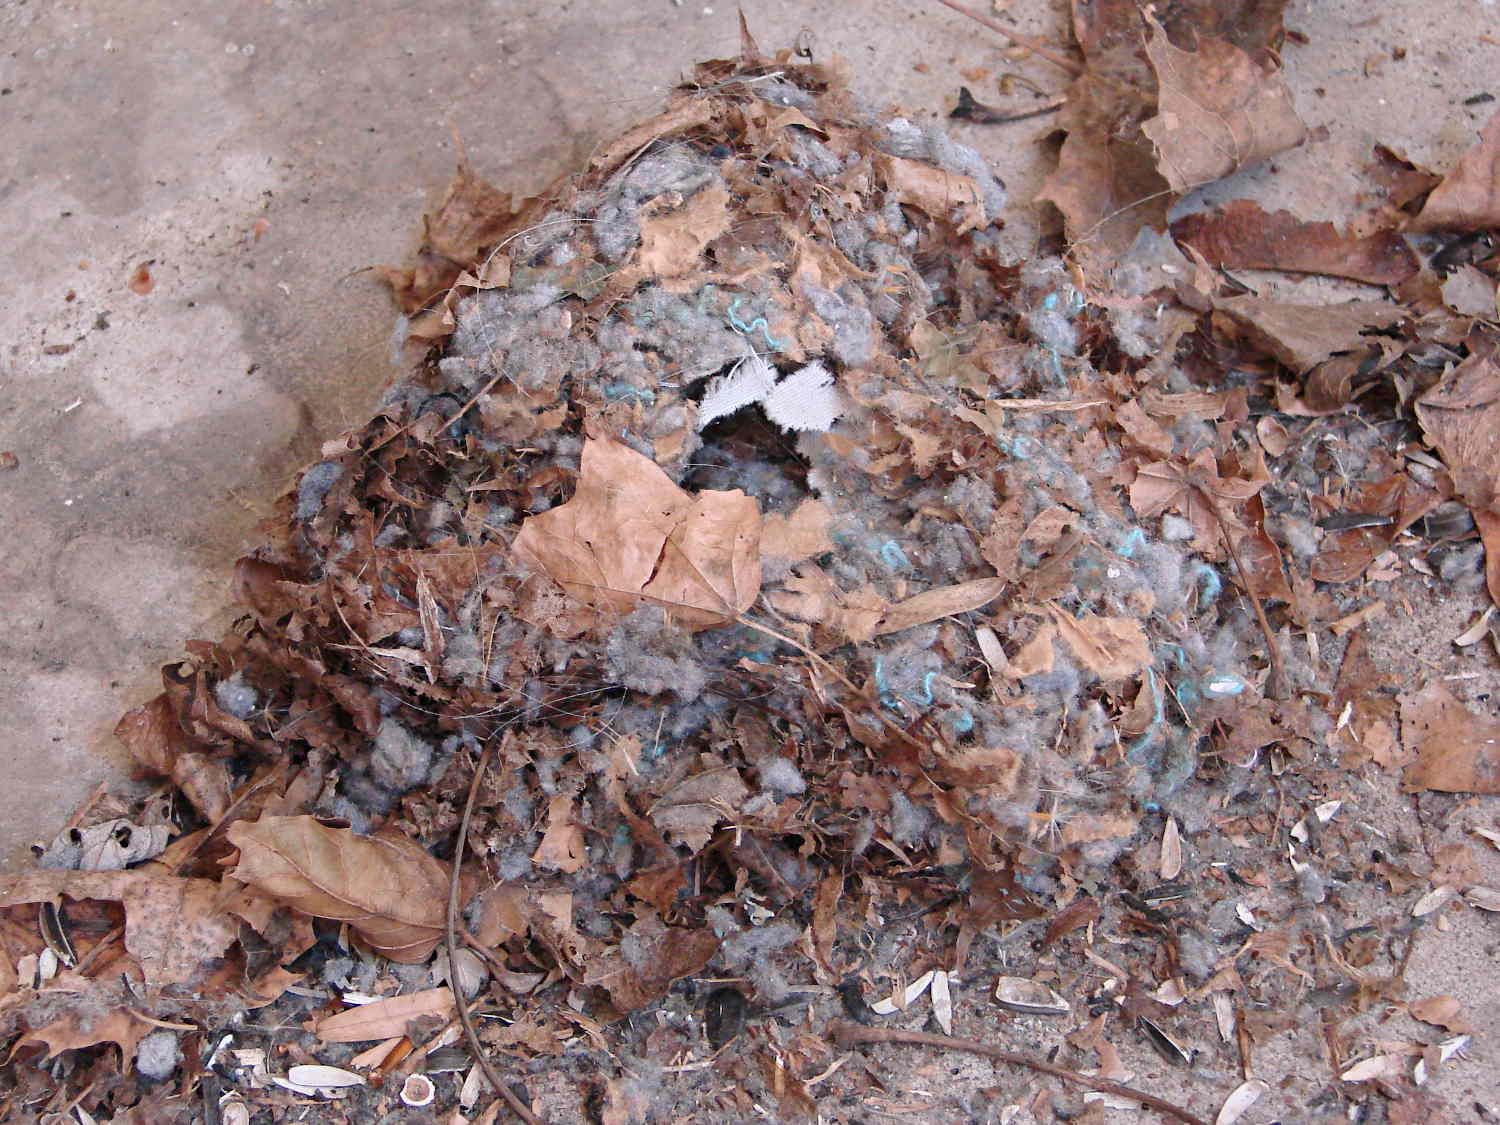
This year’s mouse survived the winter under the tool rack, perhaps due to living inside a well-insulated ball made from leaf fragments, dryer fuzz, and random stuff:
Insulated mouse nest – first look
The white fabric around the entrance is a nice touch and the blue threads certainly add a decorative flair. I eased the top surface back to show the interior, although the flash flattens the texture:
Insulated mouse nest – interior
With hawks hunting during the day and owls a-wing at night, the local rodent population has been taking a real beating; even the squirrels look worried.
Yeah, tanker boots and all; not the weirdest thing we saw during RIT’s graduation ceremonies.
This summer marks her fourth of four co-op semesters with Real Companies Doing Tech Stuff and her final classes end in December; RIT holds one ceremony in the spring and being offset by a semester apparently isn’t all that unusual. She (thinks she) has a job lined up after graduation and doesn’t need her doting father’s help.
But, hey, should you know someone with a way-cool opportunity (*) for a bright, fresh techie who’s increasingly able to build electronic & mechanical gadgets and make them work, drop me a note and I’ll put the two of you in touch. [grin]
(*) If that opportunity should involve 3D printed prosthetics with sensors and motors, she will crawl right out of your monitor…
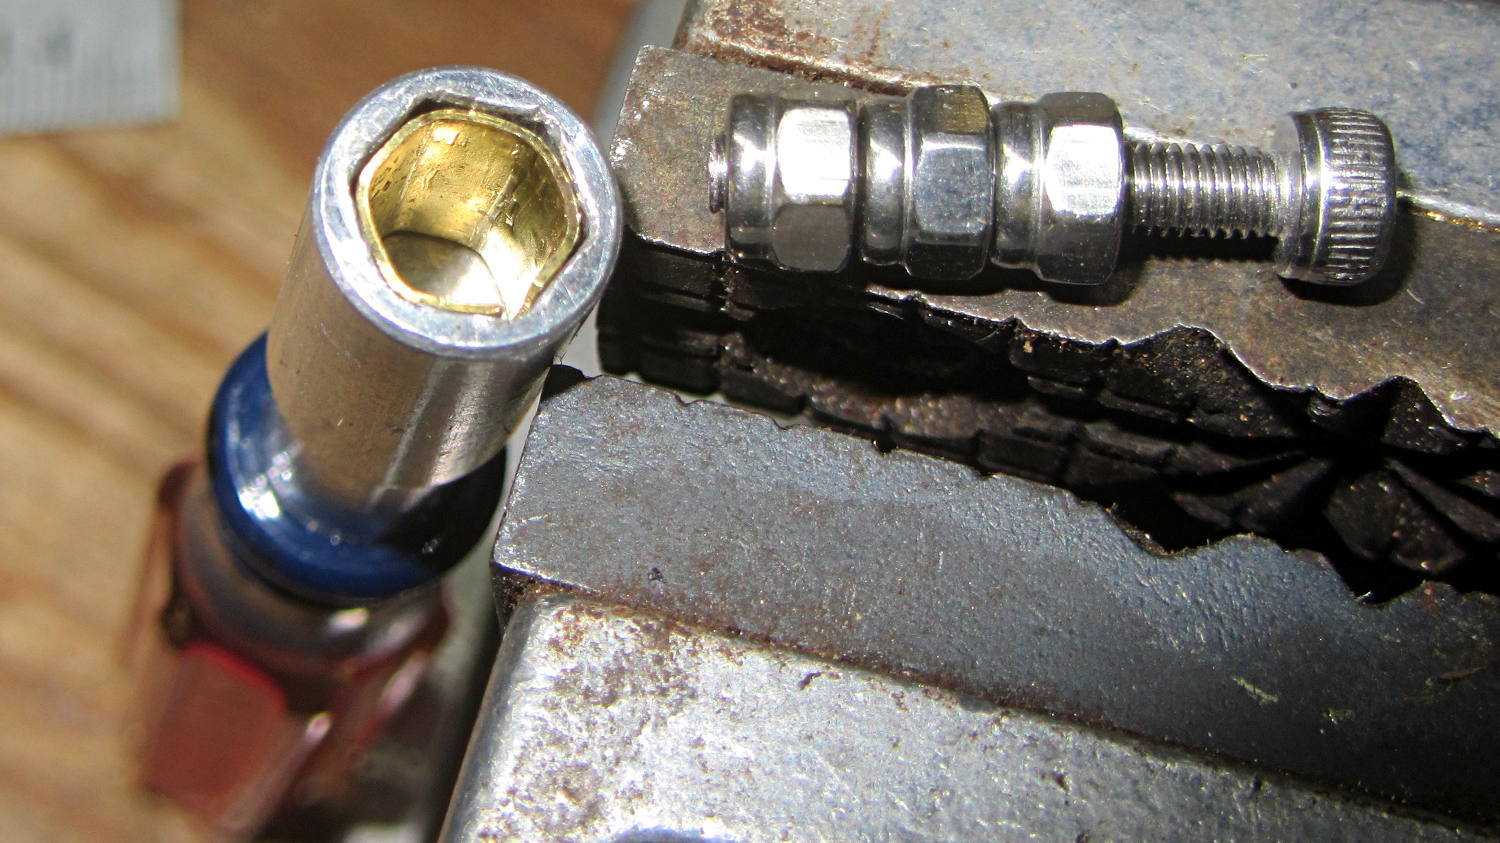
A tiny 1/4 inch hex driver handle appeared from the far reaches of a drawer, sporting a handle better suited for tweaking the 3 mm adjusting nuts on the bottom of the M2’s platform than applying actual torque to real fasteners. Rather than breaking a set of nut drivers, I made a simple brass shim to soak up the difference between the handle’s 6.5 mm ID hex and the 5.5 mm OD of the nuts:
Hex driver shim – installed
That’s 15 mil = 0.40 mm shimstock to leave enough clearance for my crude forming technique.
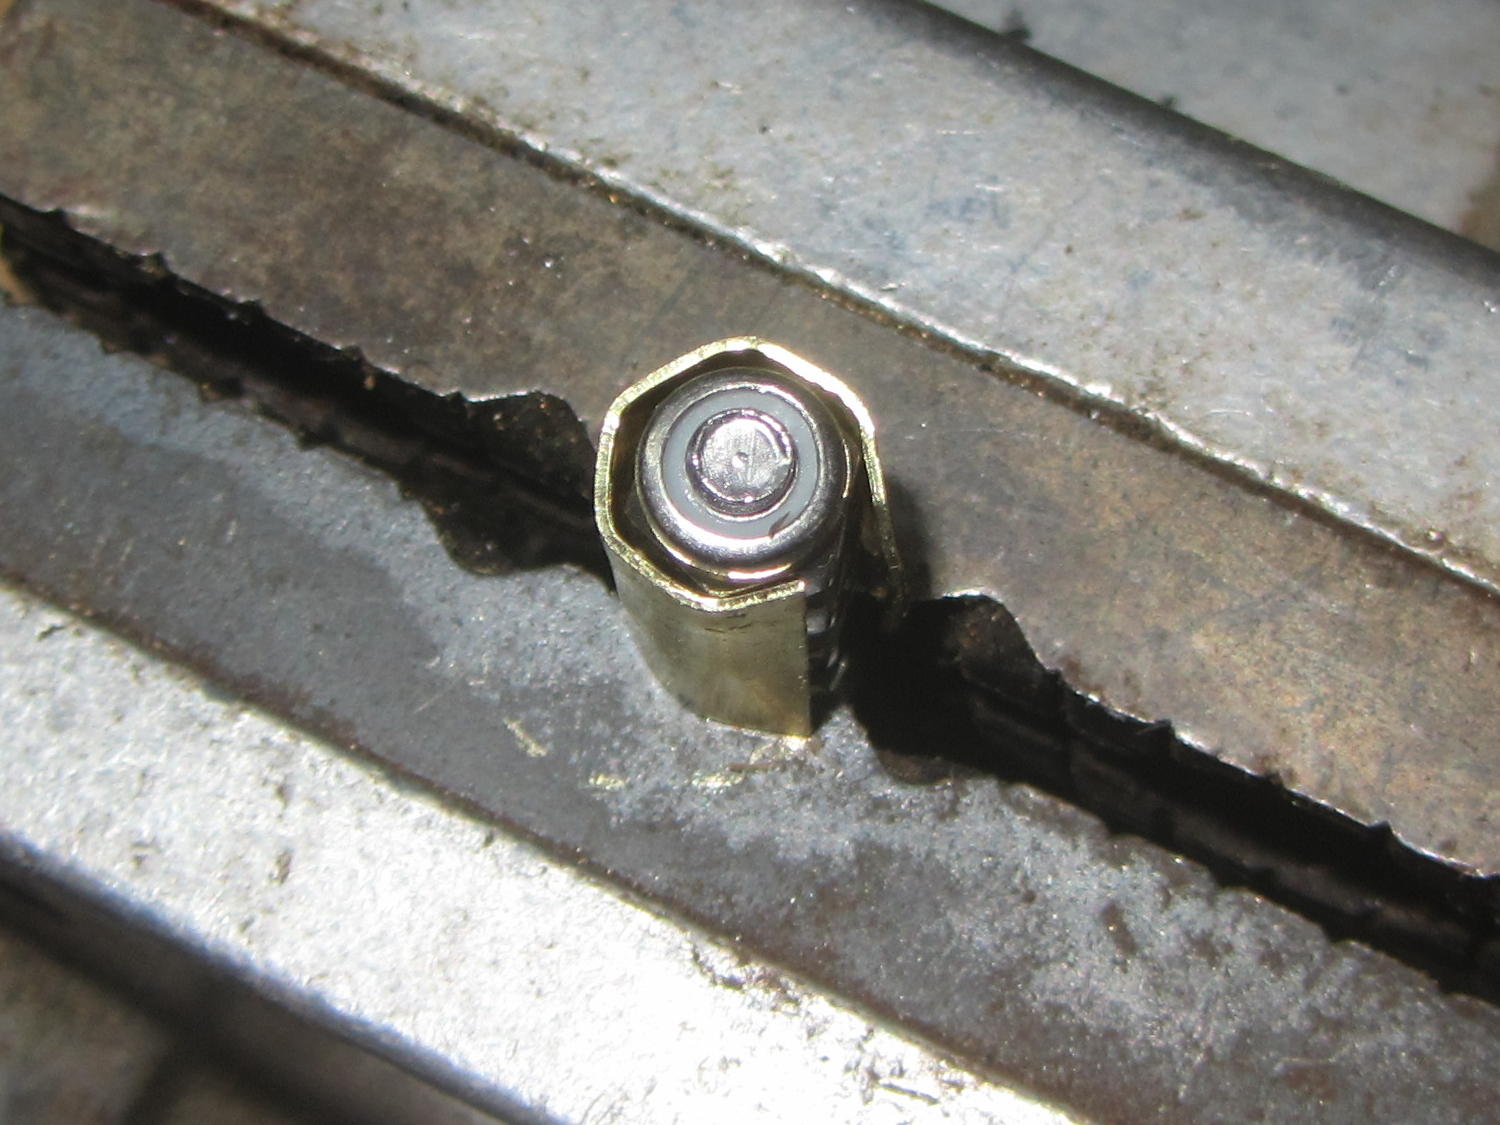
Which technique consisted of making a “mandrel” by lining up a trio of Nyloc nuts on a screw, snipping off a suitable shimstock rectangle, and squashing it into shape with parallel-jaw pliers:
Hex driver shim – forming
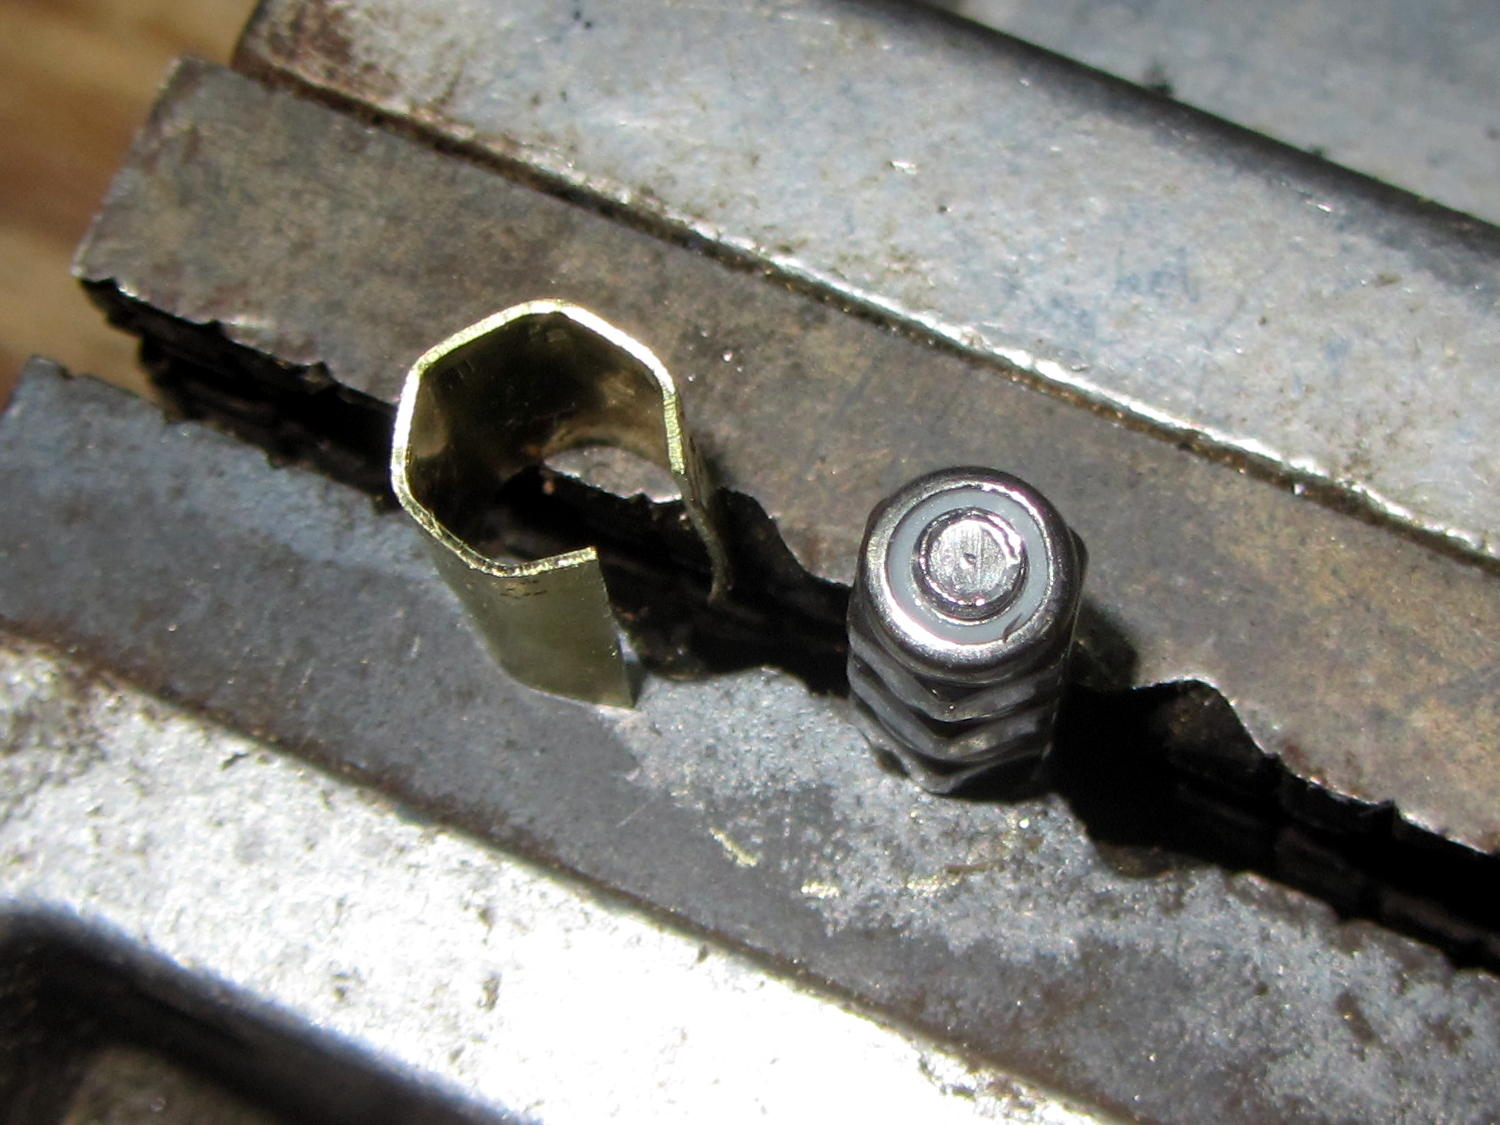
As you’d expect, the shimstock hex came out larger & uglier than the mandrel:
Hex driver shim – formed
But that doesn’t matter after it’s tucked inside the driver; it works perfectly.
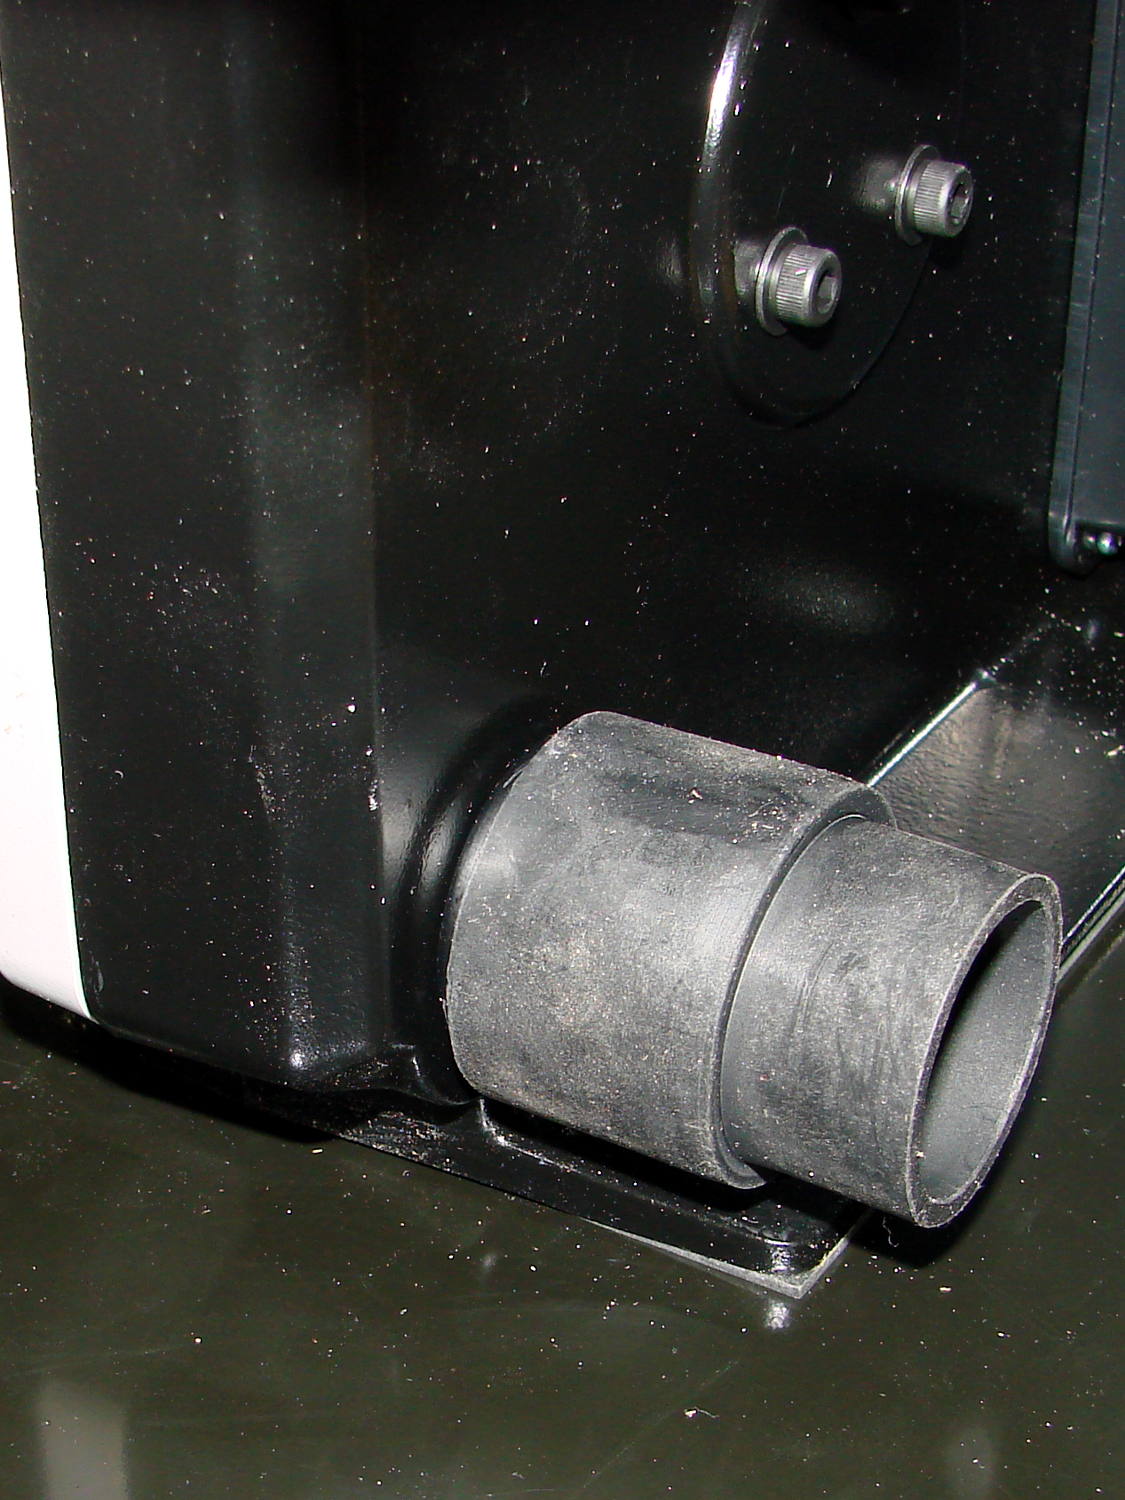
That’s the tank for the water-cooling option atop the housing, with the collection tray underneath. It’s screwed to a big wood plank; I’ll probably bench-mount the thing, but that’s stable enough for now.
The right-rear mounting screw hides below the dust collection vacuum port:
Micro-Mark Bandsaw – vacuum fitting
You must remove the metal fitting that’s screwed to the frame in the obvious manner:
Micro-Mark Bandsaw – right rear screw – installed
The slowest speed runs a bit faster than I’d like, but I admit to being a sissy.
The 14 tpi blade cuts wood just fine:
Micro-Mark Bandsaw – first cut
The 24 tpi blades should chop up the smaller chunks I generally work with around here.
Bonus: the blade guide just barely clears my huge block of machinable wax.
I bought a 2 inch Micro-Mark Mini Miter / Cut-off Saw to cut screws & brass tubing, in the hopes that it would be somewhat better than the essentially equivalent Harbor Freight offering. I think that’s true, but it’s a near thing.
Apparently, the saws all come from the same factory with the same bass-ackwards vise:
Micro-Mark Cutoff Saw – vise side view
The V-groove should be on the fixed jaw, where it would more-or-less precisely align rods / cylinders with the blade. The moveable jaw isn’t dovetailed to the base of the vise, so it ends up wherever it stops and, somehow, they managed to machine the end of the screw shaft off-center from the shaft, so the moveable jaw moves in a small circle as you tighten it.
A small punch mark locks the jaw to the screw; you can pull the disk on the shaft past the indentation by turning the knob with sufficient enthusiasm:
Micro-Mark Cutoff Saw – clamp jaw detail
The hole in the vise, just under the disk, lets somebody whack the jaw with a punch.
Some machining or an entirely new vise setup lies in the future of this thing.
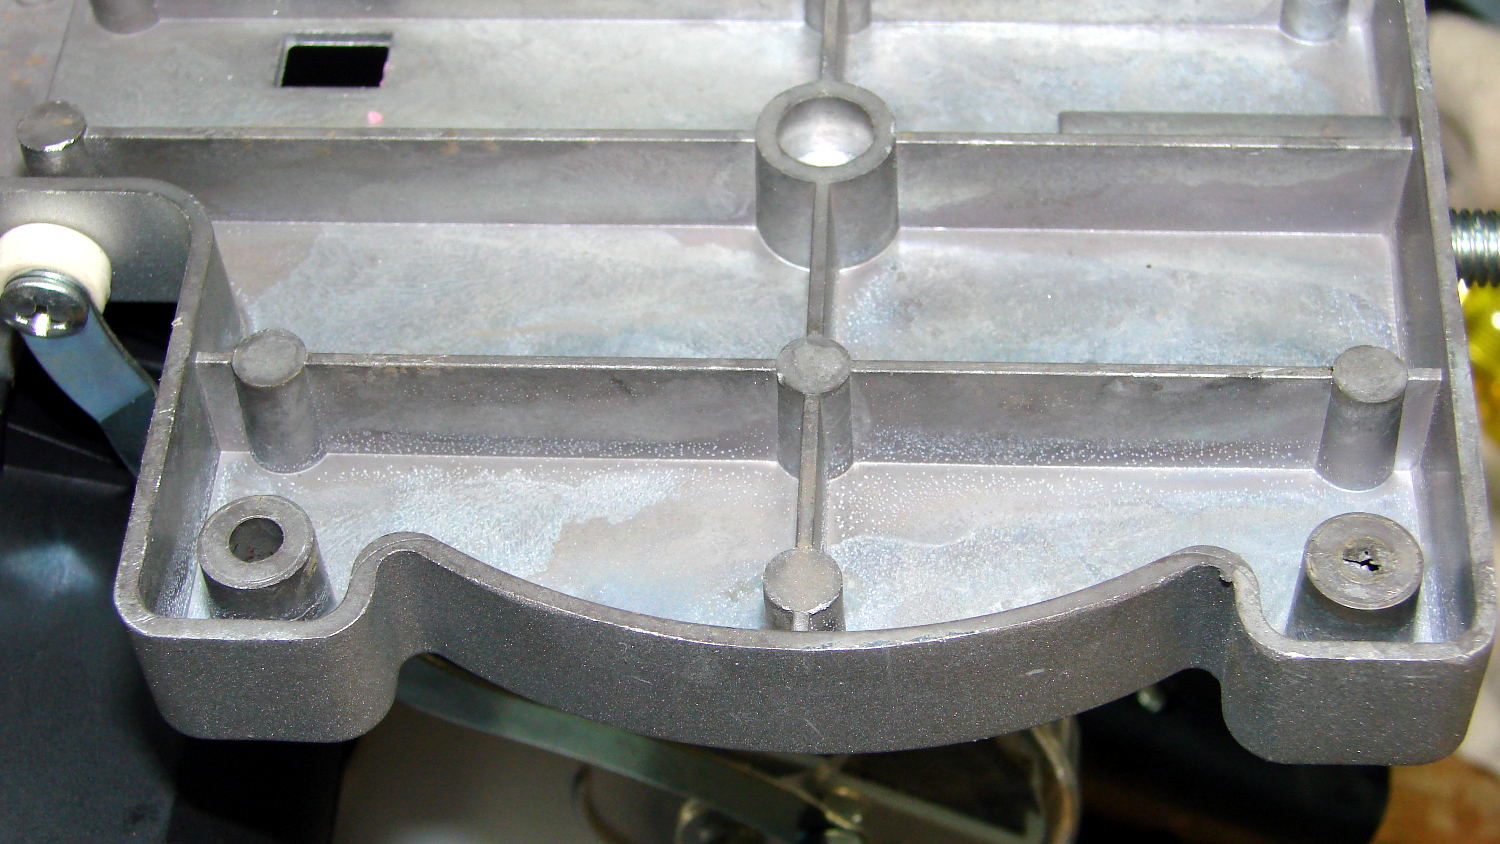
I mounted it on a scrap of countertop by transfer-punching the base holes, only to discover that the punch didn’t leave a mark for one hole, even though a dent was clearly visible at the bottom of the hole with the saw on the countertop.
A bit of headscratching later:
Micro-Mark Cutoff Saw – unfinished casting hole
Apparently the core for that hole in the injection mold didn’t seat quite right. The layer was thin enough to drill out easily.
One of the motel’s TV channels offered this diversion:
Fedora console on motel TV
Alas, no combination of keys on the overly complex remote fed themselves to tty1. That didn’t surprise me, but ya gotta try, y’know.
Contrary to what you might think, that’s a well-focused image. Apparently, someone, somewhere, aimed a crappy camera at a monitor and devoted one video input to the result.
Returning from Rochester & Points North, I spotted something in the rearview mirror that could have been either a Yellow Submarine or a storage tank. As whatever it was got closer, the view got weirder:
Bears on I-87 – approaching
Huh. Who’d’a thunk it?
Bears on I-87 – passing
A stiff crosswind pushed them all over the lane:
Bears on I-87
I hope they arrived at their destination with the shiny side up and the rubber side down.