The Smell of Molten Projects in the Morning

Ed Nisley's Blog: Shop notes, electronics, firmware, machinery, 3D printing, laser cuttery, and curiosities. Contents: 100% human thinking, 0% AI slop.

Author: Ed

  • SRAM Shift Indicator Repair: Polypropylene Sheet

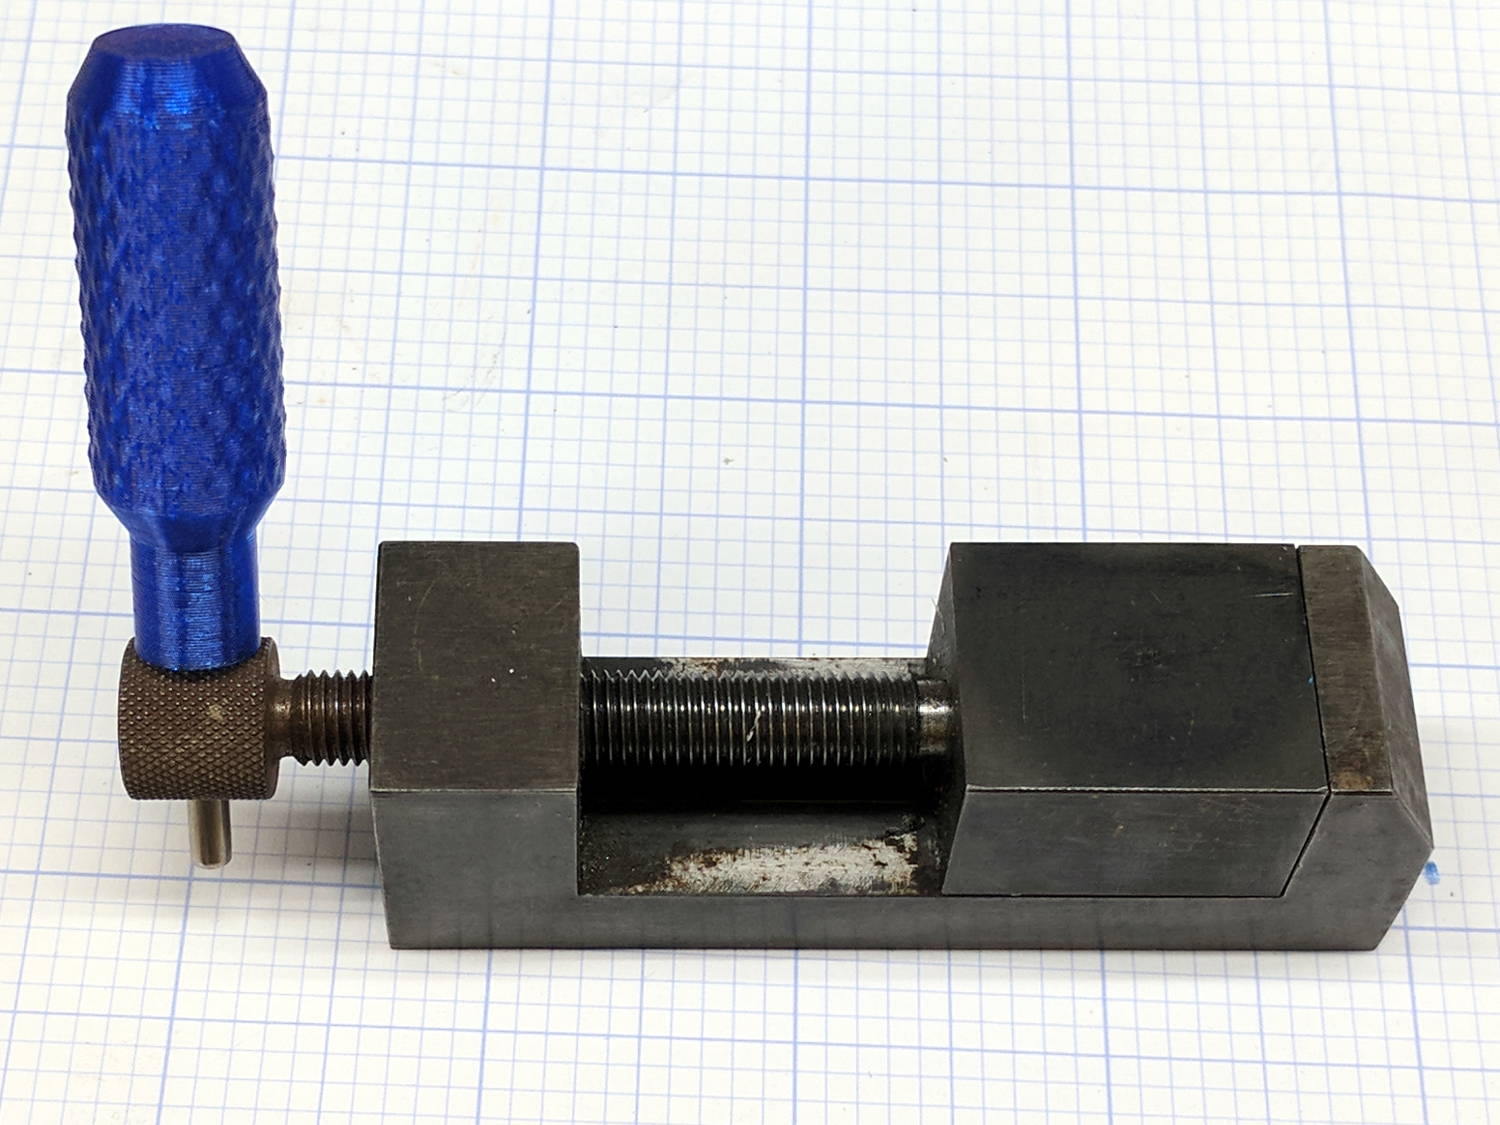
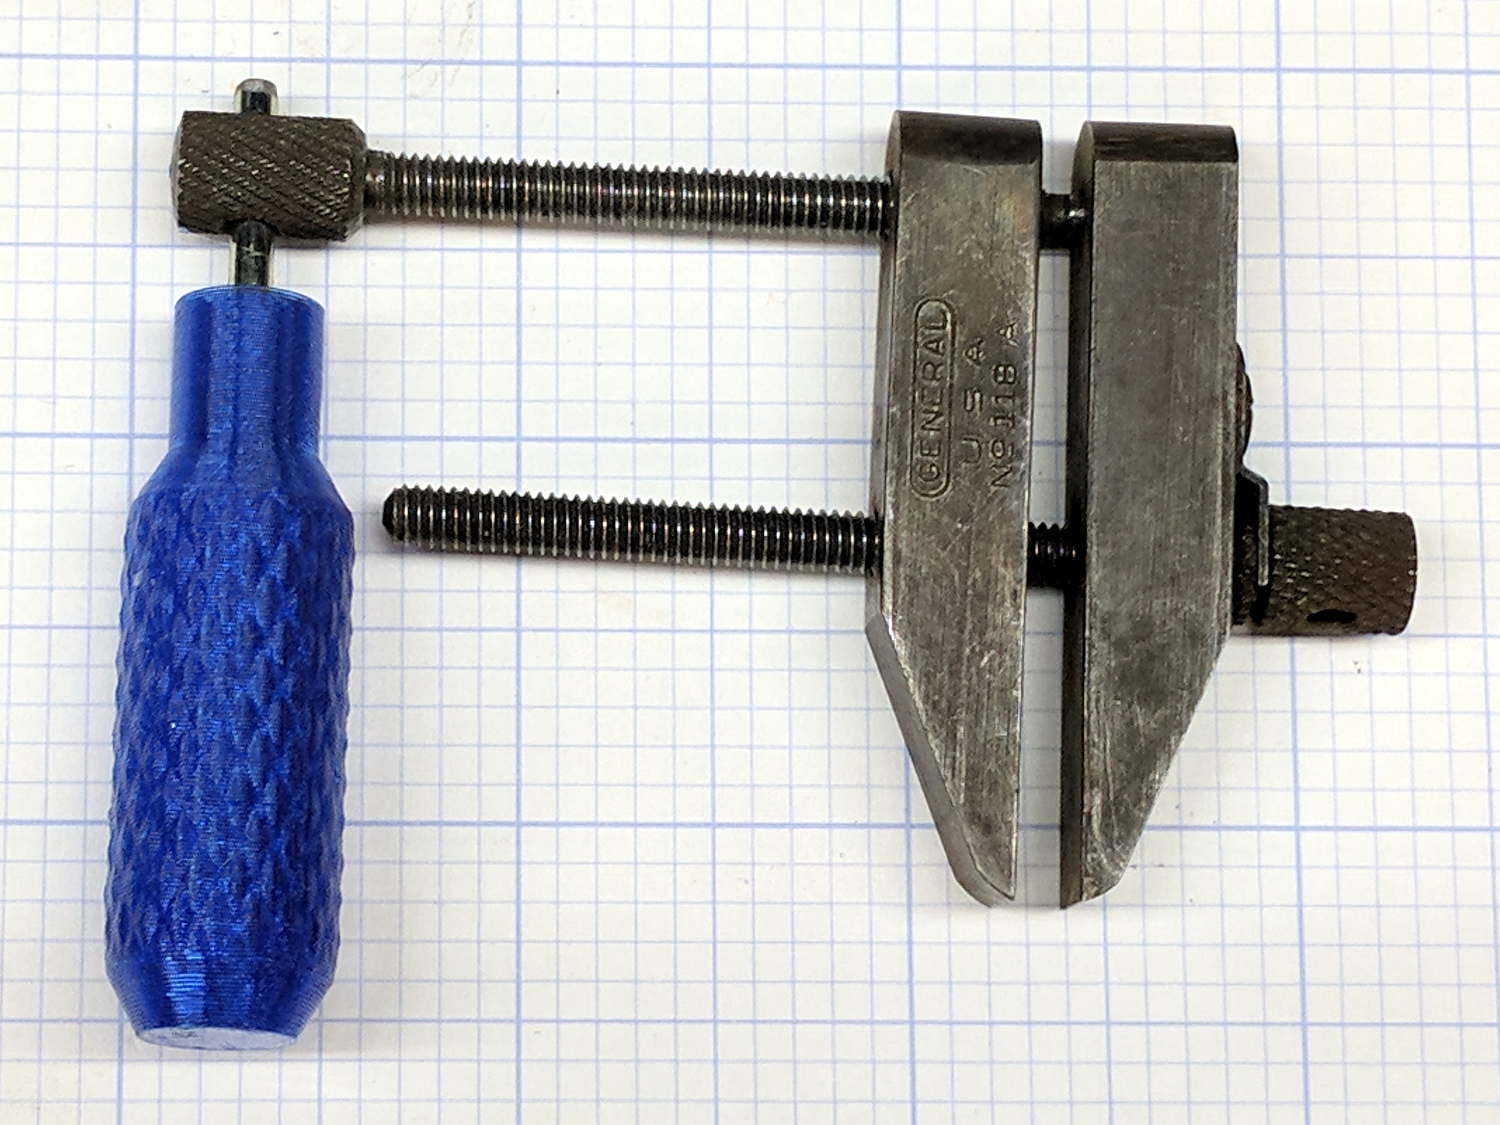
    Over the course of a few weeks, both of the indicators in the SRAM grip shifters on my bike snapped off. Having recently touched my parallel jaw clamp assortment, it occurred to me I could mold snippets of polypropylene sheet (saved from random clamshell packages for just such a purpose) around the nose of a clamp and come out pretty close to the final shape:

    SRAM Shift Indicator - shaped replacements
    SRAM Shift Indicator – shaped replacements

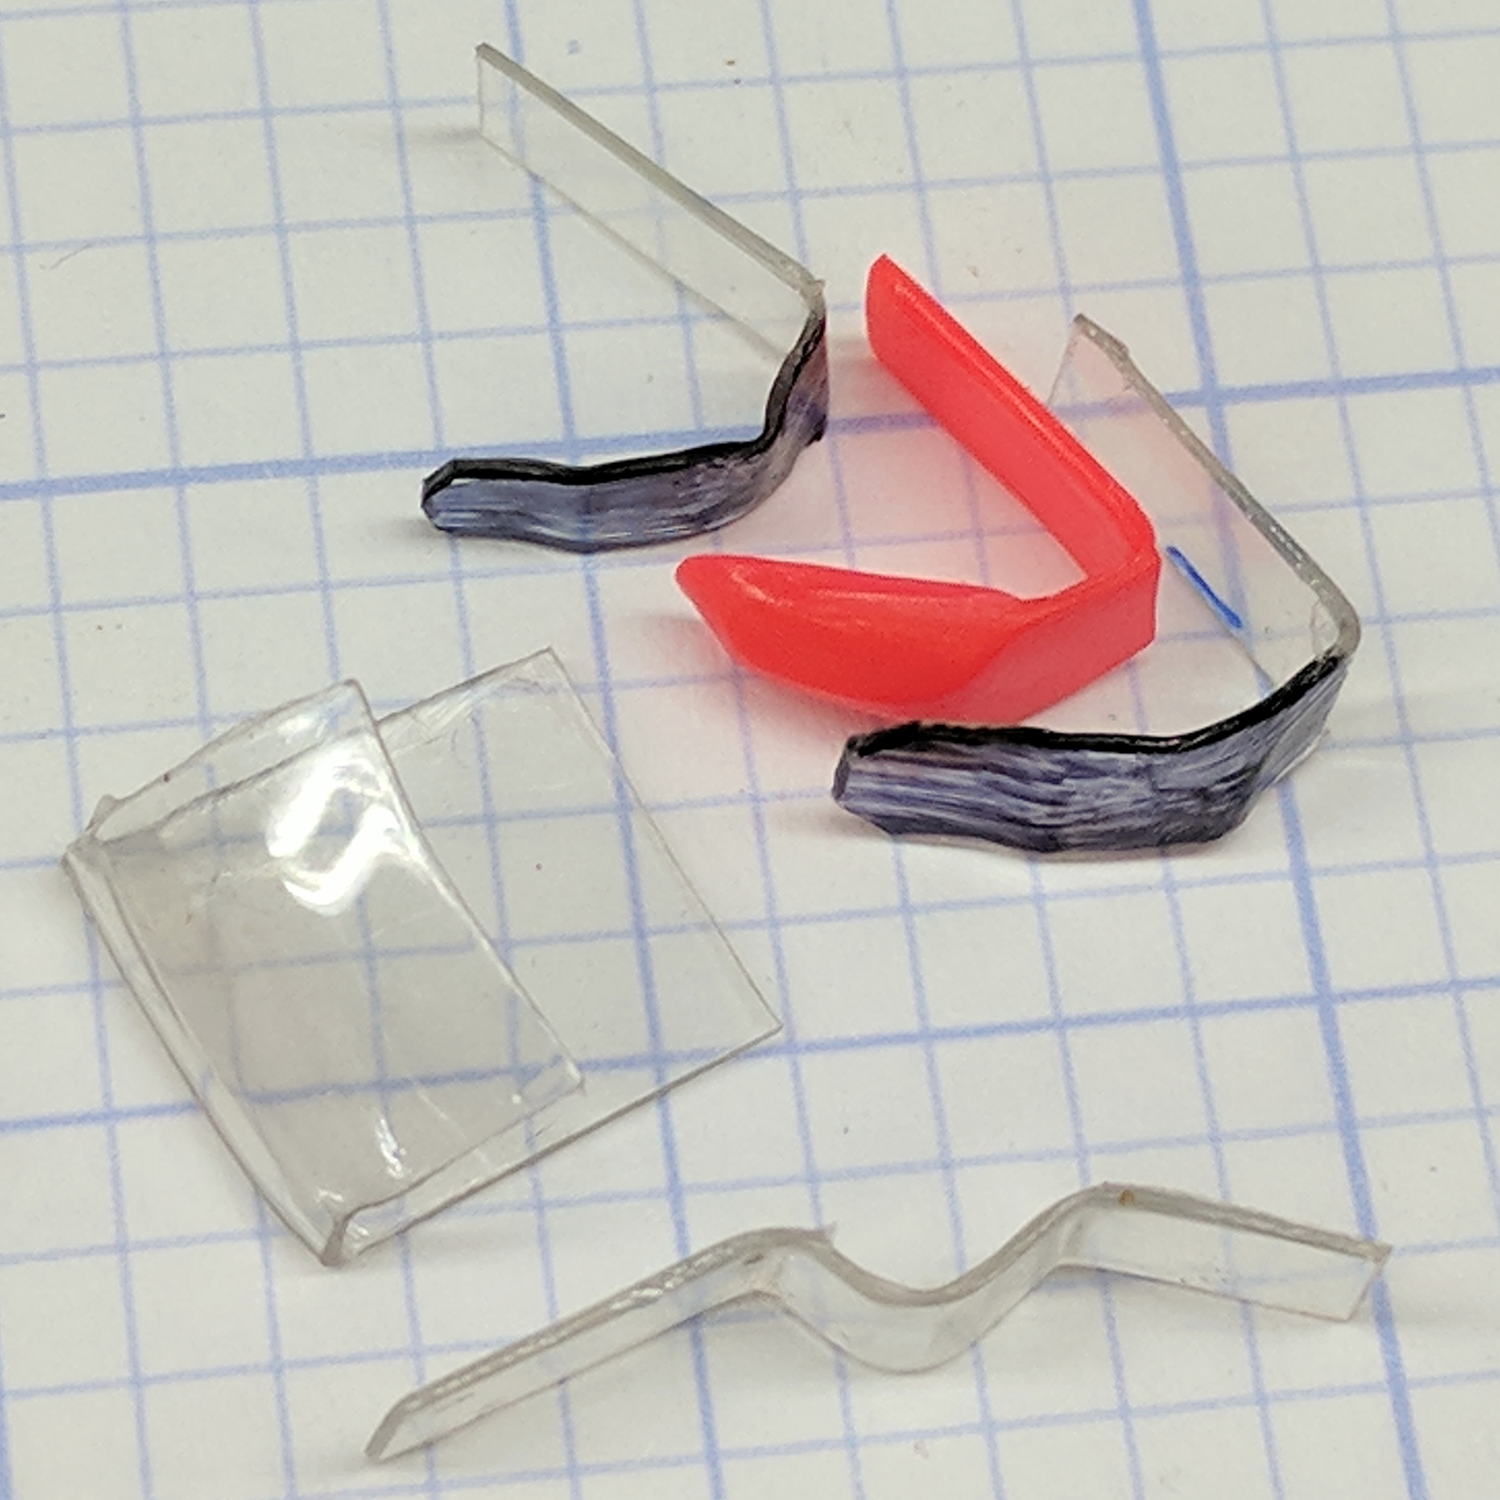
    A hot air gun set on LOW and held a foot away softened the polypro enough so a gloved thumb could squash it against the jaw. Too much heat shrinks the sheet into a blob, too little heat lets the sheet spring back to its original shape.

    The flat tab of the original indicator is about 1 mm thick. I found a package of 47 mil = 1.2 mm sheet with one nice right-angle bend and ran with it.

    Because I expect sunlight will fade any color other than black, that’s the Sharpie I applied.

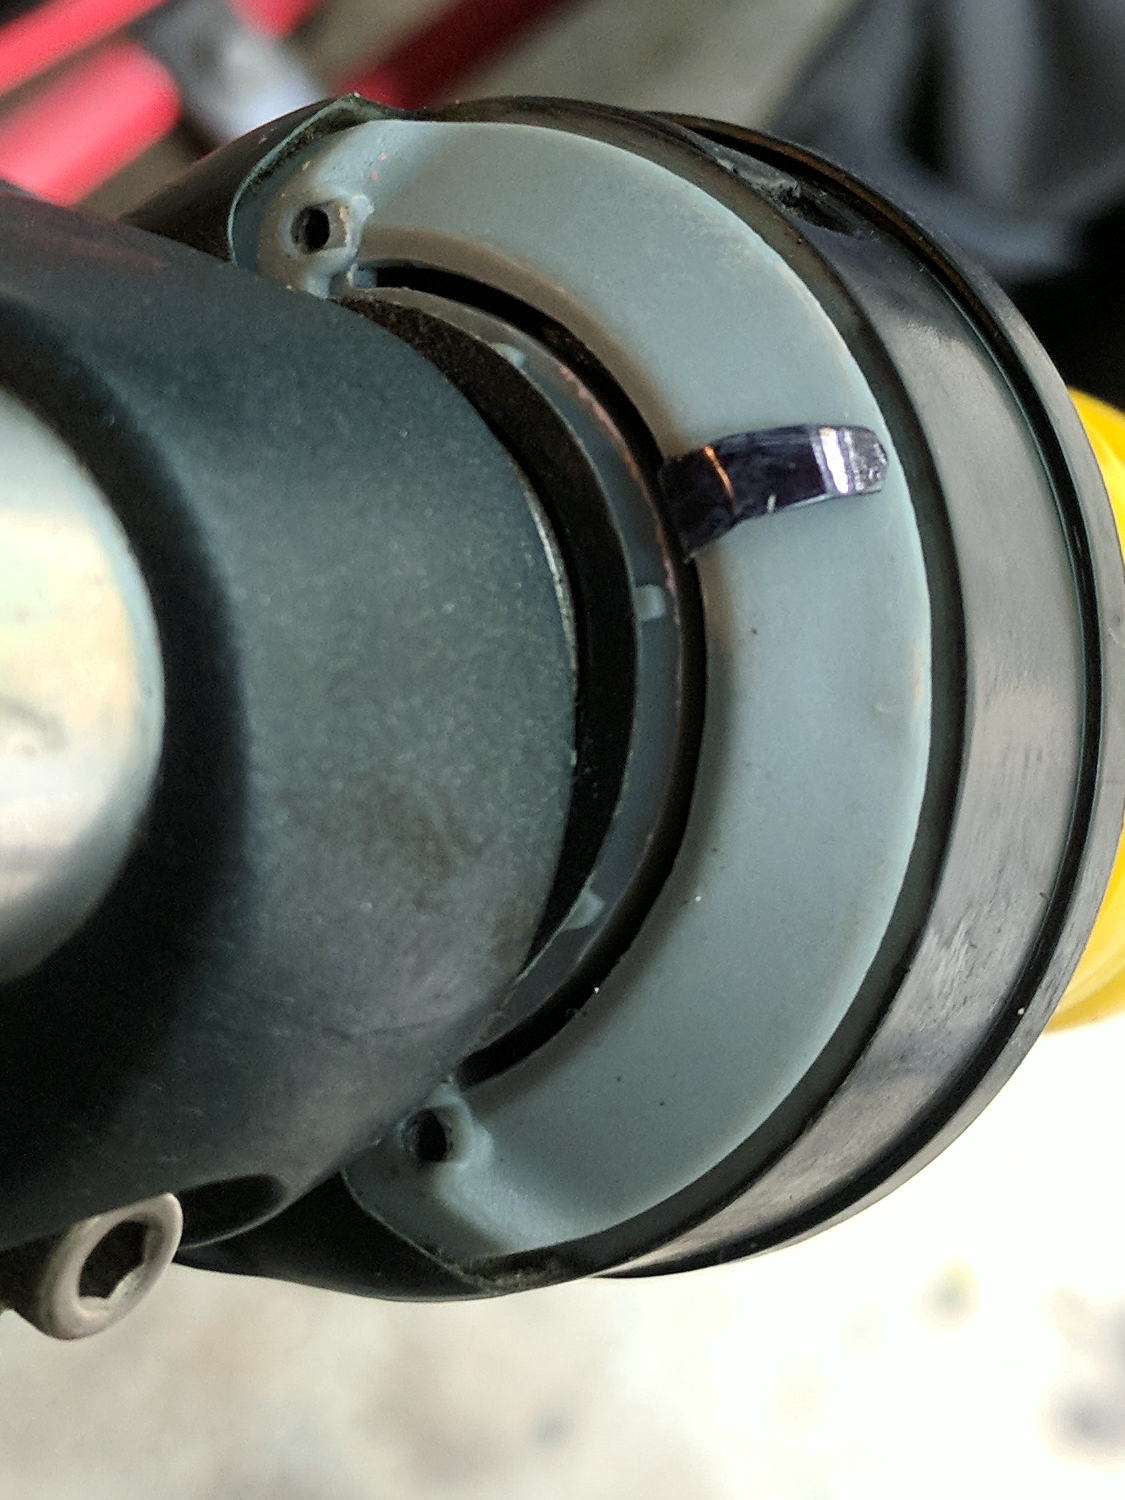
    They don’t look as awful as you might expect. The rear shifter, minus the cover:

    SRAM Shift Indicator - rear detail
    SRAM Shift Indicator – rear detail

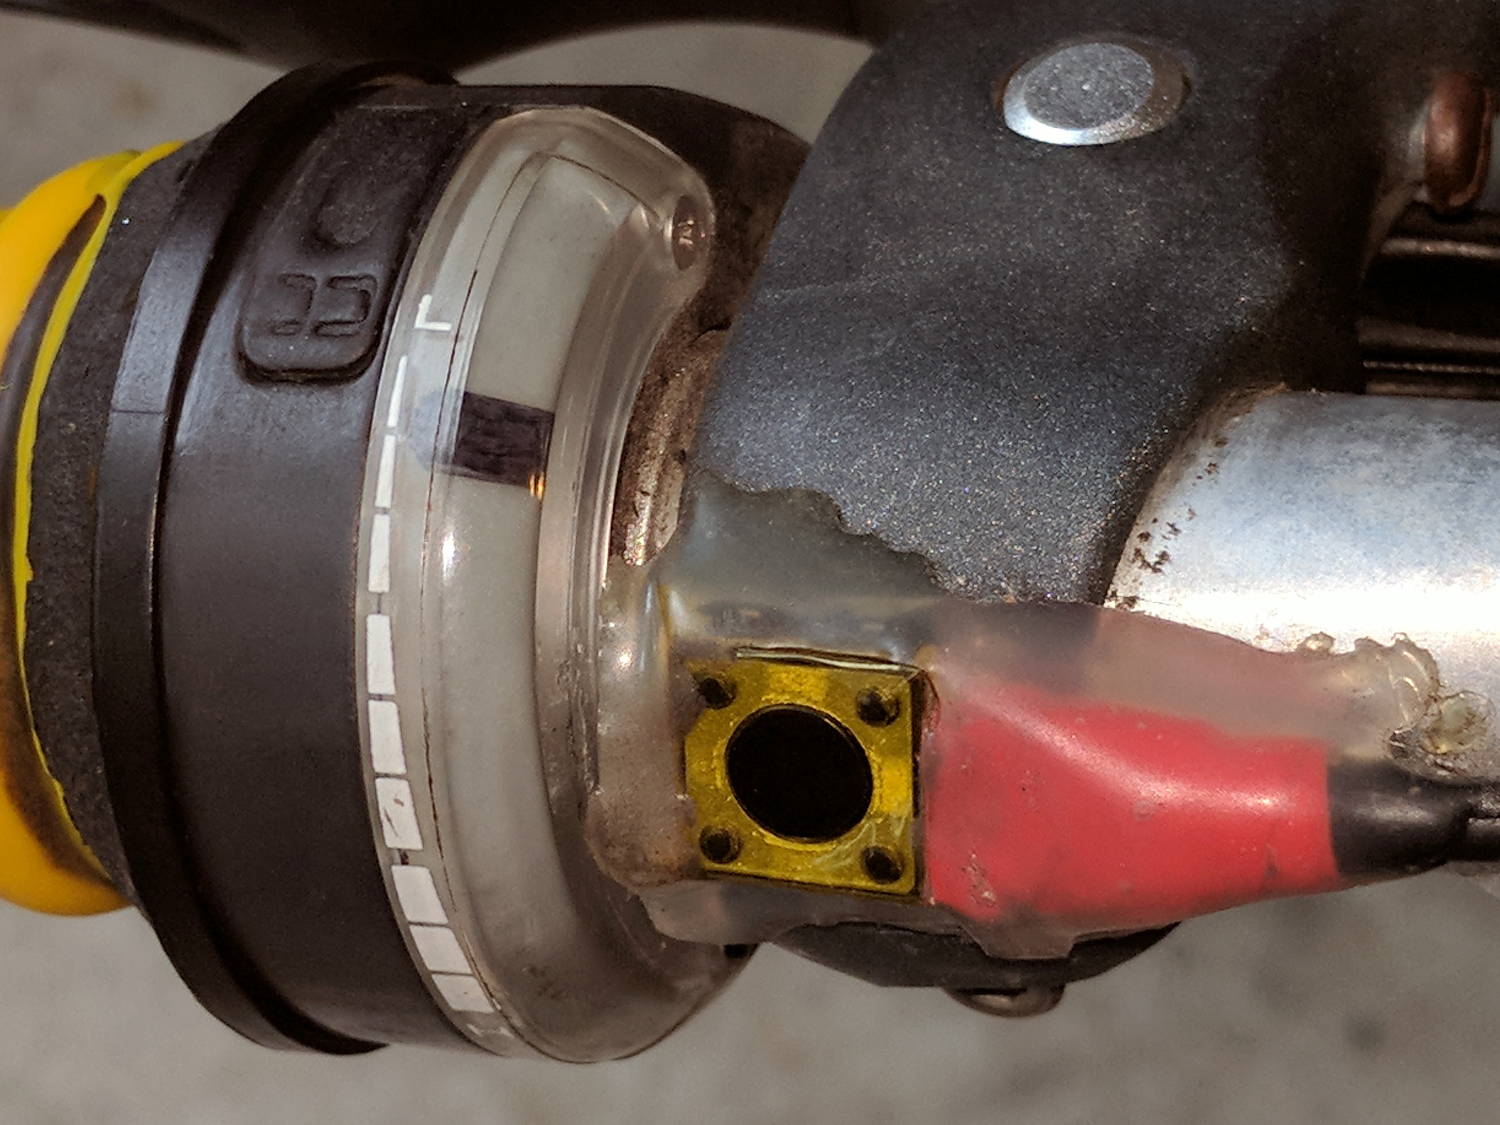
    The front shifter, with cover installed and HT PTT button below the still-good Kapton tape:

    SRAM Shift Indicator - front assembled
    SRAM Shift Indicator – front assembled

    The transparent covers press the OEM indicators down and do the same for my homebrew tabs. I expect the Sharpie will wear quickly at those contact points; next time, I should tint the other side.

    They’re rather subtle, I’ll grant you that.

    Now, to see if they survive long enough to make the worry about a brighter color fading away a real problem…

  • More Tommy Bar Handles

    Having used a nail for far too long, this is a definite step up for my machinist vises:

    Tommy Bar - machinist vise
    Tommy Bar – machinist vise

    The vise knob has a hole just barely passing a length of 3.4 mm = 9/64 inch mild steel rod from the Small Box o’ Cutoffs.

    While I was at it, I made a handle for the parallel jaw clamps:

    Tommy Bar - parallel jaw clamp
    Tommy Bar – parallel jaw clamp

    Those knobs pass a 3.0 mm = 1/8 inch rod, similarly sourced. Inexplicably, one clamp expected no more than a 7/64 inch rod; a brief introduction to Mr Drill Press persuaded it concerning the error of its ways.

    I should have made the handles distinctively different, because they’ll get mixed up in the box of vises & clamps. Next time, fer shure!

    The Tommy Bar handles use the same solid model as the Sherline Tommy Bars, with hole diameters as noted. Cyan PETG is definitely easier on the eye than red PLA, although it does fade into the background clutter around here.

  • Epson R380 Continuous Ink Supply: Tubing Failure

    After 4.5 years, one of the silicone tubes on the Epson R380’s continuous ink supply system broke:

    Epson R380 - broken CISS tube
    Epson R380 – broken CISS tube

    The yellow smudges in front of the tubing clamp and across the top suggest the total mess lying in wait between the cartridges. Donning my shop apron and wielding damp paper towels cleaned things up well enough.

    I cut through all the tubes a few inches back from the clamp, pulled the stubs off the elbow connectors, reinstalled the fresh ends, and re-repaired the clamp with a new cable tie:

    Epson R38 - CISS tubes
    Epson R38 – CISS tubes

    Although the failing yellow supply surely contributed to the problem, the printhead seems to be on its last legs after nearly nine years. IIRC, I got the printer for $15 after rebate, spent maybe four times that on CISS tanks, and perhaps $200 on good-quality ink in pint bottles, it doesn’t owe me much.

    Maybe I shouldn’t buy ink in pint bottles any more.

  • Glass vs. Epoxy: Divot!

    The WS2812 RGB LED atop the Bowl of Fire Floodlight

    Reflector floodlight - purple phase
    Reflector floodlight – purple phase

    failed in the usual way after a bit over a year of constant use.

    I’d done an unusually good job of epoxying the ersatz heatsink in place:

    Reflector floodlight - finned LED holder
    Reflector floodlight – finned LED holder

    I wrapped the bulb in a towel with only the heatsink sticking out, whacked the side of the heatsink parallel to the glass with a plastic-face hammer, and it popped right off:

    Epoxy vs glass - divot
    Epoxy vs glass – divot

    The missing piece of the epoxy ring turned out to be a divot ripped out of the glass, which I didn’t notice until I’d chipped the fragment off the aluminum, so no pictures.

    Given the relative strengths of epoxy and glass, pulling a divot seems impossible, but folks doing 3D printing on glass platforms have been reporting exactly that failure for years. The prevailing theory seems to involve small scratches and defects in the glass surface, with subsequent weakening, and stresses applied to the epoxy perpendicular to the glass surface pulling the cracks apart.

    Replacing the RGB LED will require drilling it out and probably a complete rewiring, because I seem to have made liberal use of epoxy inside the heatsink and brass tube.

  • Pure Matte Black the Hard Way

    The best way to get a pure, non-reflective black uses optics, not pigments:

    Matte black blade edges
    Matte black blade edges

    The shiny steel blades reflect light just fine, but the reflections have no way back out of the gap between adjacent edges: the angle of reflection always points away from you and the incoming light.

    I always admire the blackness when I open that box.

    Yes, I’m a member of the Society of the Easily Amused.

  • Sunglass Earpiece Trimming

    Mary doesn’t like wearing the wrap-around-her-head earpieces found on sunglasses these days under her bicycle helmet, so I must trim them to fit:

    Sunglass earpiece trim
    Sunglass earpiece trim

    Perhaps I won’t need an old pair to prepare the next set: a scant four inches from the hinge.

  • Amateur Lock Picking

    For reasons not relevant here, I was called upon to open a bulletin-board lock with a complete lack of keys:

    Bulletin Board Lock - locked
    Bulletin Board Lock – locked

    It’s obviously not the highest security lock you’ve ever seen. Armed with a small screwdriver and an old darning needle, this took the better part of 30 seconds:

    Bulletin Board Lock - opened
    Bulletin Board Lock – opened

    Actually, I devoted a few minutes to verify none of my collection of random keys would suffice.

    Replacing the lock not being within my remit, I improvised a simple retainer from available materials:

    Bulletin Board Lock - improvised strap retainer - front
    Bulletin Board Lock – improvised strap retainer – front

    Yes, the nylon cable tie will surely pull out of the latch:

    Bulletin Board Lock - improvised strap retainer
    Bulletin Board Lock – improvised strap retainer

    And I admit the installation’s security has taken a definite downward step:

    Bulletin Board Lock - push pin security
    Bulletin Board Lock – push pin security

    Some day, I’ll tote a wrench to the site, remove the lock, and improve the improvisation.

    Replacing the lock seems mired in an intractable budgetary wrangle. Similar locks being five bucks on Amazon, I’m tempted to just make it happen, but doing so would apparently roil the decision-making stratum. I’m perfectly happy to remain an on-call techie devoid of political ambition.