Ed Nisley's Blog: Shop notes, electronics, firmware, machinery, 3D printing, laser cuttery, and curiosities. Contents: 100% human thinking, 0% AI slop.
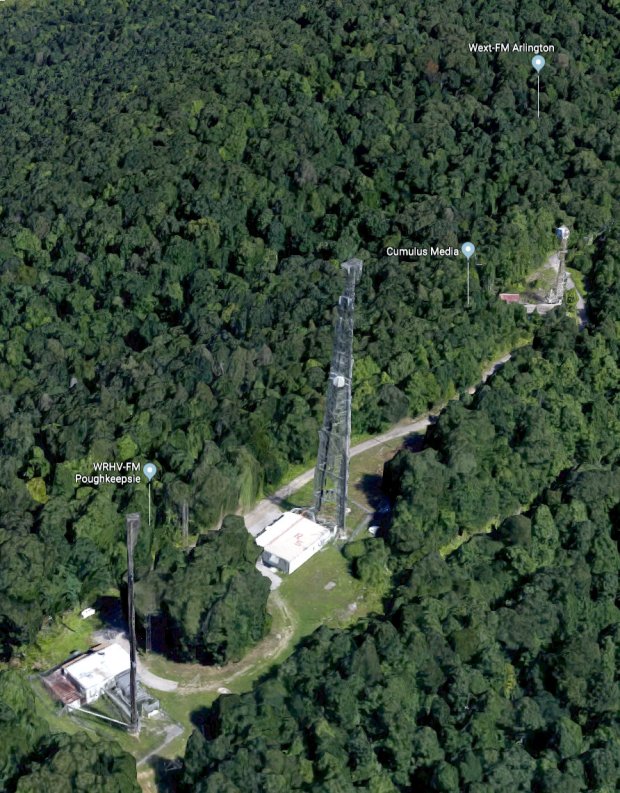
The Baofeng UV-5R radios on our bikes seem absurdly sensitive to intermodulation interference, particularly on rides across the Walkway Over the Hudson, which has a glorious view of the repeaters and paging transmitters atop Illinois Mountain:
Walkway Over The Hudson – Illinois Mountain Antennas
A better view of the assortment on the right:
Illinois Mountain – North Antennas
And on the left:
Illinois Mountain – South Antennas
Not shown: the Sheriff’s Office transmitter behind us on the left and the Vassar Brothers Hospital / MidHudson pagers on either side at eye level. There’s plenty of RFI boresighted on the Walkway.
Anyhow, none of the Baofeng squelch settings had any effect, which turned out to be a known problem. The default range VHF covered a whopping 6 dB and the UHF wasn’t much better at 18 dB, both at very low RF power levels.
We use the radios in simplex mode, generally within line of sight, so I changed the Service Settings to get really aggressive squelch:
Baofeng UV-5R – Improved Squelch Settings
I have no way to calibrate the new signal levels, but I’d previously cranked the squelch up to 9 (it doesn’t go any higher) and, left unchanged, the new level makes all the previous interference Go Away™. Another ride over the Walkway with the squelch set to 4 also passed in blissful silence.
If the BF-F9 levels mean anything on a UV-5R, that’s about -100 dBm, 20 dB over the previous -120 dBm at squelch = 9.
The new squelch levels may be too tight for any other use, which doesn’t matter for these radios. As of now, our rides are quiet.
[Update: Setting the squelch to 5 may be necessary for the Walkway, as we both heard a few squawks and bleeps while riding eastbound on a Monday afternoon. ]
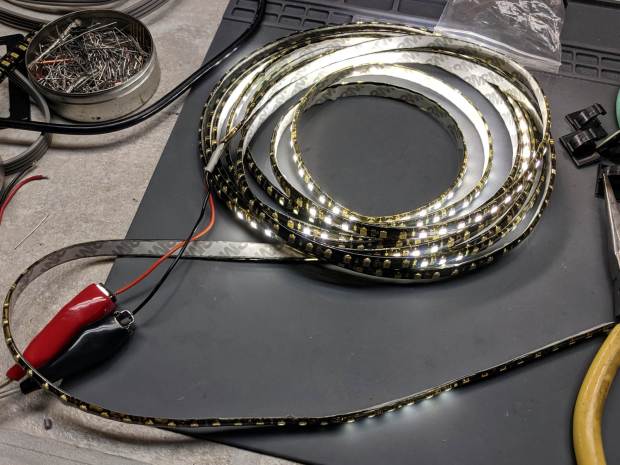
While packing the vacuum tube LEDs for the HV Open Mad Science Fair, I noticed the knockoff Arduino Nano inside one had come unstuck from the base. It seems the double-stick foam tape I’d used had lost its sticky:
Vacuum Tube LEDs – unstuck foam tape
Replacing it with my now-standard black 3M outdoor rated tape ought to solve the problem forever more.
For whatever it’s worth, the SK6812 RGBW LEDs have had exactly zero failures in the last two years or so; I finally turned off the test fixture.
Before reassembling the light, I plugged the USB cable into the bench supply and watched the Nano reset erratically. Careful poking showed the USB cable was intermittent, so I carved it up:
Failed USB cable – autopsy
As far as I can tell, the black wire (supply common) was cut mostly all the way through, with just a few strands remaining, before I peeled the insulation back.
A closer look at the solder joints doesn’t inspire much confidence in their QC:
Failed USB cable – solder joints
If those pads tarnished along with their solder blobs, the overmolded plastic isn’t the right stuff for the job. If they started life like that … ick.
I must up my cable spend, although I have no confidence doing so will improve the quality.
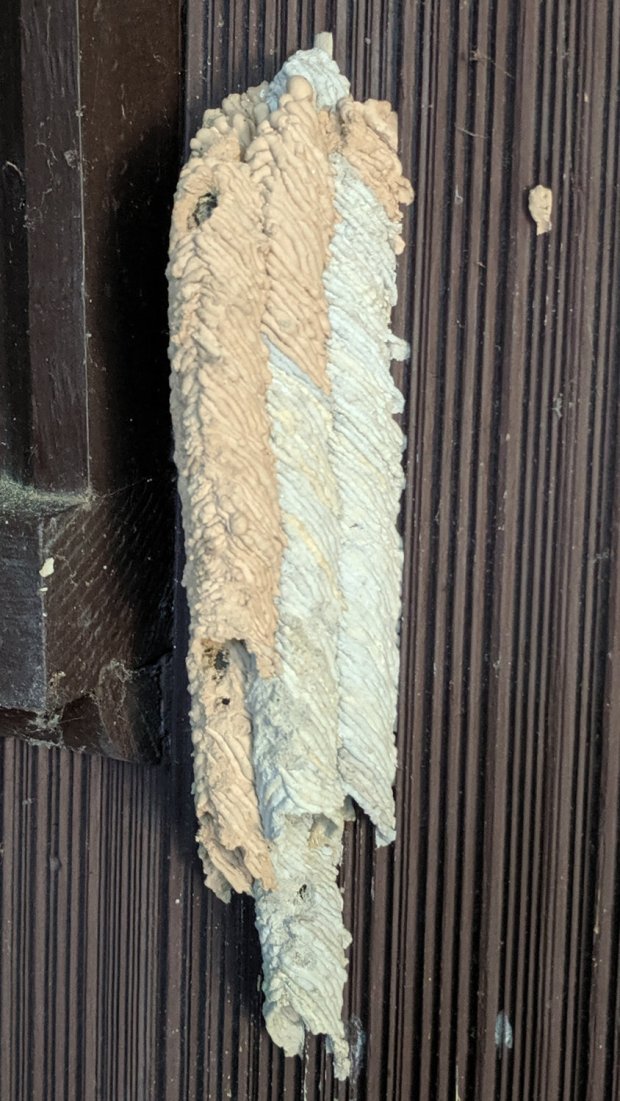
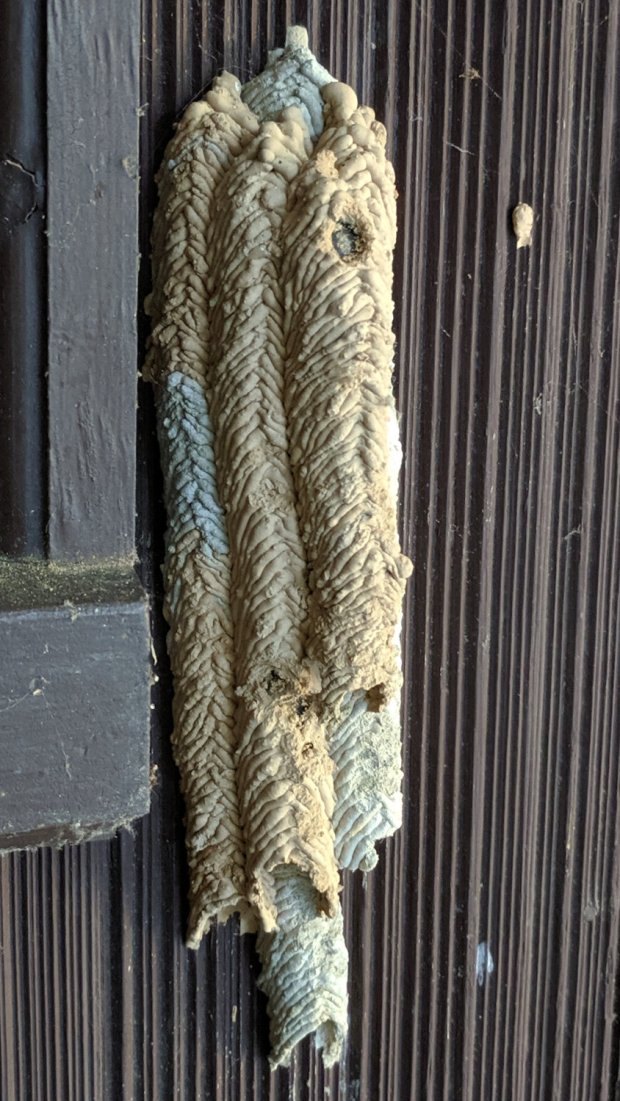
Their offspring began emerging in early July, with our first picture on 3 July. I’ll leave the image file dates in place so you can reach your own conclusions:
IMG_20190703_184657 – Organ Pipe Mud Dauber Nest – right
We think a titmouse (a known predator) pecked some holes, including the upper hole on the middle tube, as they seemed to expose solid (and presumably inedible) chitin from the outside:
IMG_20190703_184647 – Organ Pipe Mud Dauber Nest – left
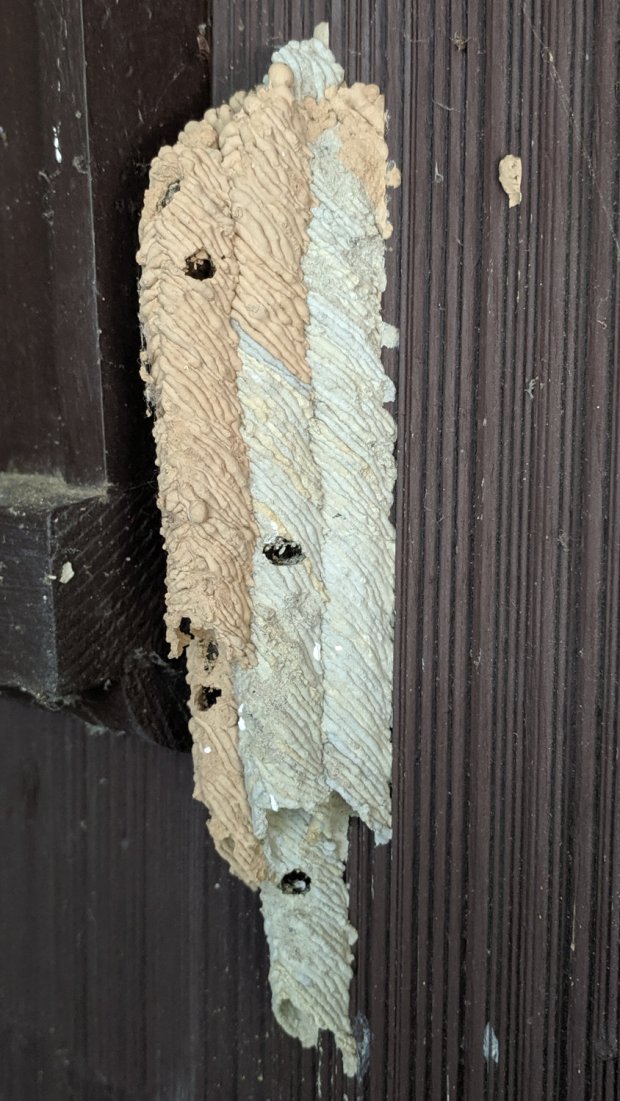
More holes appeared in a few days:
IMG_20190709_172632 – Organ Pipe Mud Dauber Nest – right
The irregular spacing along each tube suggests they don’t emerge in the reverse order of installation:
IMG_20190709_172623 – Organ Pipe Mud Dauber Nest – left
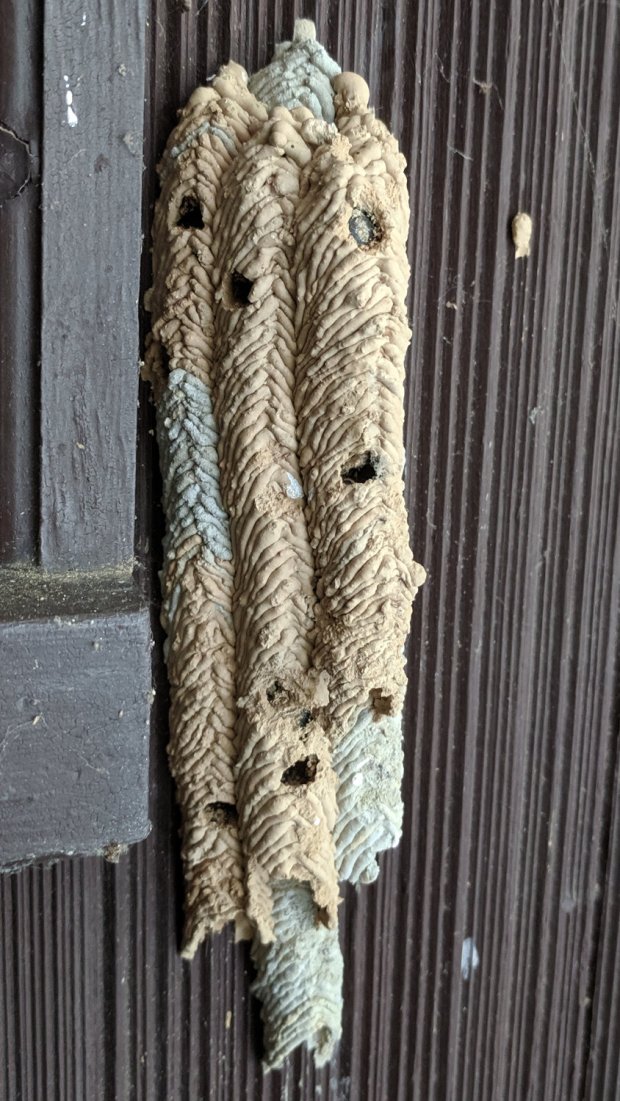
Three days later:
IMG_20190712_181634 – Organ Pipe Mud Dauber Nest – right
IMG_20190712_181625 – Organ Pipe Mud Dauber Nest – left
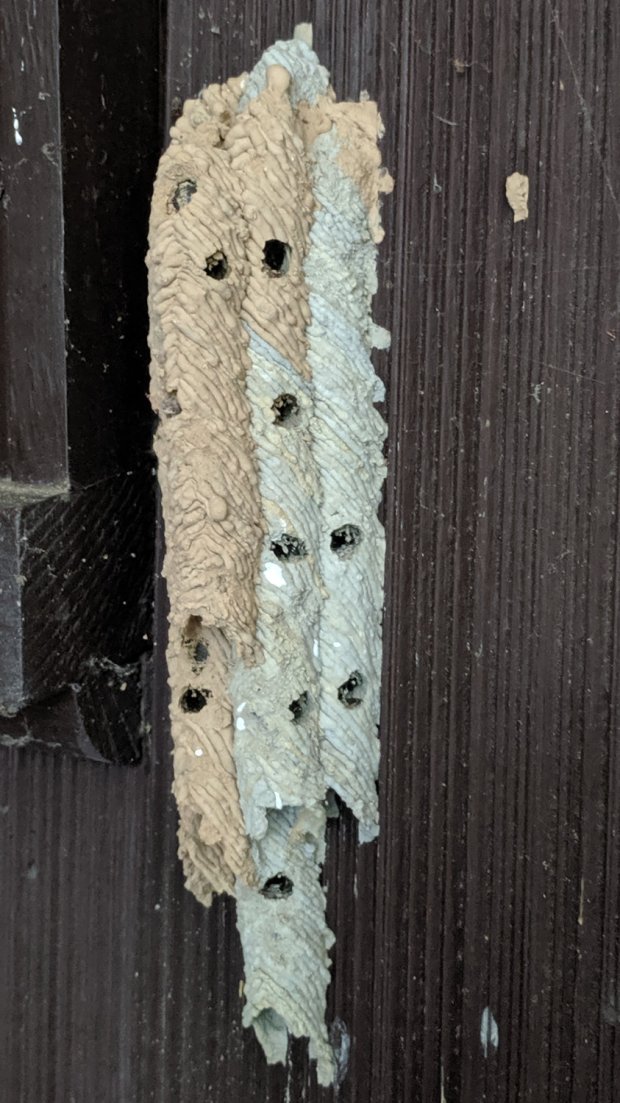
Two weeks after the first holes appeared:
IMG_20190717_172908 – Organ Pipe Mud Dauber Nest – right
IMG_20190717_172922 – Organ Pipe Mud Dauber Nest – left
No more holes have appeared since then, so it seems one young wasp emerges every few days.
This nest produced about a dozen wasps, with perhaps as many launch failures. We’ll (try to) remove it and examine the contents in a few months.
We expect they’ll start building nests all over the house in another month …
Update: Fortunately for us, no nests appeared before the first freeze, so the wasps are holed up elsewhere for the winter.
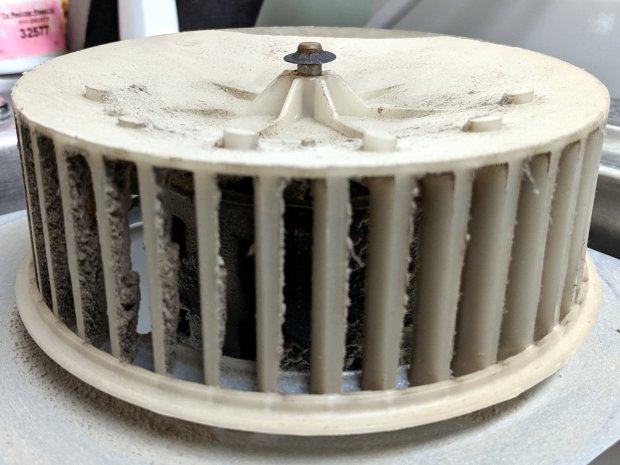
The NuTone 8663RP (for future reference) vent fan in the Black Bathroom began making horrible grinding sounds and, after a day or two, stopped turning. Pulling it out showed the impeller had slipped downward on the motor shaft:
Bath Vent Fan – impeller shift
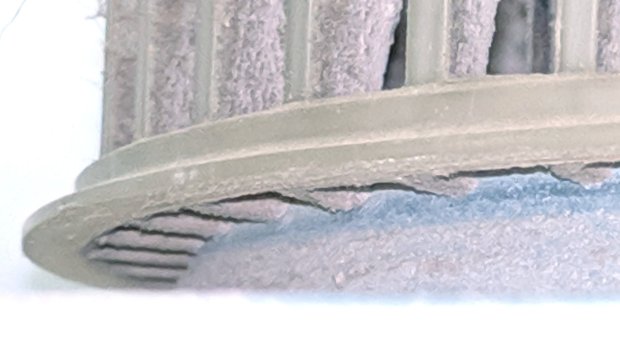
Which meant the impeller was now resting on the steel frame:
Bath Vent Fan – impeller interference
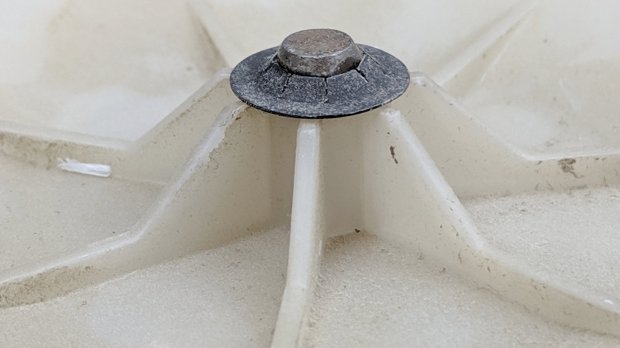
Curiously, there’s no retainer under the impeller preventing it from sliding downward, other than good intentions and a friction fit. Nothing lasts, although it’s been working for the last two decades, so I guess it doesn’t owe me much.
My first thought was to build a steel or aluminum collar with a setscrew to hold the thing up, but I decided to try a simple bushing made of UHMW polyethylene between the motor and the impeller.
Turning it to the proper length required a test fit, then another session on a mandrel made from some aluminum tubing:
Bath Vent Fan – bushing trim
The snout came out just long enough to clear the motor frame, resting the impeller’s weight atop the bearing around the shaft:
Bath Vent Fan – bushing installation
It’s hard to see between the impeller blades, but there’s actually a bit of clearance underneath:
Bath Vent Fan – bushing installed
Which left just barely enough room on the top for the retaining clip:
Bath Vent Fan – shaft clip – detail
I had high hopes for the UHMW, but it seems any contact between the rotating impeller and the stationary bearing transmits enough sound to be annoying.
So I must break down and build a collar, although it’s off the critical path right now.
As far as I can tell from the pictures, dropping $50 on a new fan unit will get me exactly the same problem. Whether it would last for two decades before failing is an open question, but my experience with freezer fans suggests what we have is as good as it gets and making a bushing is the least-awful way to proceed.
I’ve finally had it beaten into my head: any public exhibition requires paper handouts, if only for younger folks who are too shy to ask questions. Paper may seem obsolete, but it serves as a physical reminder long after the sensory overload of a busy event fades away.
Hence, I made up cards describing my exhibits at the HV Open Mad Science Fair, each sporting a QR code aimed at far more background information than anybody should care about: