Ed Nisley's Blog: Shop notes, electronics, firmware, machinery, 3D printing, laser cuttery, and curiosities. Contents: 100% human thinking, 0% AI slop.
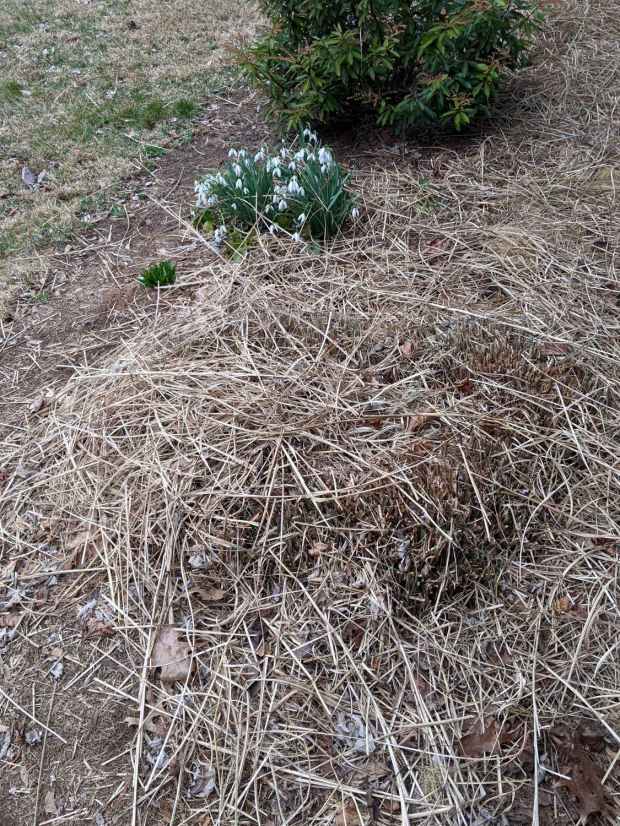
One of the moles aerating the ground around here ran out of steam beside the garden:
Mole – dorsal
It has wonderfully soft velvety fur!
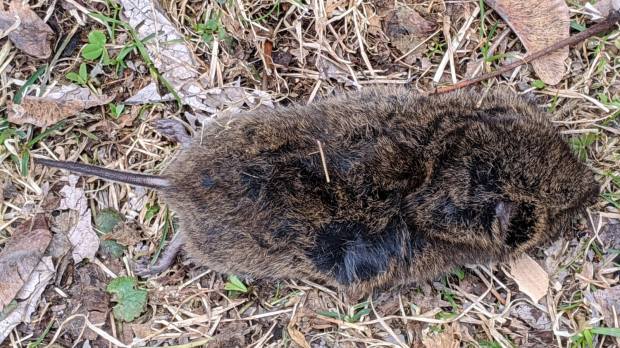
Flipping it over:
Mole – ventral
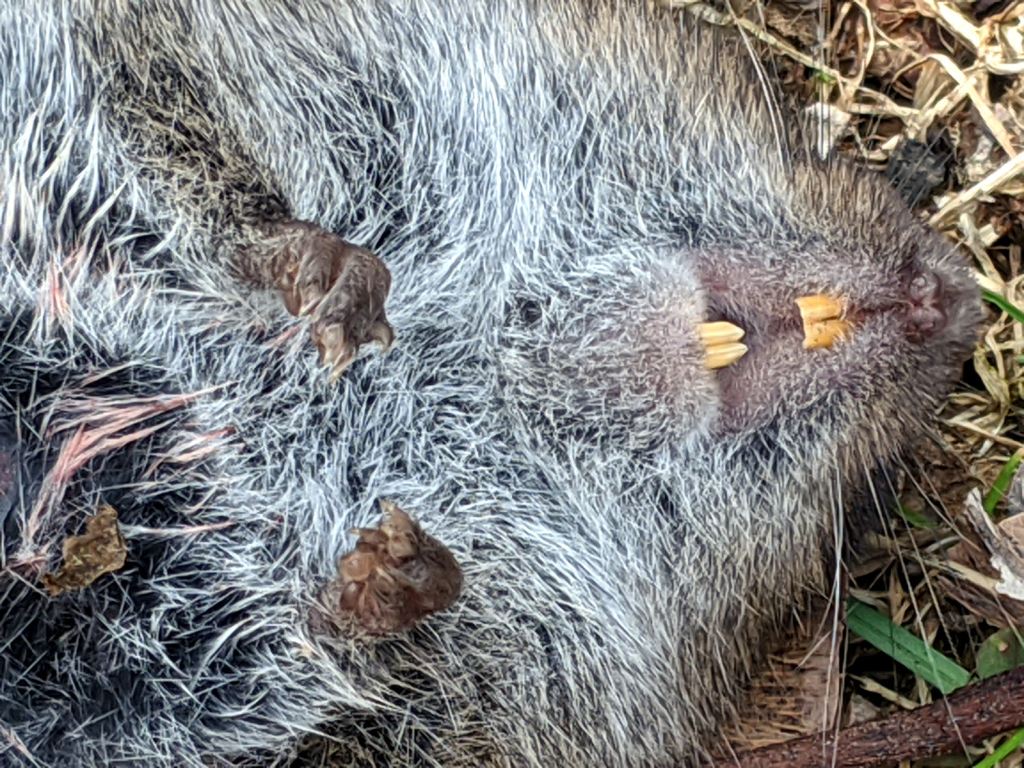
A closeup of its digging paws and gnawing teeth:
Mole – ventral paws – teeth
Those choppers seem overqualified for a diet of earthworms, but I suppose they know what they’re doing.
We left it in as-found condition, ready for recycling …
[Update: The consensus seems to be it’s a vole or shrew, not a mole. It’d be the biggest vole I’ve ever seen and “large shrew” seems oxymoronic, but the teeth are diagnostic. ]
It being the season for hacking down decorative grasses, our ancient Craftsman Hedge Trimmer woke up dead, a decade after I fixed its switch and predicted it’d be good for another decade.
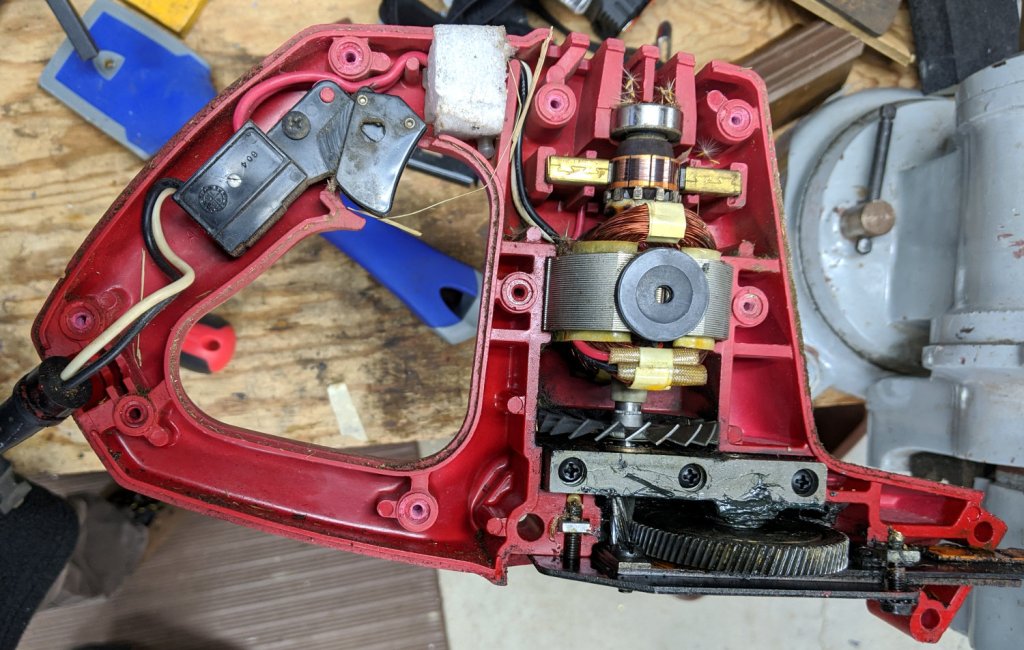
After verifying the failure isn’t in the wall outlet or the extension cord, haul it to the Basement Laboratory Repair Wing, clamp the blade in the bench vise, remove a myriad screws, and pop the top:
Craftsman Hedge Trimmer – innards exposed
I should have removed the screw in the extreme lower right corner and loosened the similar screw at the rear of the bottom plate; they’re two of the three machine screws engaging nuts embedded in the shell. Everything is greasy enough to let the nuts slide right out of the plastic and no harm was done, but that need not be so.
After poking around a bit and finding nothing obvious, I checked the resistance across the plug: open-circuit with the switch OFF and nearly shorted with the switch ON.
Huh.
Put the case back together with just enough screws to prevent heartache & confusion, unclamp the blade, plug into the bench outlet, discover it works fine again, reinstall the rest of the screws, and continue the mission:
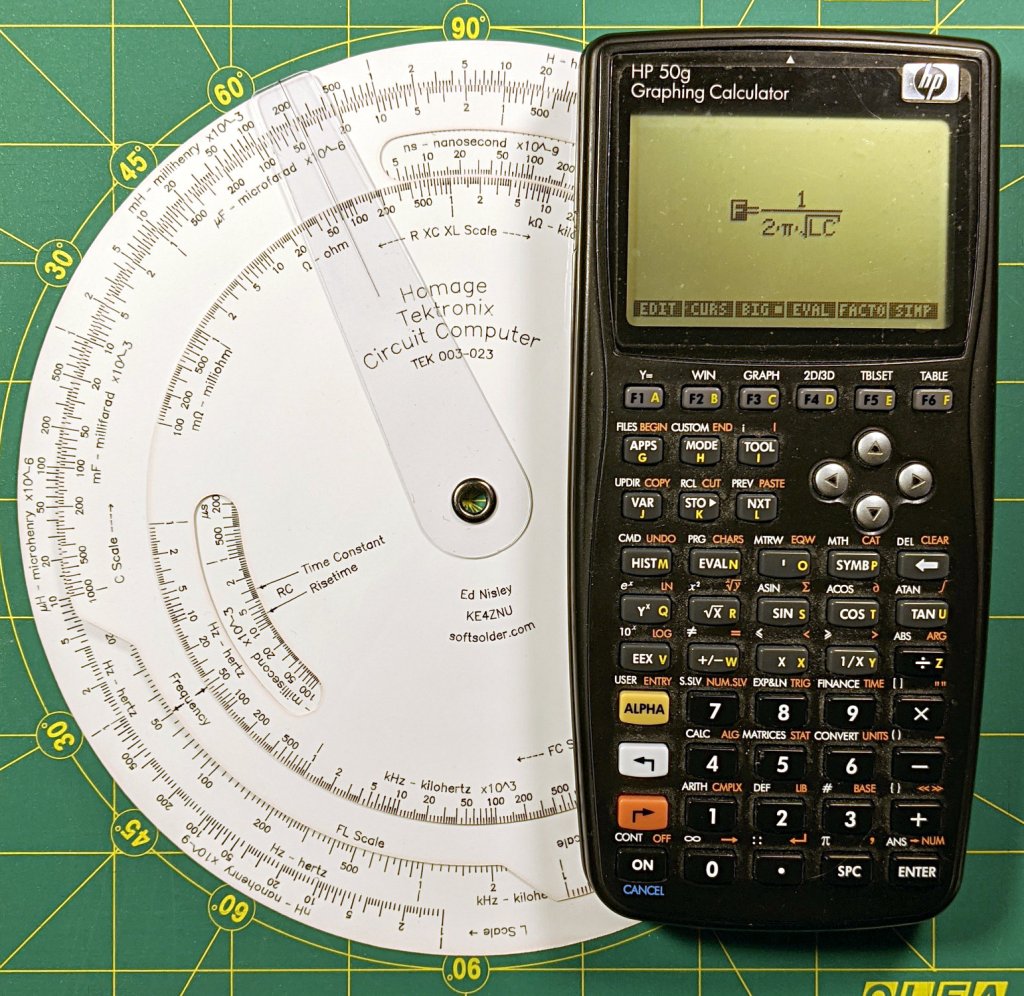
An on-sale pack of yellow Astrobrights card stock tempted me:
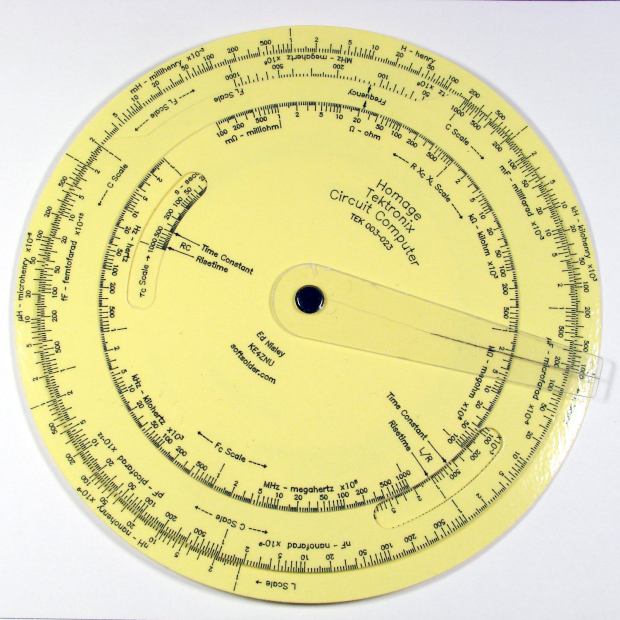
Homage Tek CC – Yellow Astrobrights paper
The somewhat wrecked cursor comes from my collection of discards, because I haven’t yet figured out how to mill the outline and engrave the hairline on raw stock.
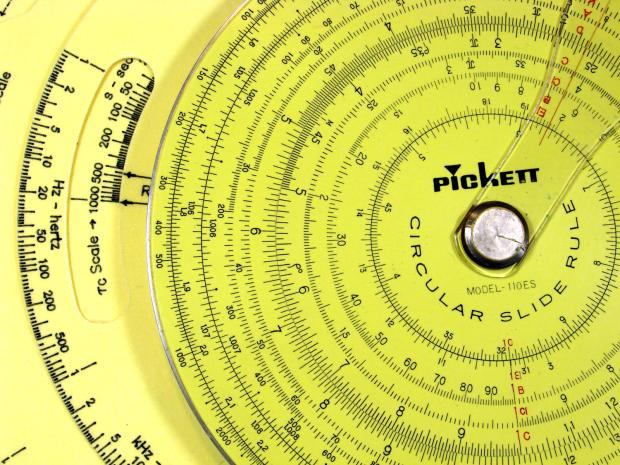
The paper isn’t quite the same color as my Genuine Pickett Model 110-ES circular slide rule:
Homage Tek CC vs Pickett 110ES colors
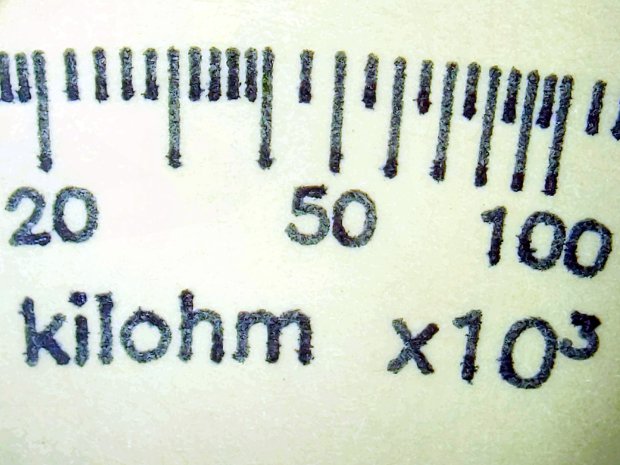
Nor, of course, are the ticks and legends nearly as fine as you get with real engraving, but it’s probably Close Enough™ for anybody other than a Real Collector™.
The orange curve is the last surviving (“least dead”) Wasabi battery from the 2017-08 batch and the dark green curve just above it is another DOT-01 from 2019-02. The problem is not so much their reduced capacity, but their grossly reduced voltage-under-load that triggers a premature camera shutdown.
The Batmax batteries measure better than the craptastic Wasabi batteries, worse than the STK batteries, and should survive the next year of riding. As before, I have zero belief that Amazon would send me a “genuine” Sony NP-BX1 battery, even at six times the nominal price, nor that it would perform six times better.
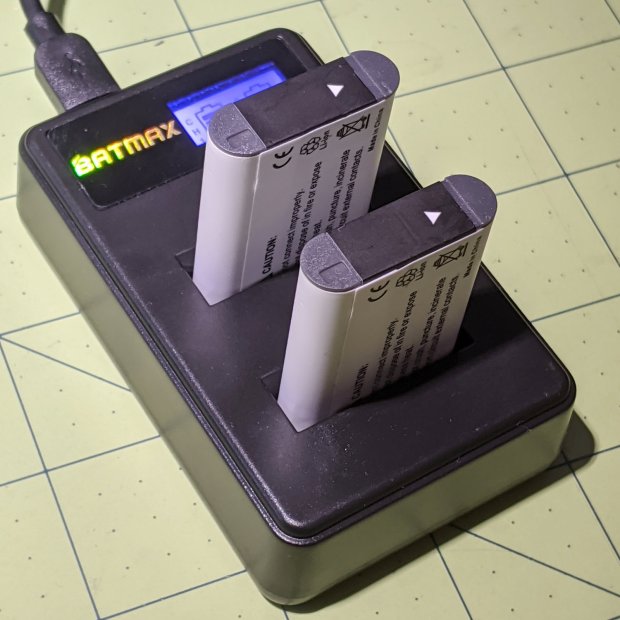
Batmax is one of many randomly named Amazon Marketplace sellers offering seemingly identical NP-BX1 batteries: Newmowa, Miady, Powerextra, Pickle Power, LP, Enegon, and so forth. Mysteriously, it’s always cheaper to get a handful of batteries and a charger, rather than just the batteries, so I now have a two-socket USB charger:
Batmax NP-BX1 – USB dual charger
Despite the “5 V 2 A – 10 W” and “4.2 V 0.6 A – 5 W” label on the back, charging a pair of batteries after a ride started at 700 mA from a USB 3.0 port. The charger makes no claims about USB 3 compliance, so I’d expect it to top out around 1 A from a generously specified port.
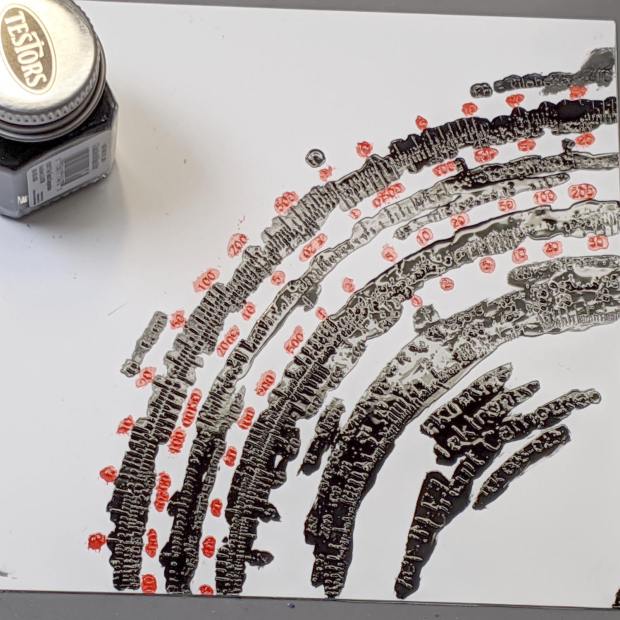
Two coats of black paint produced the larger areas along the inner scales and completely filled those engraved lines:
Engraving Testpiece D – Testors Enamel – red black applied
With exactly the correct paint on exactly the correct material, it cured into a non-removable layer. Being enamel, however, the last coat requires two or three days for a full cure, so this isn’t a short-attention-span project.
It’s “non-removable” unless you’re willing to abrade the surface:
Sanding tends to remove too much plastic, particularly when confronted with raised walls & suchlike along the grooves. The darkest scale down the middle was engraved with 300 g downforce and is deep enough to retain all its paint:
Engraving Testpiece D – Testors Enamel – sanded – 250 300 g – detail
Engraving Testpiece D – Testors Enamel – scrape – 250 300 g – detail
There’s not much visible difference between the 250 g and 300 g scales.
All the scraped lines are over 0.1 mm wide, with the heavier downforce producing maybe 0.12 mm.
The double-coated lines are flush with the (scraped) surface and visibly matte. The single-coated regions have the usual glossy enamel finish remaining deep in the lines & numbers, with a thin matte outline flush with the surrounding surface. It’s basically impossible to photograph those features, at least for me.
The colors are crisp & vivid: enamel paint is the way to go!
The next testpiece should run downforce variations from 300 through 500 g and speeds from 1000 to 2400 mm/min. Scraping off the raised plastic before painting should deliver a better ahem painting experience without much surface damage; the trick will be clearing all the debris from the engraved lines.
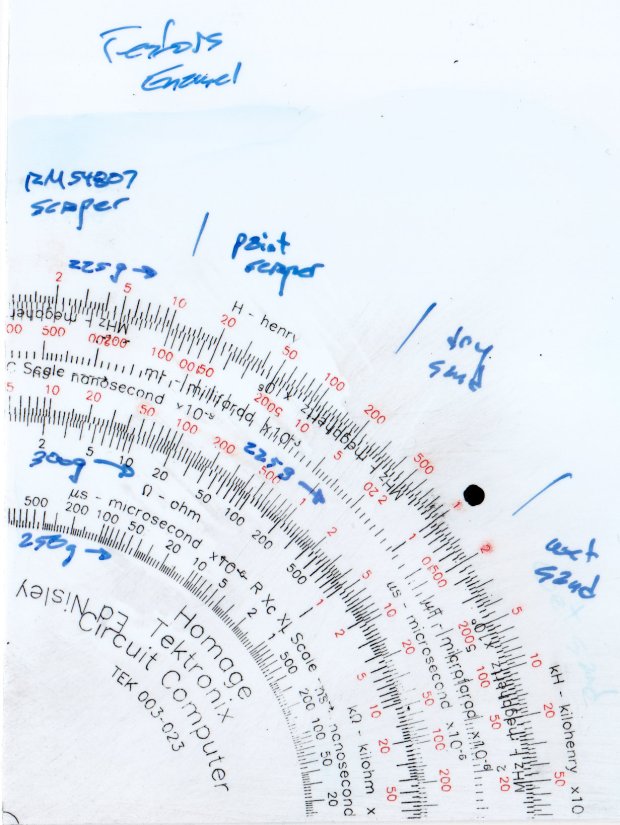
Diamond on styrene C – scraped red-black Sharpie – start
Instead of sanding the surface, I used a paint scraper to remove everything down to the engraved grooves. The scraper in the upper right is a Rubbermaid 54807, which is apparently no longer available. If I ever buy a new scraper, I’ll spring for a carbide blade.
A dirt speck under the plastic sheet can still obliterate the markings, though:
Diamond on styrene C – scraped red-black Sharpie – first clearing
Overall, the results look just like a real slipstick:
Diamond on styrene C – scraped red-black Sharpie – 225 300 g scale detail
The upper scale was engraved at 225 g downforce, the lower at 300 g, with corresponding differences in width & depth.
Diamond on styrene C – scraped red-black Sharpie – 225 300 g line detail
The upper ticks are 0.1 mm wide and the lower ticks a scant 0.2 mm wide. Both ticks on the sanded Sharpie sample were close to 0.1 mm, which suggests:
Scraping removes less plastic
The grooves have a flat-ish bottom and side walls roughly matching the slightly worn 60° diamond tool
Sharpie ink is, of course, soluble in alcohol:
Diamond on styrene C – scraped red-black Sharpie – alcohol wipe
That’s not unexpected, as I’ve been removing Sharpie with alcohol forever, but it’s worth keeping in mind. I don’t know if spraying a clear topcoat (Krylon FTW!) would provide good sealing with enough wear resistance.