The Smell of Molten Projects in the Morning

Ed Nisley's Blog: Shop notes, electronics, firmware, machinery, 3D printing, laser cuttery, and curiosities. Contents: 100% human thinking, 0% AI slop.

Author: Ed

  • Glass Tiles: USB Charger Current Waveforms

    Glass Tiles: USB Charger Current Waveforms

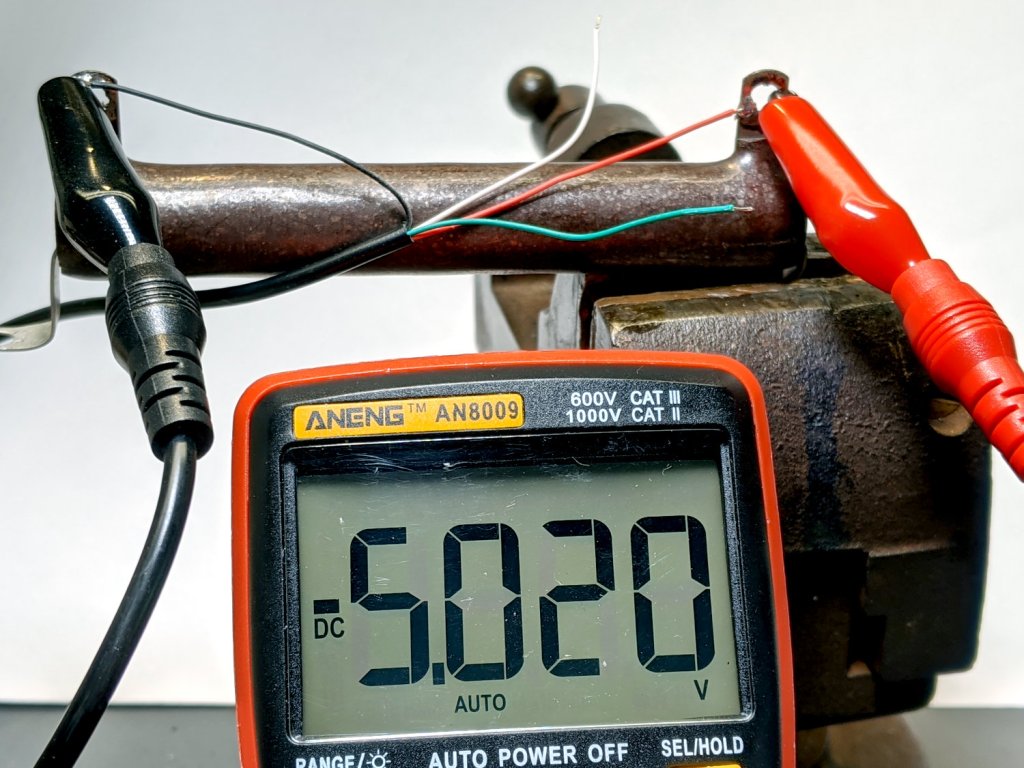
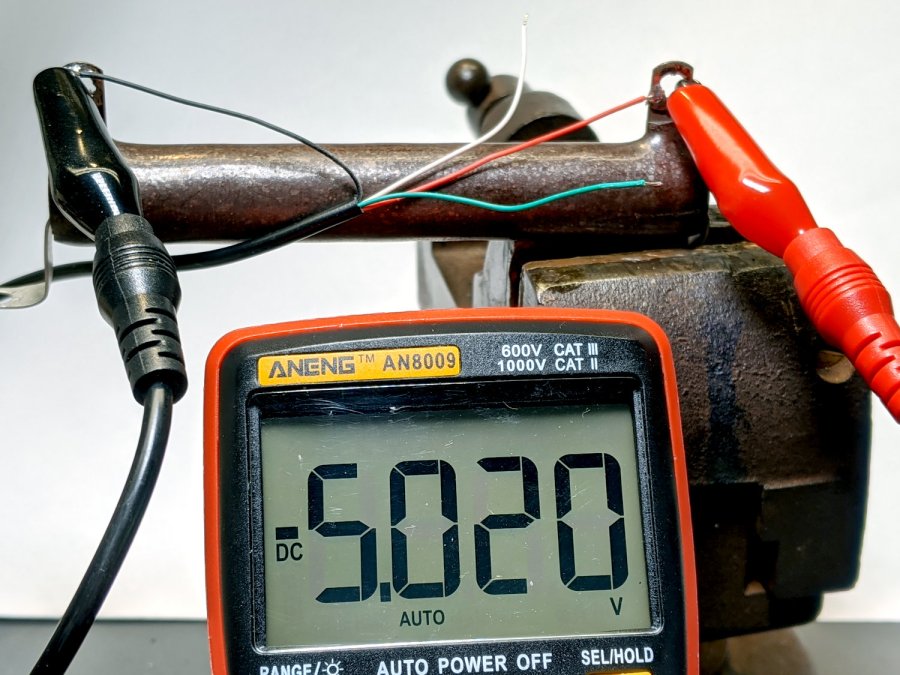
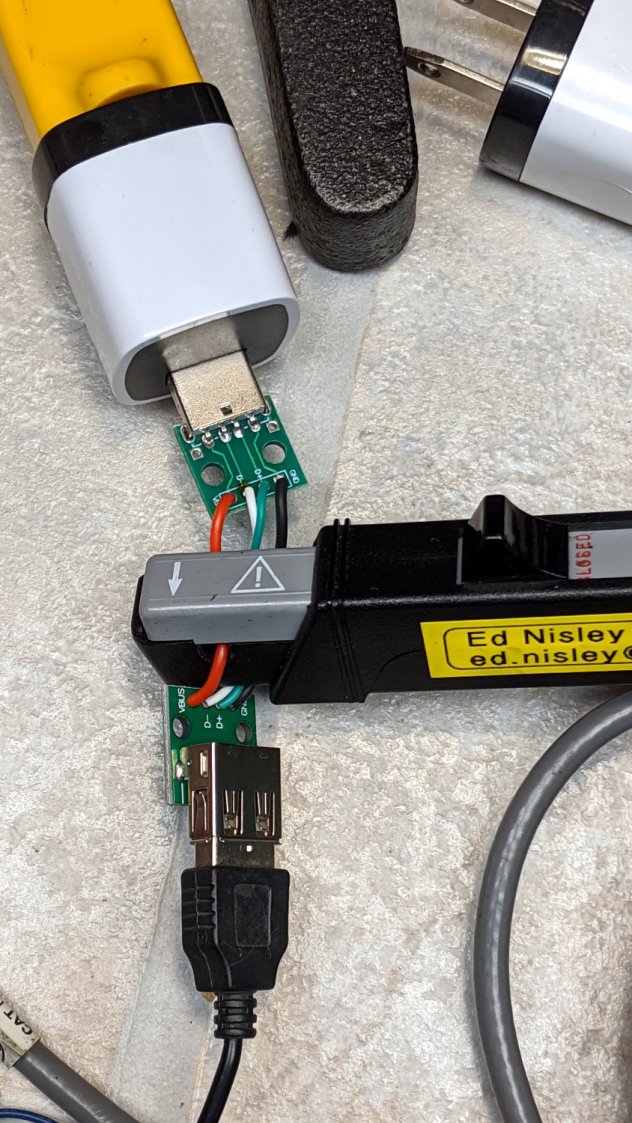
    Looking at what comes out of various USB chargers, with the Tek current probe monitoring the juice:

    USB Current-Probe Extender - in action
    USB Current-Probe Extender – in action

    First, a known-good bench supply set to 5.0 V:

    Tiles 2x2 - bench supply - 50 mA-div
    Tiles 2×2 – bench supply – 50 mA-div

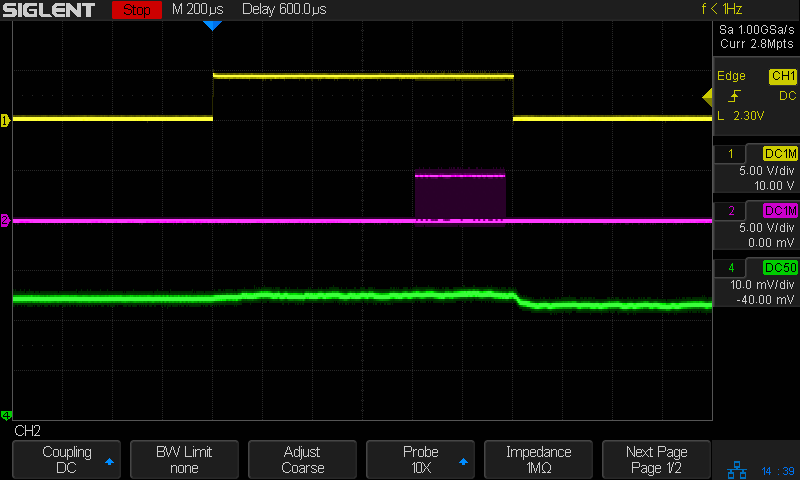
    The yellow trace is the Glass Tile Heartbeat output, which goes high during the active part of the loop. The purple trace shows the serial data going to the SK6812 RGBW LEDs. The green trace is the USB current at 50 mA/div, with the Glass Tile LED array + Arduino drawing somewhere between 50 and 100 mA; most of that goes to the LEDs.

    The current steps downward by about 10 mA just after the data stream ends, because that’s where the LEDs latch their new PWM values. The code is changing a single LED from one color to another, so the current will increase or decrease by the difference of the two currents.

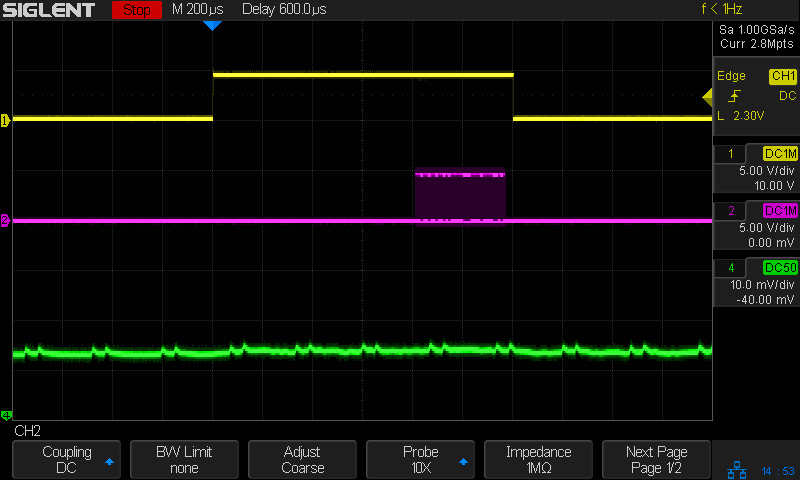
    A charger from my Google Pixel 3a phone (actually made by Flextronics and, uniquely, UL listed), with Google’s ever-so-trendy and completely unreadable medium gray lettering on a light gray plastic body:

    Google Pixel charger - dataplate
    Google Pixel charger – dataplate

    The current waveform looks only slightly choppy:

    Tiles 2x2 - Google Flextronics charger - 50 mA-div
    Tiles 2×2 – Google Flextronics charger – 50 mA-div

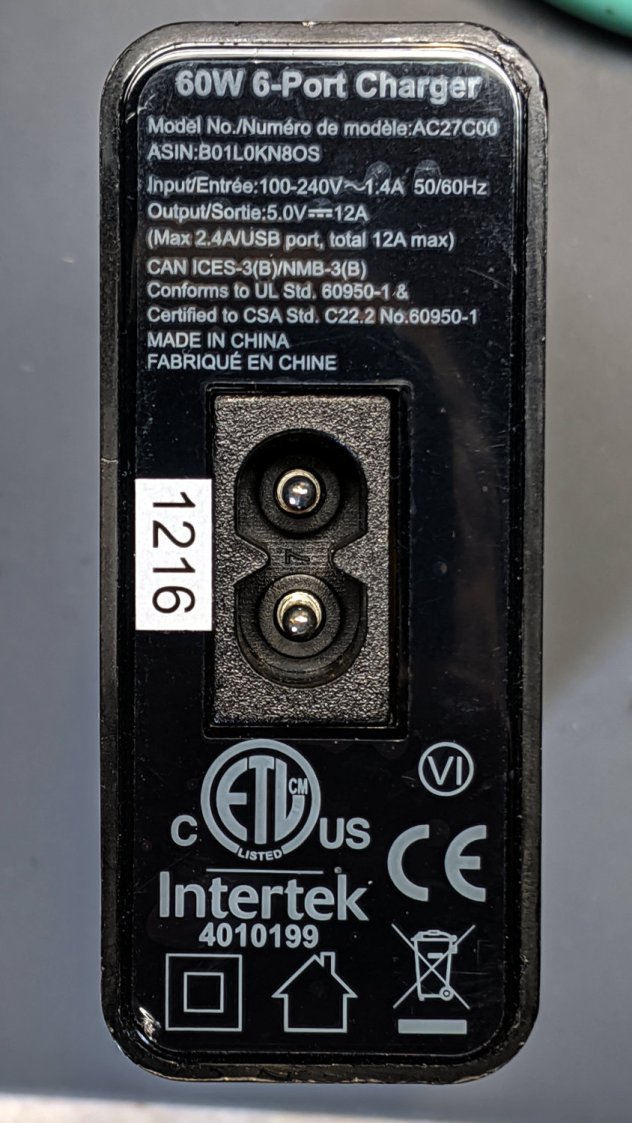
    An AmazonBasics six-port USB charger from tested by Intertek:
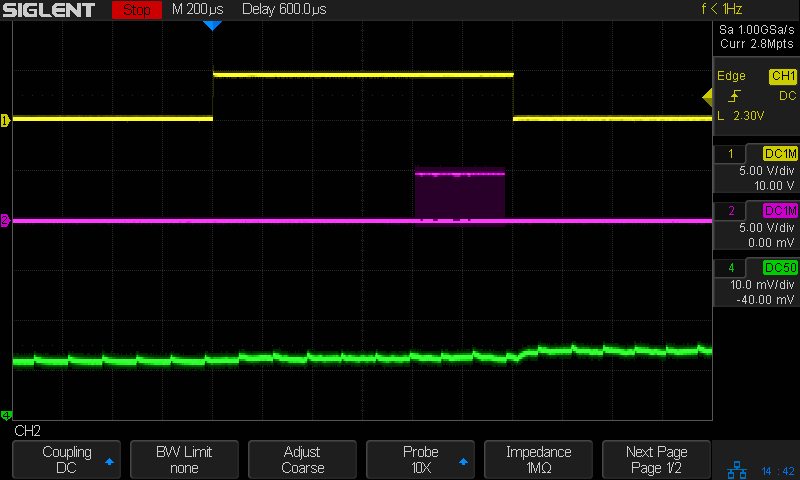
    AmazonBasics charger - dataplate
    AmazonBasics charger – dataplate

    The waveform:

    Tiles 2x2 - Amazon Basics Intertek Basics charger - 50 mA-div
    Tiles 2×2 – Amazon Basics Intertek Basics charger – 50 mA-div

    A blackweb (their lack of capitalization) charger, also made tested by Intertek:

    blackweb charger - dataplate
    blackweb charger – dataplate

    The current:

    Tiles 2x2 - blackweb charger - 50 mA-div
    Tiles 2×2 – blackweb charger – 50 mA-div

    Finally, one from a lot of dirt-cheap chargers from eBay:

    Anonymous white charger - dataplate
    Anonymous white charger – dataplate

    Which has the most interesting current waveform of all:

    Tiles 2x2 - anon white charger - 50 mA-div
    Tiles 2×2 – anon white charger – 50 mA-div

    A closer look:

    Tiles 2x2 - anon white charger - pulse detail - 50 mA-div
    Tiles 2×2 – anon white charger – pulse detail – 50 mA-div

    From the 75 mA baseline, the charger is ramming 175 mA pulses at 24 kHz into the filter cap on the Arduino Nano PCB! The green trace has a few seconds of (digital) persistence, so you’re seeing a lot of frequency jitter; the pulses most likely come from a voltage comparator controlling the charger’s PWM cycle.

    It’s about what one should expect for $1.28 apiece, right?

    They’re down to $1.19 today: who knows what the waveform might be?

    Update: Having gotten a clue from a comment posted instantly after I fat-fingered the schedule for this post, I now know Intertek is a testing agency, not a manufacturer.

  • Robin Nest: Nestlings!

    Robin Nest: Nestlings!

    All four nestlings emerged on schedule:

    Garage Robin - four nestlings
    Garage Robin – four nestlings

    The oldest nestling was ready for feeding almost immediately, even with unopened eyes:

    Garage Robin - Nestling begging
    Garage Robin – Nestling begging

    As any infant will tell you, holding your head up is hard work:

    Garage Robin - Nestling dozing
    Garage Robin – Nestling dozing

    But doing only half the job won’t get you fed:

    Garage Robin - Nestling recovering
    Garage Robin – Nestling recovering

    They’re just starting to make little chirps, so this isn’t nearly as raucous as you might think:

    Garage Robin - Nestlings begging
    Garage Robin – Nestlings begging

    The adults seem to have no trouble bringing an endless stream of worms, insects, and unidentifiable organisms from the yard and garden.

    Go, birds, go!

  • Painting By Numbers, Redux

    Painting By Numbers, Redux

    Five years later, the digits I painted with Rust-Oleum Rusty Metal Primer have weathered pretty well, while the original ink has fallen off the retroreflective sticker:

    Mailbox numbers - original vs primer
    Mailbox numbers – original vs primer

    As before, I wiped off the crud with denatured alcohol and painted neatly inside the lines. The other digits on both sides still look as good as the day I painted them, with only a few bubbles and nicks.

    Memo to self: Next time, buy a big sheet of 3M retroreflective film, make a stencil by vinyl cutting, paint the entire number in one shot, and be done with it.

  • Drill Press Vise Table Refresh

    Drill Press Vise Table Refresh

    I built a small plywood work table for the drill press:

    Drill press - scarred vise table
    Drill press – scarred vise table

    Obviously, that was a long time ago. It’s a plywood scrap with a small cleat screwed to its bottom, upon which one can position / clamp / hold / finagle smallish workpieces without worrying about drilling into the surface.

    The most recent batch of aluminum backing plates prompted me to finally replace that relic:

    Drill press - new vise table
    Drill press – new vise table

    The mill vise under the plywood grips the cleat and the whole affair rides on a Sears “Drill Press Milling Attachment Stock No 27585” which is basically a simple XY table with hand dials. It’s not rigid enough for actual milling (which you should never do on a drill press, anyway, because the end mill will pull itself out of the Jacobs chuck), but it’s good for tweaking the position before you drill something.

    One should never hand-hold workpieces while drilling.

    Don’t do as I do, do as I say. OK?

  • Soaker Hose Clamps

    Soaker Hose Clamps

    Having figured out the geometry for two- and three-channel soaker hoses, I cranked out more clamps:

    Soaker Hose Clamps - production
    Soaker Hose Clamps – production

    Actually, those are the remainder of two production runs devoted to reducing the amount of water sprinkling the garden paths. A 50 foot hose runs along both sides of one 14 foot bed, crosses the path, then continues along the adjacent bed. The hoses have (deliberate!) sprinkler holes along their porous rubber body and sometimes the layout puts a hole where it waters the path.

    The blue silicone rubber strips provide a bit of sealing to prevent the absurdly high pressure water from streaming through the orange PETG clamps. It’s OK if the clamp leaks, but less flow is better!

    I’m getting really good at making those aluminum backing plates and, in fact, I think it’s faster to run the blanks past the disk sander, then drill the holes, than to CNC-machine them. Could be wrong, but Quality Shop Time is not to be sniffed at.

  • USB Wire Color Code: Grand Prize Blooper

    USB Wire Color Code: Grand Prize Blooper

    Despite knowing the wire colors inside USB cables need not follow any particular convention, this still came as a surprise:

    USB Cable - reversed red-black wires
    USB Cable – reversed red-black wires

    Yes, that’s a negative indicator on the meter: it reads -5.020 V.

    No, I didn’t swap the test probe banana plugs on the other end.

    A bit of continuity testing shows the green and white data wires are also reversed, so whoever assembled the cable simply soldered the proper wire color sequence backwards onto both connectors. As long as you don’t cut the cable to reuse the connectors, it’s all good.

    Memo to Self: Stop trusting, always verify!

  • USB Current Probe Extender

    USB Current Probe Extender

    Having gotten two answers from two USB meters, I figured it was time to get primal:

    USB Current-Probe Extender - wiring
    USB Current-Probe Extender – wiring

    That’s a pair of USB breakout connectors and lengths of nice silicone wire (24 AWG power & 28 AWG data), with just enough slack for a Tek A6302 current probe:

    USB Current-Probe Extender - in action
    USB Current-Probe Extender – in action

    So I can see the actual current waveform of a Glass Tile box running from a bench power supply:

    Tiles 2x2 - bench supply - 50 mA-div
    Tiles 2×2 – bench supply – 50 mA-div

    The top trace is the firmware heartbeat from the Arduino Nano, the middle trace is the SK6812 LED data stream, and the bottom trace is the USB current at 50 mA/div. The current steps downward by about 10 mA (just after the data burst) when one of the tiles changes color and and LED shuts off.

    The current probe reveals some mysteries, such as this waveform from a dirt-cheap USB charger:

    Tiles 2x2 - anon white charger - 50 mA-div
    Tiles 2×2 – anon white charger – 50 mA-div

    I wonder why it’s ramming 100 mA current spikes into the circuit, too. At least now I can see what’s going on.