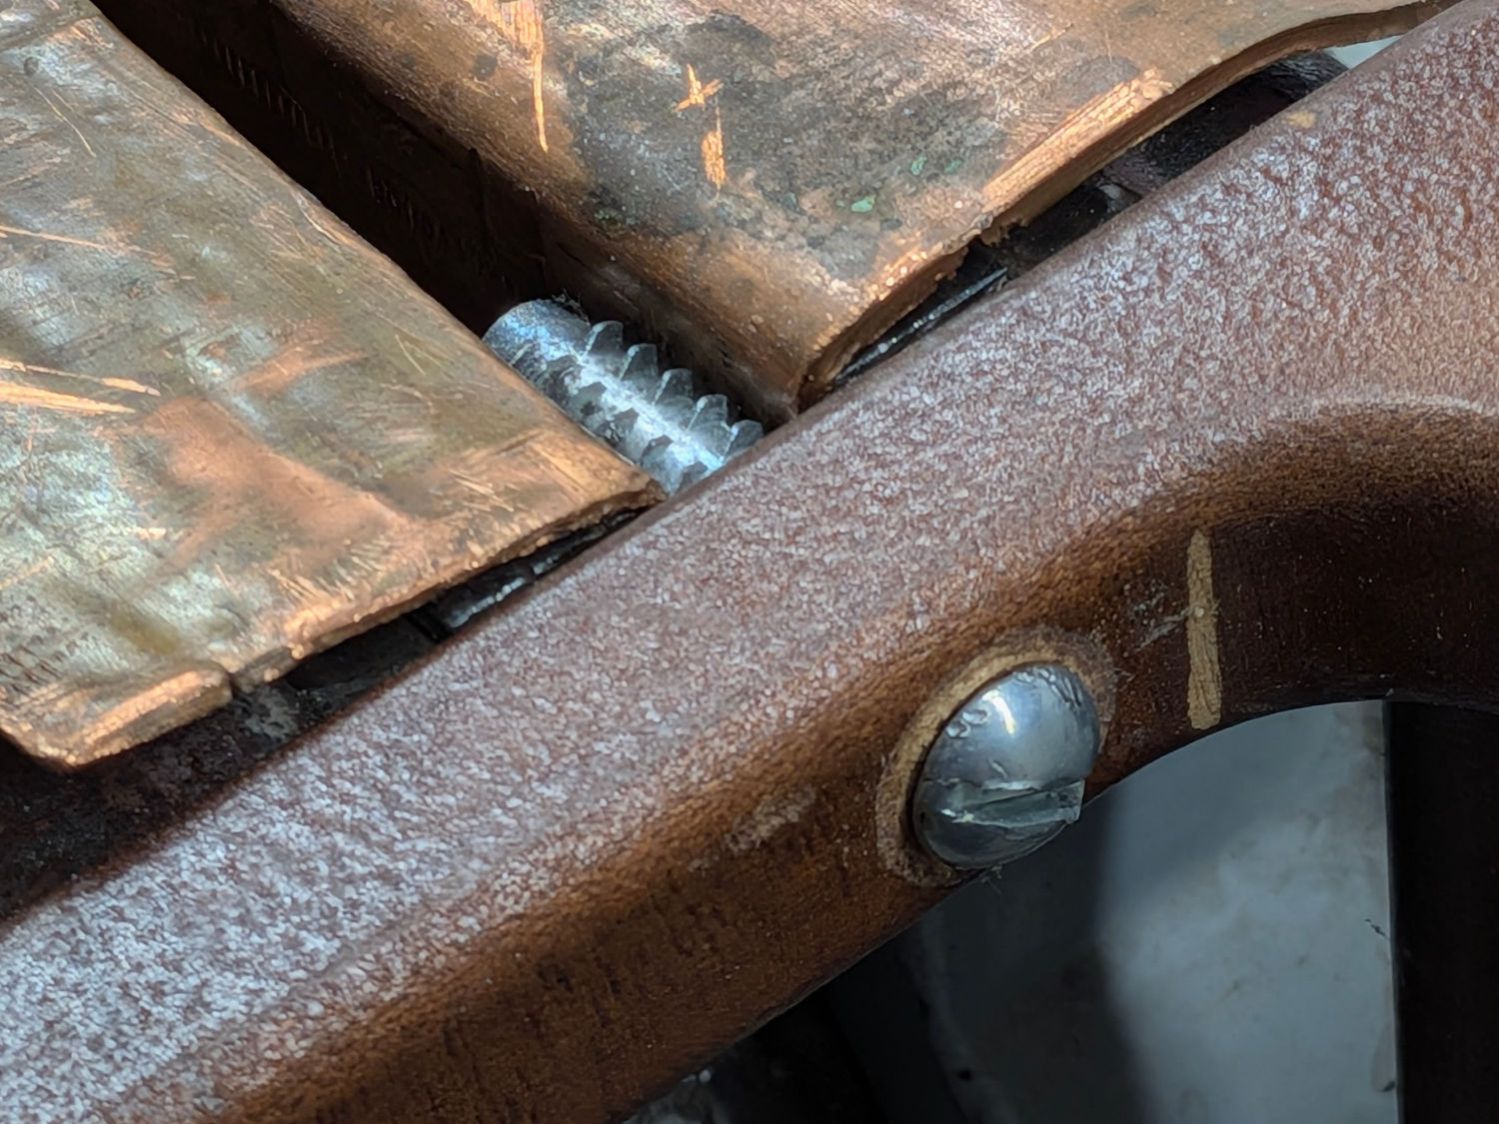
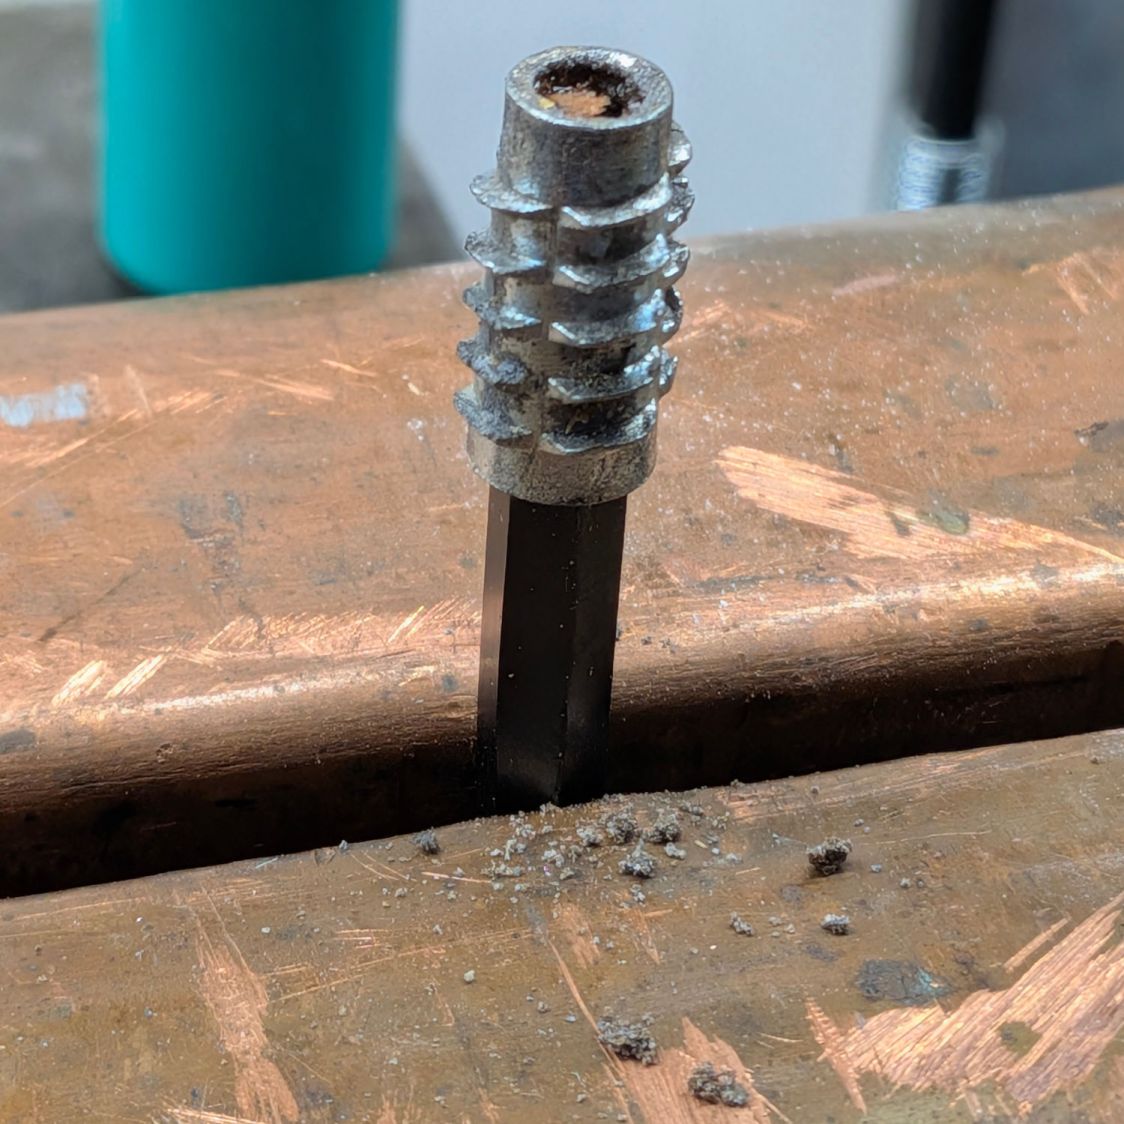
A clothes rack Mary intended use with some work-in-progress quilts seemed entirely too wobbly for the purpose, so I tried tightening its screws. This did not go well, as some of the threaded inserts sunk into the vertical bars spun freely and, with a bit of persuasion, pulled straight out of their sockets:
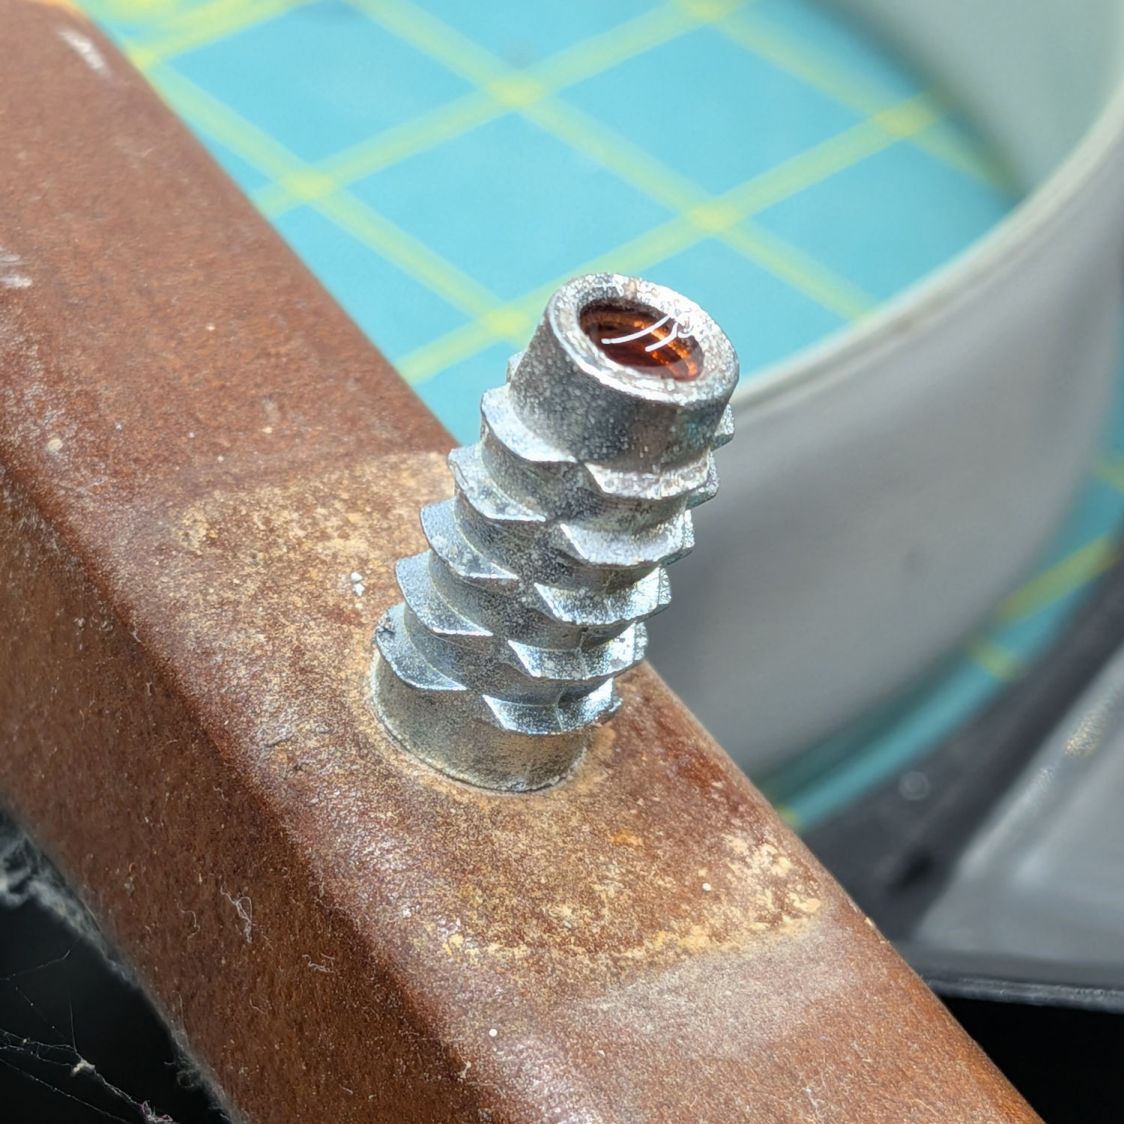
The reddish fluid is Kroil penetrating oil I hoped would free the screws from the corrosion locking them into the inserts. After an overnight soak, they still required force majeure:
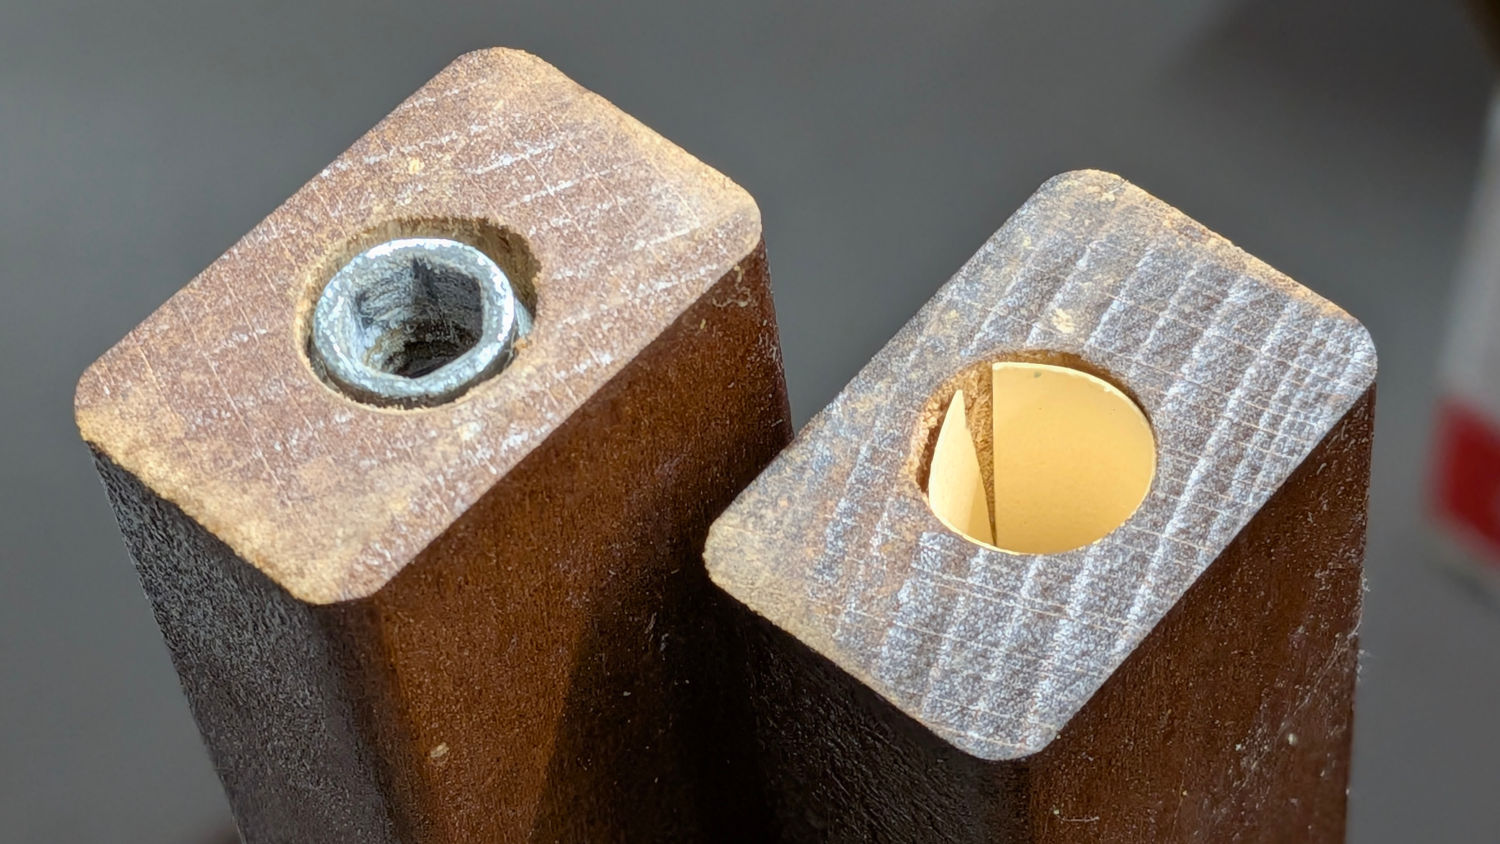
The two inserts on the left came from the top of the rack and the other two from the bottom:
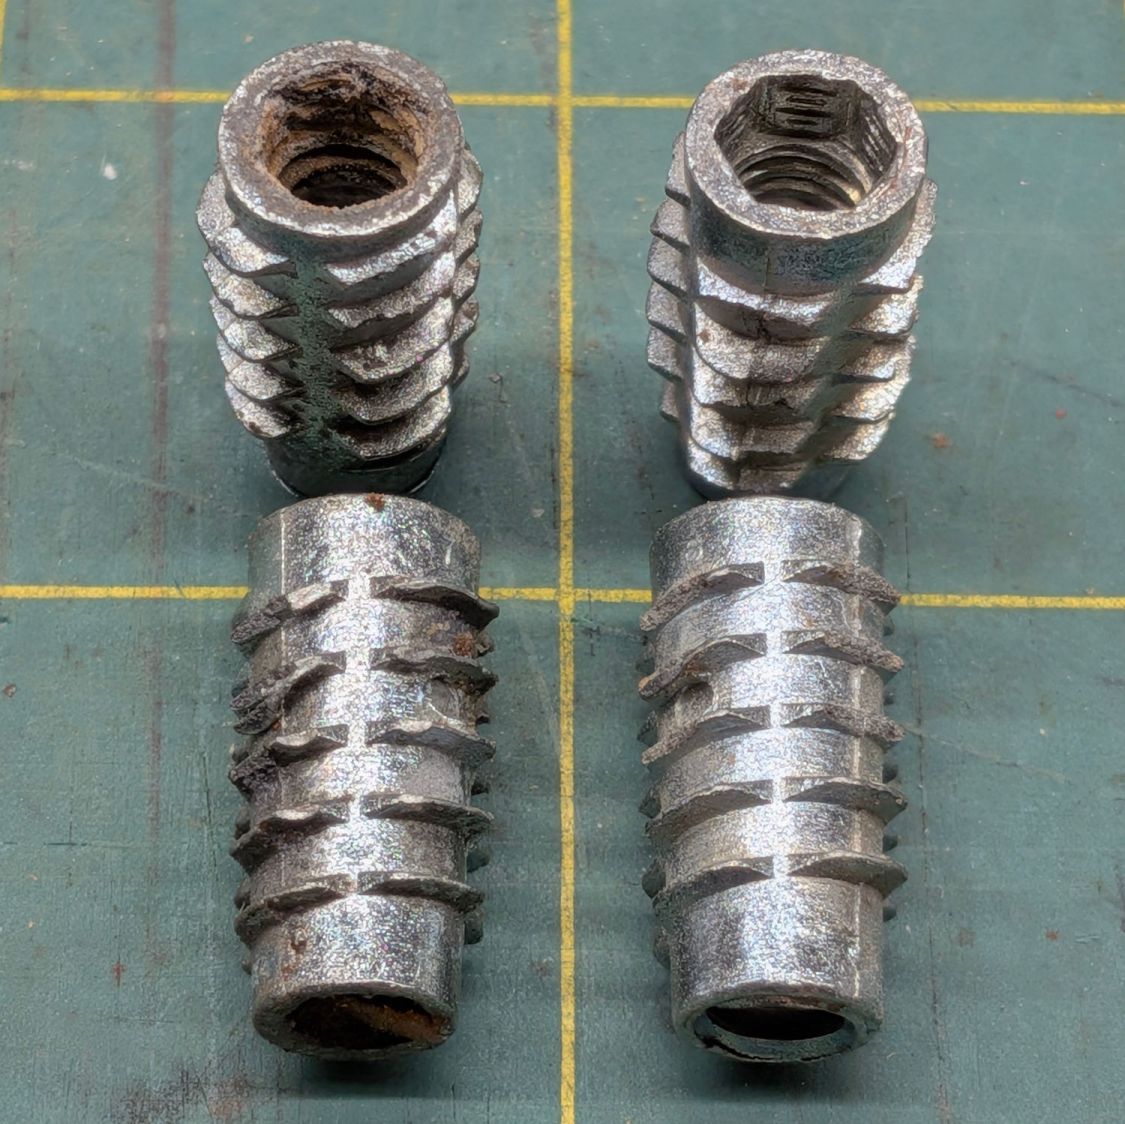
Similar inserts have a hex drive recess and, because these are for 1/4-20 screws, I expected an inch size hex key. Nope, they want a hard metric 6 mm:
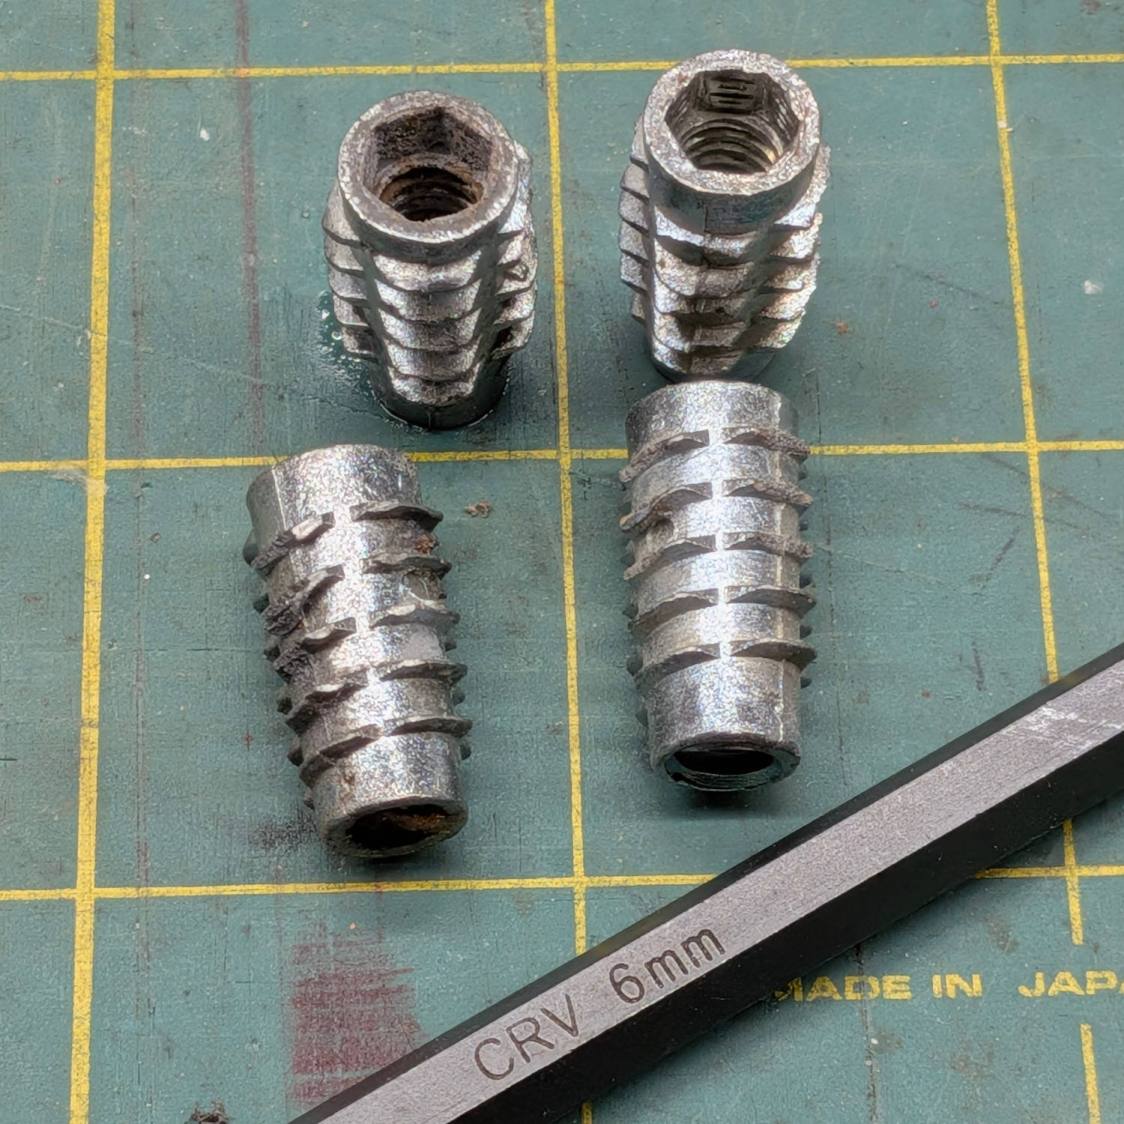
I cleaned up the corroded inserts by the simple expedient of tapping them firmly onto the 6 mm wrench held in the vise:
The crud around the bottom fell out of previous contestants during their reformation.
I considered epoxying the inserts in place, but settled for tucking a thick paper shim into each hole:
They’re entirely snug right now and, should they work loose, I’ll coat the hole with epoxy, roll up another shim, screw the insert in place, await curing, then declare victory and hope nobody must ever remove them.
The 1/4-20 screws in the top member sit deep in recesses that surely had decorative wood plugs when the rack left the factory. Alas, they’re long gone, which may have let water / moisture corrode the screws + inserts . I’m not much good for “decorative” items, so this must suffice:
A snippet of double-sided tape on one side of the hole keeps them in place:
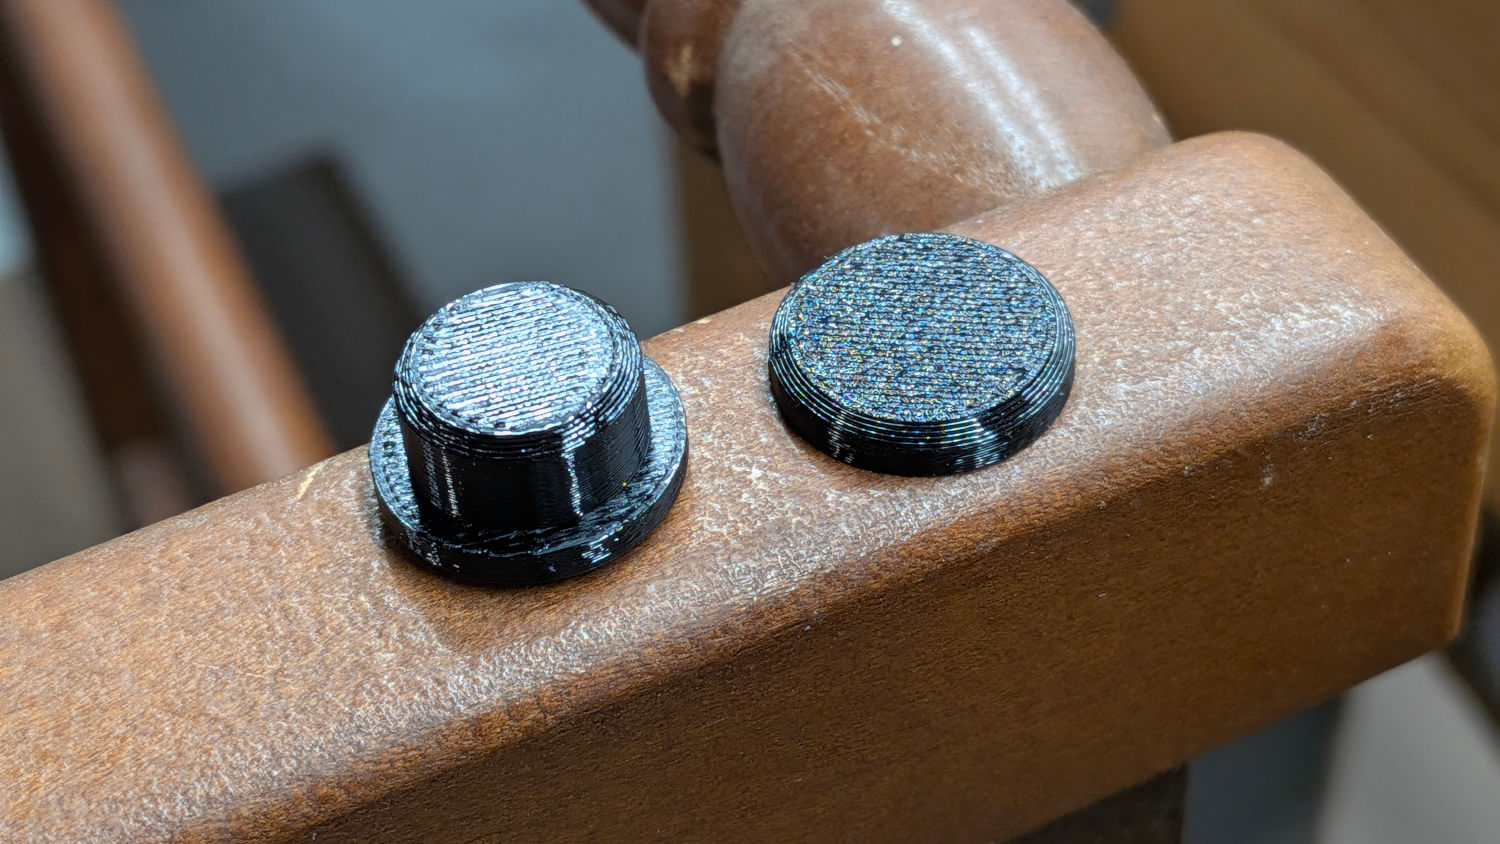
They look better in person …
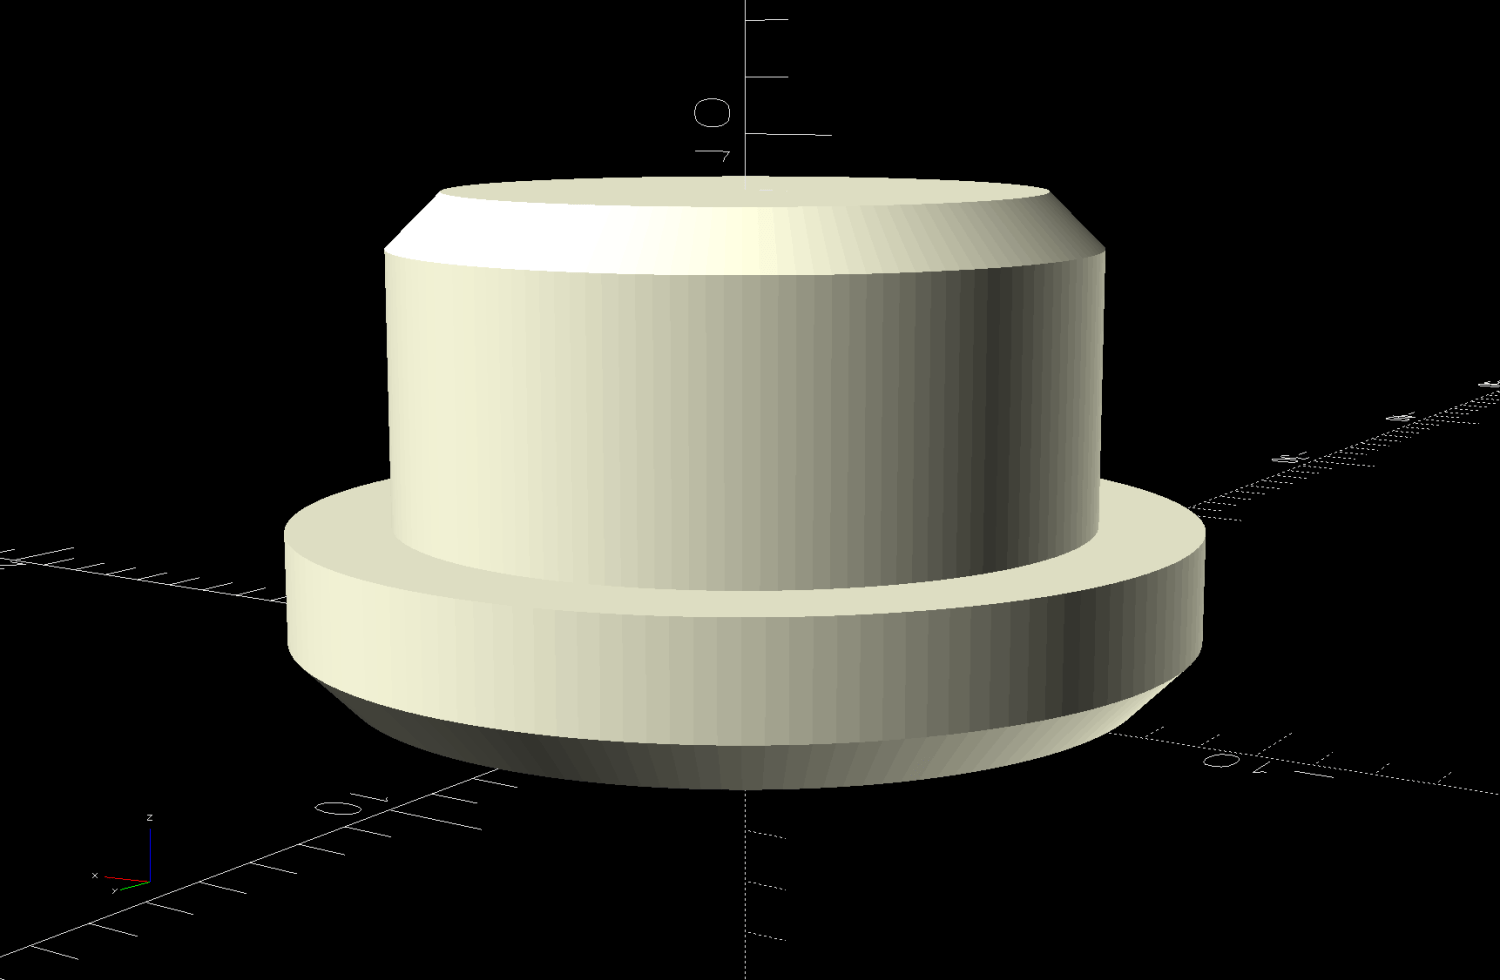
The trivial OpenSCAD source code:
// Clothes rack screw cover
// Ed Nisley - KE4ZNU
// 2026-03-13

include <BOSL2/std.scad>

/* [Hidden] */

NumSides = 4*3*3*4;
$fn=NumSides;

//----------
// Build it
//  … with magic numbers from the rack

cyl(3.0,d=16.7,chamfer1=1.0,anchor=BOTTOM) position(TOP)
  cyl(6.0,d=12.9,chamfer2=1.0,anchor=BOTTOM);

Spam comments get trashed, so don’t bother. Comment moderation may cause a delay.