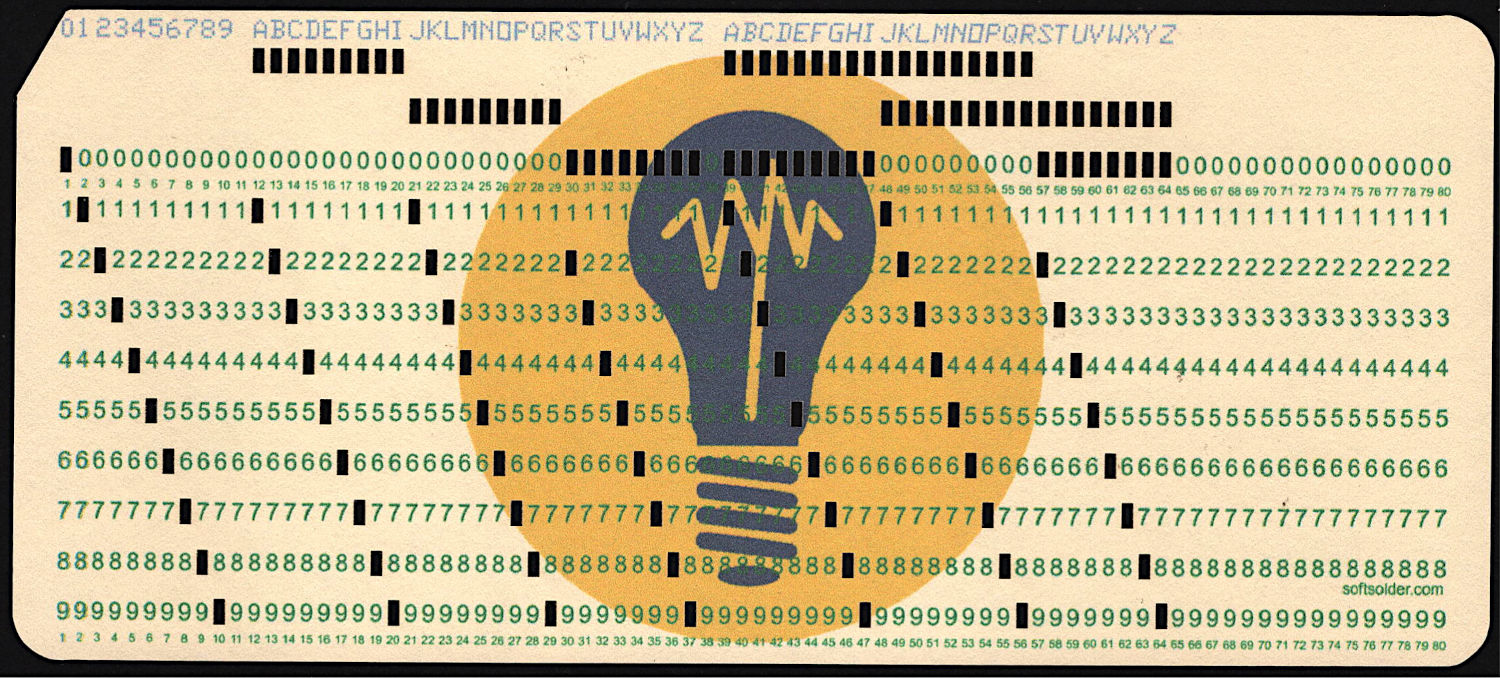
The printed card layout has targets in all four corners:
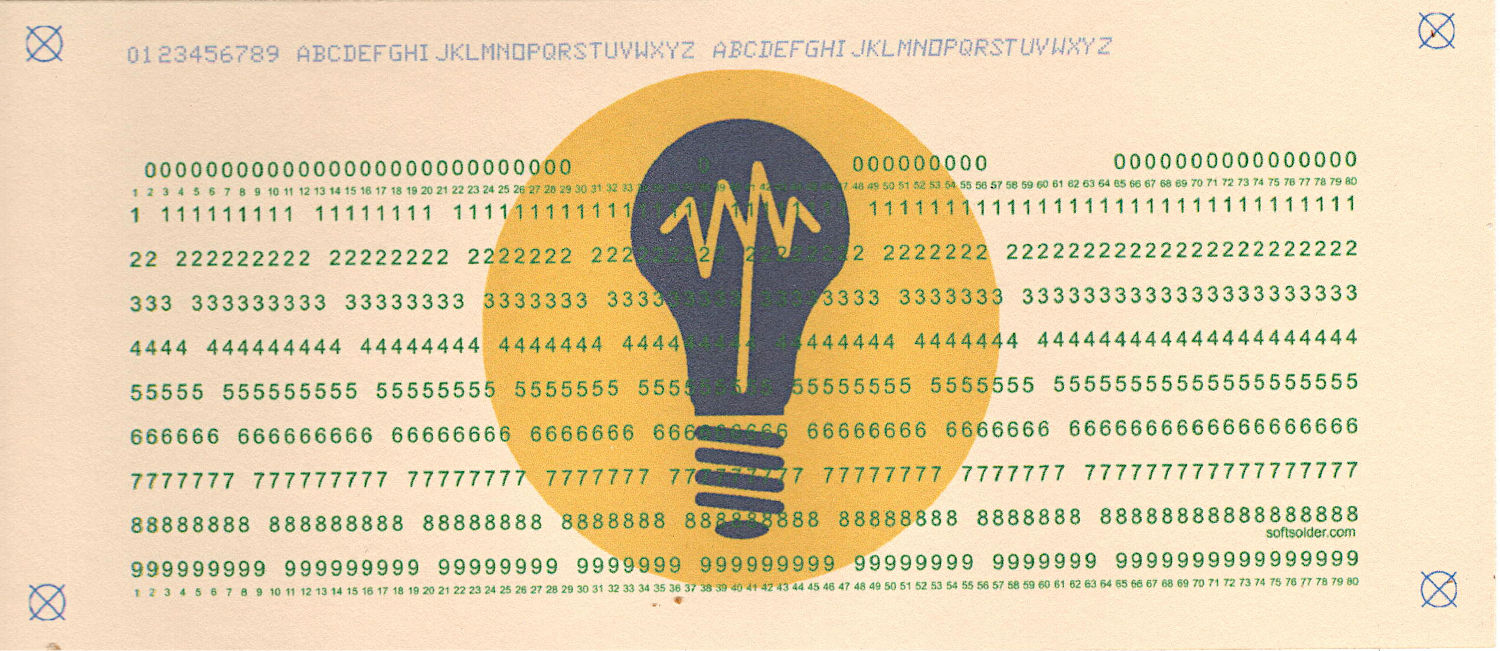
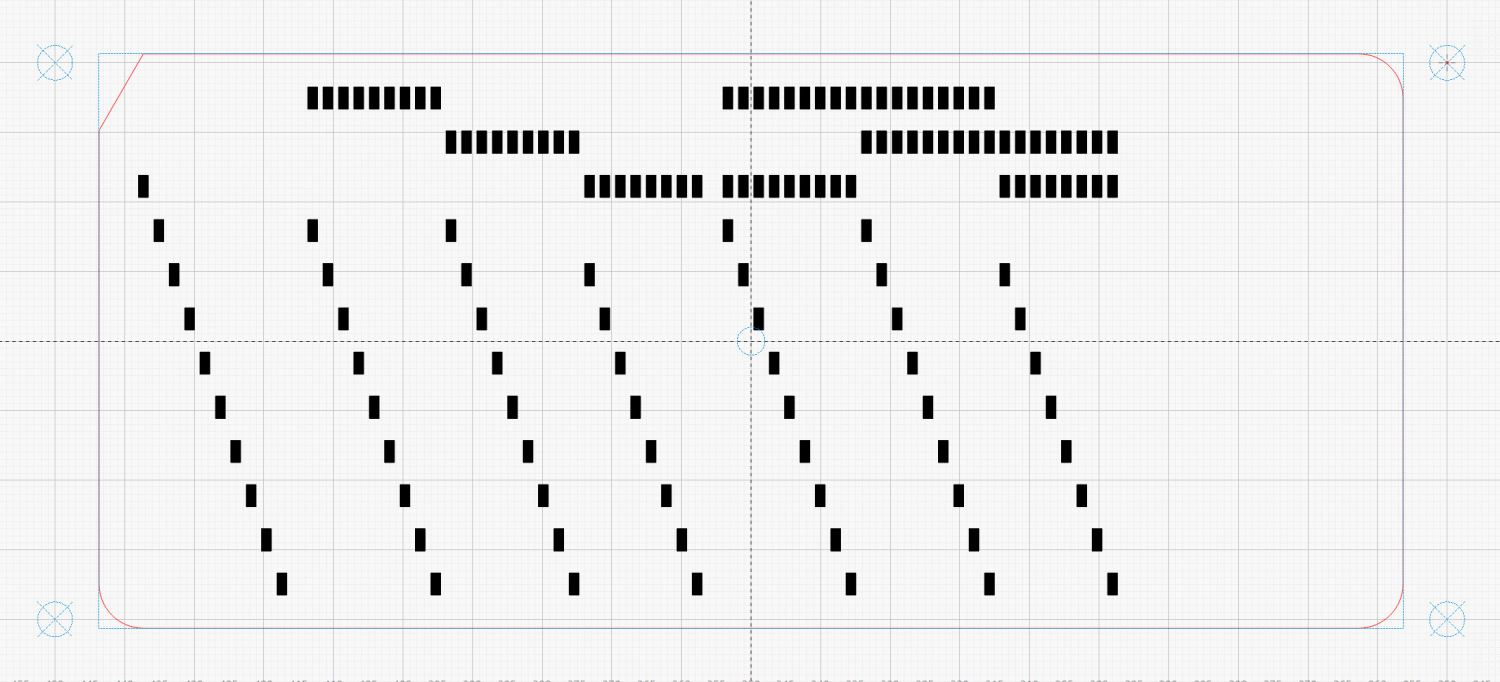
Which are at exactly the same positions as the targets in the punched card layout, because they come from the same source code:
The alignment problem has several parts:
- The 1/3 Letter sheets aren’t exactly (11 inch)/3 tall, because neither the paper cutter nor my cutting hand have any particular accuracy
- The printer’s feed rollers don’t maintain the sheet’s angular or positional alignment as it travels through the printer
- A fractional-millimeter misalignment between the printed characters and the evaporated holes is obvious
- Performing an intricate alignment dance on each card guarantees at least an occasional misstep
I initially thought “Well, of course, I’ll just use LightBurn’s Print and Cut tool to match them up.” After some fumbling around, PnC is entirely too heavyweight for the problem at hand and a much simpler / faster / easier technique works better.
It turns out LightBurn imports SVG files centered on the layout grid representing the laser platform:
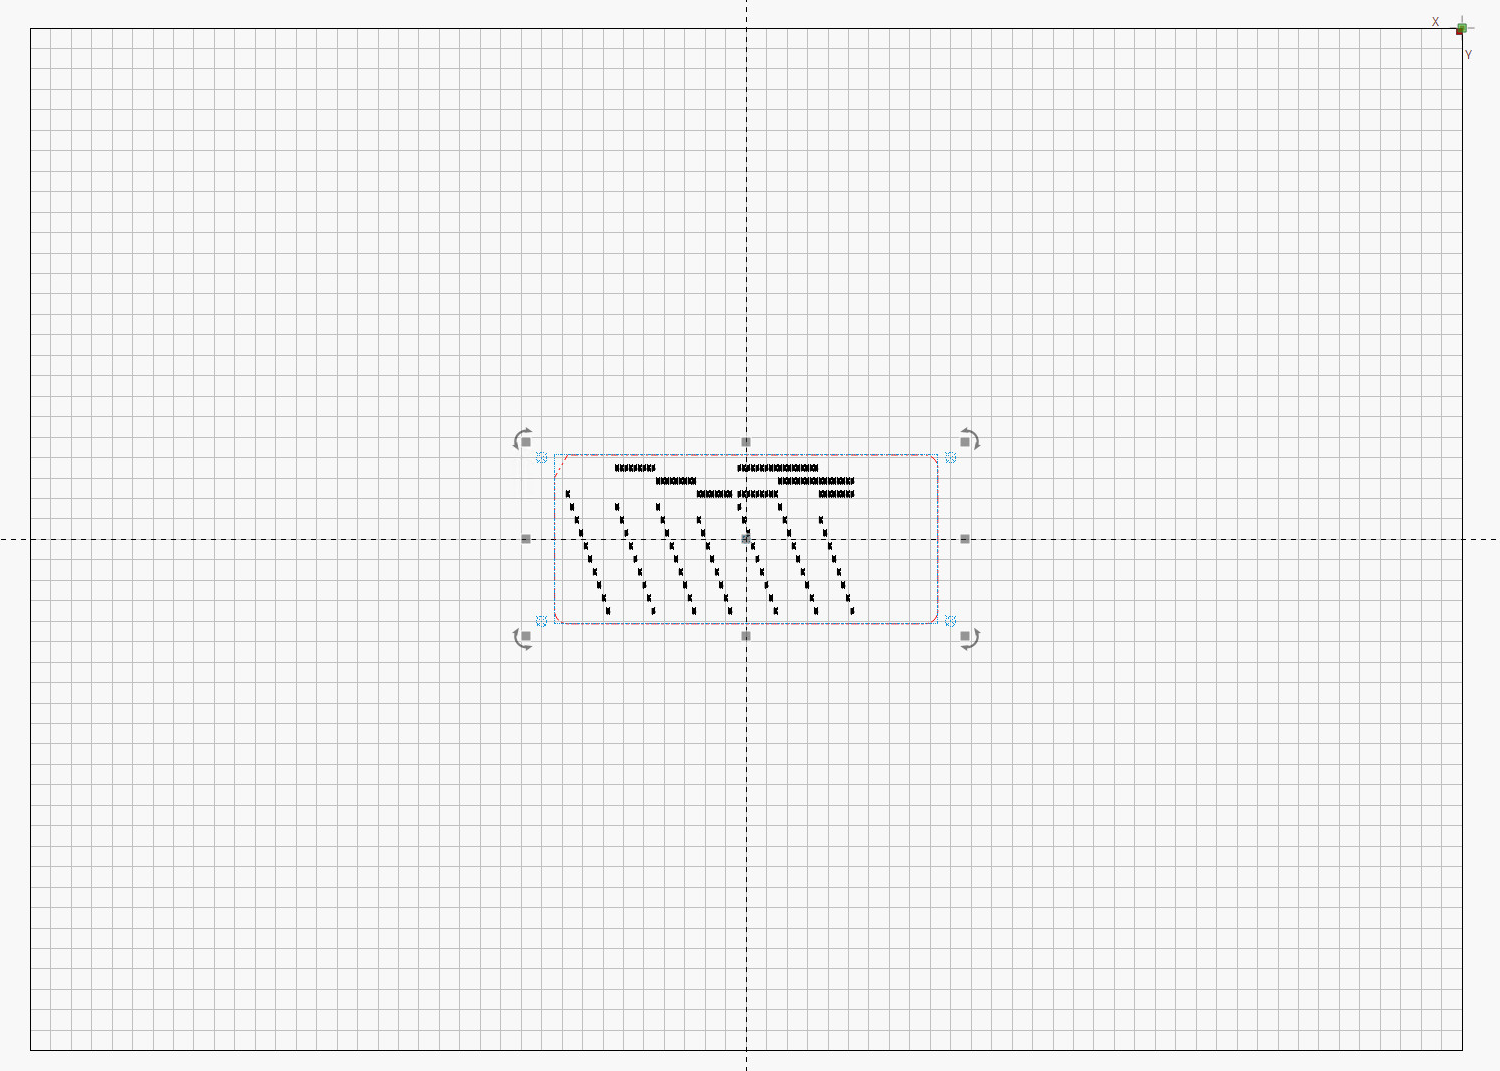
So putting the card fixture dead-center on the platform lines them up pretty closely:
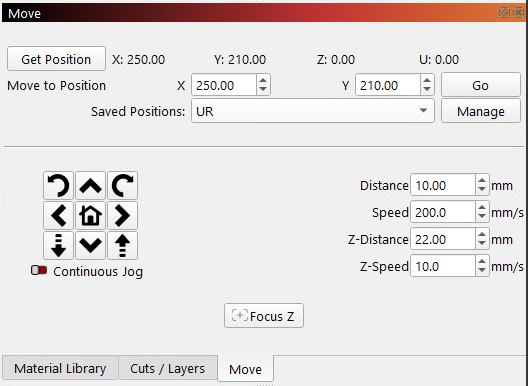
After importing an SVG, use Move Laser to Selection to put it in the middle of the upper right target, then create a Saved Position imaginatively called UR:
Repeat for the lower left target to create the LL position.
Because the targets are on 200×80 mm centers and the middle of the platform is at (350,250), the target positions will be nice round numbers:
- UR = (250,210)
- LL = (450,290)
Yes, the coordinates run backwards, because that’s how Ruida controllers deal with a home position in the rear right corner of the platform.
You define those positions once, because all the cards are the same size and end up in the same location on the platform.
Although I expected to slide the cards under the fixture’s retaining lip from the front, it turns out an easier way is:
- Gently buckle the card center upward
- Align it against the rear edge
- Slide the left edge under its lip
- Lower the center while sliding the right edge under its lip
- Tuck the card under the rear lip
- Verify the front edge aligns with the marked lines, which means it’s properly in the fixture
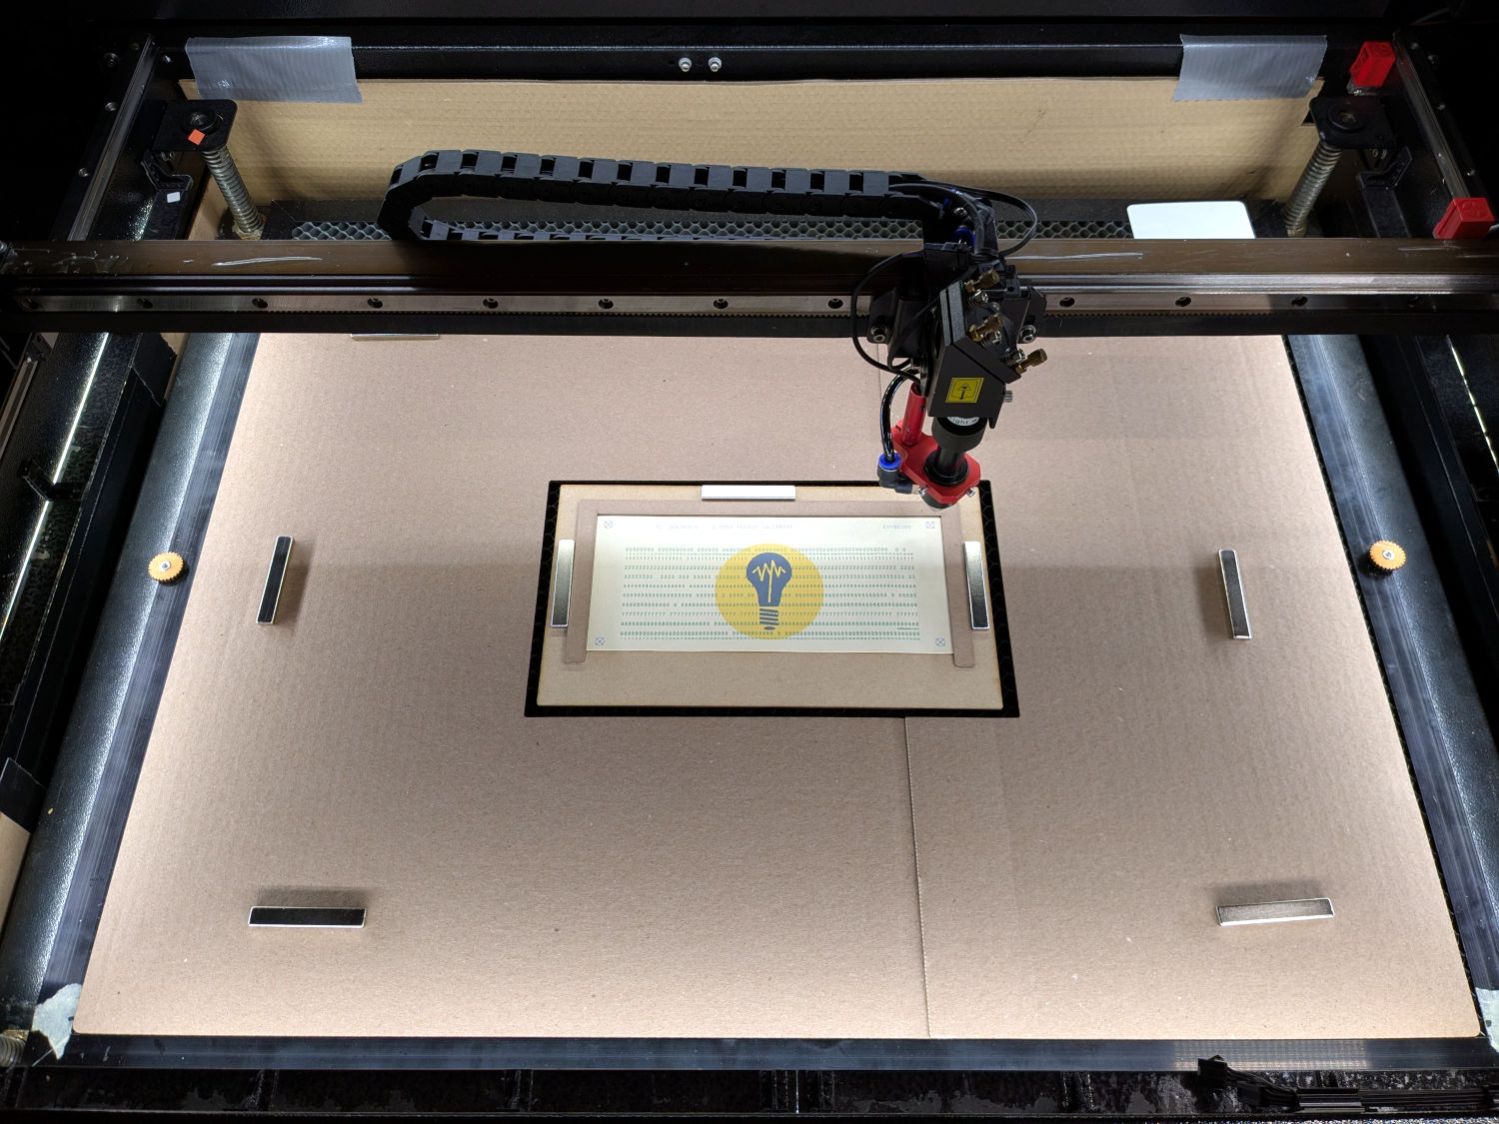
The magnets hold the fixture against the honeycomb:
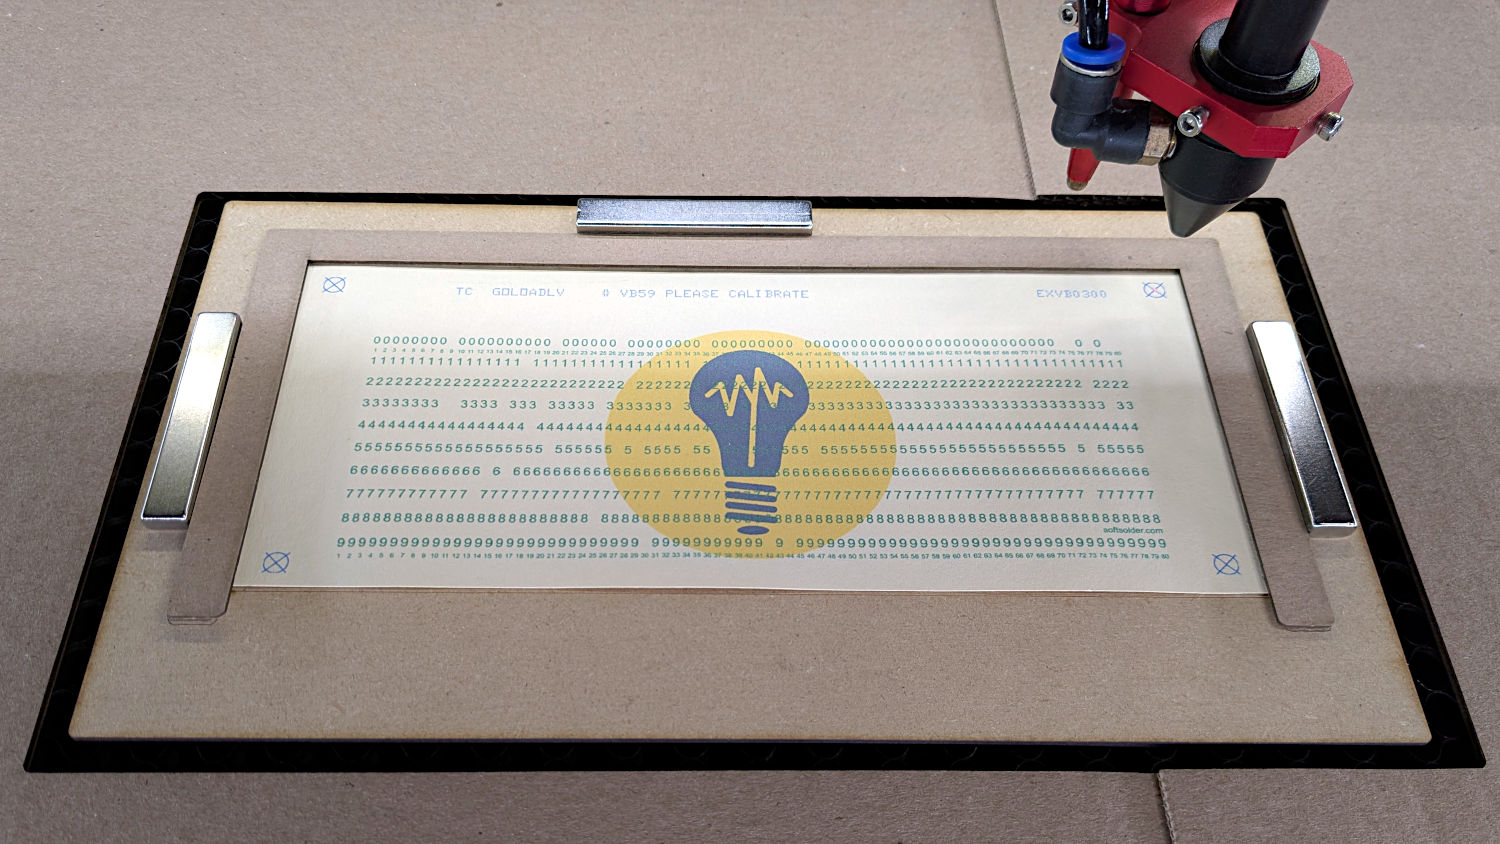
The fixture can still slide with firm finger pressure and the card can move a little bit within the fixture. Note that leaning on the honeycomb will press it (and the fixture) downward enough to put the dot at a slightly different position; if you align while leaning, recheck the dot’s position after you unlean.
Move the laser to the UR position and skooch the fixture to align the upper right target to the red dot:
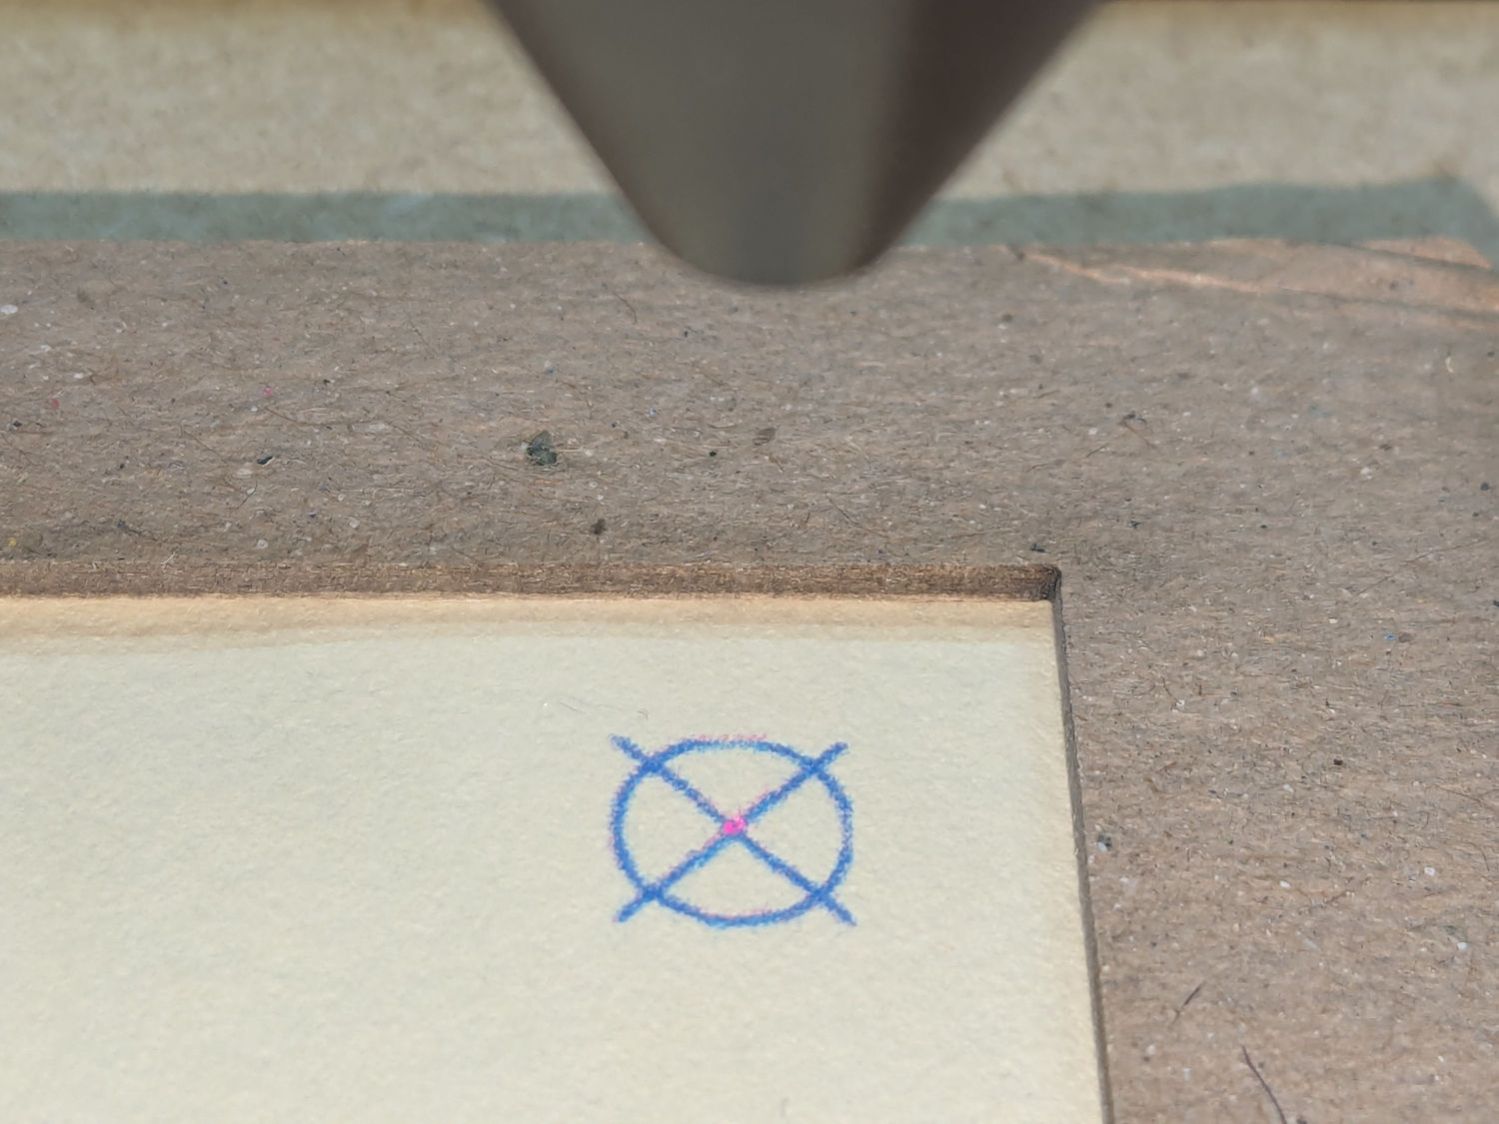
The blue lines are nominally 0.2 mm wide and actually about 0.3 mm wide, so the red dot is 0.3 mm diameter. If your red dot is larger, better focus and a polarizing filter will help.
I periodically fire a test pulse to verify the red dot matches the actual laser beam position:
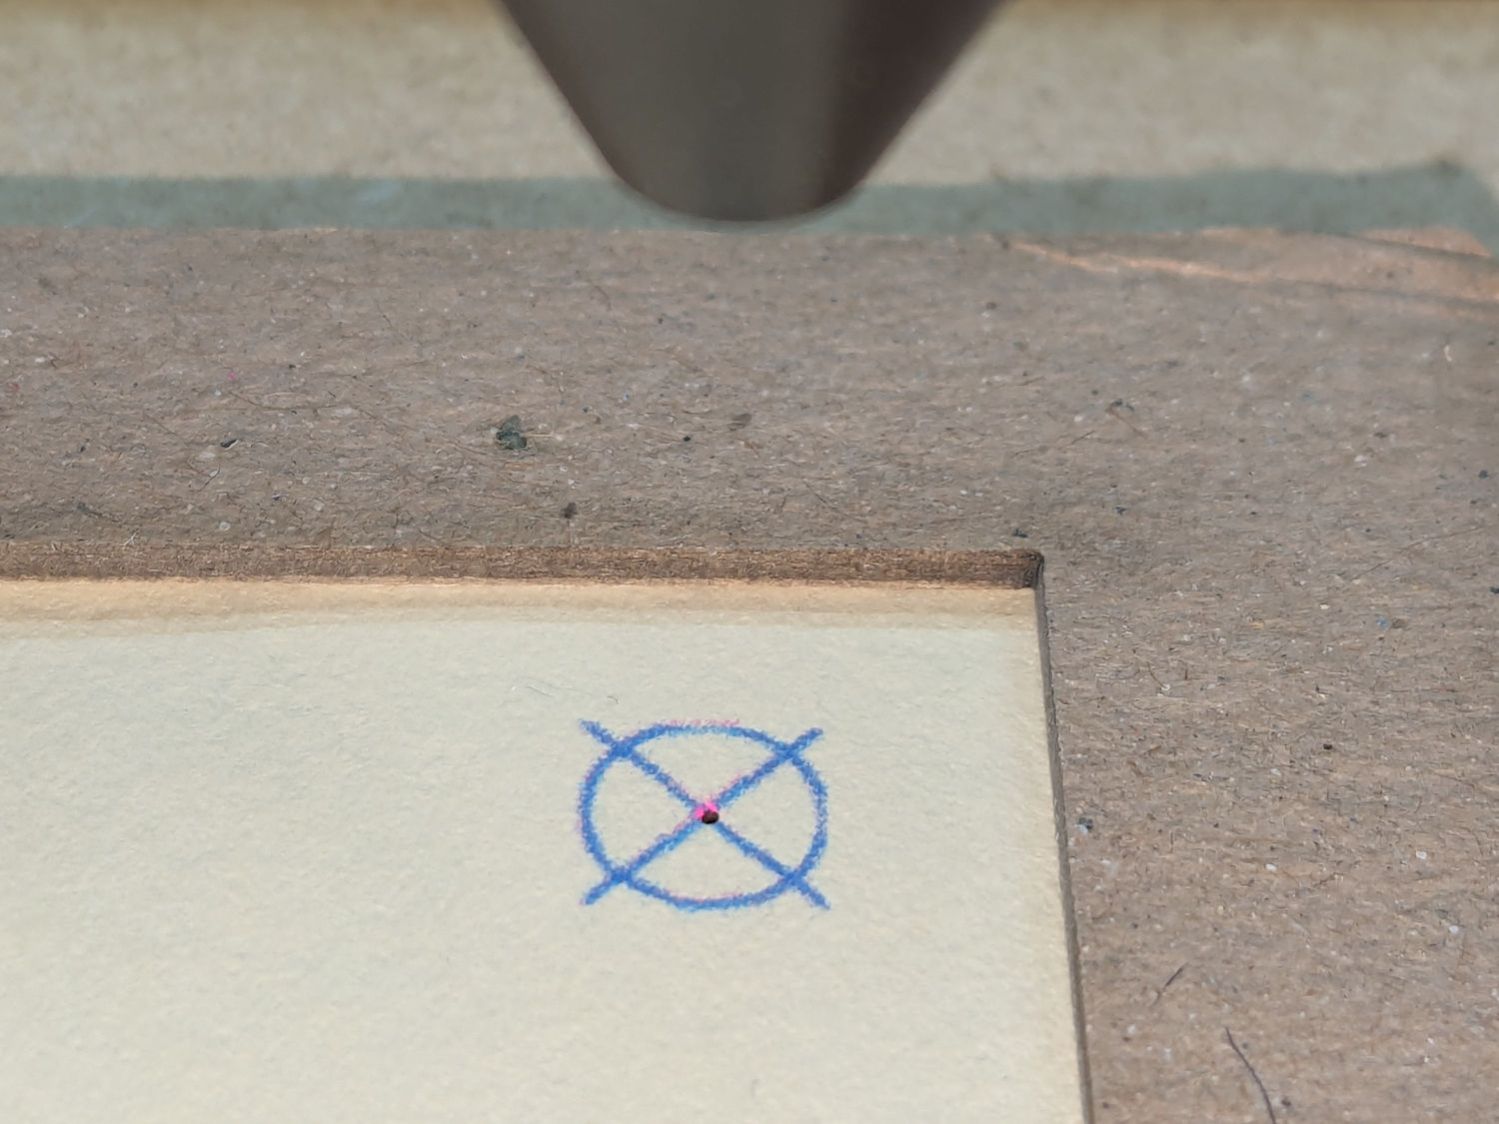
That slight mismatch adds to the overall positioning error.
Repeat for the LL target, recheck UR to make sure it didn’t move, iterate as needed.
The printed card is now aligned to the hole pattern about to be burned into it.
Although this sounds like a lot of faffing, it goes surprisingly quickly because all the cards are Pretty Close™ to identical and the adjustments are very small. Although it’s possible to park the laser head at the UR position, I prefer to have it out of the way while unloading & loading the cards, then move it directly to UR to check the new card.
Fire The Laser:
I love it when a plan comes together:
A dash of automation helps when doing more than one card, which, believe it or not, involves a Windows batch file …

Spam comments get trashed, so don’t bother. Comment moderation may cause a delay.