After positioning the smashed glass fragments atop reflective metalized paper in the 3D printed coaster base, I poured epoxy over everything and, after popping some bubbles, left it to cure:
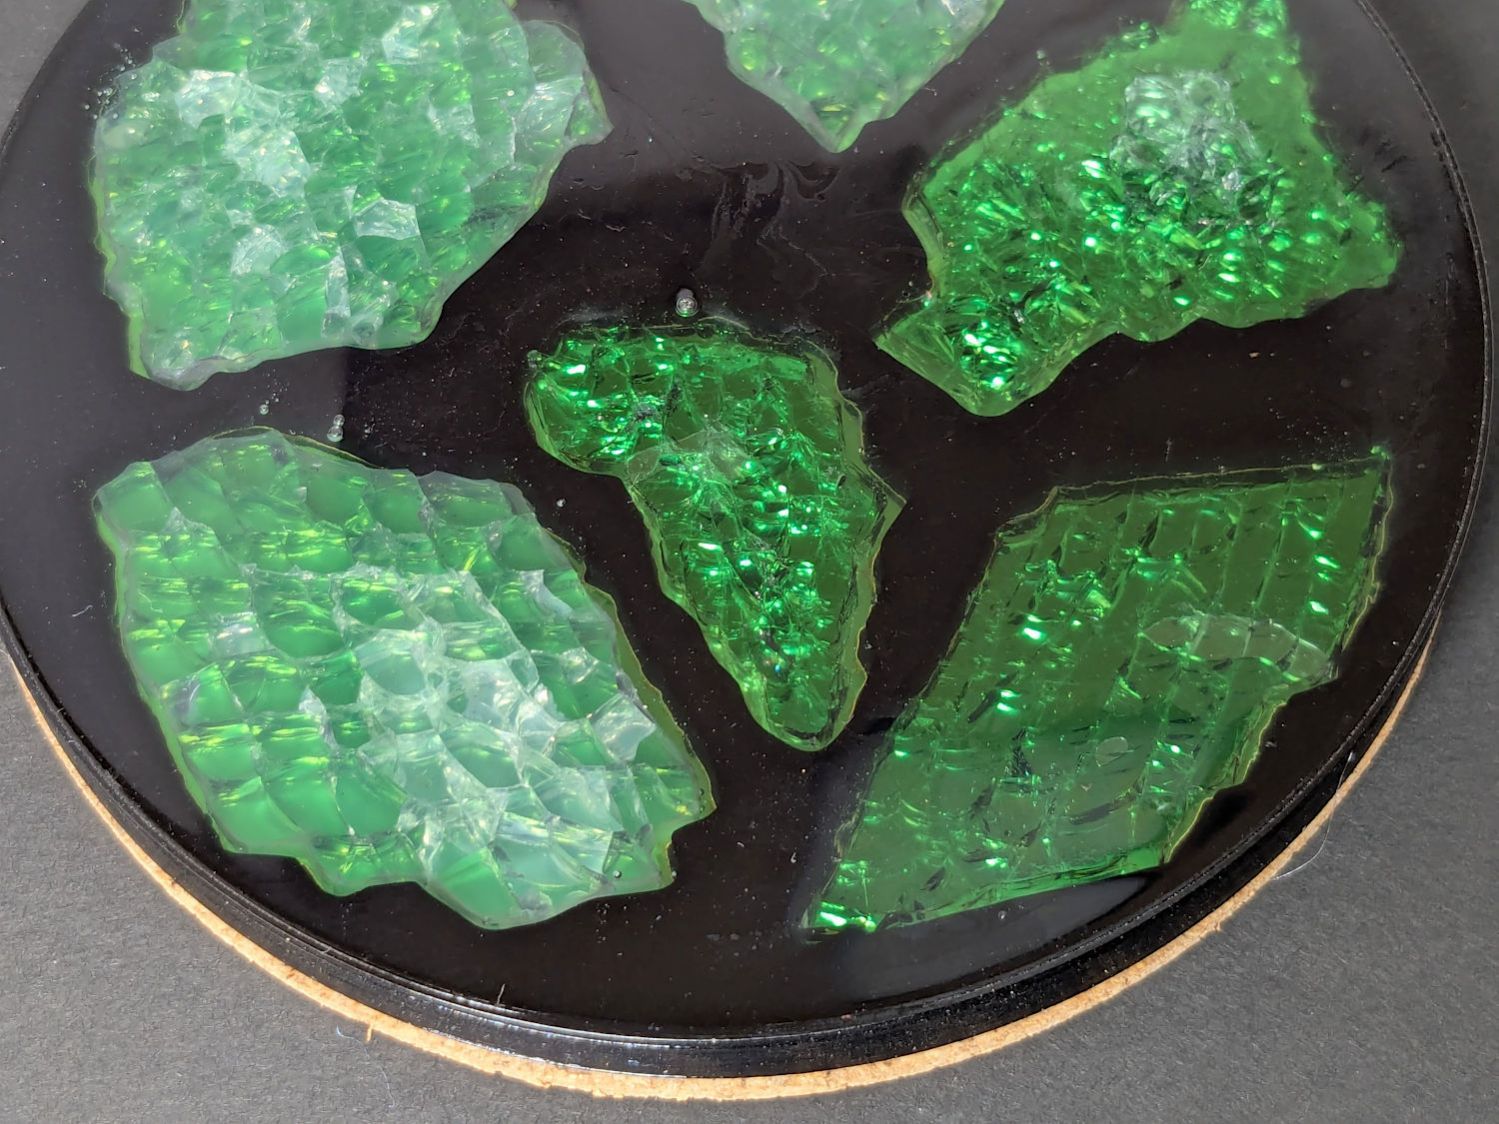
I sprayed the white-ish fragments (on the left) with satin-finish clear rattlecan “paint” in the hopes it would keep epoxy out of the cracks between the glass cuboids and leave the highly reflective air gaps. While it did a reasonable job of sealing, it bonded poorly with the epoxy and produced a dull surface finish.
The unsprayed fragments (on the right) turned out better, although the one in the upper right has a thin air bubble / layer on top. The unsealed cracks between the cuboids show well against the reflective layers, so I think spraying the fragments isn’t worth the effort.
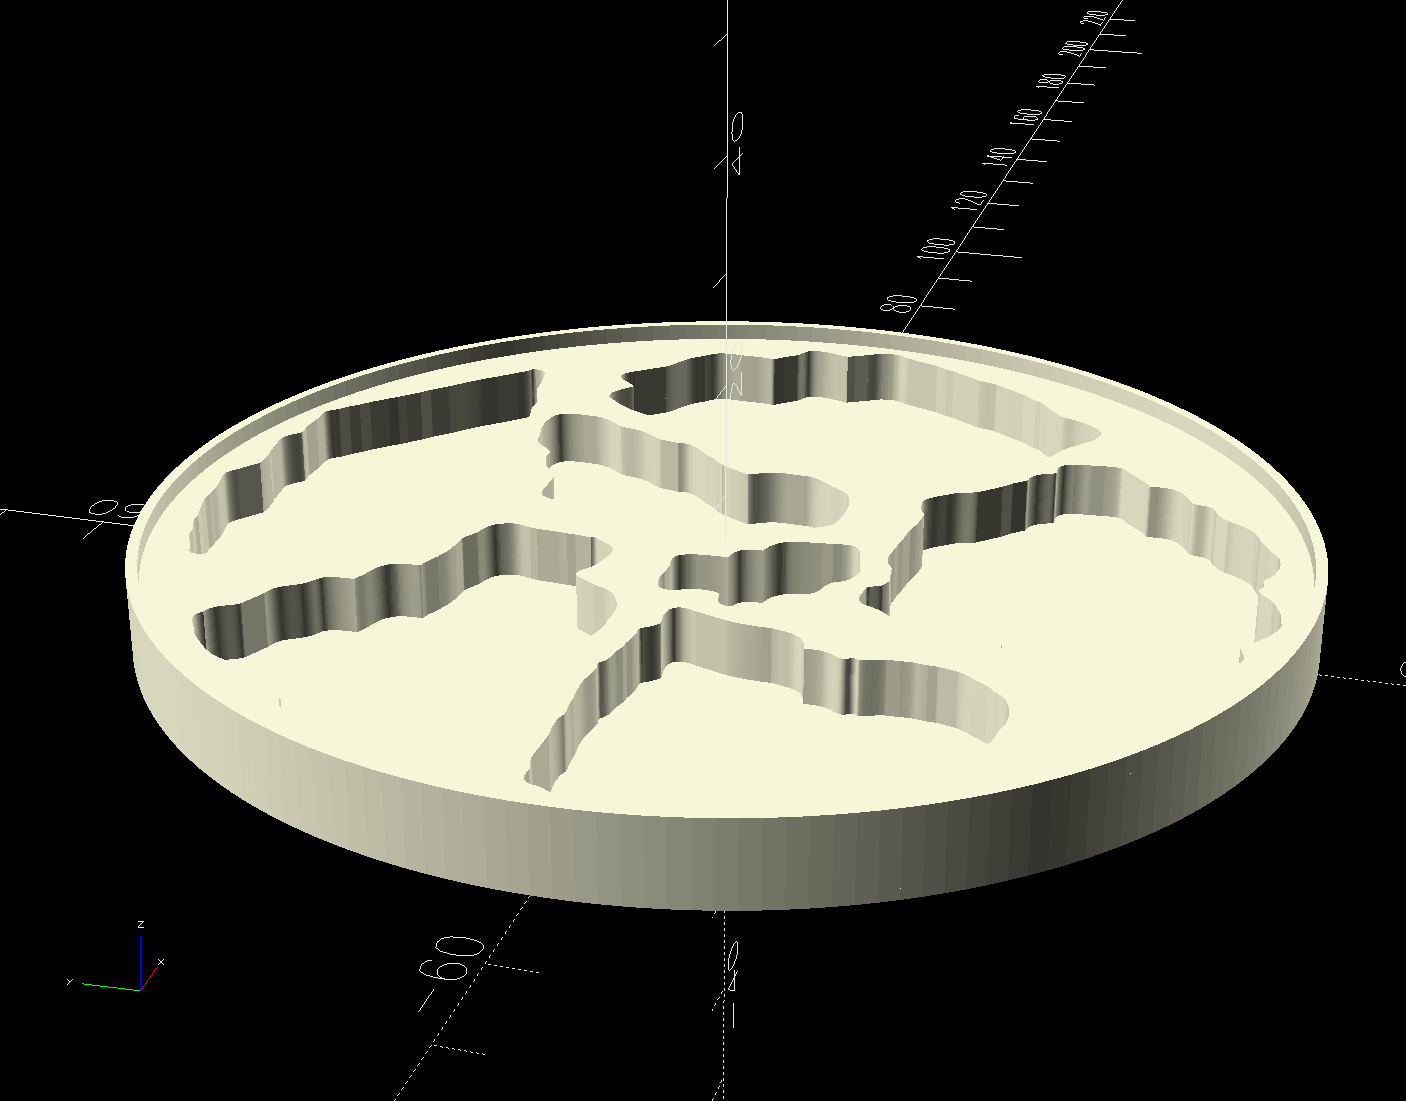
The printed base has a 1 mm tall rim to retain the epoxy:
I mixed enough epoxy to fill half the volume of a disk with the same overall OD and depth (V = h × π × d²/4), which turned out to be barely enough produce a level surface at the rim. There didn’t seem that much epoxy left on the various measuring / mixing cups, but next time I’ll round upward.
Many of the bubbles emerged from below the metalized paper, as well as between the glass and paper, so next time:
- Set up a level platform with a sacrificial cover
- Omit the adhesive sheet under the metallized paper
- Pour a little epoxy into the recesses
- Squish the metallized paper into place
- Pour more epoxy to cover the paper
- Gently squish the glass fragments into place
- Ease more epoxy around the fragments
- Chivvy the bubbles away
- Fill to the rim
The top isn’t exactly flat and has some dull areas, so at some point I want to make it flat with 220 grit sandpaper, work up to some 3000 grit paper I’ve been saving for a special occasion, then finish it off with Novus polish. Which seems like enough hassle to keep the coaster under my sippy cup for a while.
