Having recently had to move the flat box of shattered glass to get something from behind it, I figured I could apply new techniques to old material :
This is something of a test case to restart the whole process, so it has a few bloopers. This post covers the results, with more detail on the process to follow.
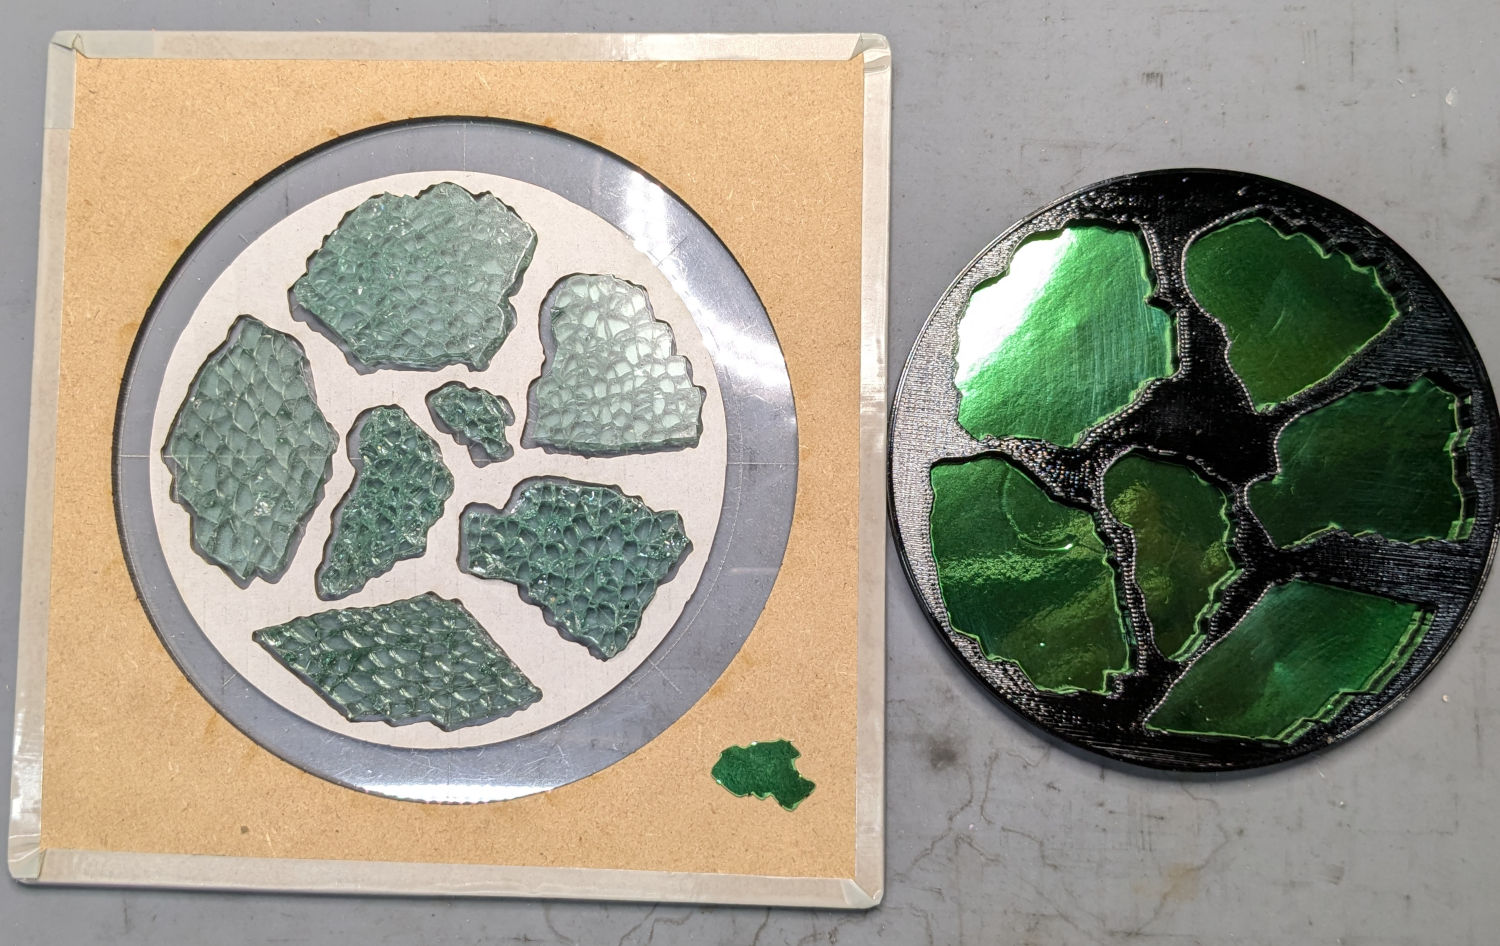
Arrange some good-looking shattered glass fragments within the 4 inch circle on the fixture:

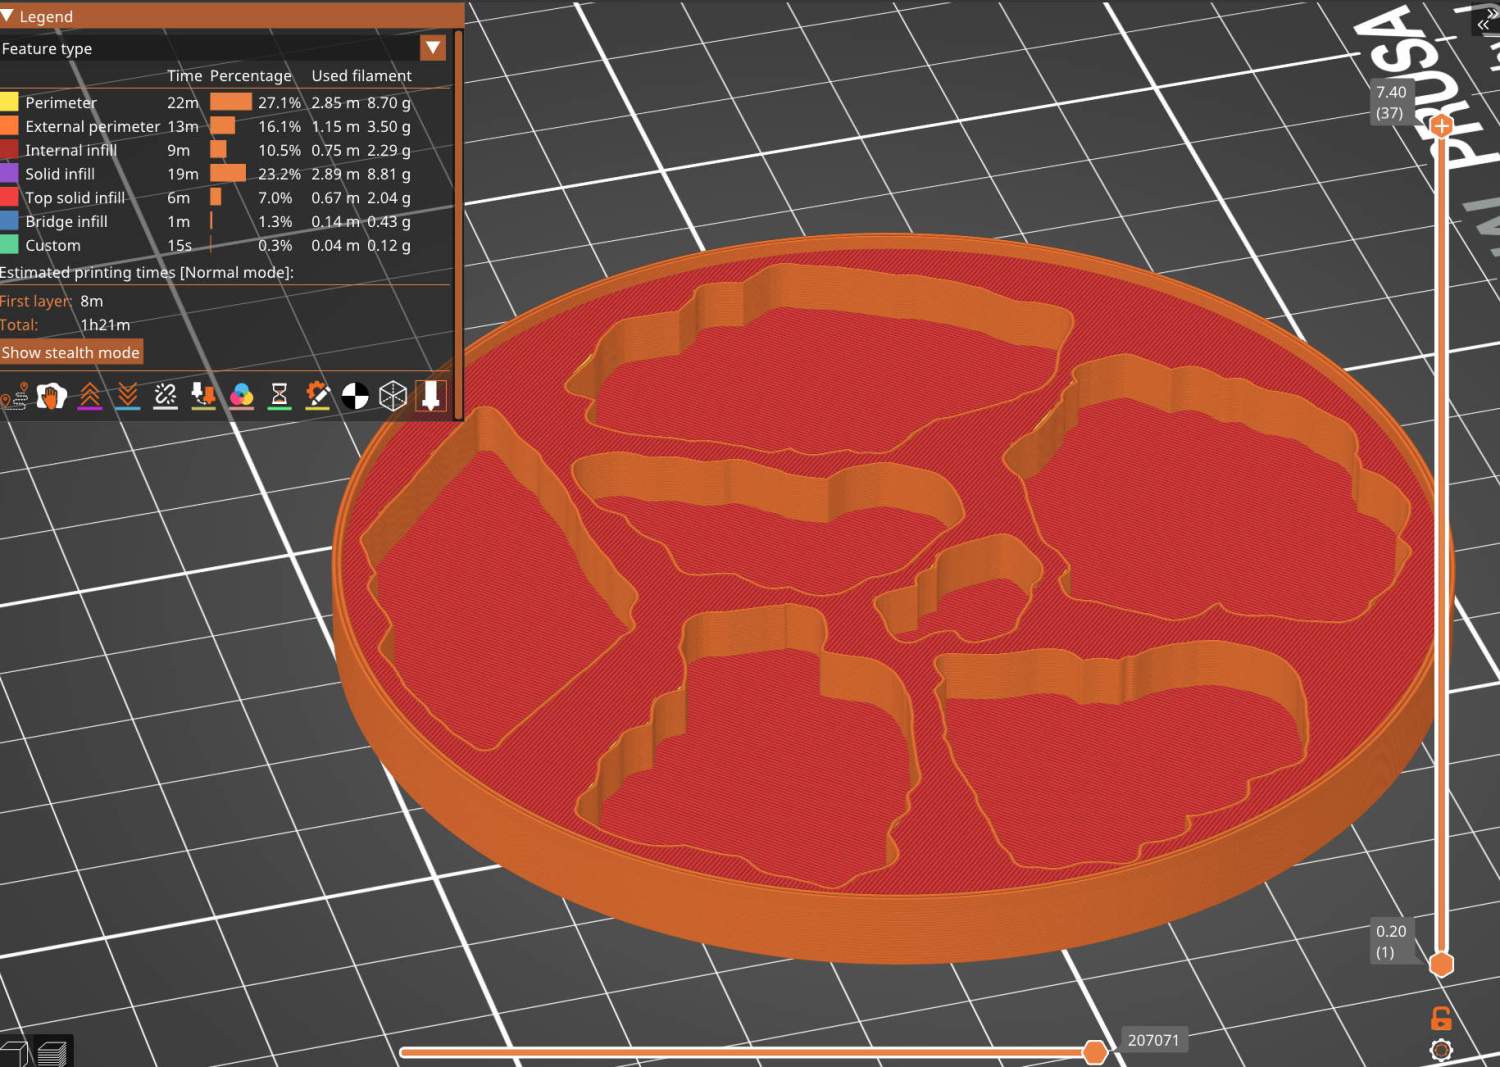
Scan it, trace the outlines into paths using GIMP, label the paths in Inkscape, import into LightBurn to laser-cut the chipboard disk in that picture to verify enough clearance around the fragments, import into OpenSCAD, and produce a solid model for PrusaSlicer:
While it’s printing, laser-cut green metallized paper to serve as a reflecting layer below the glass, then affix the paper to the bottom of the recesses:
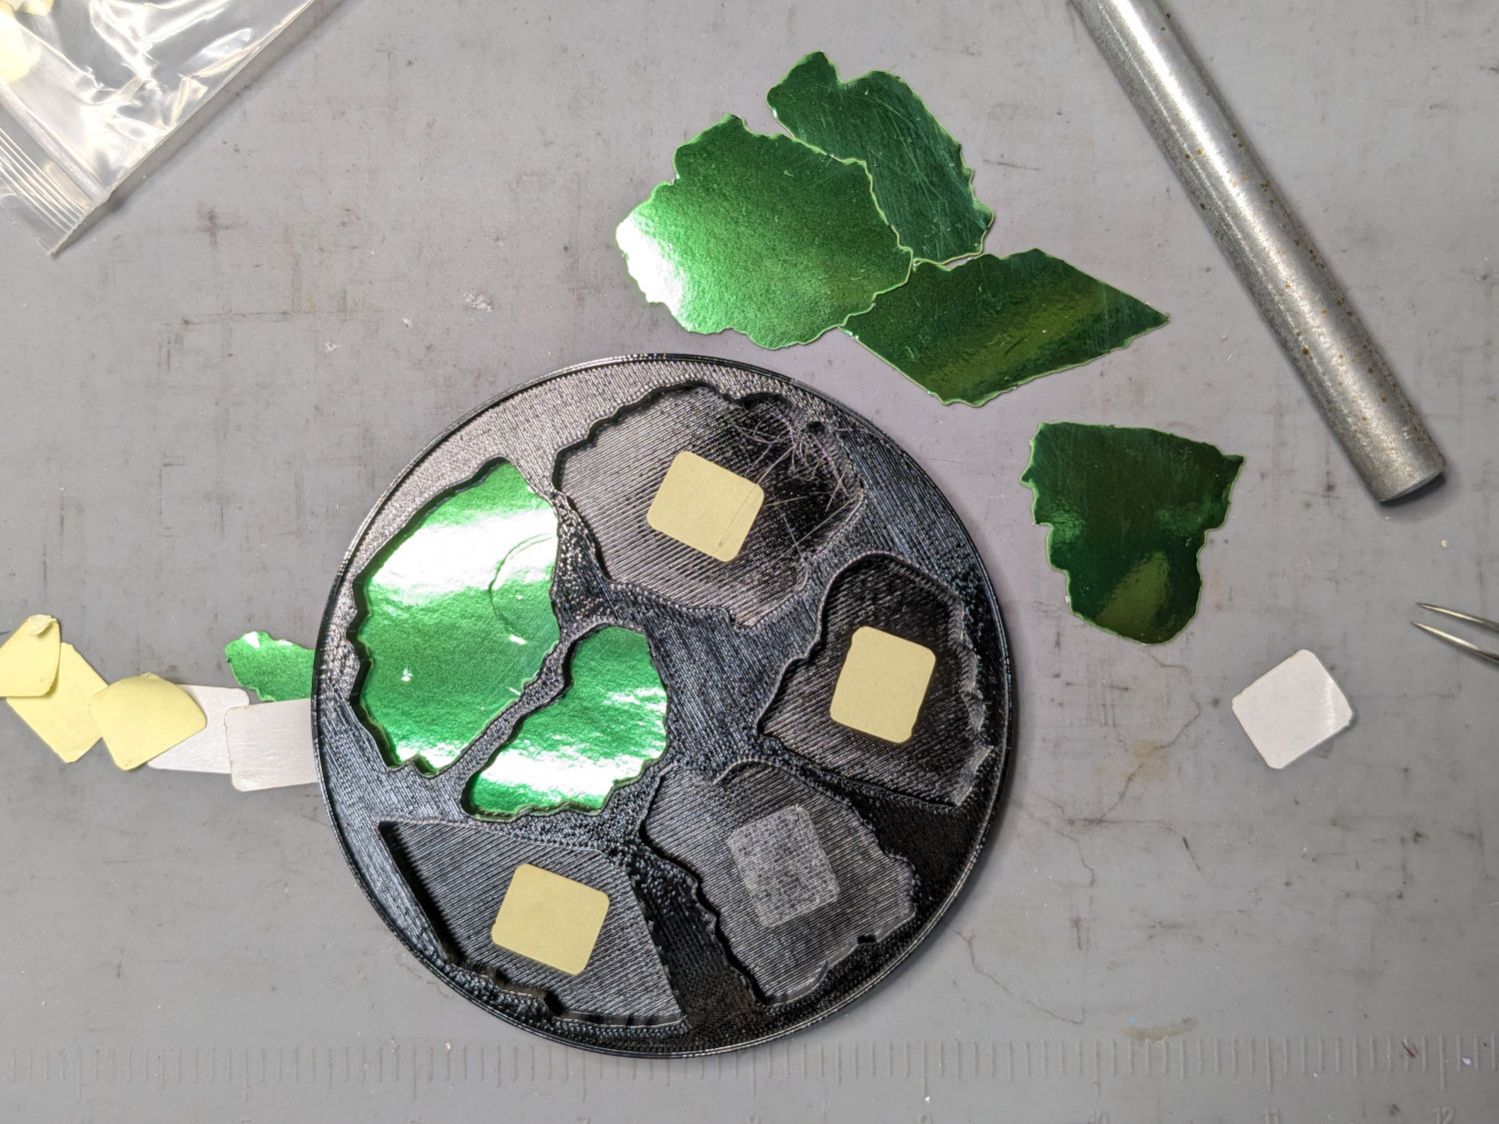
During that process I discovered one of the fragment recesses didn’t make it from the Inkscape SVG file to the OpenSCAD model:
Like I said: bloopers. That fragment now has its place in the OpenSCAD code and the slicer preview above, not that I have matching fragments to build another one.
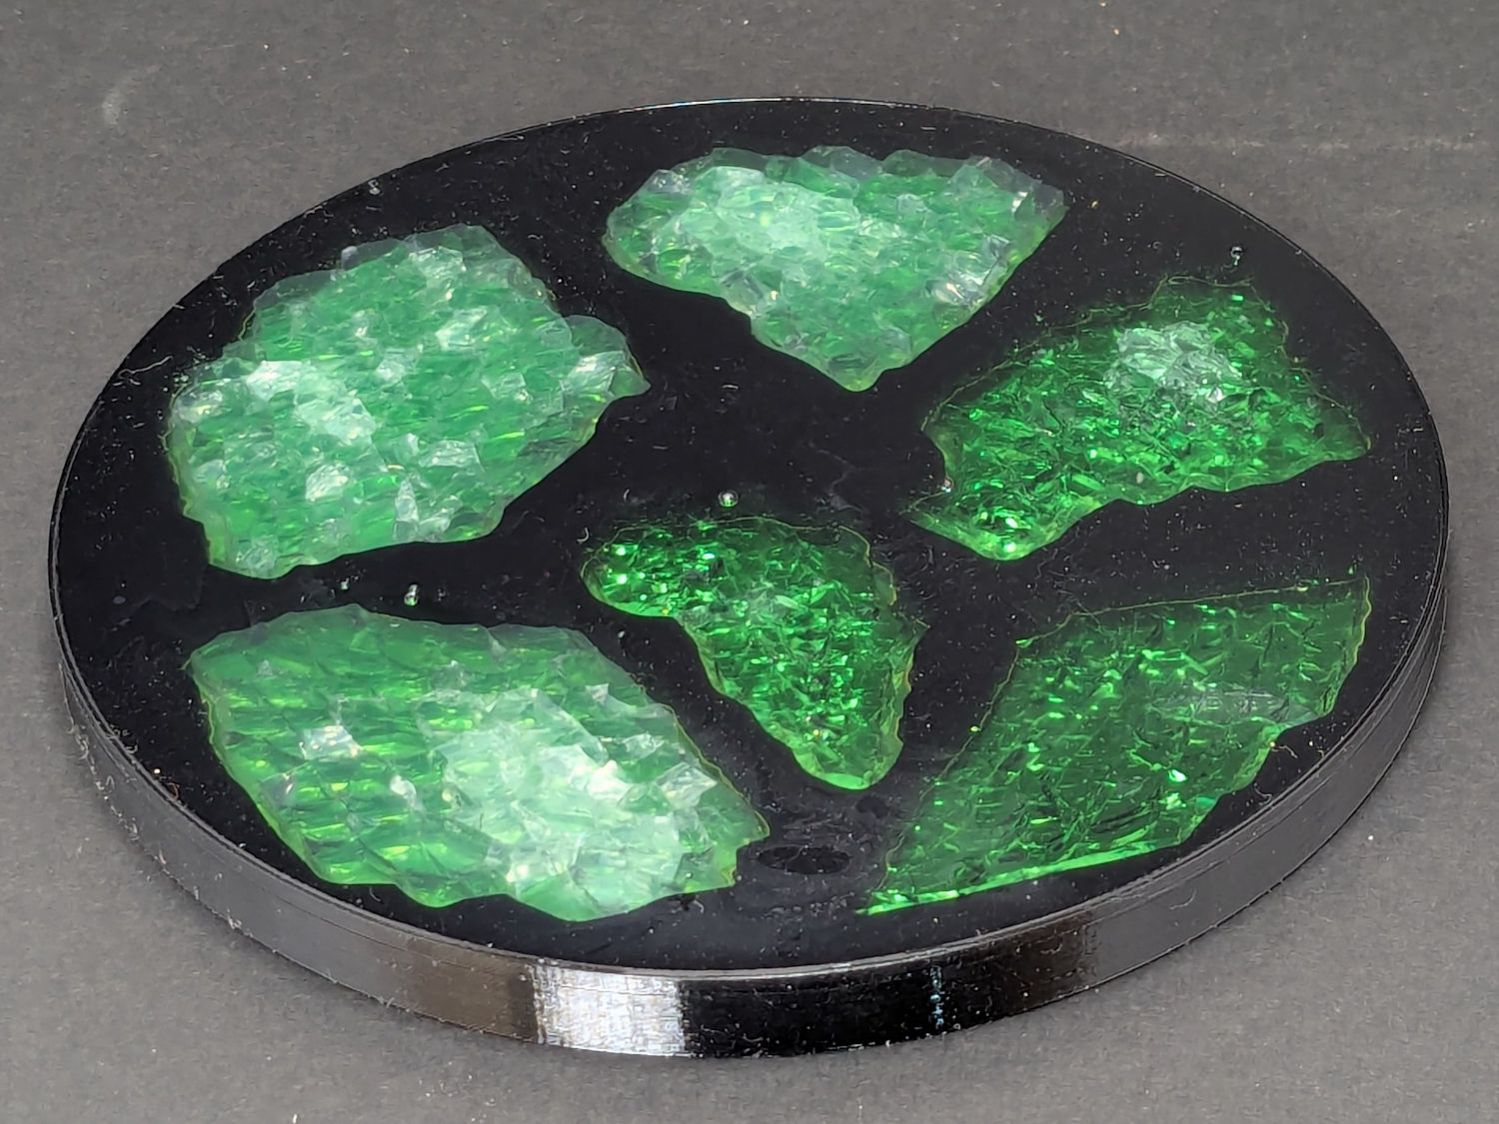
Put all but one fragment in their places, pour clear epoxy over everything, pop bubbles for a while, then let it cure overnight:
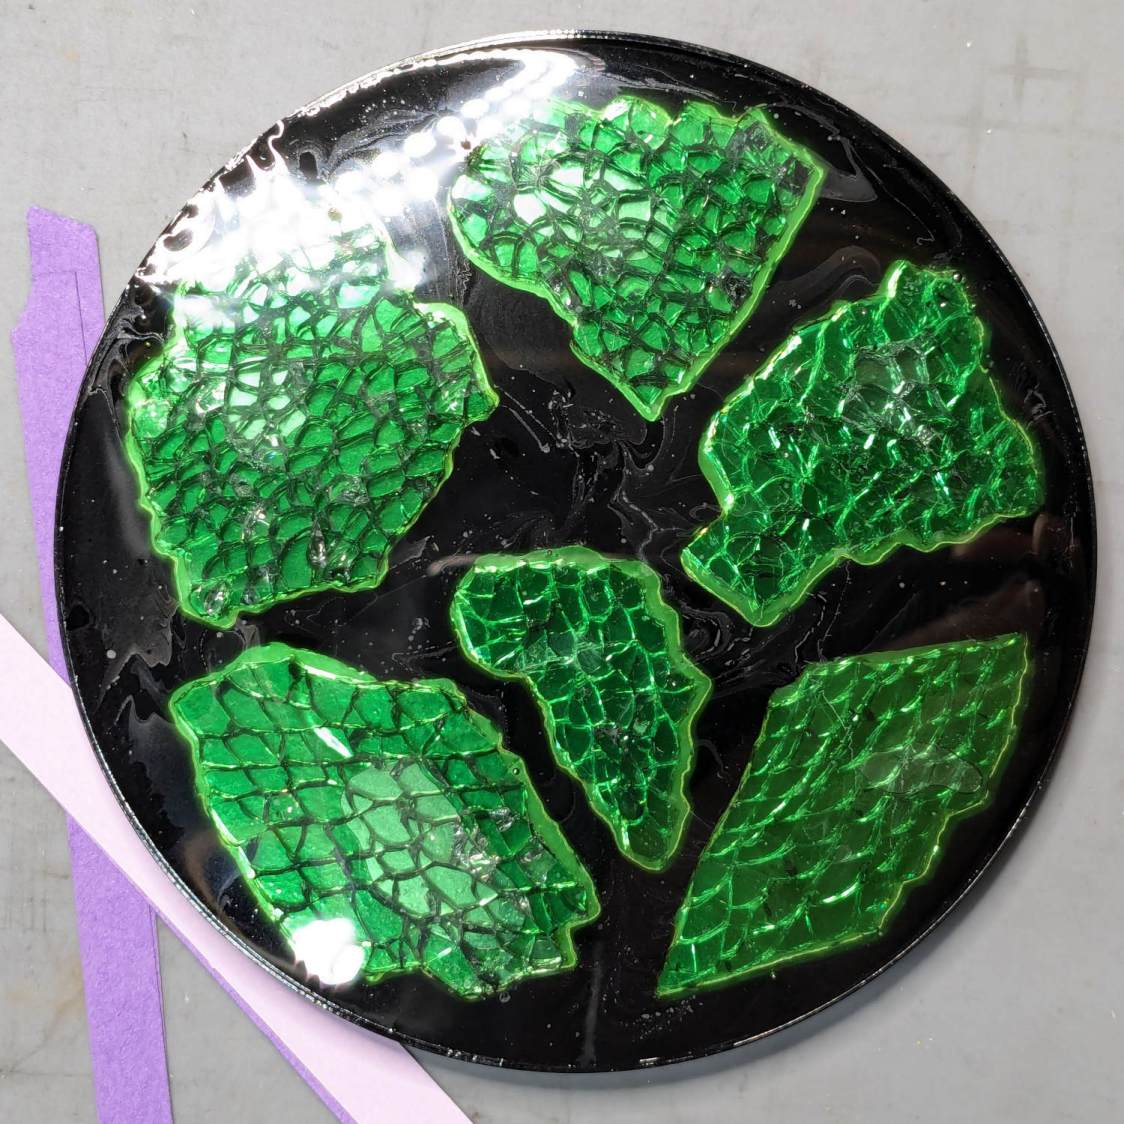
Stick a PSA cork disk on the bottom and it’s ready for service.
I’ve seen worse … :grin:

Comments
5 responses to “Smashed Glass: 3D Printed Coaster”
[…] motivation for making Yet Another Coaster was to see if combining a few techniques I’ve recently learned would produce a nicer […]
[…] positioning the smashed glass fragments atop reflective metalized paper in the 3D printed coaster base, I poured epoxy over everything and, after popping some bubbles, left it to […]
[…] They’re considerably improved from the first attempt: […]
[…] initial test piece was a round […]
[…] selected and laid out the smashed glass fragments for the first few coasters by […]