The overall measurement process for the HLP-200B laser power meter requires more coordination than I can muster on a dependable basis, so a third hand seemed in order:
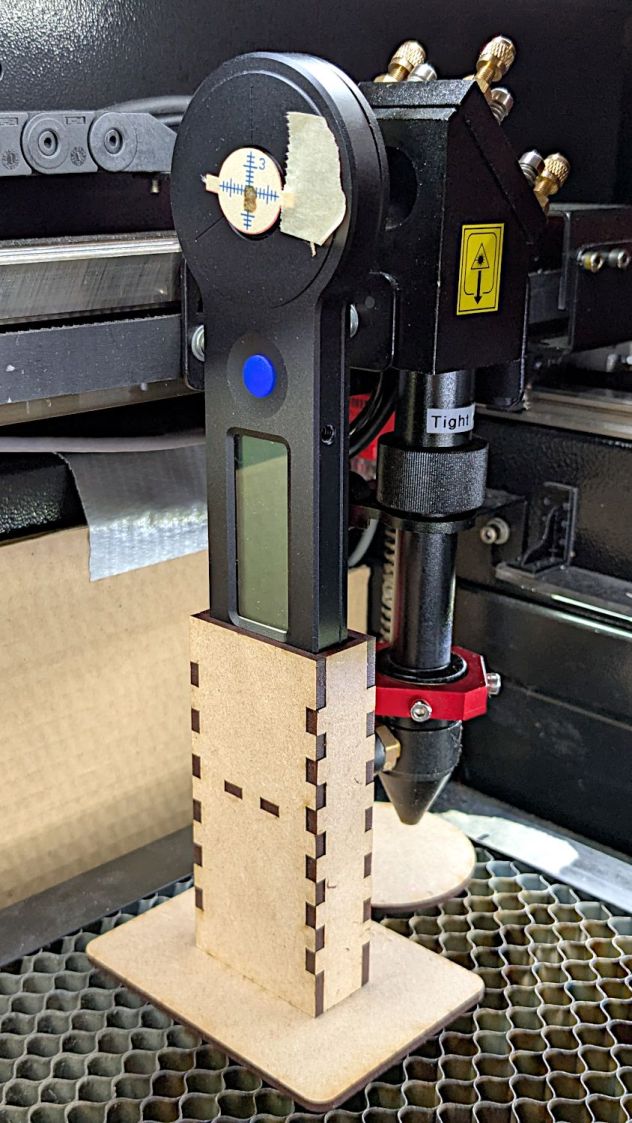
In actual use, a pair of finger-crushingly strong magnets laid on the base hold it firmly to the honeycomb.
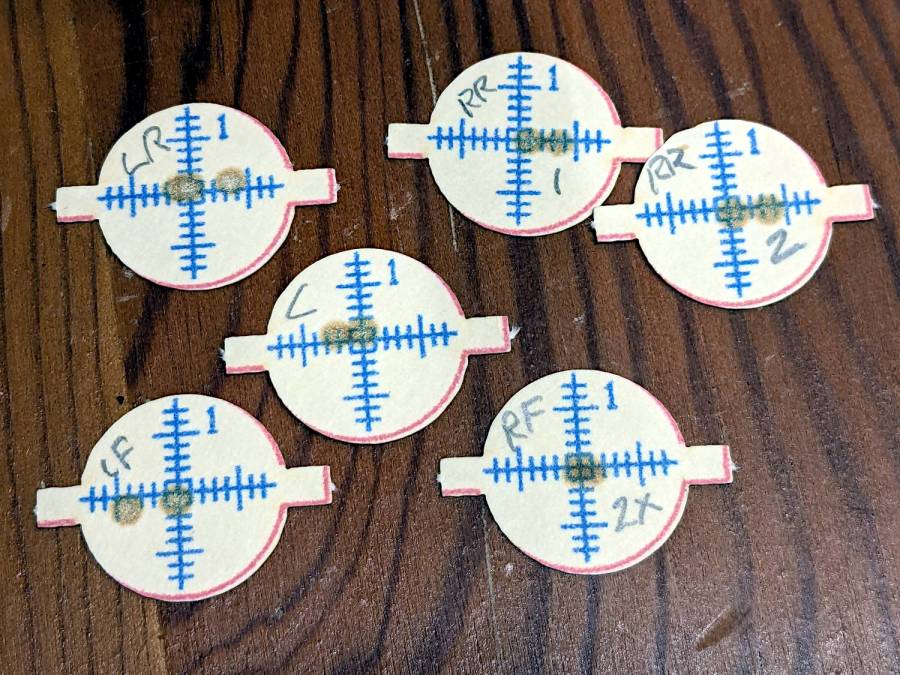
Because a CO₂ laser beam is invisible, the only way to know where it hits is to char a bit of paper:
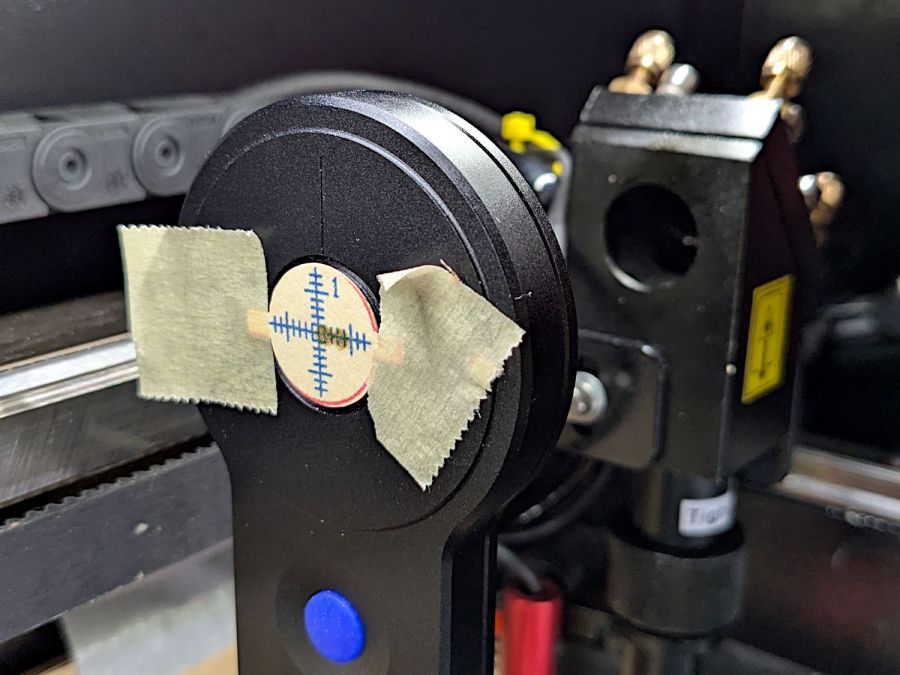
With that evidence, I can jog the platform up-and-down and the gantry front-and-back to center the beam on the paper target and, thus, on the sensor behind it. That process happens at each test position across the platform:
The meter shuts down a mere six seconds after completing each measurement, which means I must keep the lid open, listen carefully, and react quickly. Firing the laser thus requires defeating the lid interlock specifically wired to prevent that from happening:
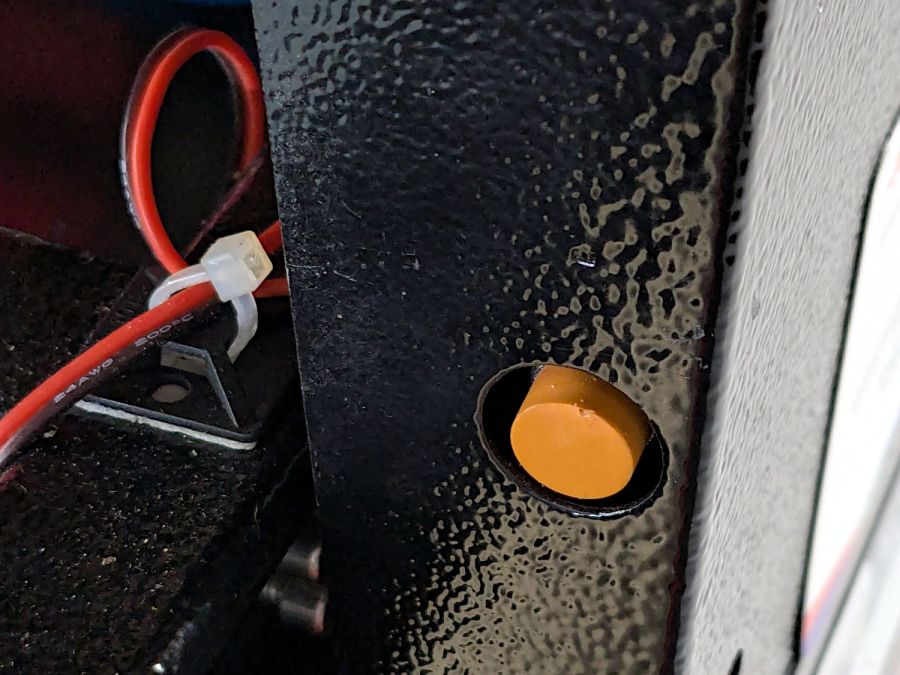
Rather than install a switch to bypass the interlock, I taped a steel cover harvested from defunct electronics over the sensor:
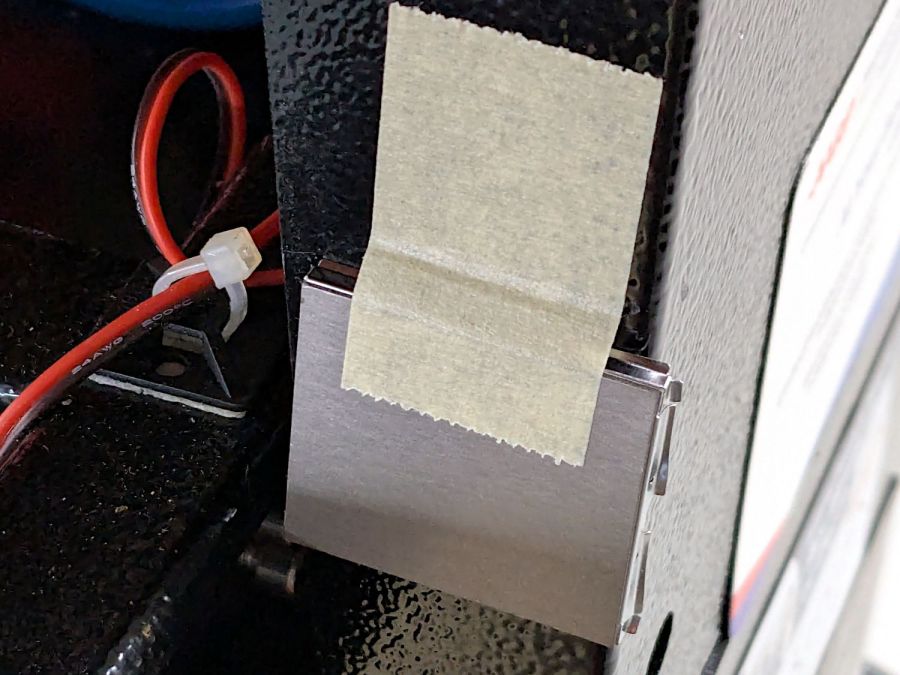
Which has the useful side effect of preventing me from closing the lid with the interlock defeated.
The holder is just slightly larger than the meter’s handle and some clamps produced a snug fit while the glue cured:
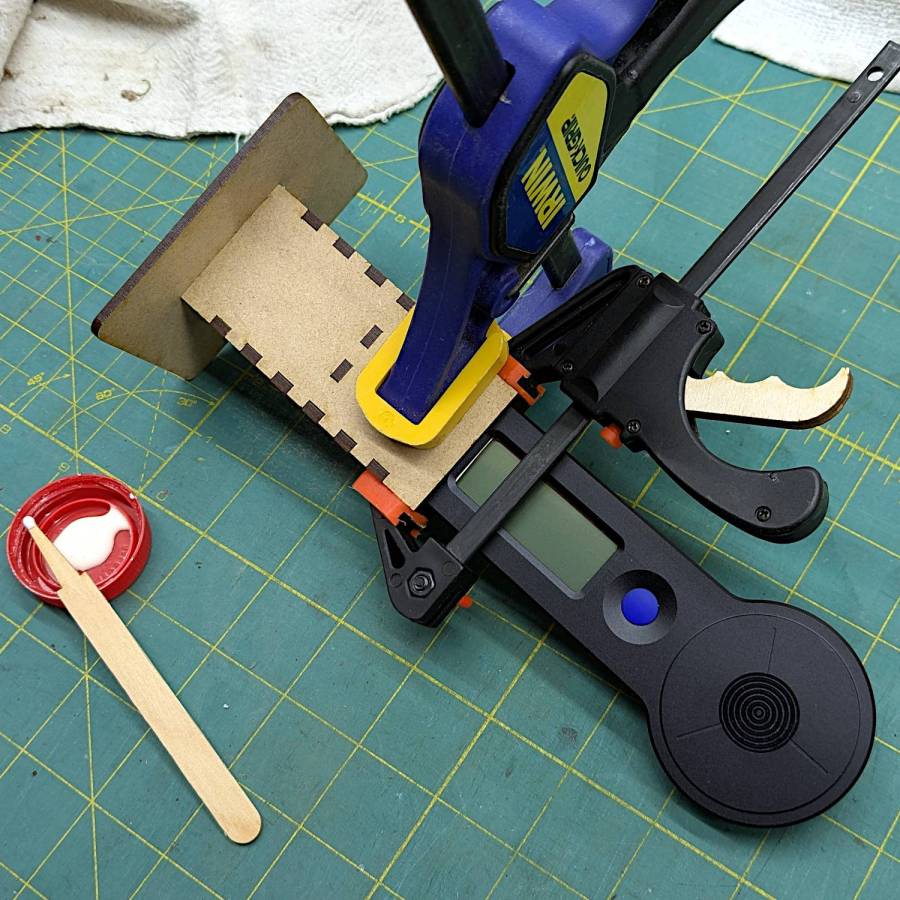
The holder keeps the meter sensor at the same position vertically and within about a millimeter horizontally. The laser beam seems to be around 5 mm in diameter (the scorches above come from the hottest central part), so the beam should hit the same position on the sensor during successive measurements, making them far more repeatable than my waving it around by hand.
The LightBurn SVG layout as a GitHub Gist:

Comments
4 responses to “HLP-200B Laser Power Meter: Holder / Stand”
I usually put a magnet on the door switch. When I forget, the cover pushes it.
Somewhat to my surprise, that tiny steel lid is just tall enough for a horrible noise when I close the hatch without removing it. :grin:
A trouble report on the LightBurn forum suggests putting a neodymium magnet on a proximity sensor limit switch will permanently magnetize the core and kill it stone cold dead. I’ve been mildly worried about those terrifyingly strong bars I store along the front edge of the machine near the lid sensor ever since, but there’s nowhere better to put them.
Oh, I shall stop doing that post-haste! Thanks!
[…] my meter stand holds the target in the same position relative to the beam during successive measurements much […]