While arranging the venerable Sears Sewing Table in its new abode, we found the casters underneath didn’t roll nearly as well as they should, which turned out to be due to an accumulation of damage:

As far as I can tell, all four casters have been displaced upward, probably because they have no support directly above their stems and any force applied to the wheel has plenty of lever arm against those screws.
The MDF panels on the outside of the table have pictures of wood laminated to their surface, but lack enough structural integrity to keep the screws in place. The plywood, however, survived largely unscathed, although the screws were pulling out.
I poked as much wood glue into the gaps as possible, then applied as many clamps as possible, with wood strips on both sides of the bulge squashing the MDF into a flat sheet. Over the course of two gluing sessions (I need more clamps!) spanning three days, while Mary really wanted to start sewing, the glue cured. I had plenty of time to unbend the brackets and put a more-or-less right angle between their two screw plates.
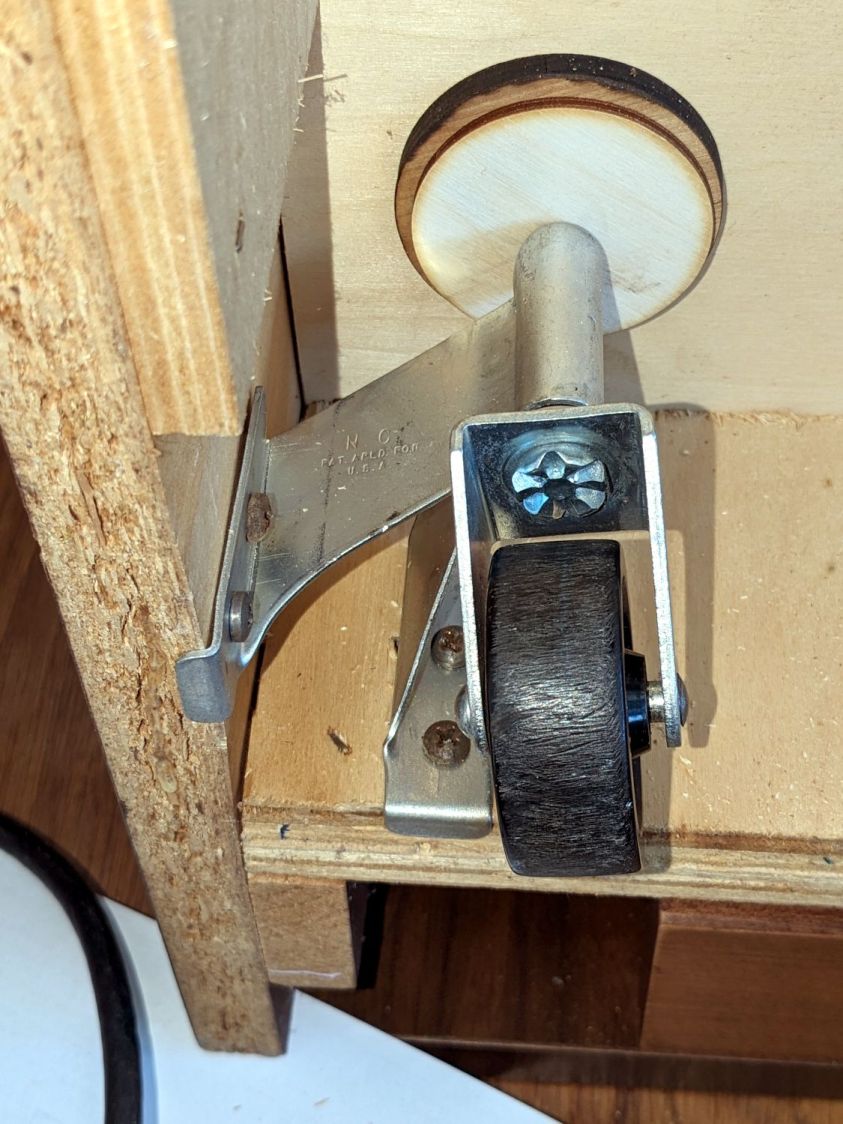
Rummaging in the box of laser scraps (after finding said box) produced disks cut from various projects that fit between the plywood bottom of the cabinet and the stems:
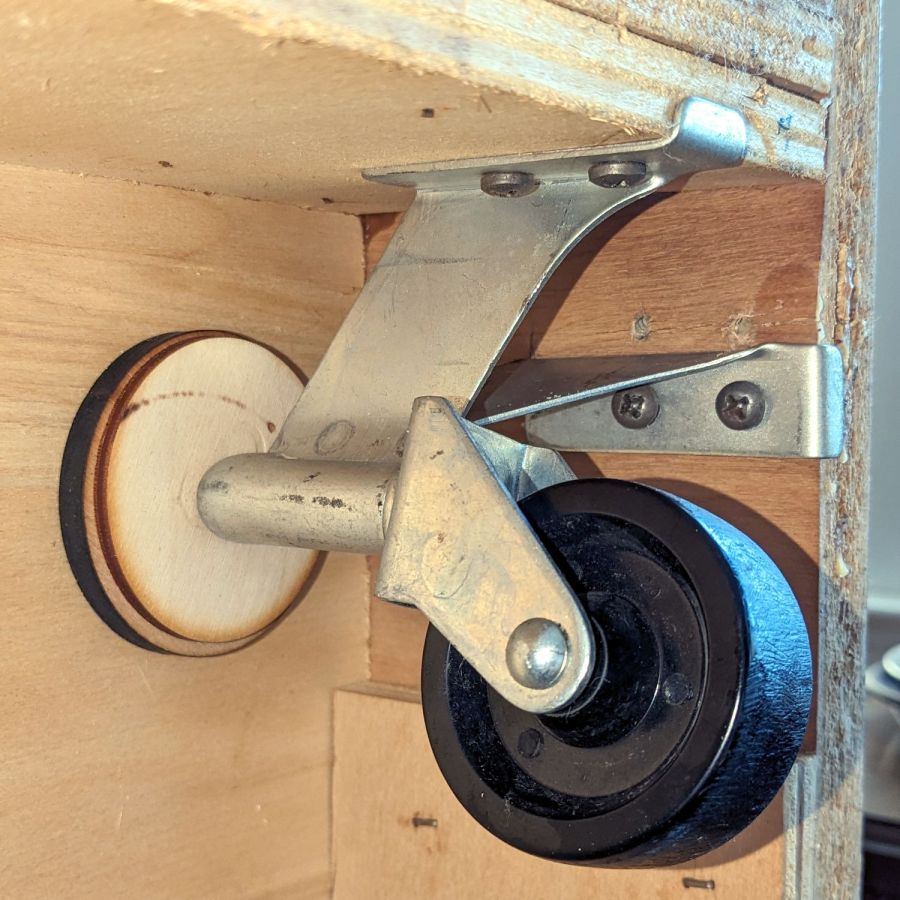
The brackets deliberately don’t match their original shape, because their new squareness put the screws into undamaged spots in the MDF and plywood:
The MDF will never be quite the same, but it’s flat on the visible side and the glue (seems to have) consolidated the fragments well enough.
Although those wheels look terrible, the bracket now holds the stem vertically and all four of them roll easily and pivot smoothly.
The laser-cut disks are held in place by pure faith and the overwhelming weight of all the MDF in the table, so they’re not going anywhere. Because the table’s weight now rests on the caster stems, as distributed across the plywood cabinet bottom through the disks, the brackets shouldn’t be subject to excessive upward force.
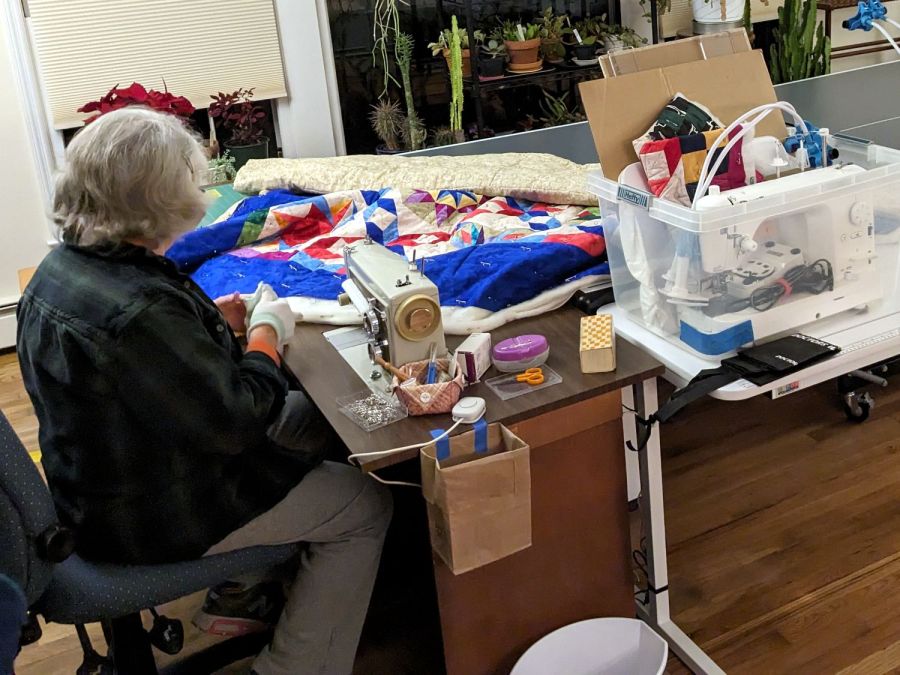
She started therapy right away:
And we continued moving in …

Comments
3 responses to “Sears Sewing Table: Foot Repair”
Ah, the joys of unscrewing everything that was screwed up during and after a move. It was a mystery as to why the former owners of the house never installed any towel racks, but that was fixable.
I had to wait 8 months before I had usable power in the shop/barn. (Curiously, a 300′ extension cord just wasn’t sufficient for running larger power tools. Further, instead of the 6 gauge neutral, the return was miswired to use the 8 gauge ground. Sigh.) Once I was properly powered, Things Got Done. [grin]
We passed up an OK-ish house with no AC outlets in any of the bathrooms: must’a been a couple of straight-razor totin’ folks owned that place.
[…] The Sears sewing table (Model 853-9635, not that you have one) wrapped around Mary’s Kenmore machine has extension surfaces on both ends: […]