Anything would be better than just taping some gel filters to the front of the bare photodiode package:
Right?
I heaved the slab of ½ inch black acrylic left over from the Totally Featureless (WWVB) Clock into the laser cutter and, two passes at 90% power later, had a somewhat lumpy 32 mm donut with an 11 mm hole in the middle. Because acrylic is opaque to the IR light from a CO₂ laser (which is why it cuts so well) and black acrylic is opaque to visible light (which is what the photodiode is designed for), this is at least as good as an aluminum housing and much easier to make.
Chuck the donut into Tiny Lathe and bore out the hole:
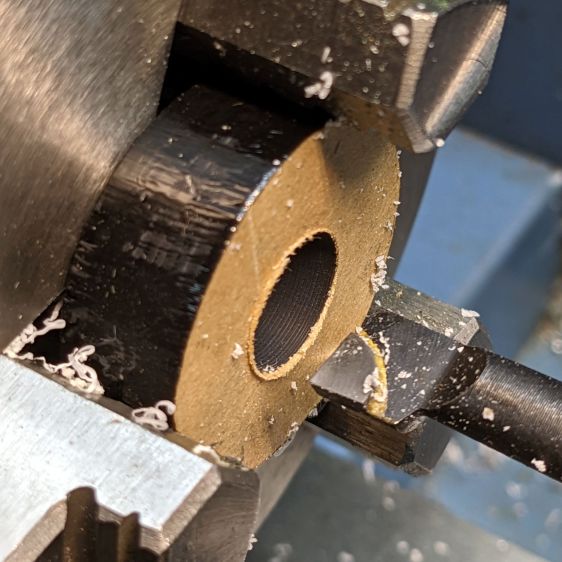
When it’s a snug fit to ½ inch brass tube (about the same size as the photodiode’s active area), flip it around, and bore the other size out to fit the photodiode case.
Ram the tube in place, grab the large recess, and center the tube:
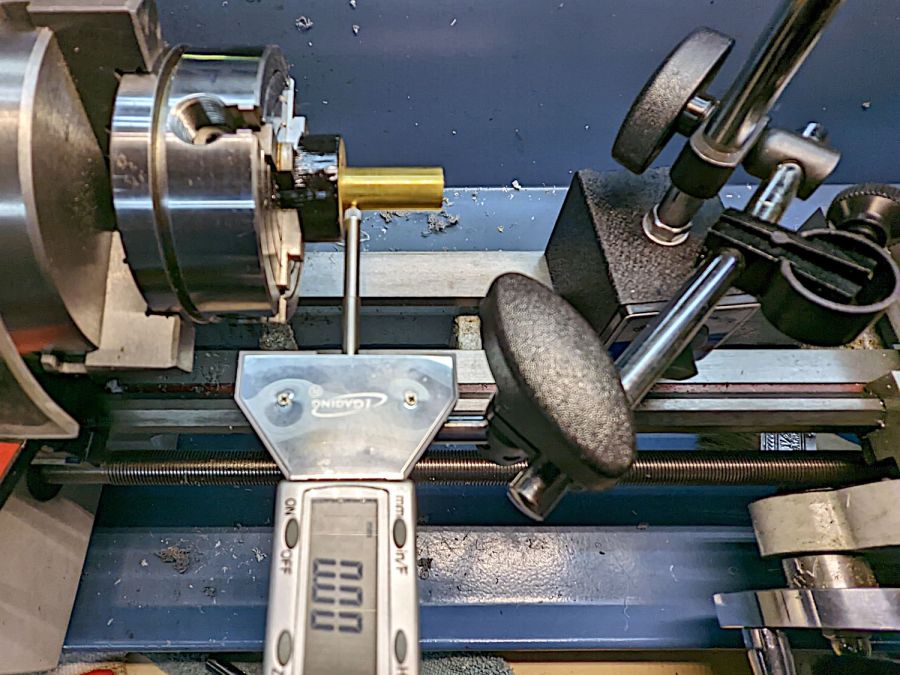
That’s the chuck-in-chuck trick I used with the coasters, because the neither of the larger four-jaw chucks close far enough to get their inside jaws inside those little holes.
[Edit: Got that backwards: I bored the big recess first.]
Skim most of the OD down, then, because I am a dolt forgot to put a spacer in there, flip it around again, get it running true (the chuck aligns the flat side):
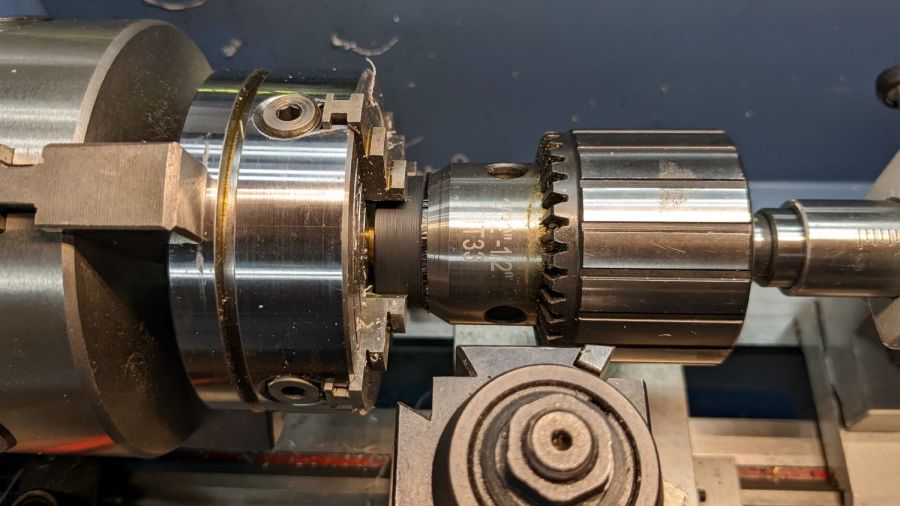
Then skim the rest of the OD to clean it up.
Cut some filter gels to fit inside the recess:
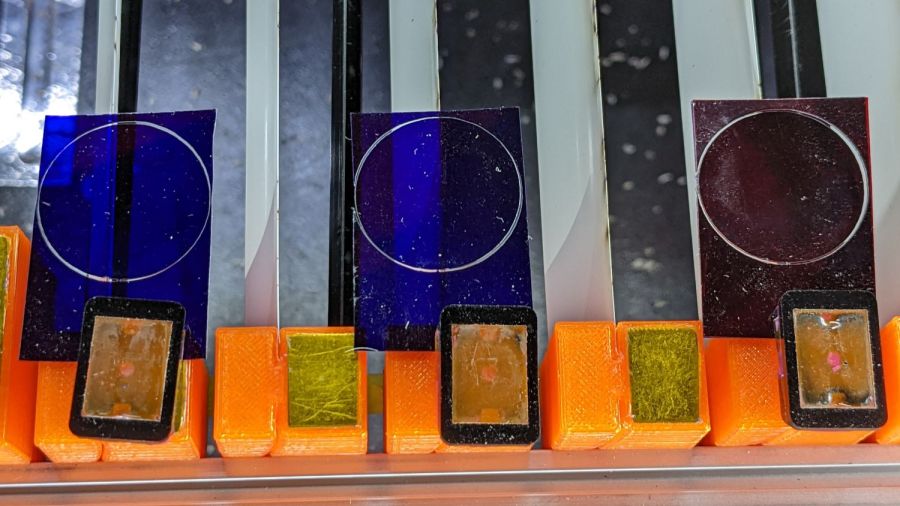
Even though they’re pretty much transparent to thermal IR, a focused IR laser beam cuts them just fine. The little tab at 6 o’clock (remember round clocks with hands?) keeps the cut circle from falling out.
Drill & tap for an M3 setscrew to hold the photodiode in place:
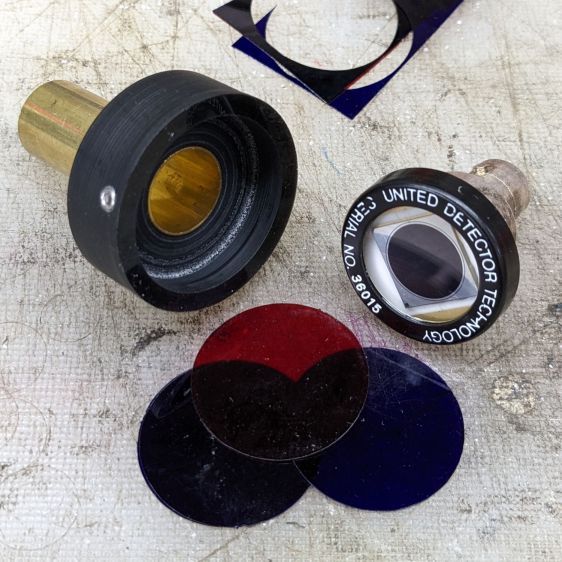
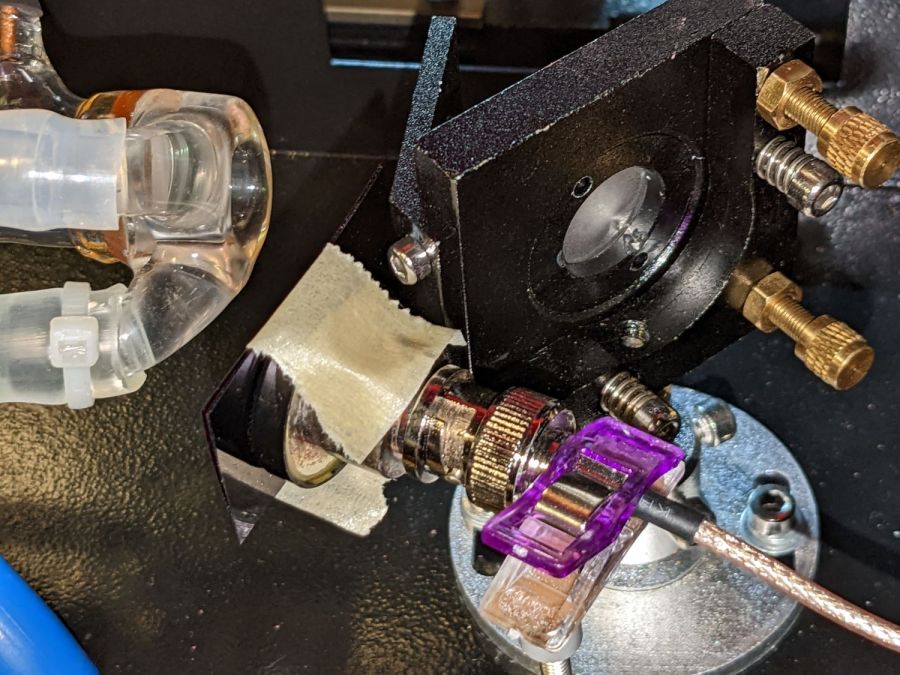
Put them all together:

I must conjure a better mount for the thing, because this is way too precarious:
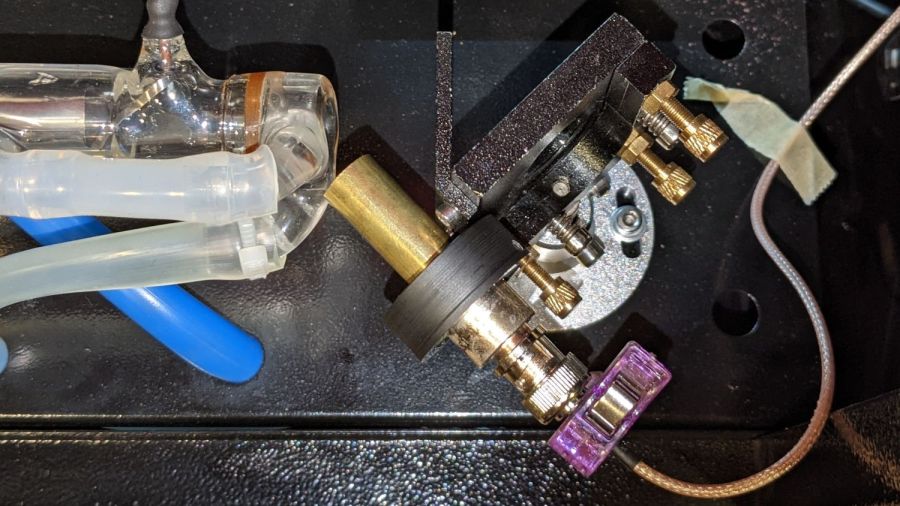
Early results suggest it works better than the previous hack job, without ambient light sneaking around the edges of the filter pack.
