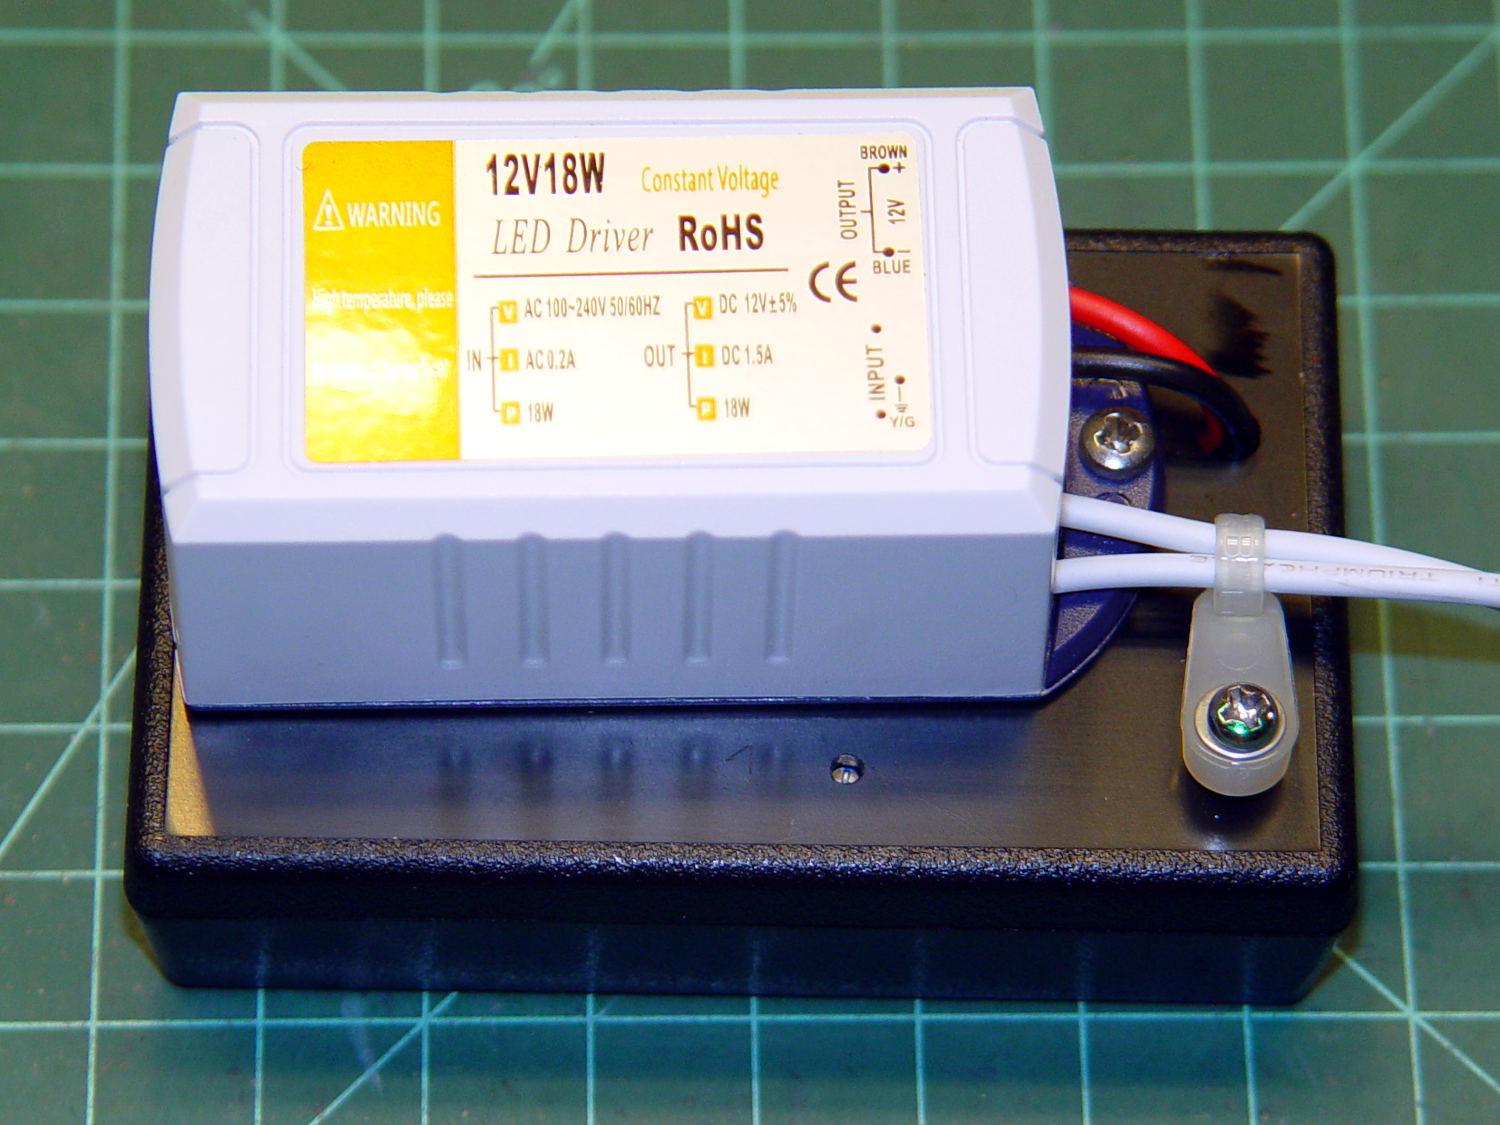
Some years ago, I put the LED power supply for one of the Kenmore 158 machines atop a plastic project box with an adjustable boost supply inside:
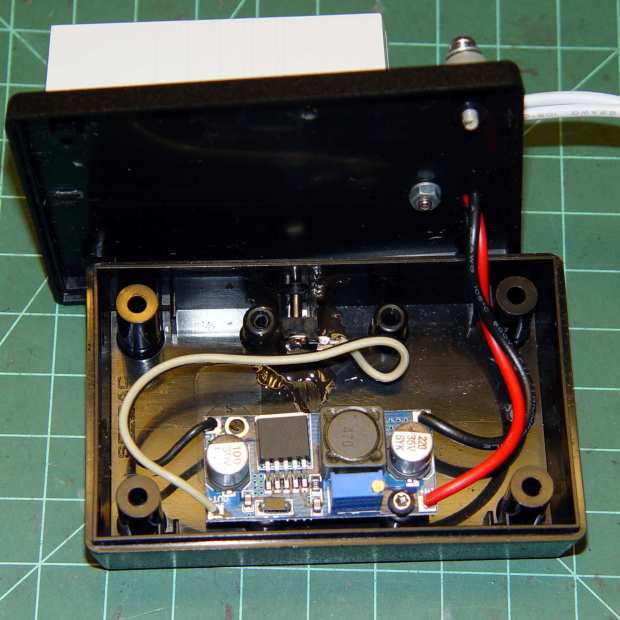
The LEDs connected through a coaxial power jack on the far side of the box, held in place with a generous blob of epoxy:
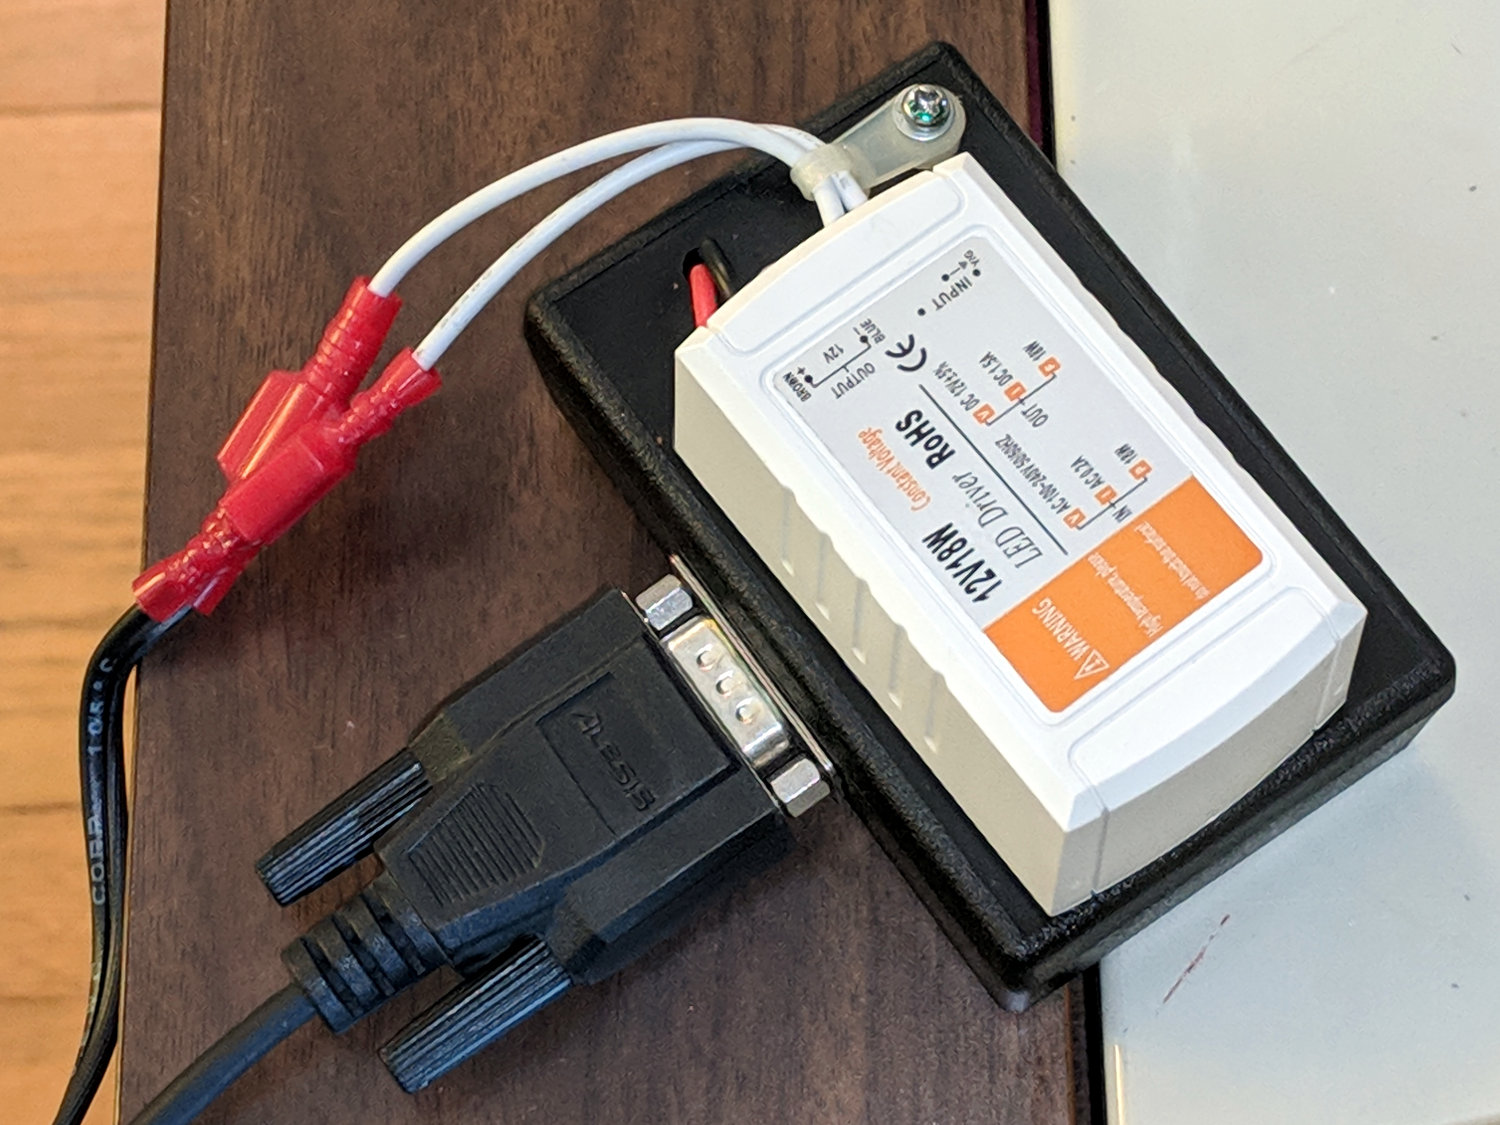
A closer look:
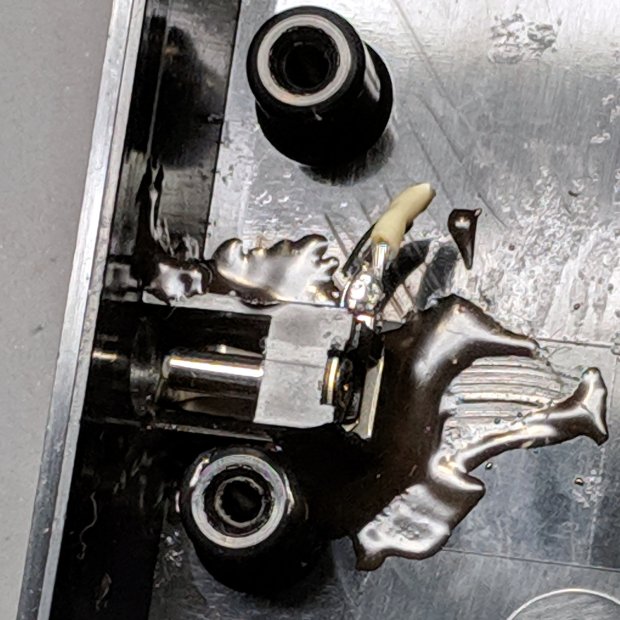
I’m adding a light bar, similar to the one now going onto the Juki TL-2010Q, which needs a direct connection to the 12 VDC supply. Rather than add another coaxial jack, I ripped out the existing jack and installed a DE-9 connector (serial ports being a fading memory by now), giving me an opportunity to test the epoxy joint:
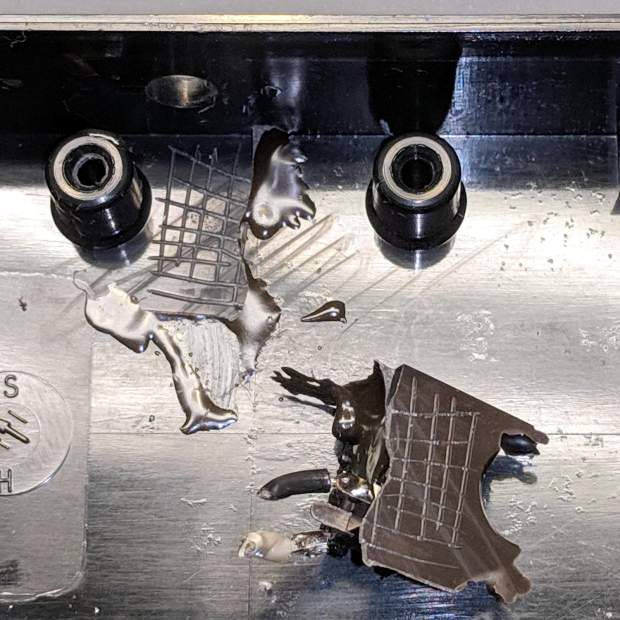
Which required grabbing the connector with a pair of pliers and twisting / bending / abusing until it popped free. I don’t know how much grip the scored lines added to the joint, but the connector definitely didn’t give up without a fight; it wasn’t going to fall off on its own.
To be fair, the epoxy had a better grip on the coaxial jack than on the plastic plate, perhaps because the bottom of the jack had all manner of nooks and pins intended for PCB mounting. Ya use what ya got, sez I.
The new connector looks exactly like it should and, because it’s held in place by a pair of screws, should last forever, too:
More about all that, later …

Comments
2 responses to “Epoxy Joint: Test to Destruction”
[…] replaced the coaxial power plug with a DE-9 […]
[…] I did a really good job of bonding the side light to the tube with […]