Moving the pivot point of the rebuilt desk lamp arm back about 75 mm put it at the proper spot:
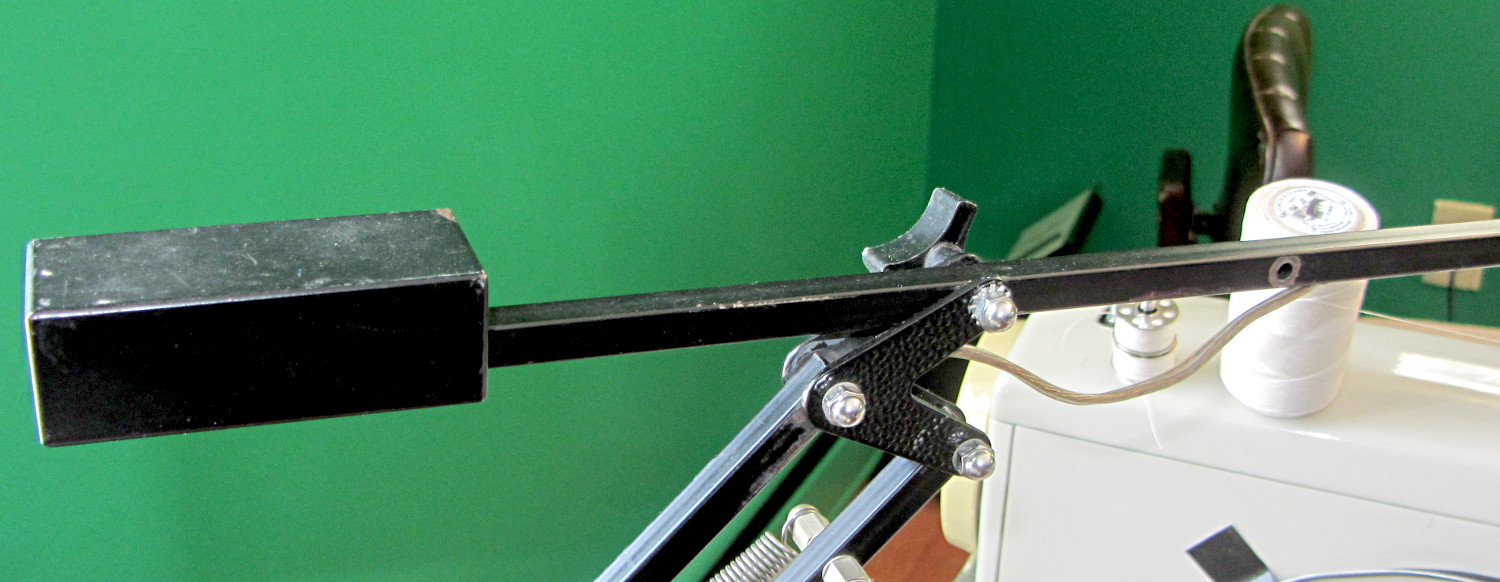
That required snaking new wiring from the transformer in the base through the upright and out through the boom to the LED floodlamp. I used a random length of speaker cable from the Big Box o’ Heavy Wires, although it doesn’t take much to carry 300 mA at 12 V.
The lamp head now reaches the work area and the base stays out of the way:
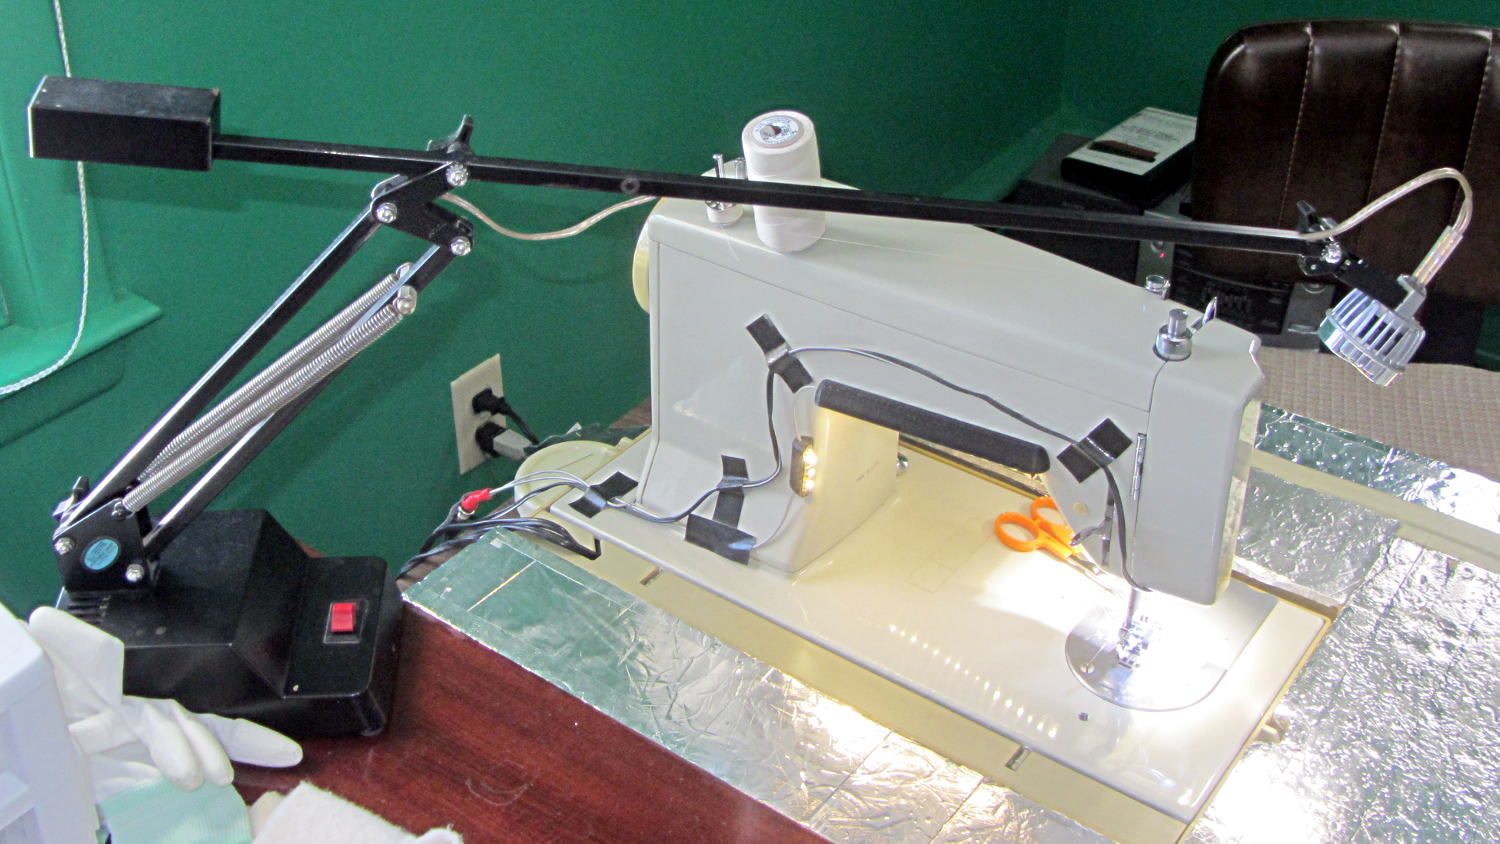
It is, we both agree, hideously ugly, but it puts plenty of light at the right spot.

Comments
3 responses to “Rebalanced Desk Lamp Boom”
Two Things –
1) You have a 3D printer, know OpenSCAD – Why haven’t designed her some attractive enclosure for the eye-sore?
2) You – Ed – being so finicky and handy I am very surprised you did not snake the sewing machine LED wiring IN the machine instead of – ack! – tape it on the outside.
Your giving her Tobacco Road – Man!
Stay dry, stay warm —- love the family.
Brian
One word: PLA. Even a 4 W LED floodlight gets too hot for that. ABS might work, but I’m not set up for ABS.
Also, I intended that light for my workbench and my much higher tolerance for ugly, but Mary thought it’d be useful on her quilting table; who am I to argue? [grin]
The gotcha: routing the wires from the outside to the inside without drilling holes in the body, then not having them snag on all the whirling cams & levers & gears in there. Now that I have a crash test dummy machine, I can try out a few ideas, but lashing her machine to the drill press and having my way with it is most emphatically not on the agenda until I know exactly what to do.
I think I can drill one small hole through a mounting boss in the front panel and snake a wire, although that puts it directly in the path of some gears. The rear cable may go through the bottom of the slot with the foot-raising lever, where it can join the wire going to the light in the end cap; I can use the same route as the existing 120 V wire.
It’s definitely more of a challenge than you’d (well, I’d) imagine…
:-)