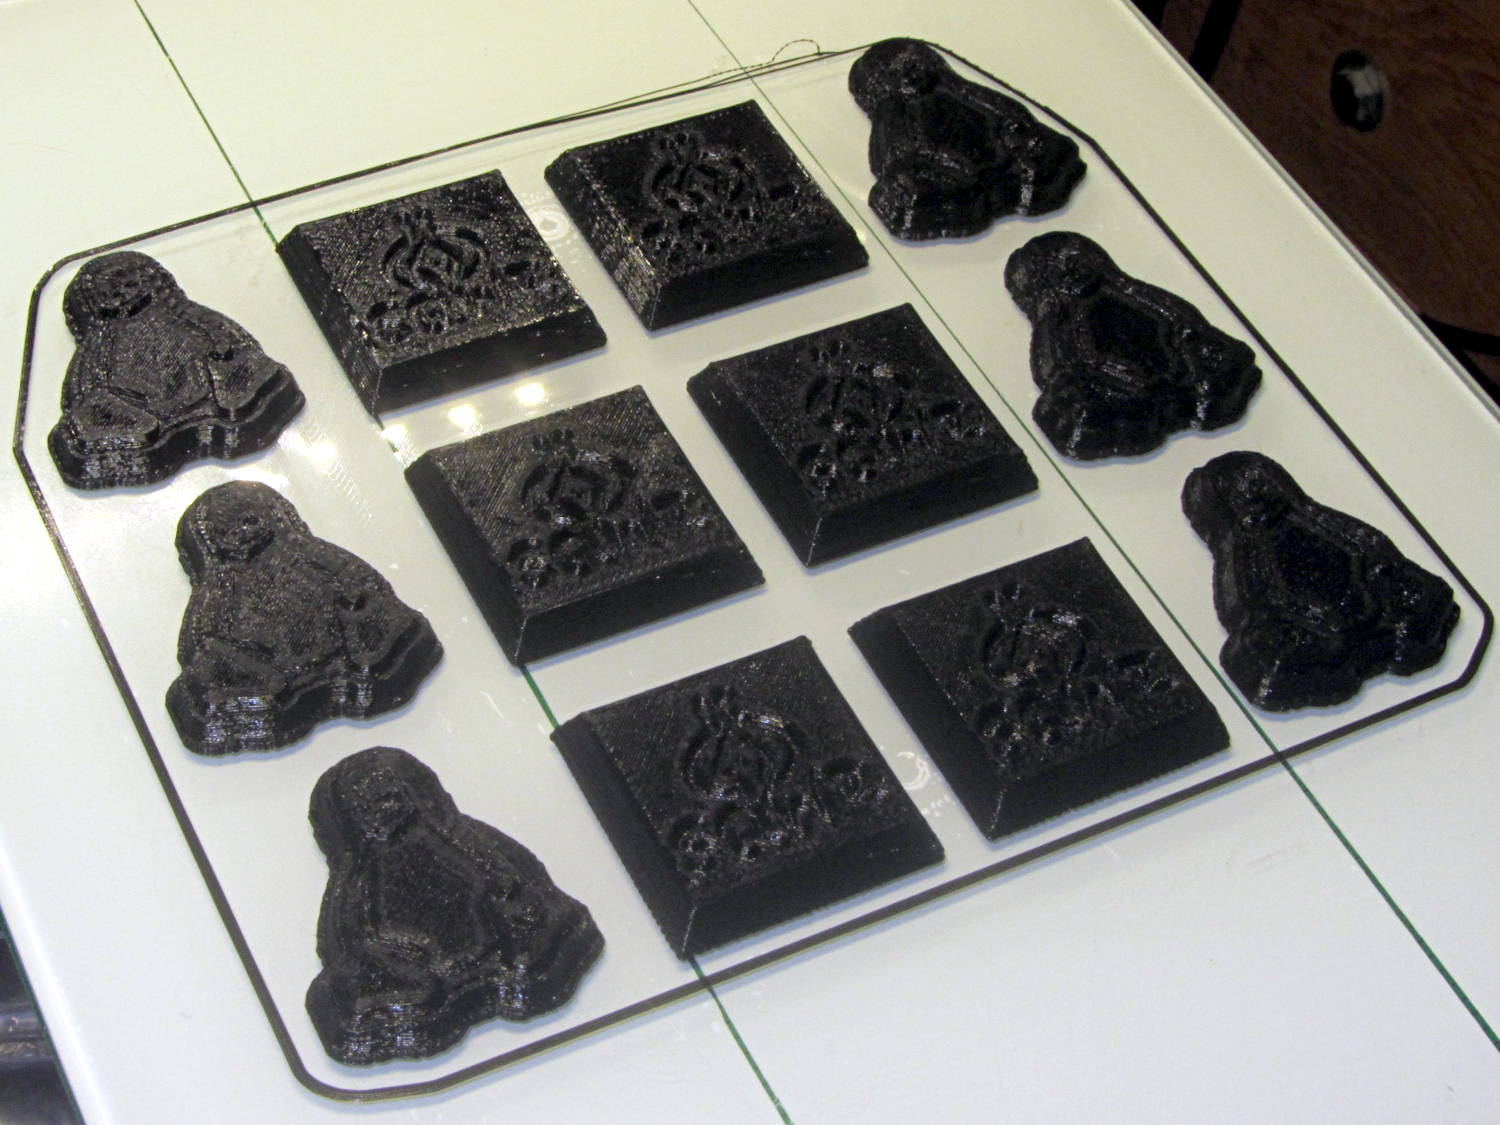
After all the height map tweaking, Slic3r duplicated the Tux and SqWr STL positive models, distributed them on the platform, and the small molds printed out easily enough:
The larger pin plate wasn’t quite as successful. Despite what this might look like, that’s the same black PLA as the smaller molds:

I used 10% infill density, which was structurally good enough for a very light slab, but it left large gaps near the side walls that the top fill didn’t quite cover. Part of the problem was that the walls, being cylindrical sections, kept overhanging toward the inside, leaving the top fill nothing to grab around the nearly tangential perimeter. I think printing the slab upside-down, with the top surface against the platform, would solve that problem and also produce a glass-smooth surface under the positive molds.
I took the easy way out by troweling JB KwikWeld epoxy into the holes, smoothing it, and sanding the surfaces more-or-less smooth. That should suffice to cast the negative mold in silicone over everything, but it sure ain’t pretty:

The molds are just sitting on their pegs and haven’t been taped in place; the lower-left Tux appears to be making a break for freedom.
The Mighty Thor will do the silicone negative mold… and the further I stay away from the chocolate tempering & pouring process, the better it’ll be for all parties concerned.

Comments
One response to “Chocolate Molds: Positives Ready”
[…] slathered umpty layers of pourable silicone on the Squidwrench logo positives atop the slab, resulting in this ungainly […]