
The OttLite I converted into a NisLite fell over again and, now having a way to make the long-promised base, this happened:
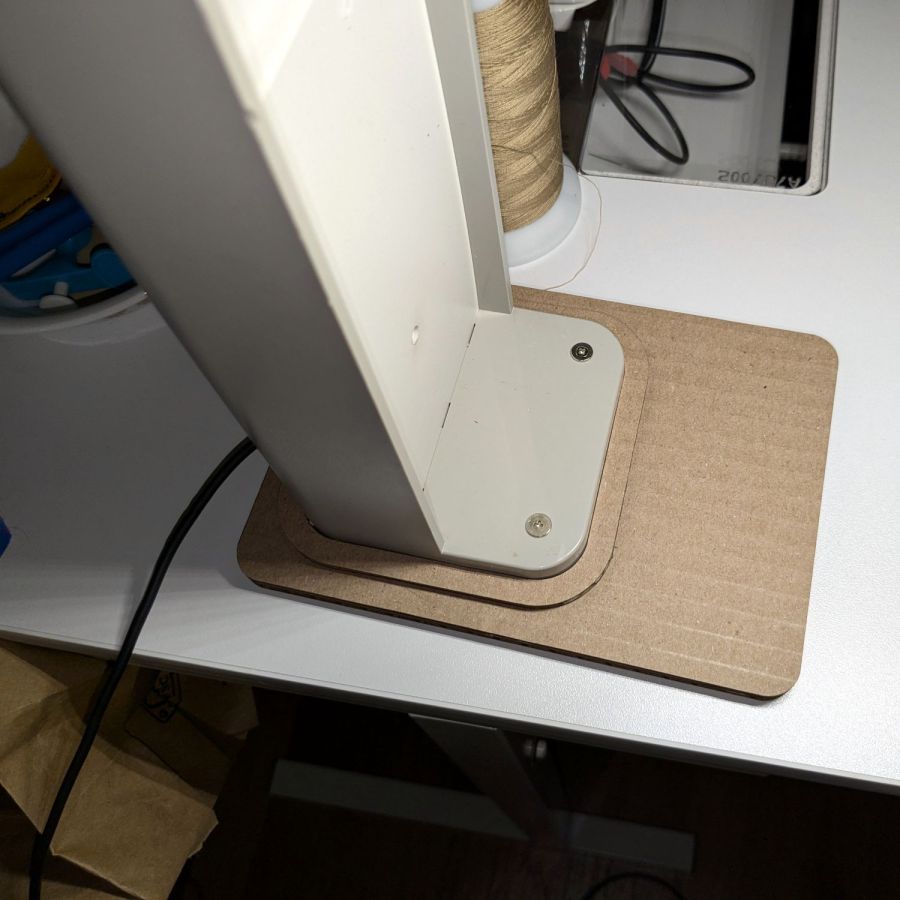
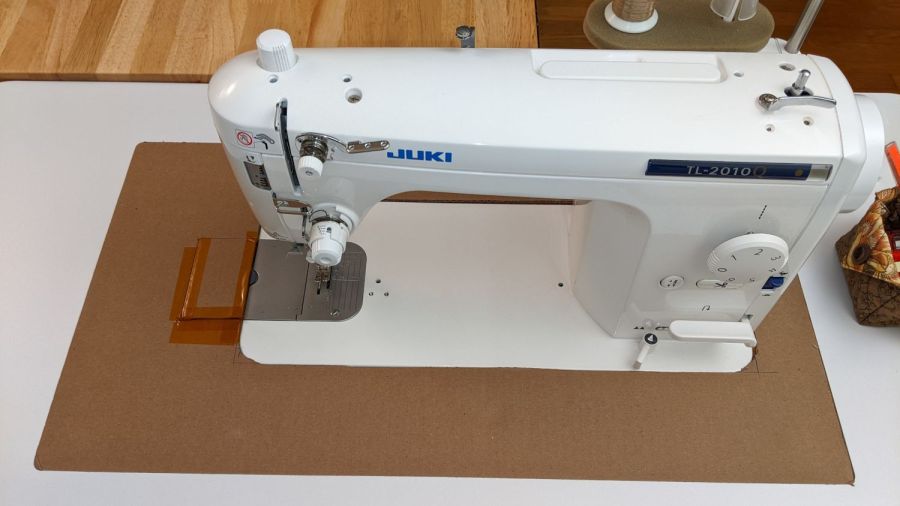
It’s not particularly elegant, what with being cardboard, but it’s a proof of concept that will determine the final size.
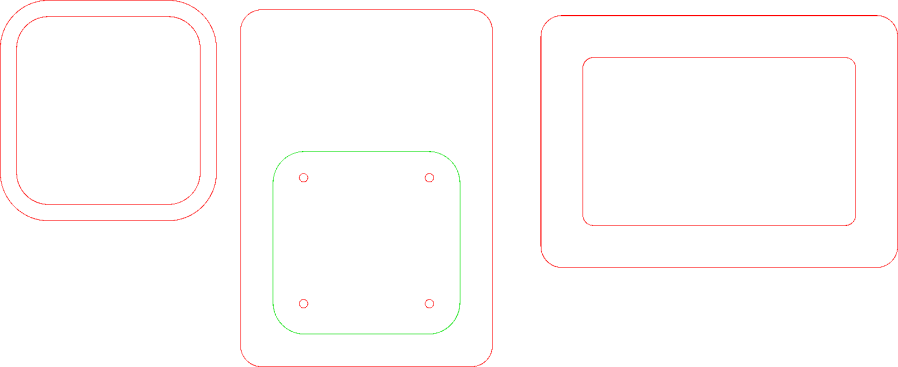
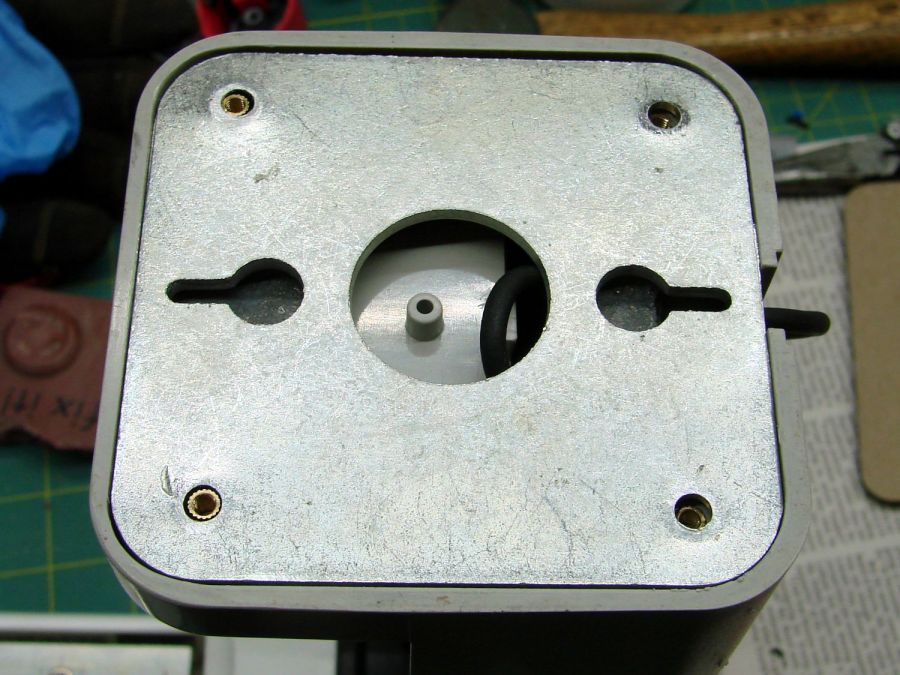
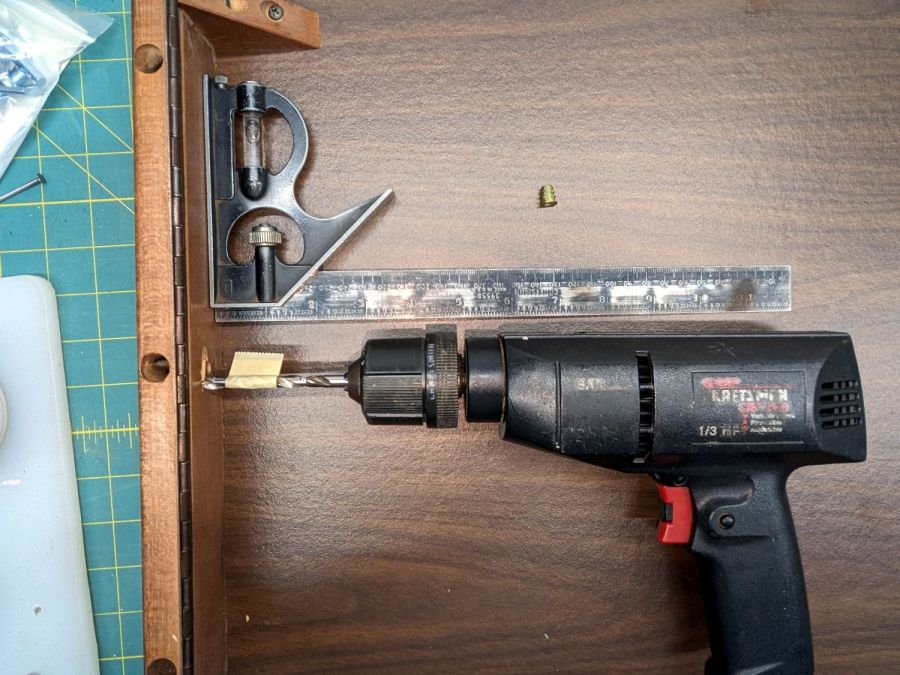
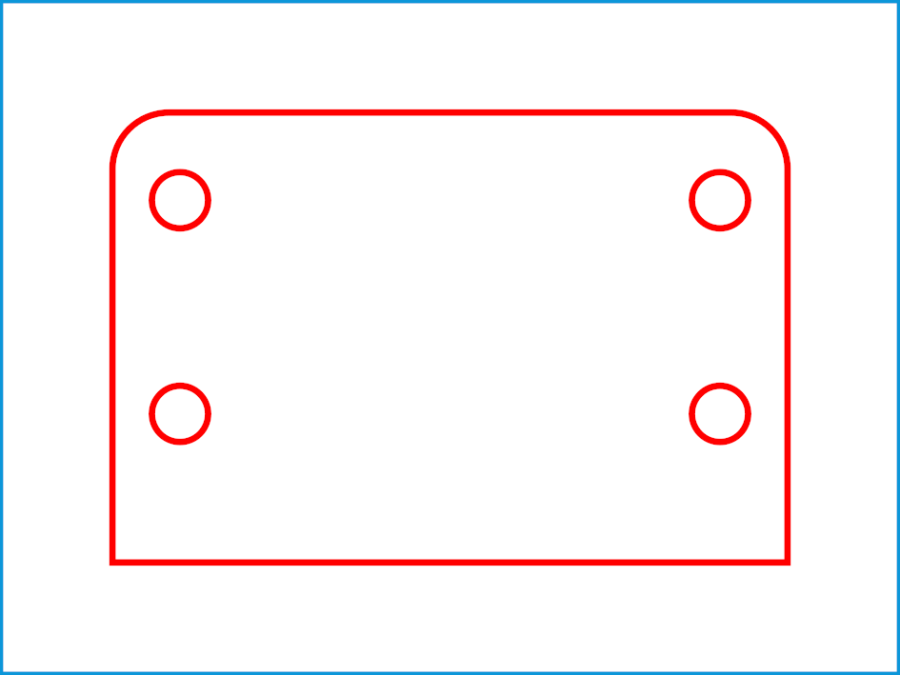
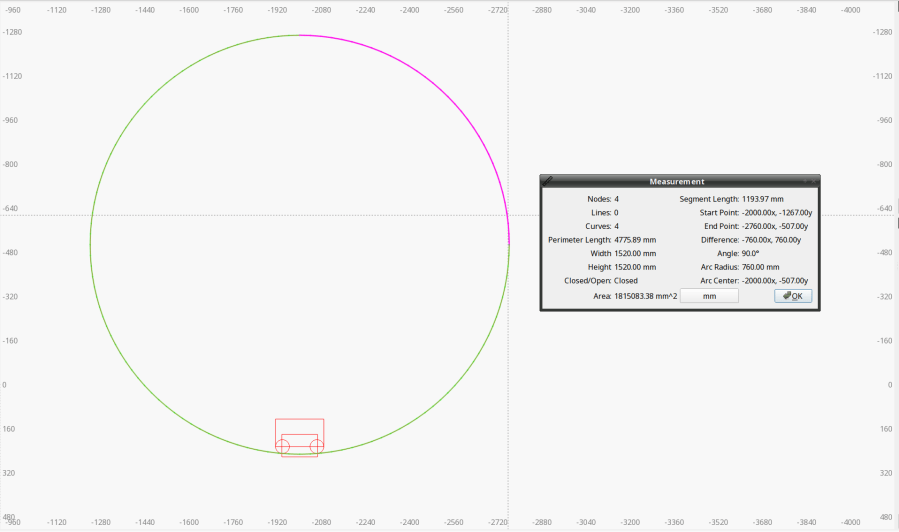
The top layer is a ring around the lamp pedestal for a bit of stabilization protecting the four M3 screws holding the base to the lamp. Those screws sit on a 60 mm square, offset 1 mm to the front of the lamp:
Which explains why I typically make the first few versions of anything out of cardboard.
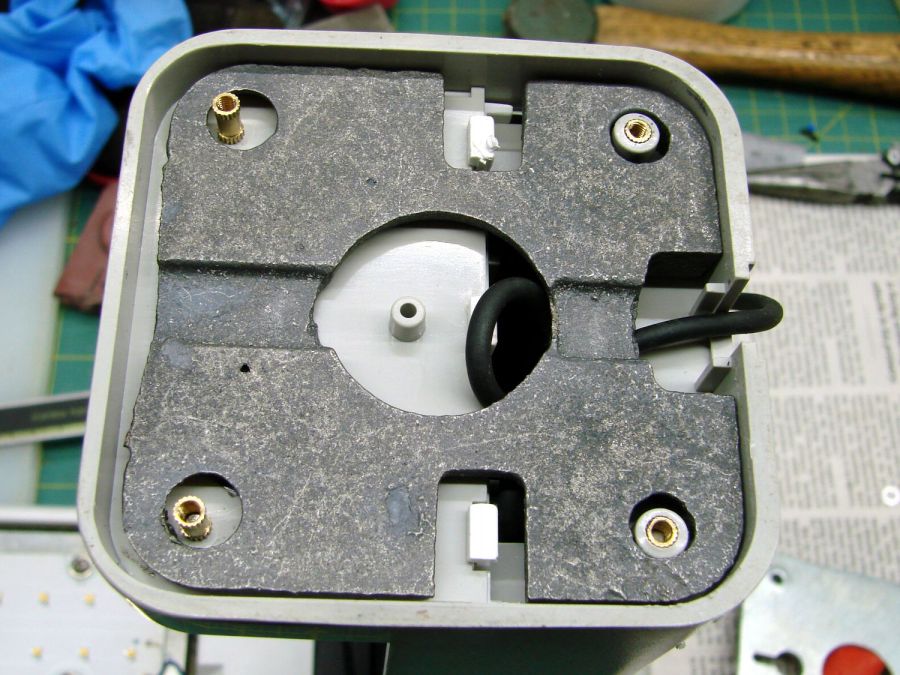
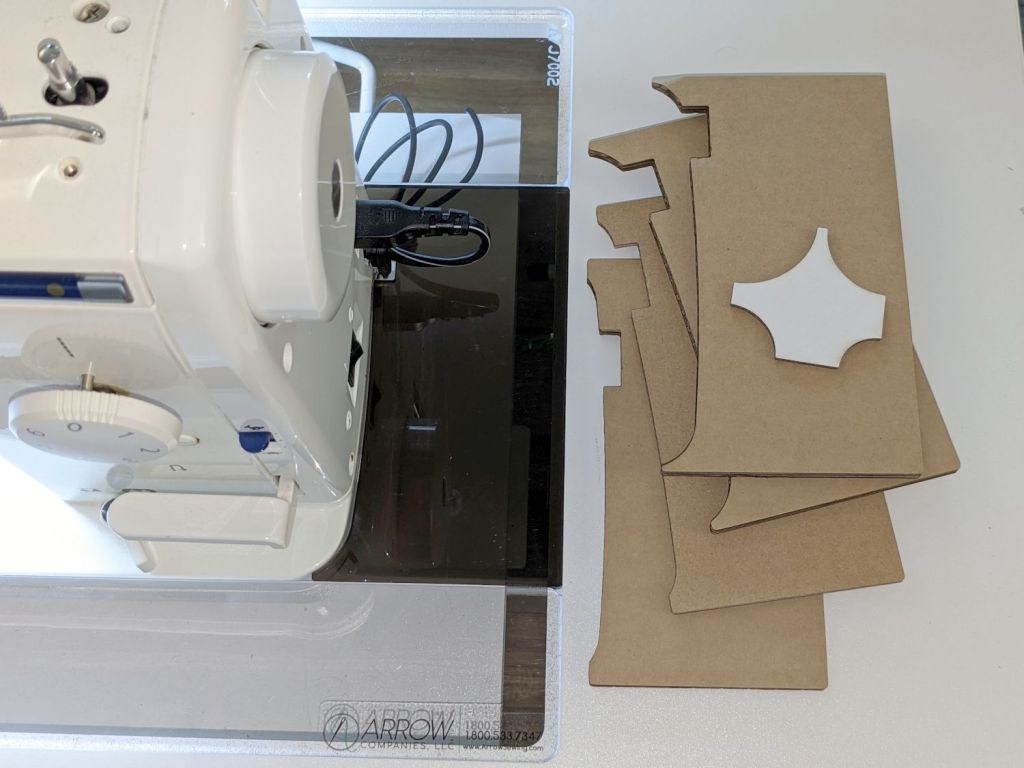
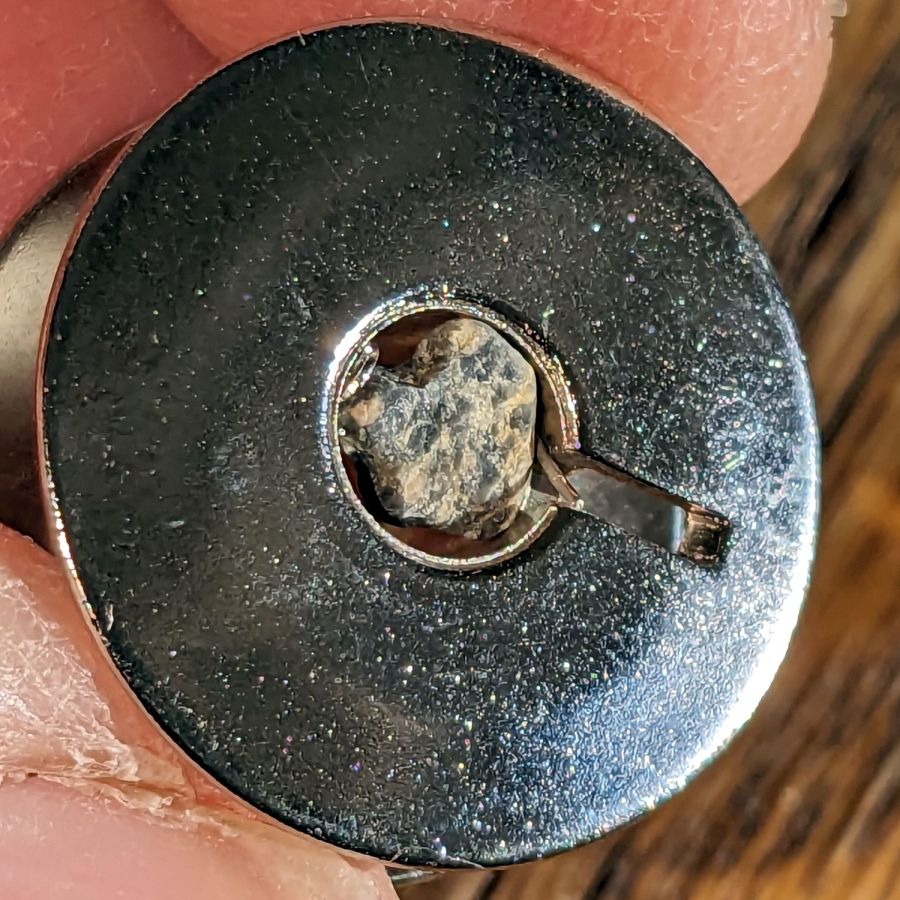
For the record, those inserts look like this:
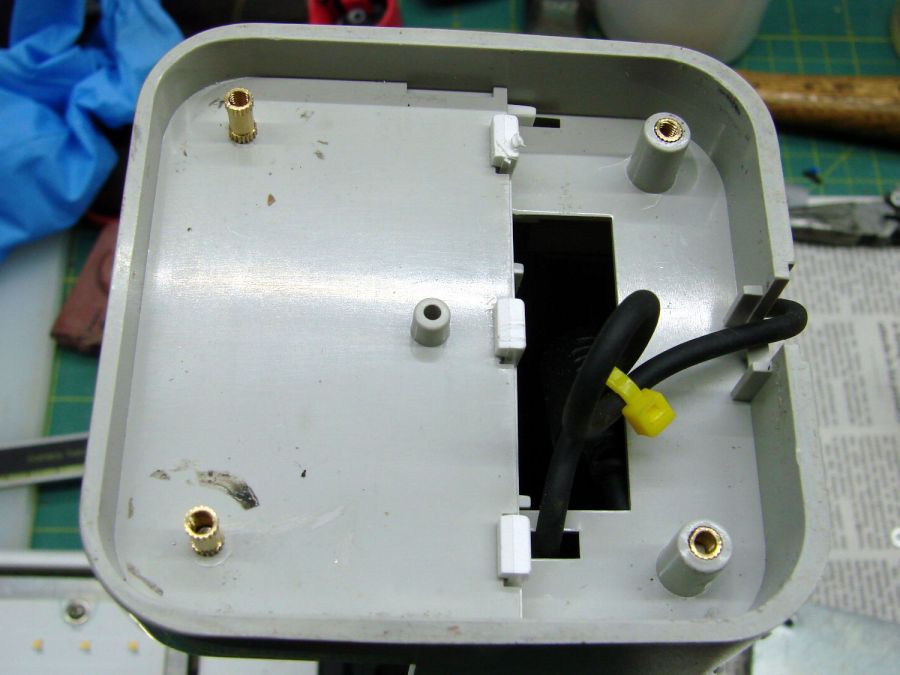
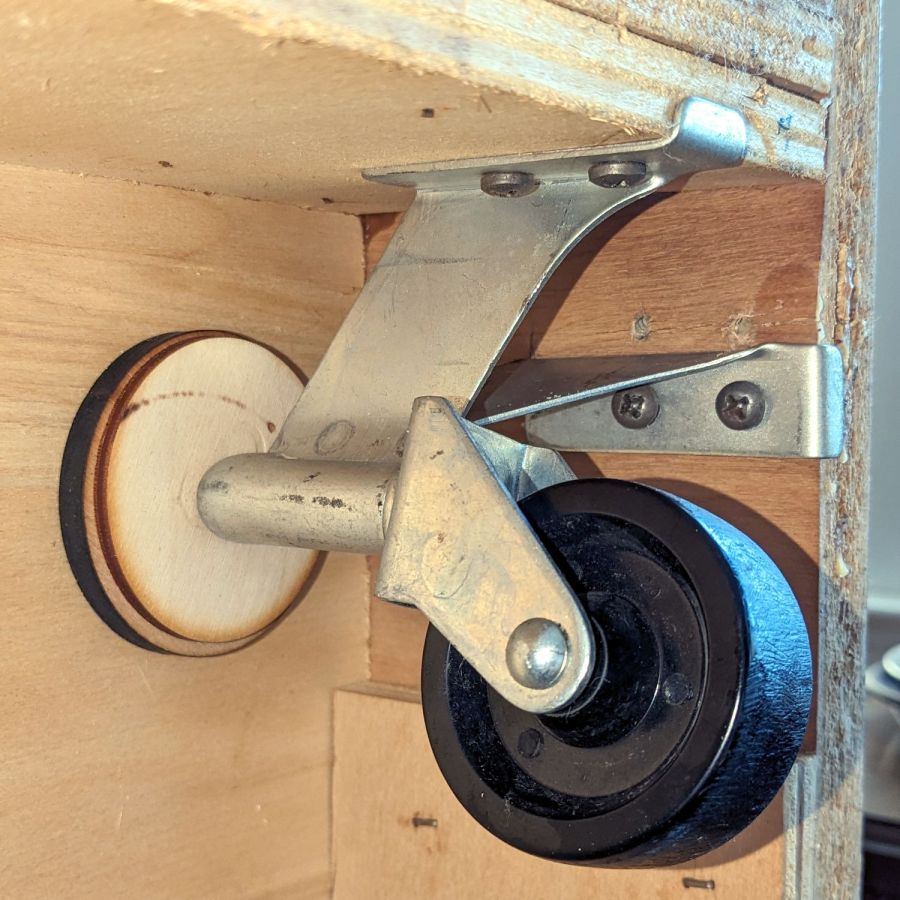
A pair of very flat-head M3 screws hold the front inserts in place through holes match-drilled in the remains of the bosses I’d long ago epoxied in place. I pressed the rear inserts in place by misusing the drill press, as the lamp is much too tall for the heat setter.
Then comes the iron base weight:
And then the steel outer plate:
The new base plate gets a ring around its perimeter for clearance under the four pan head M3 screws into the inserts.
If the cardboard base is stable enough, we’ll do an acrylic version in cheerful primary colors.
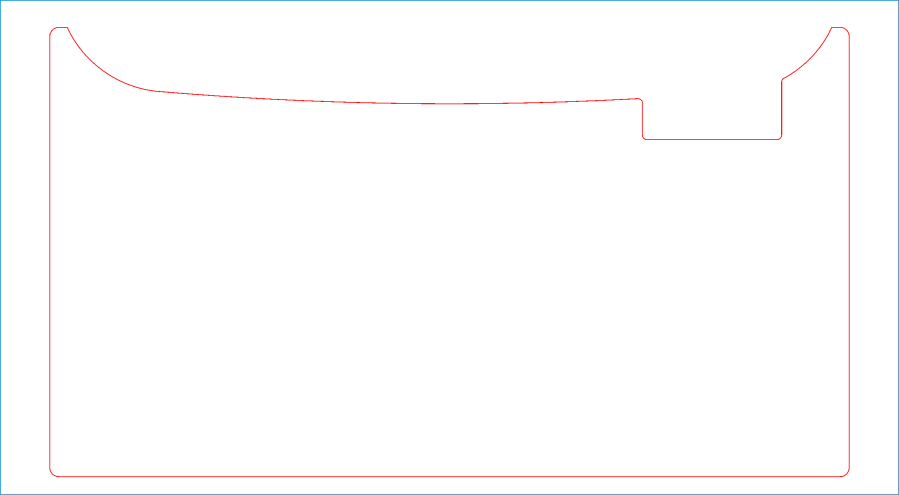
The LightBurn layout in SVG format as a GitHub Gist:


