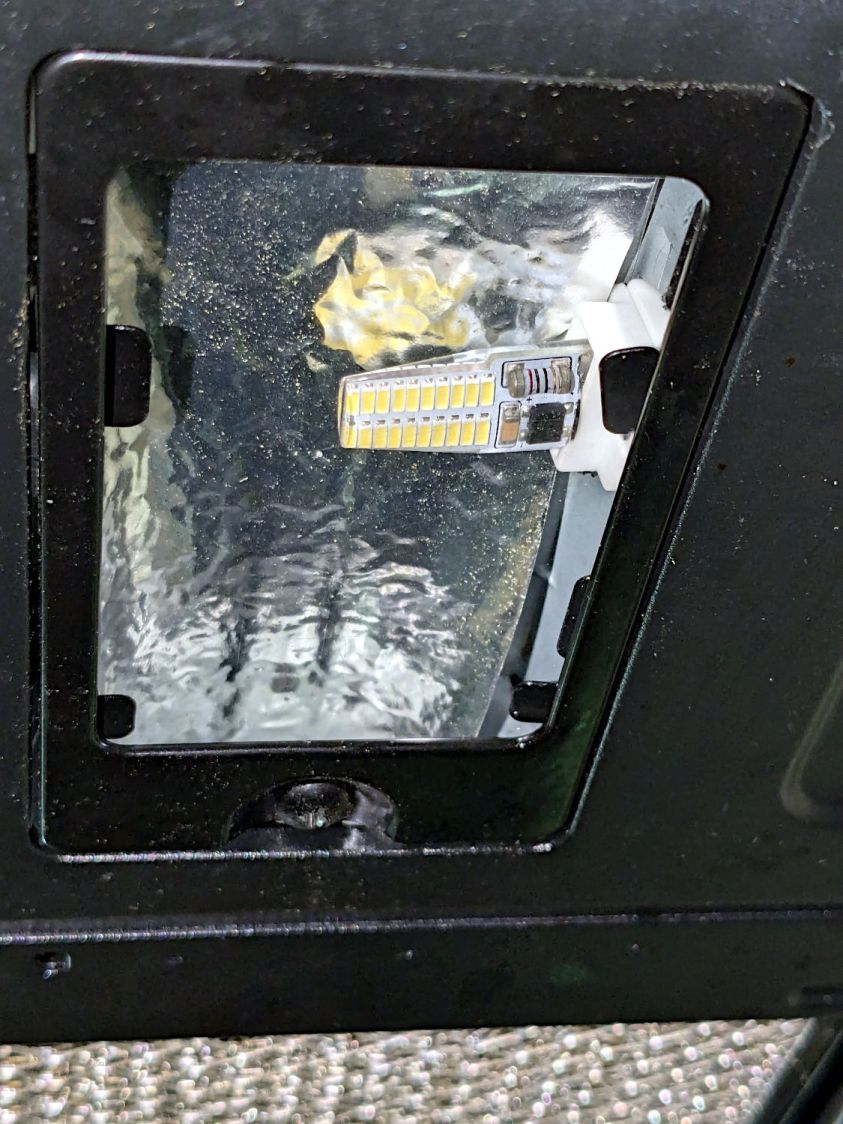
After replacing the gas / humidity sensor in the Samsung microwave, replacing the pair of 40 W (!) halogen bulbs with G8 LED bulbs didn’t pose much of a challenge:
Those are not the best bulbs for the application, as they’re allegedly equivalent to 20-25 W halogens, but I had some on hand from a previous relamping project and they seemed promising.
G8 halogens have a flattened section just above the pins that these G8 LED bulbs lack:
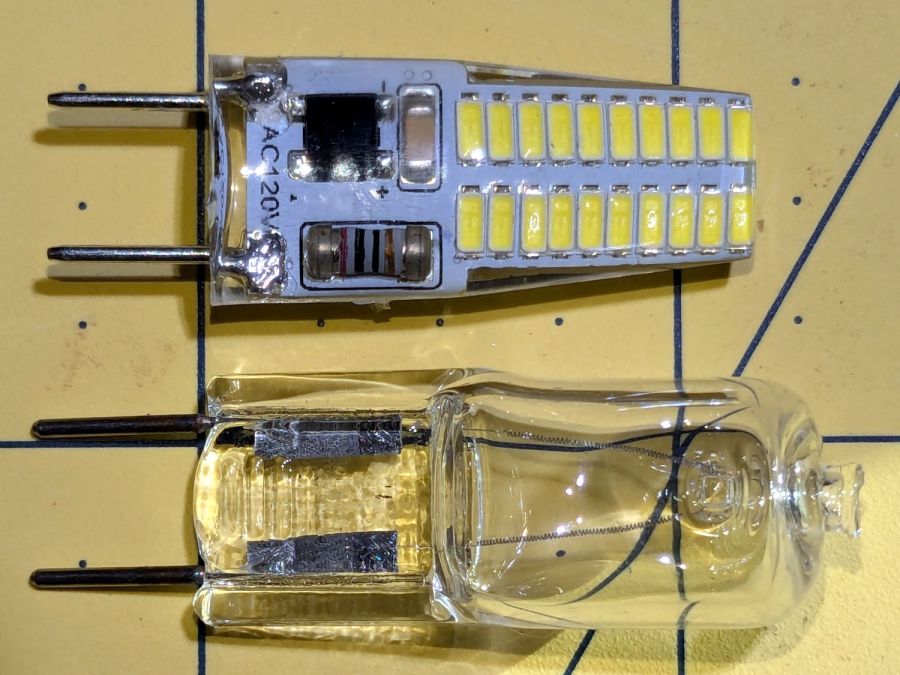
It’s more obvious from the side:
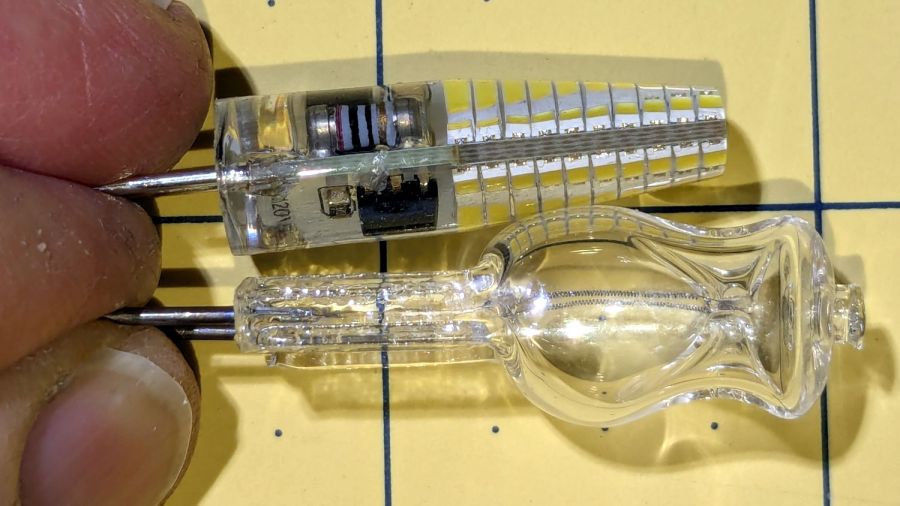
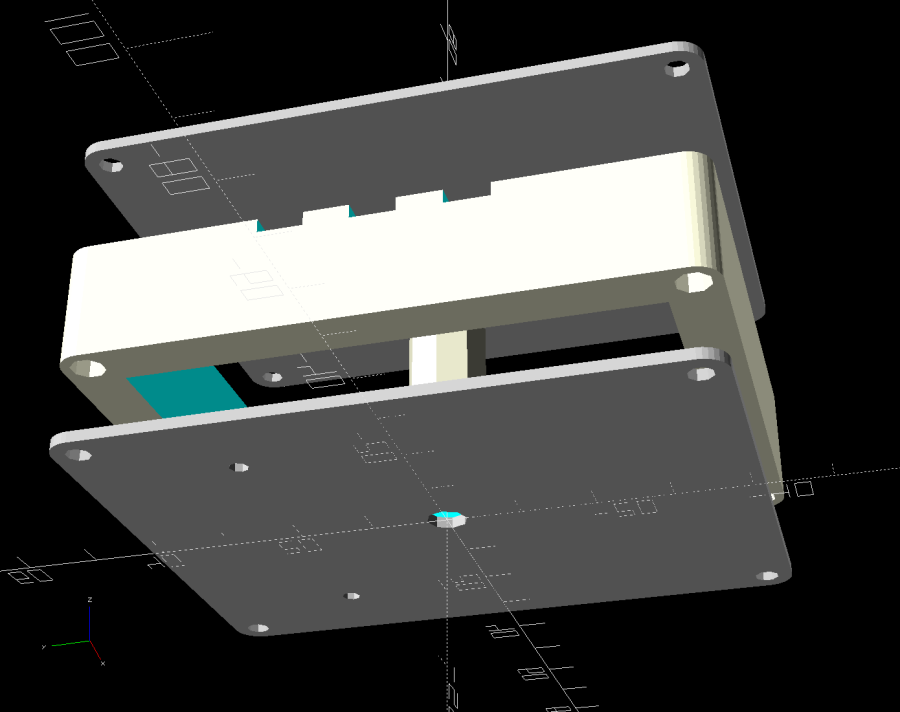
The curvature of the soft silicone LED body magnifies the components to look like they fill all the available space, but a little deft X-acto knife work flensed the body down to fit the microwave’s ceramic socket without exposing any of the electrical innards.
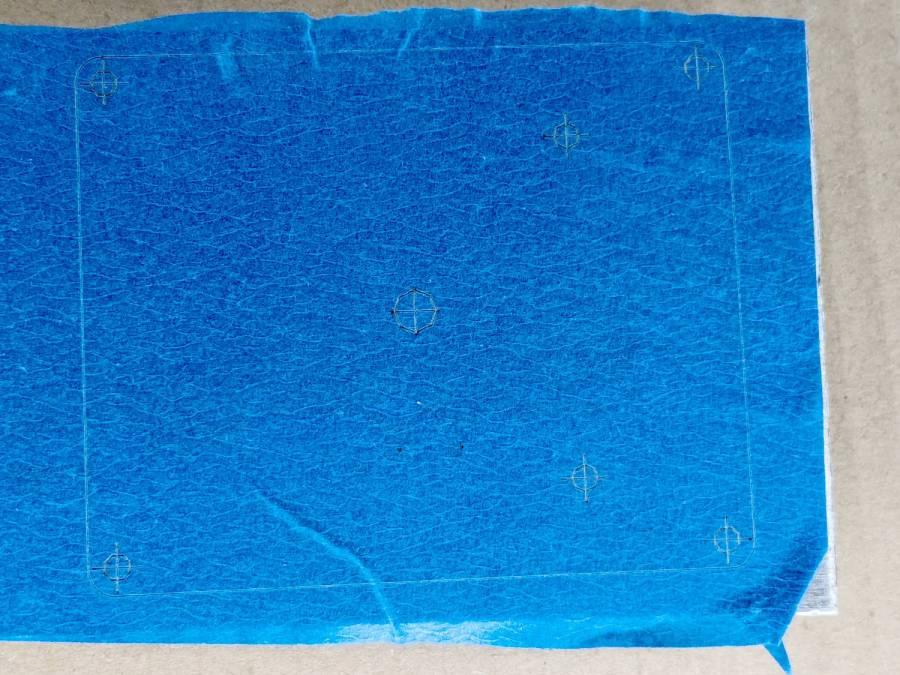
Because the LEDs dissipate only 3 W and barely get warm, I replaced the original translucent glass diffuser panels with (yes, laser-cut) clear 3 mm acrylic, then tucked a strip of aluminized mylar above the bulb to bounce some of the light from the upper chips down where it would do more good. I think it’s possible to melt the acrylic with a stovetop mishap, but we don’t make those kinds of recipes.
They’re not daylight shining on the stove, but they’re much brighter than the halogens at maybe 10% of the power.