Being an Old Guy, I lift dumbbell weights after bike rides for load-bearing upper-body exercise, but need a few more dumbbell nuts (a.k.a. “collars”) to simplify adjusting the weights for each set. Such things are commercially available, but the reviews suggest abysmally bad thread QC and a high return rate.
Given that I treat my toys carefully, this should suffice:

Start with a scan of a steel nut in GIMP:

Blow out the contrast, trace it, smooth out some irregularities, get a mask:

Select by color, convert the selection to a path, save as SVG, import into OpenSCAD, add a nut with threads from the incomparably useful BOSL2 library, extrude a few features, and this pops out:

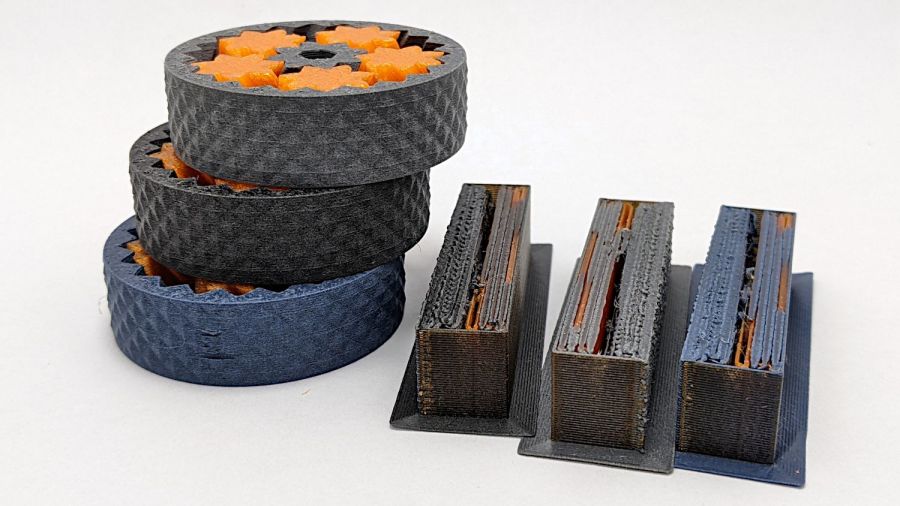
Run it through PrusaSlicer, print on the MK4, and iterate a few times to get everything right:

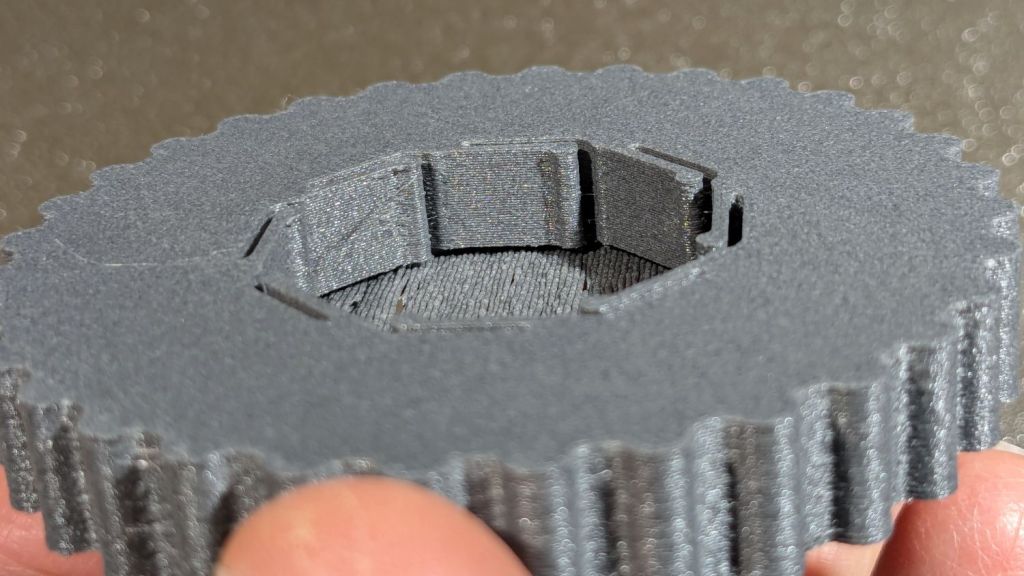
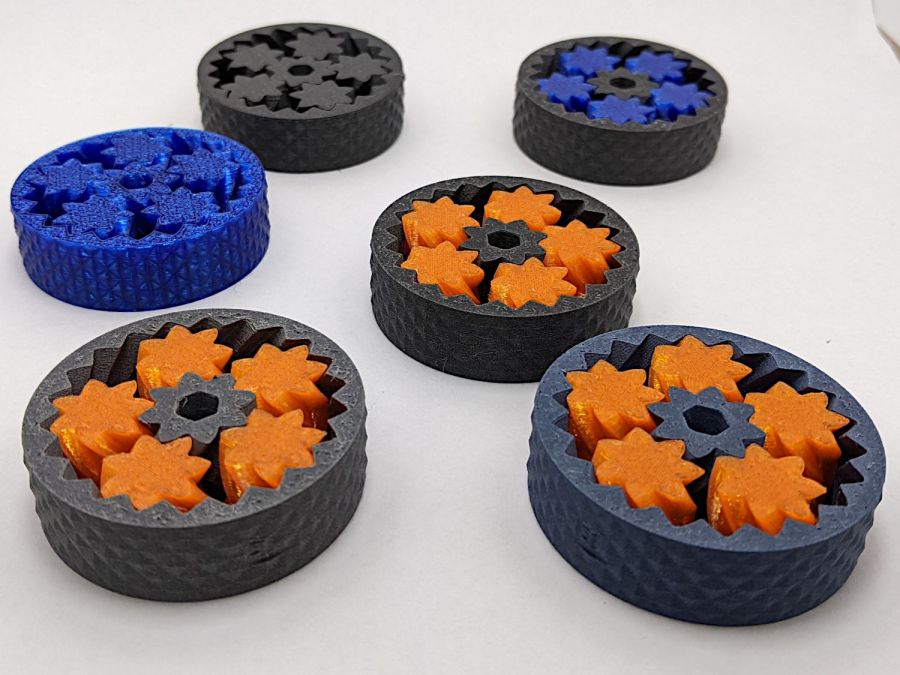
I naively thought the threads were something standard like Acme, but they’re full-frontal custom trapezoidal. I knew the first pass would be wrong, so the small hex nut on the left started the whole process. Upper left is a revised Acme thread with all the other features, lower middle is the custom trapezoidal thread, and the nut on the upper right worked. Make three more, just like the first one, enjoying the magic of 3D printing.
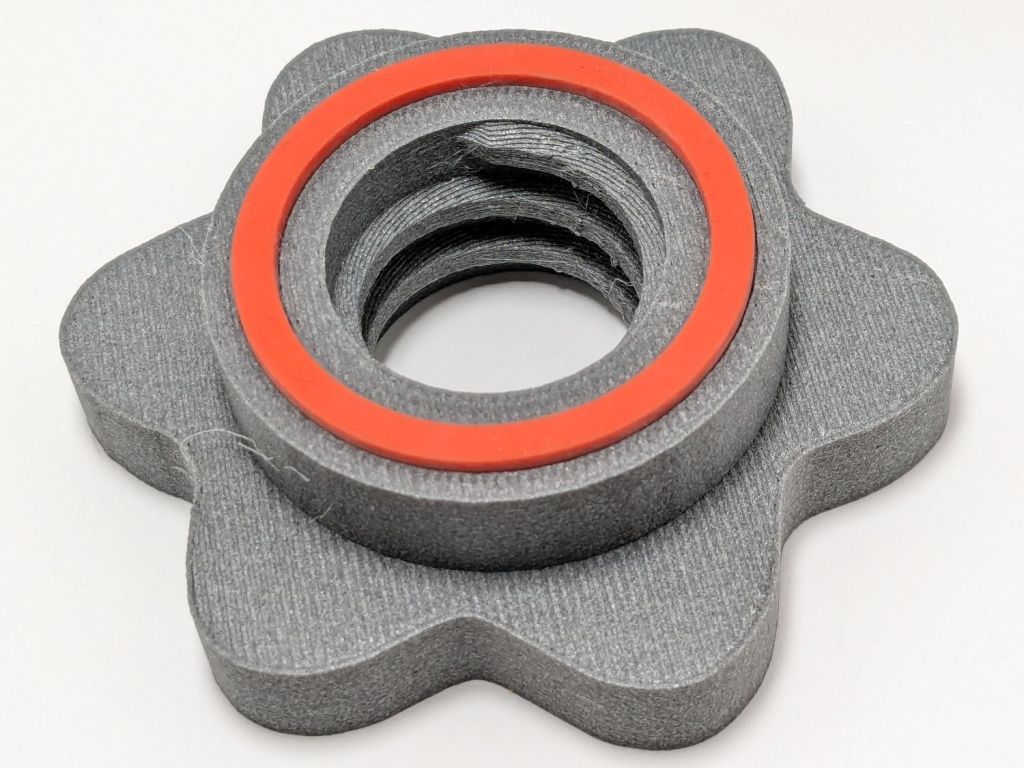
Draw the bumper washer in LightBurn based on the dimensions in the OpenSCAD code, cut a set from stamp-pad rubber & adhesive sheet, then assemble:

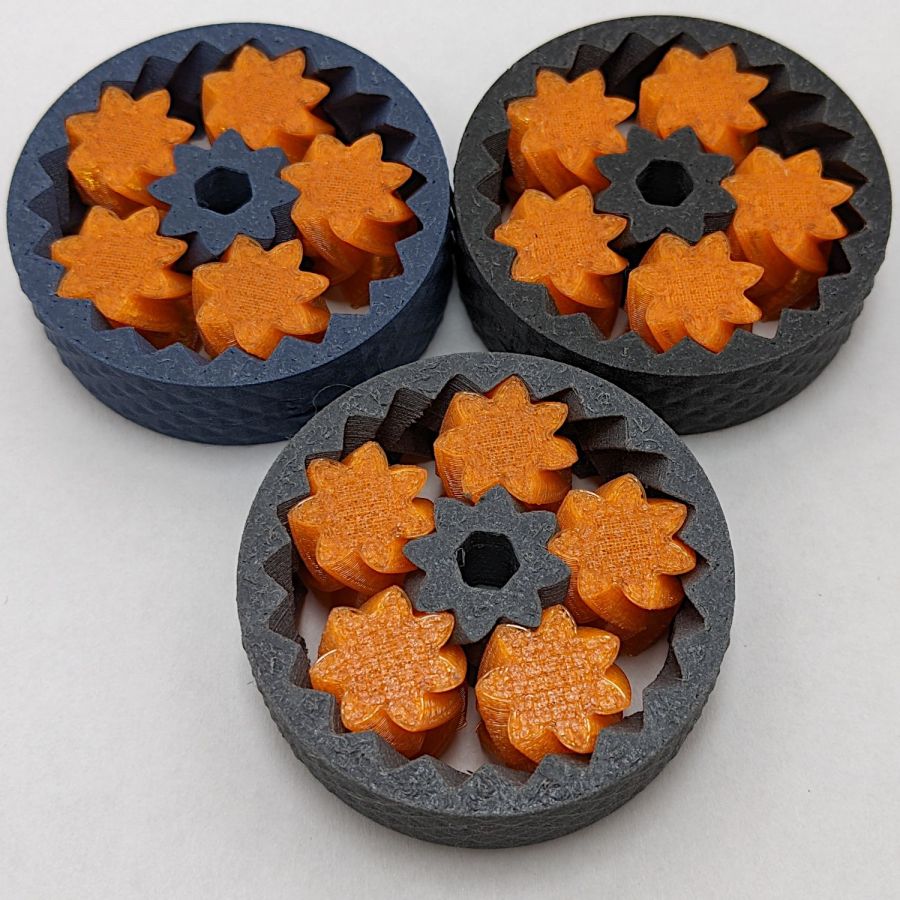
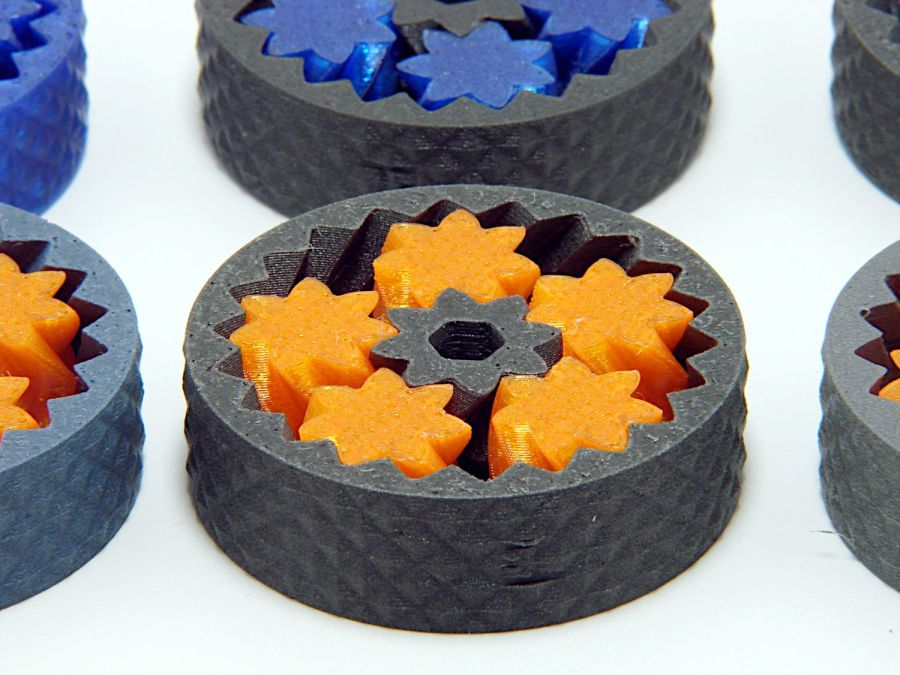
As the saying goes, we got nuts:

The gray PETG-CF looks black against a white background and gray against black iron.
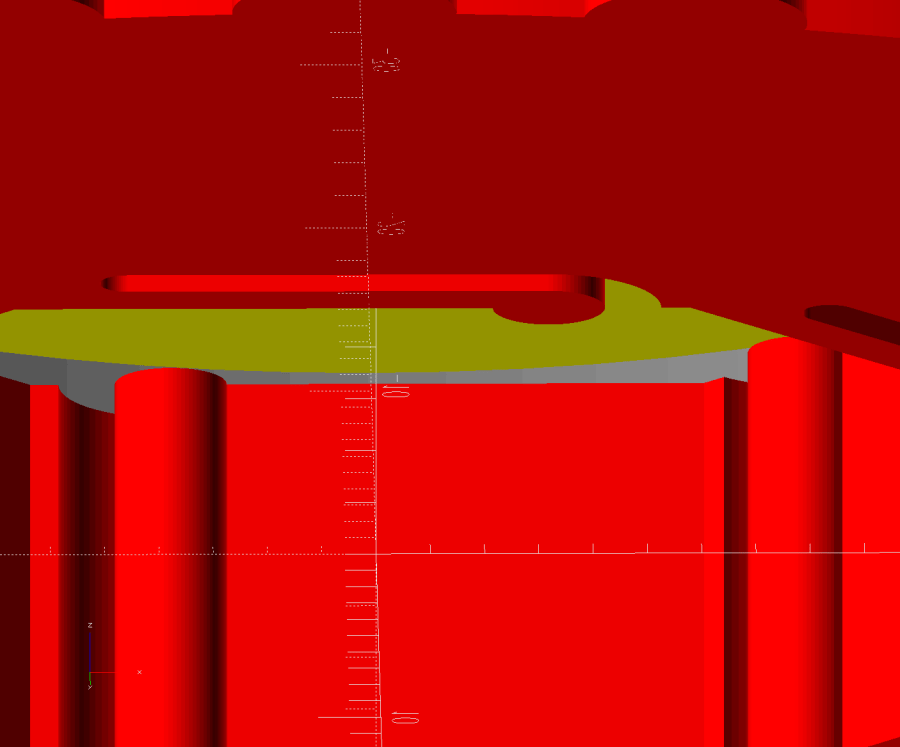
With a set of precisely fitting nuts in hand, I discovered one of the four bars in my weight sets is slightly larger than the others, so the code now produces an embiggened root diameter and I have two spares.
The OpenSCAD code assembles a nut:
// Dumbbell nut
// Ed Nisley - KE4ZNU
// 2024-10-04

include <BOSL2/std.scad>
include <BOSL2/threading.scad>

ID = 0;
OD = 1;
THICK = 2;

NutOAH = 20.0;
BossOD = 45.0;
Bumper = [33.0,40.0,2.5];

NumSides = 4*9;

difference() {
    intersection() {
        union() {
            down(NutOAH/2)
                linear_extrude(height=NutOAH/2,convexity=2)
                    import("Dumbbell Nut - path.svg",
                            center=true);
            linear_extrude(height=NutOAH/2,convexity=2)
                circle(d=BossOD,$fn=NumSides);
        }
        rotate(180/6)
            trapezoidal_threaded_nut(100.0,26.5,20.0,INCH/4,        // flat size, root dia, height, pitch
                                    bevel=false,ibevel=false,
                                    flank_angle=30,thread_depth=1.8);
    }

    up(NutOAH/2 - Bumper[THICK]/2)
        linear_extrude(height=2*Bumper[THICK],convexity=2) {
            difference() {
                circle(d=Bumper[OD],$fn=NumSides);
                circle(d=Bumper[ID],$fn=NumSides);
            }
        }

}


