Ed Nisley's Blog: Shop notes, electronics, firmware, machinery, 3D printing, laser cuttery, and curiosities. Contents: 100% human thinking, 0% AI slop.
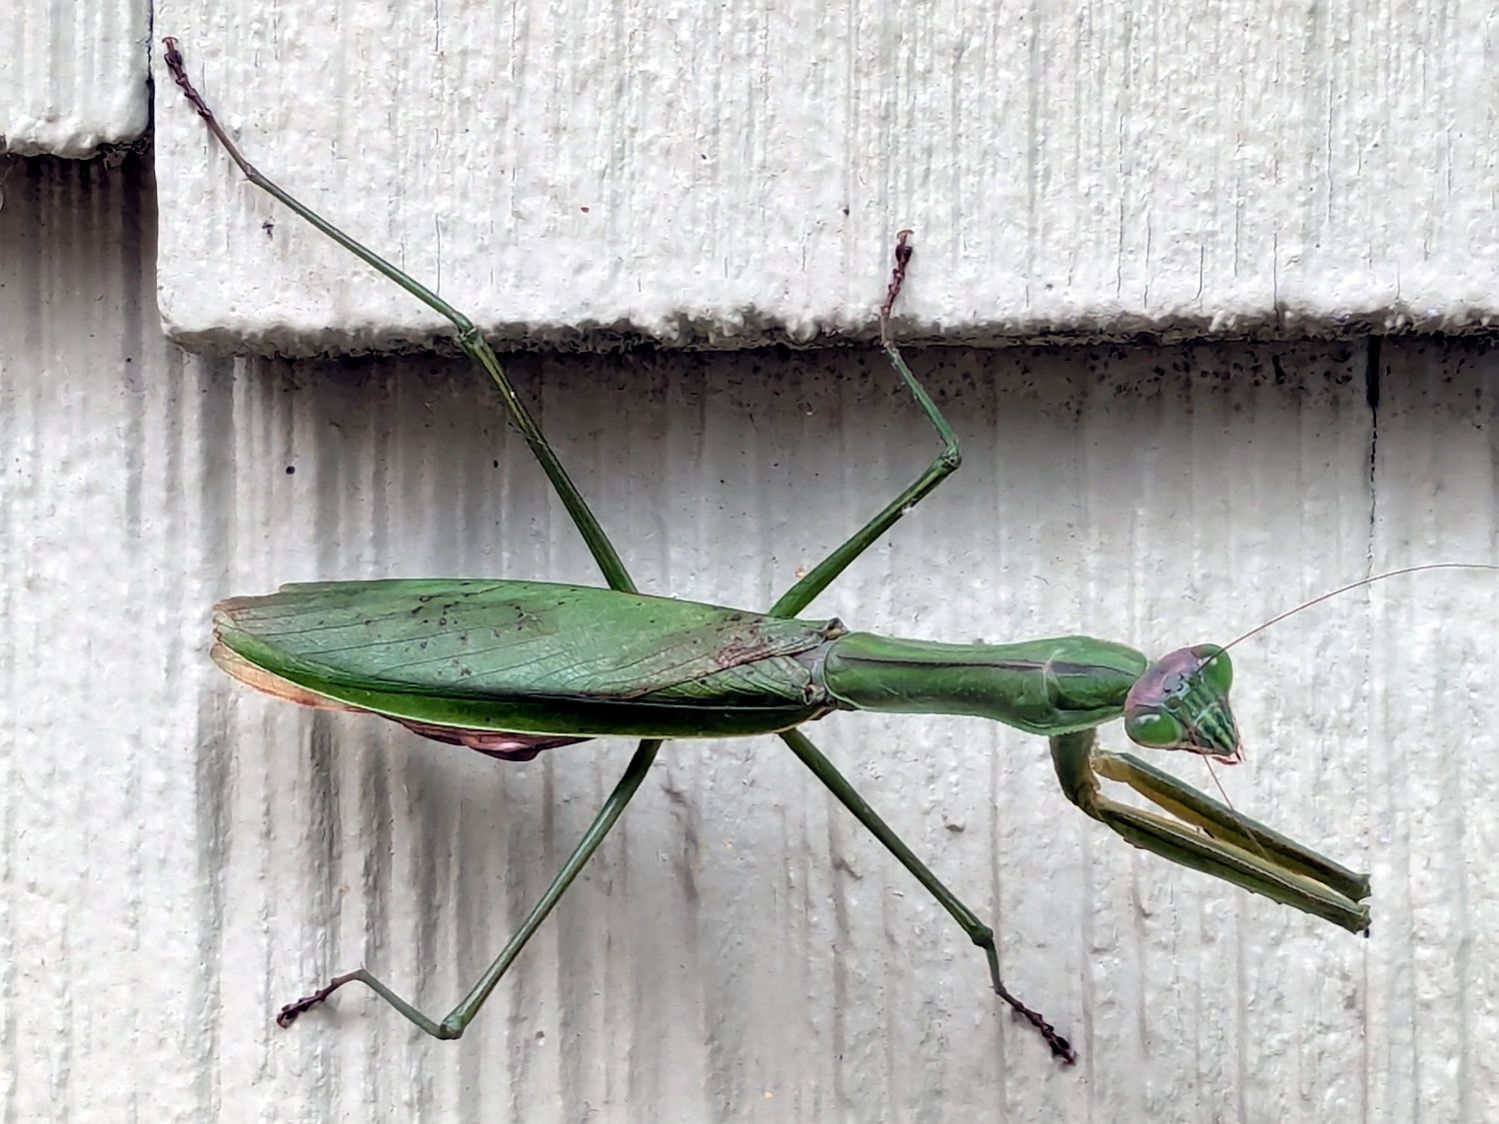
The next morning found it huddled against the cold:
Mantis – chilled
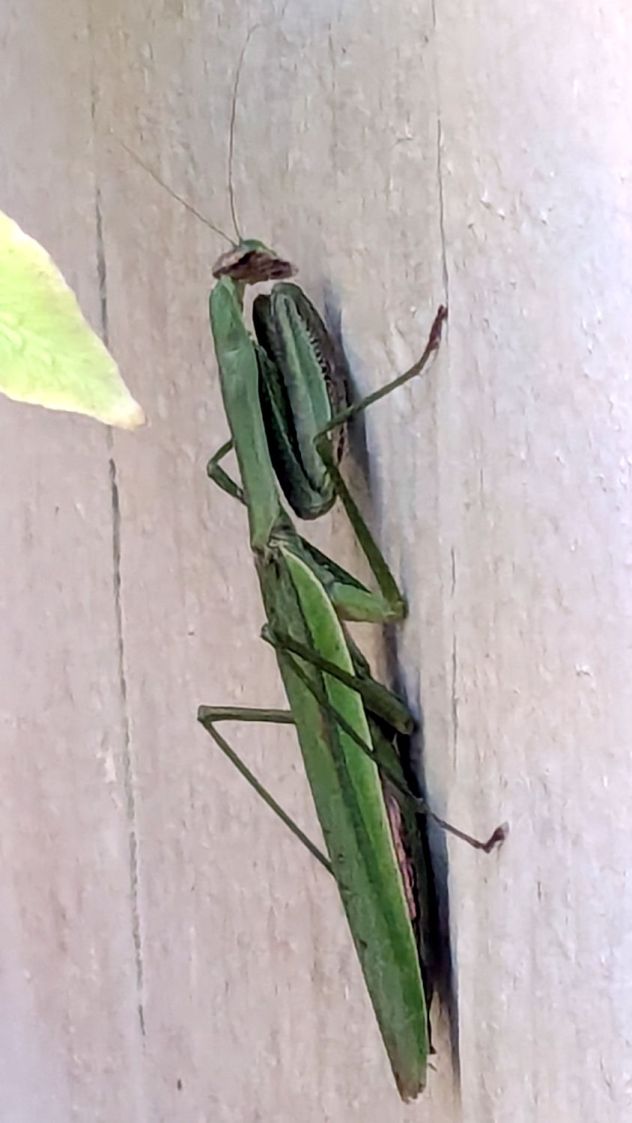
It had reached operating temperature and gone about its business a few hours later.
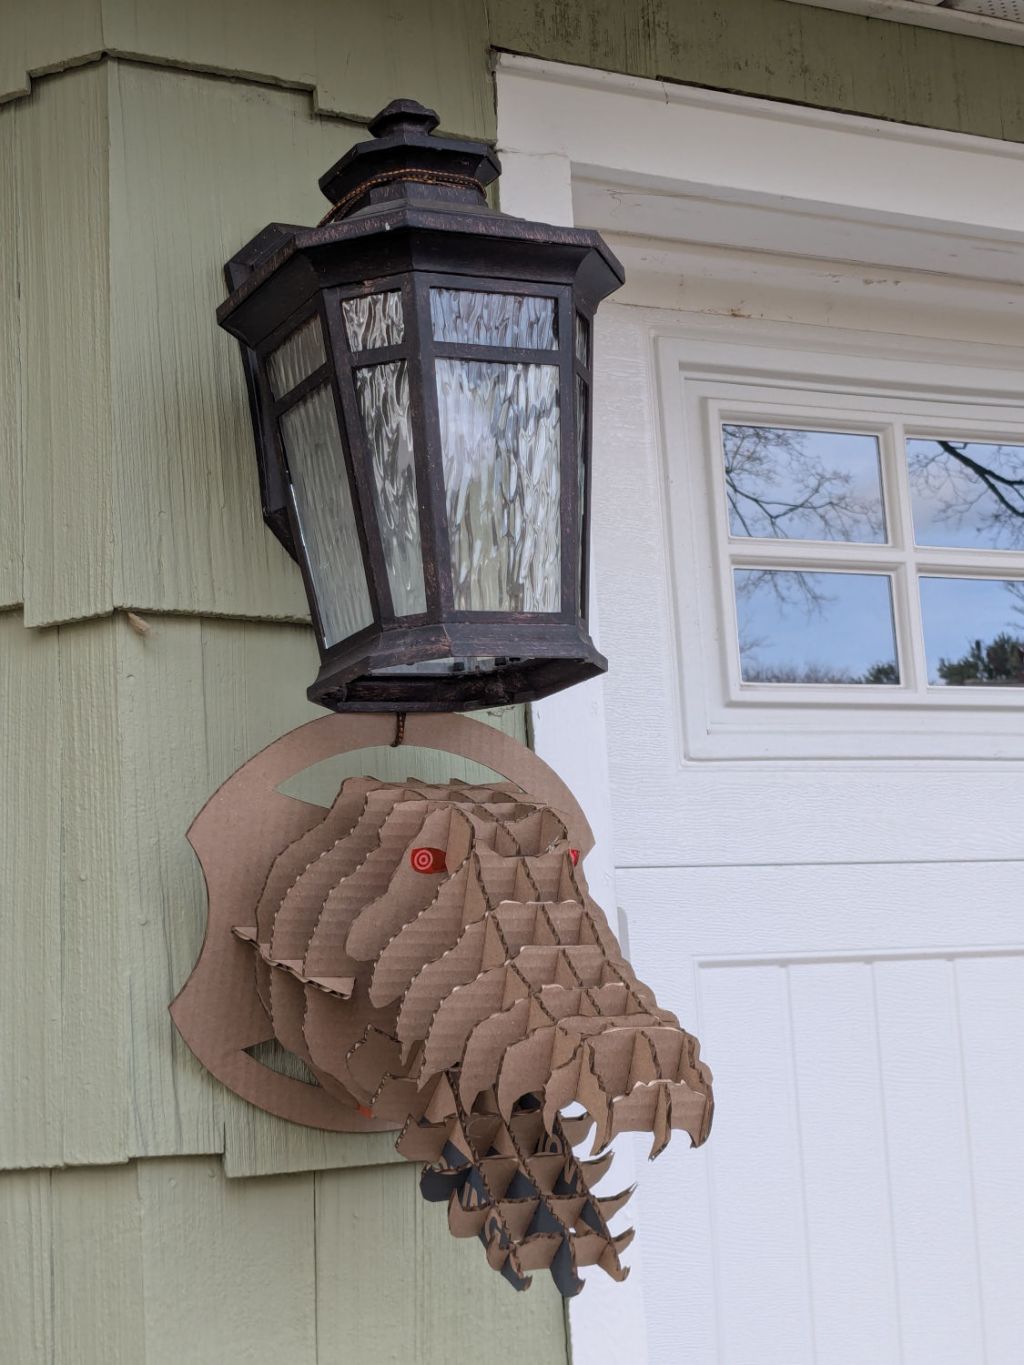
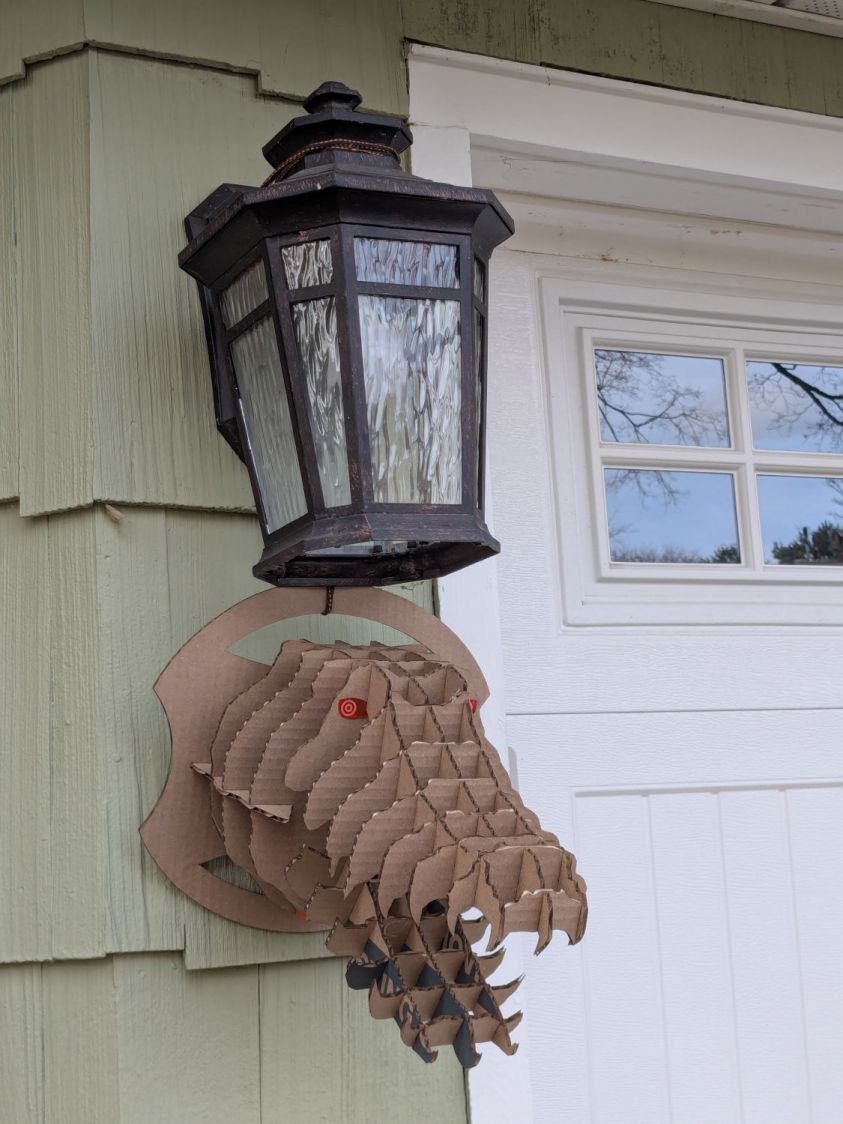
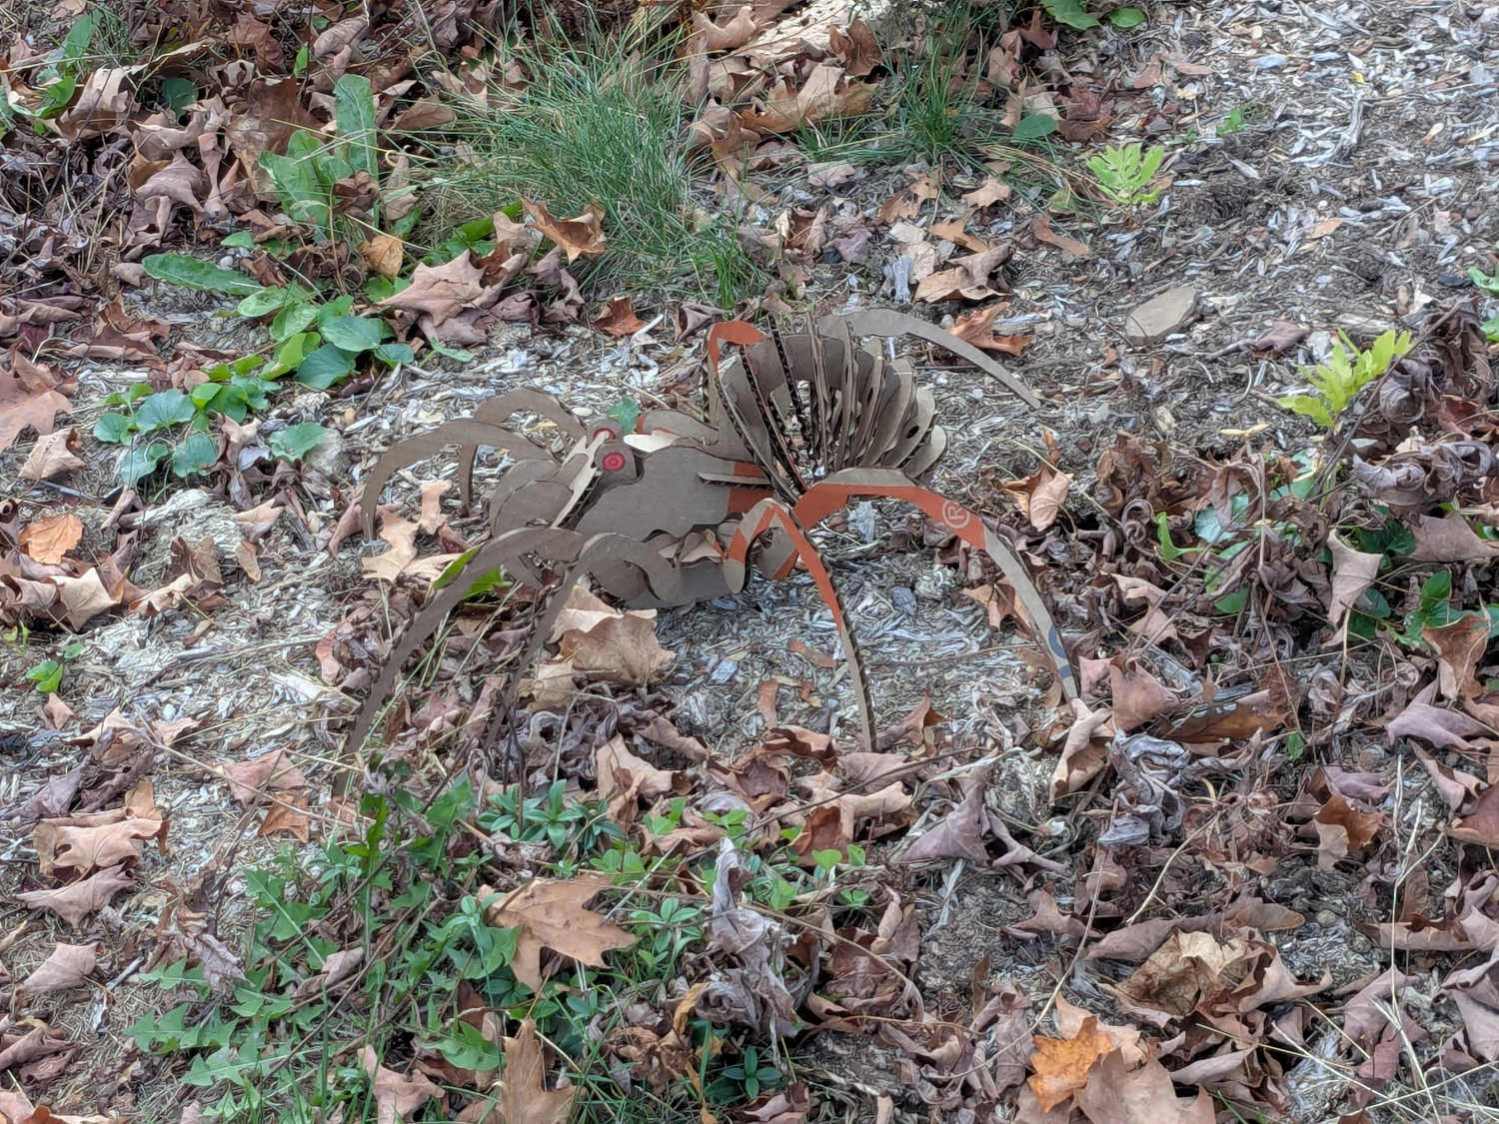
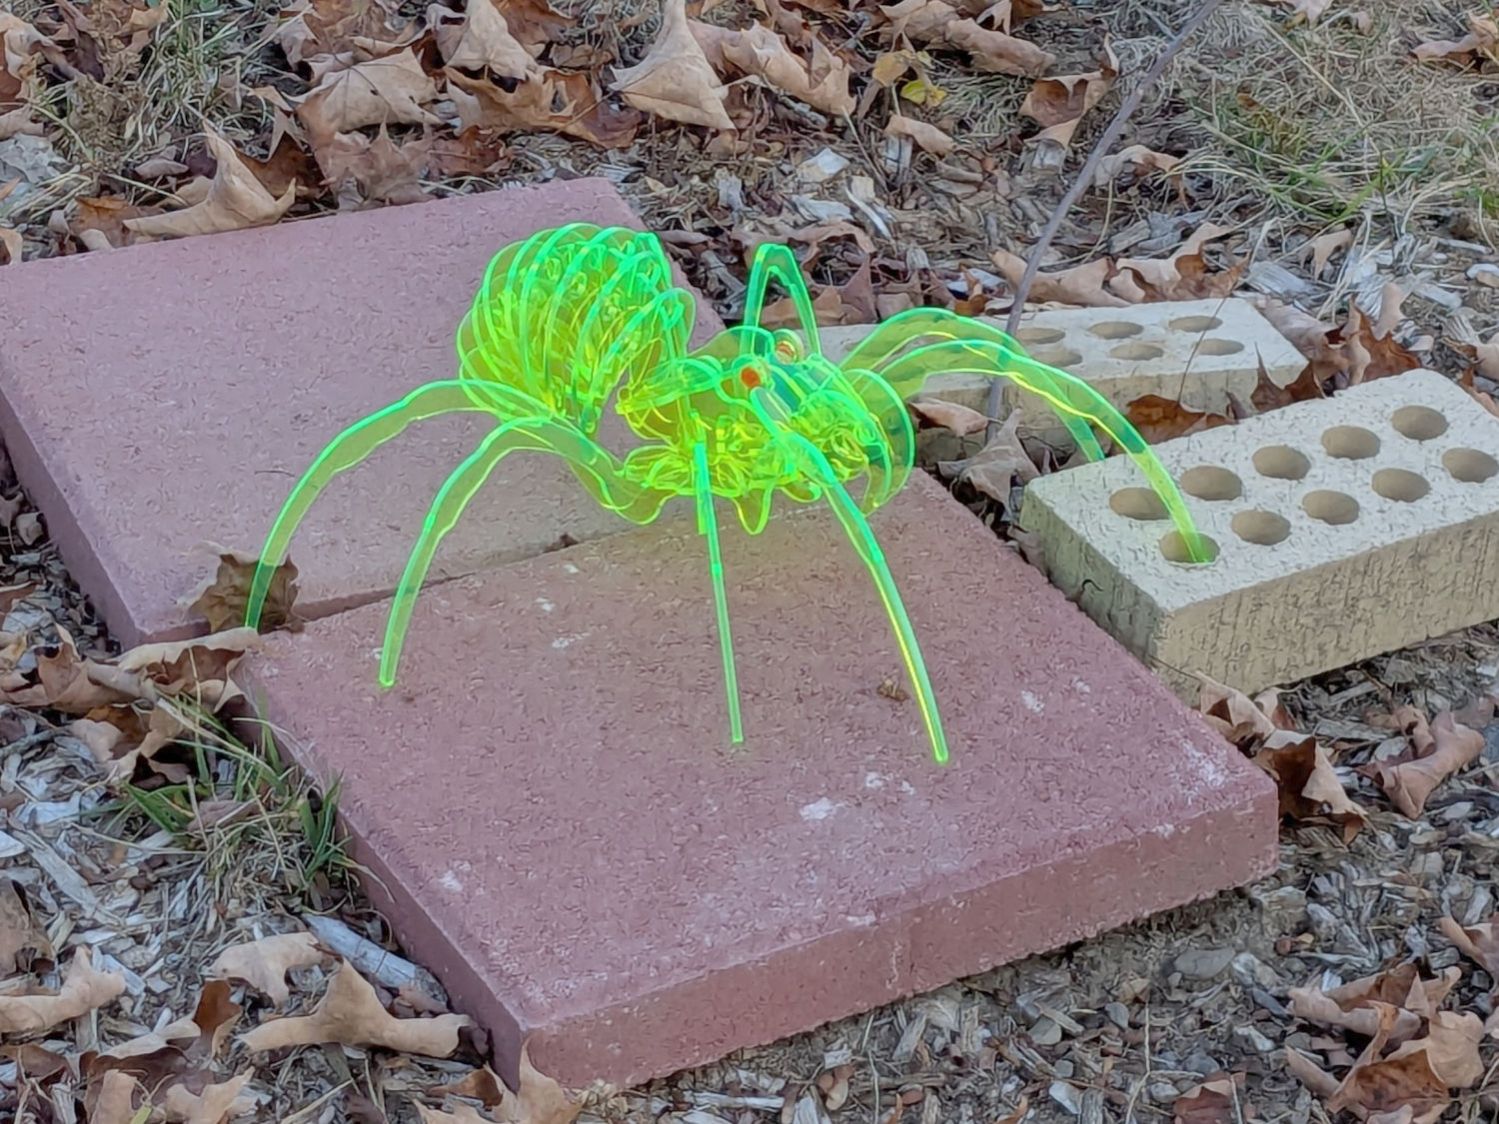
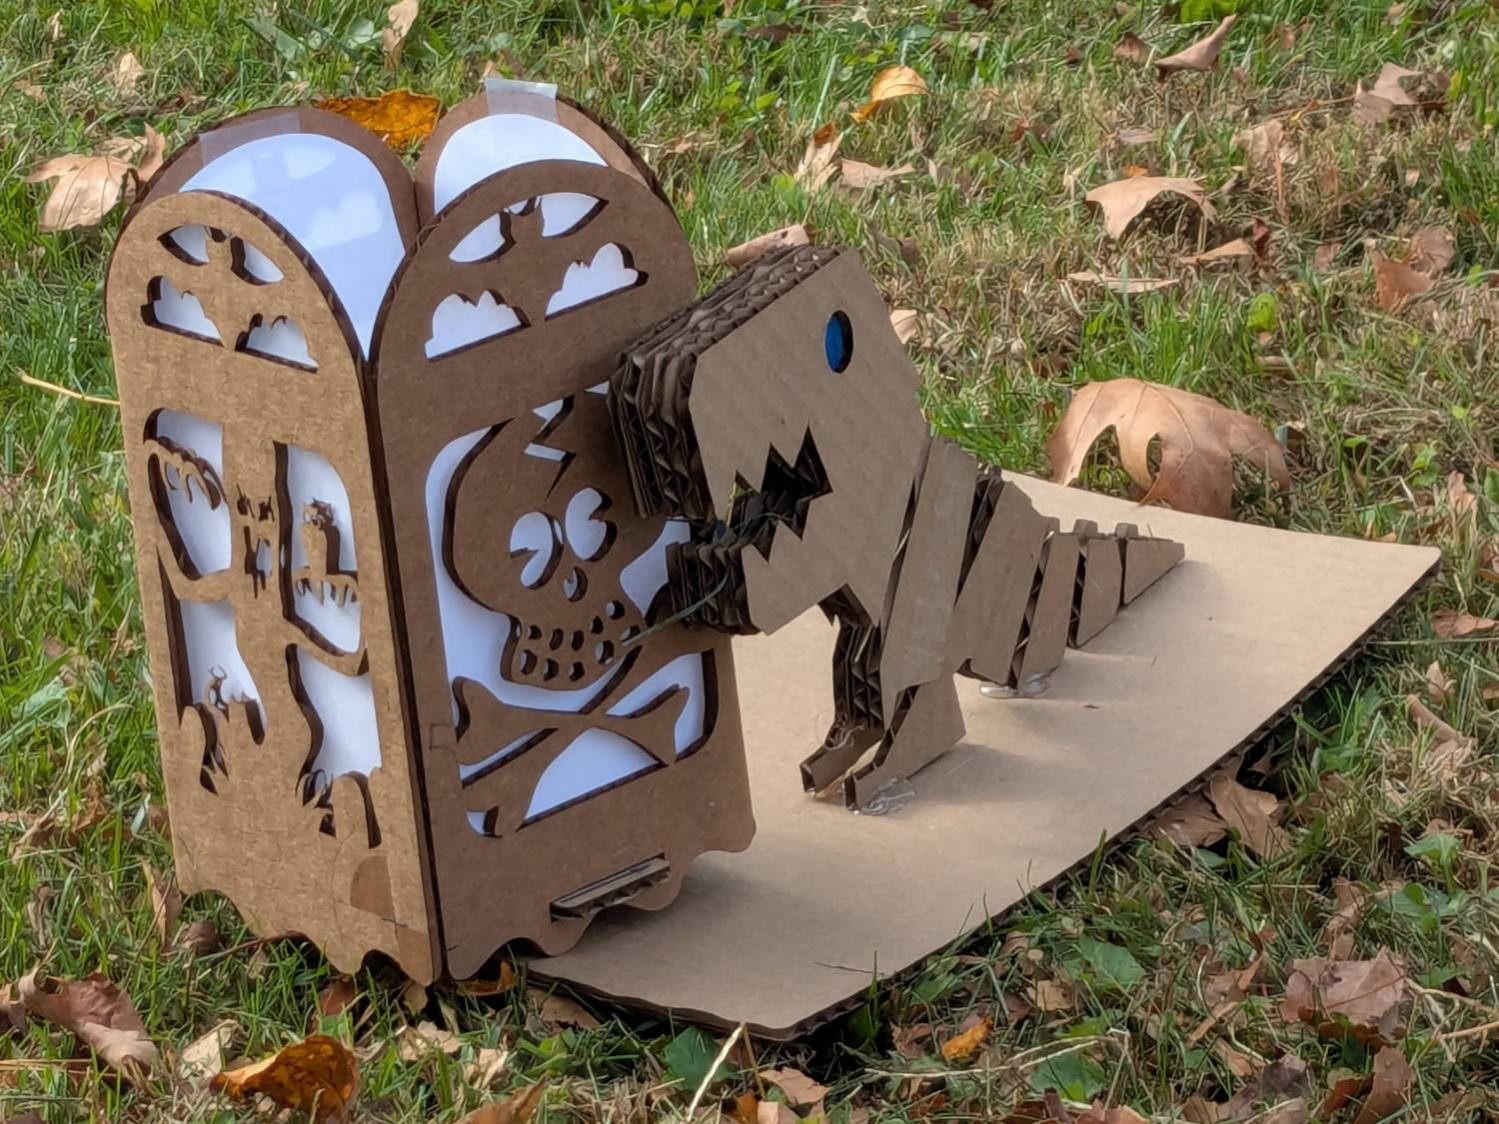
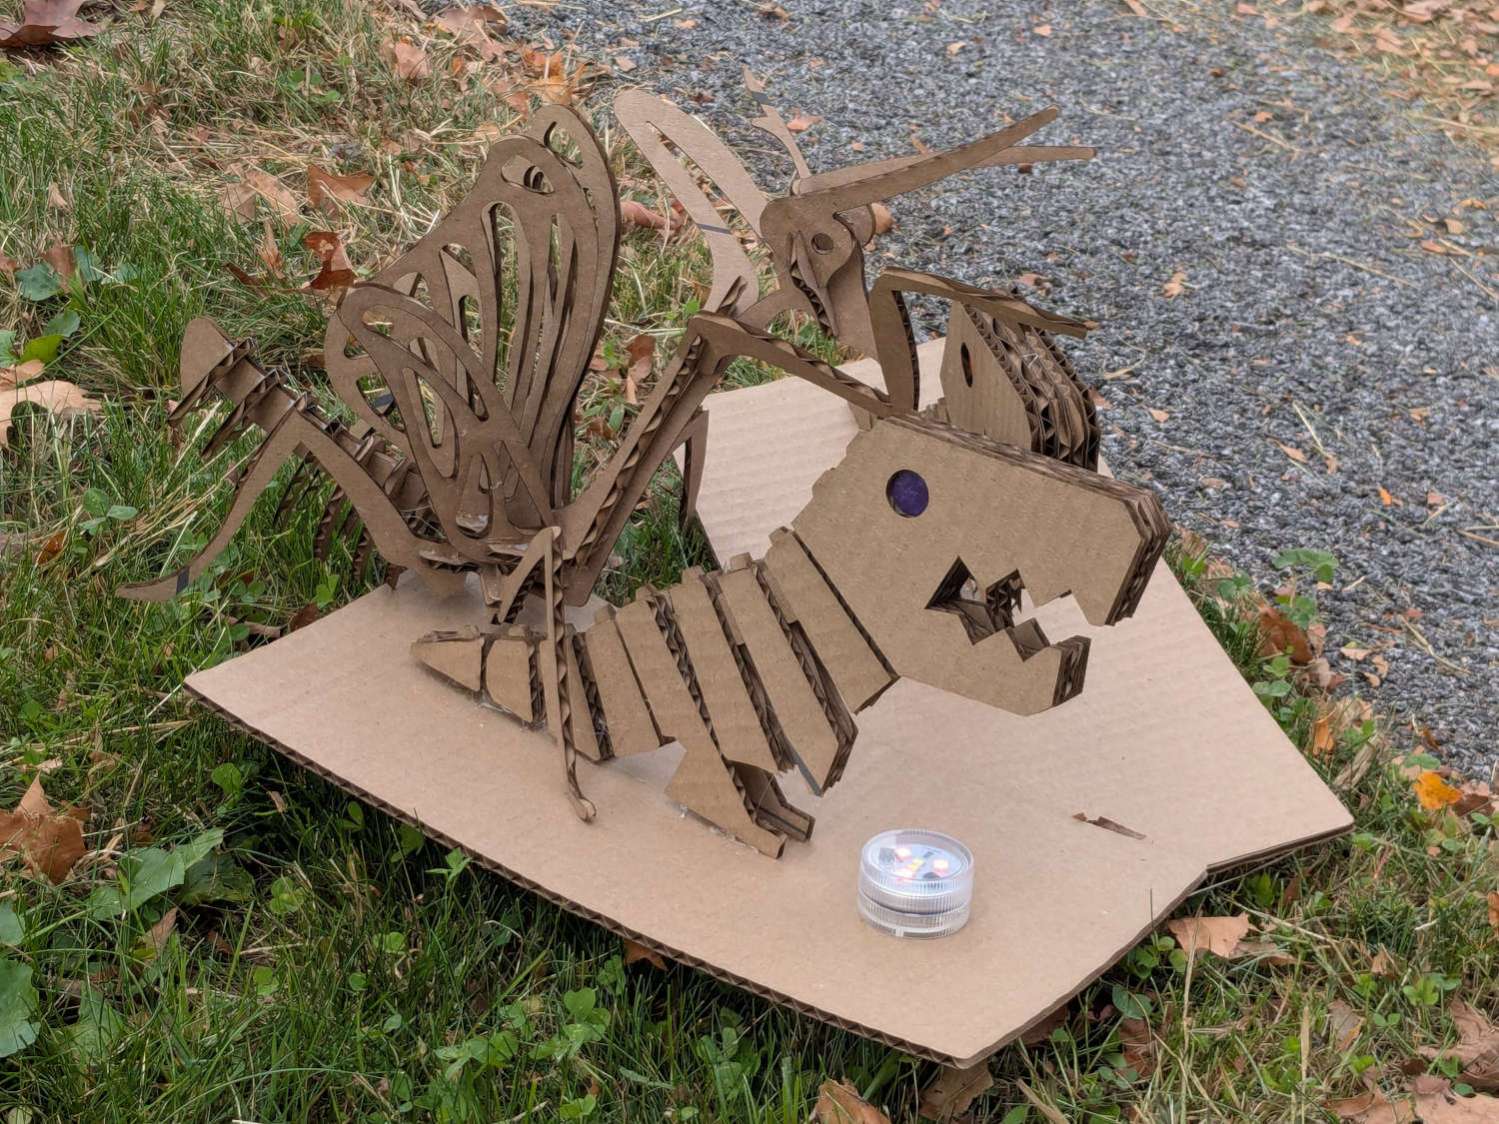
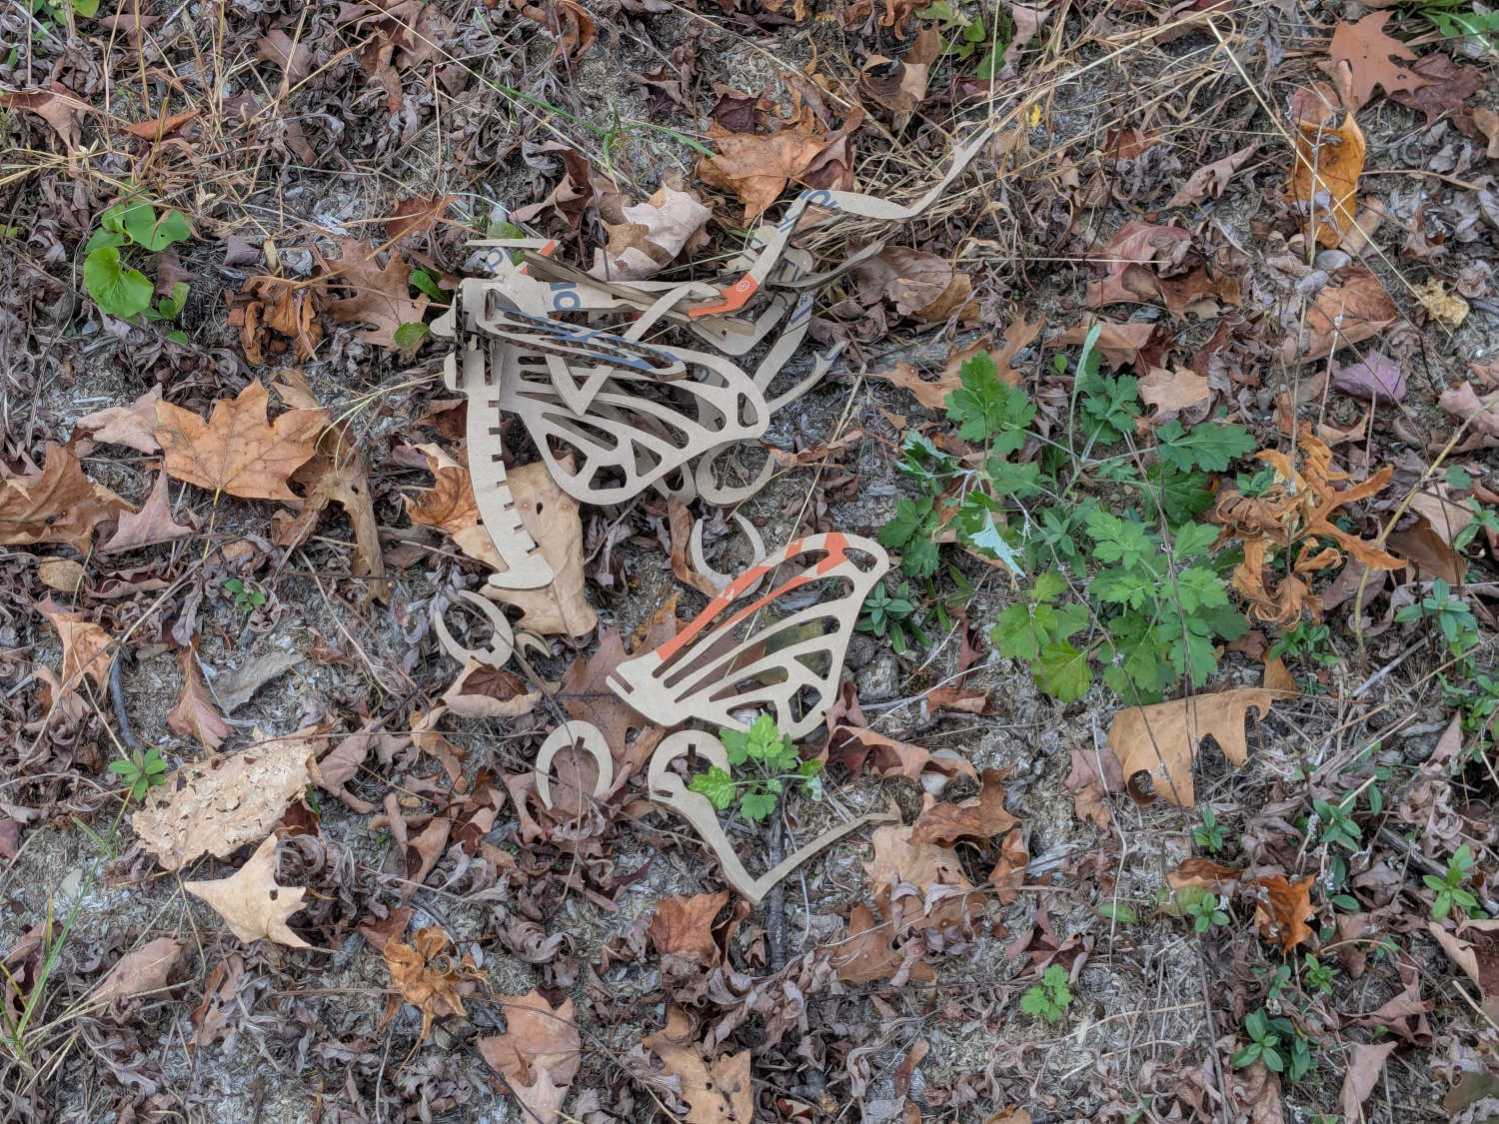
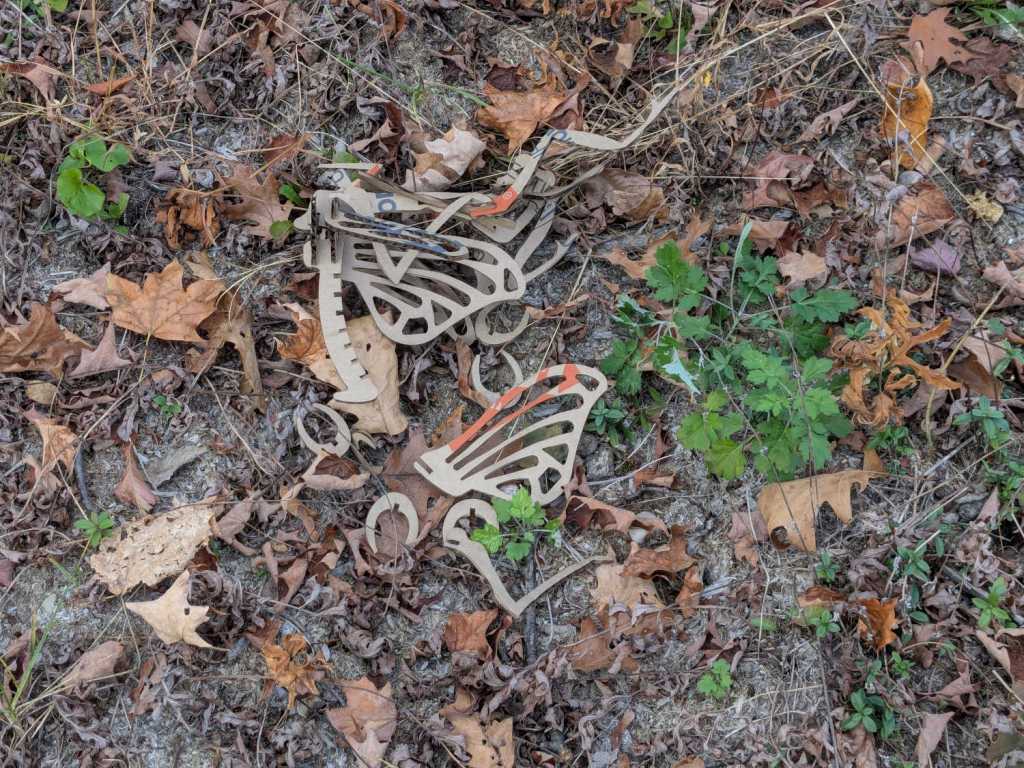
I deployed a cardboard Mantis in its honor as a seasonally appropriate yard decoration, but mine didn’t survive the night nearly as well as the real one:
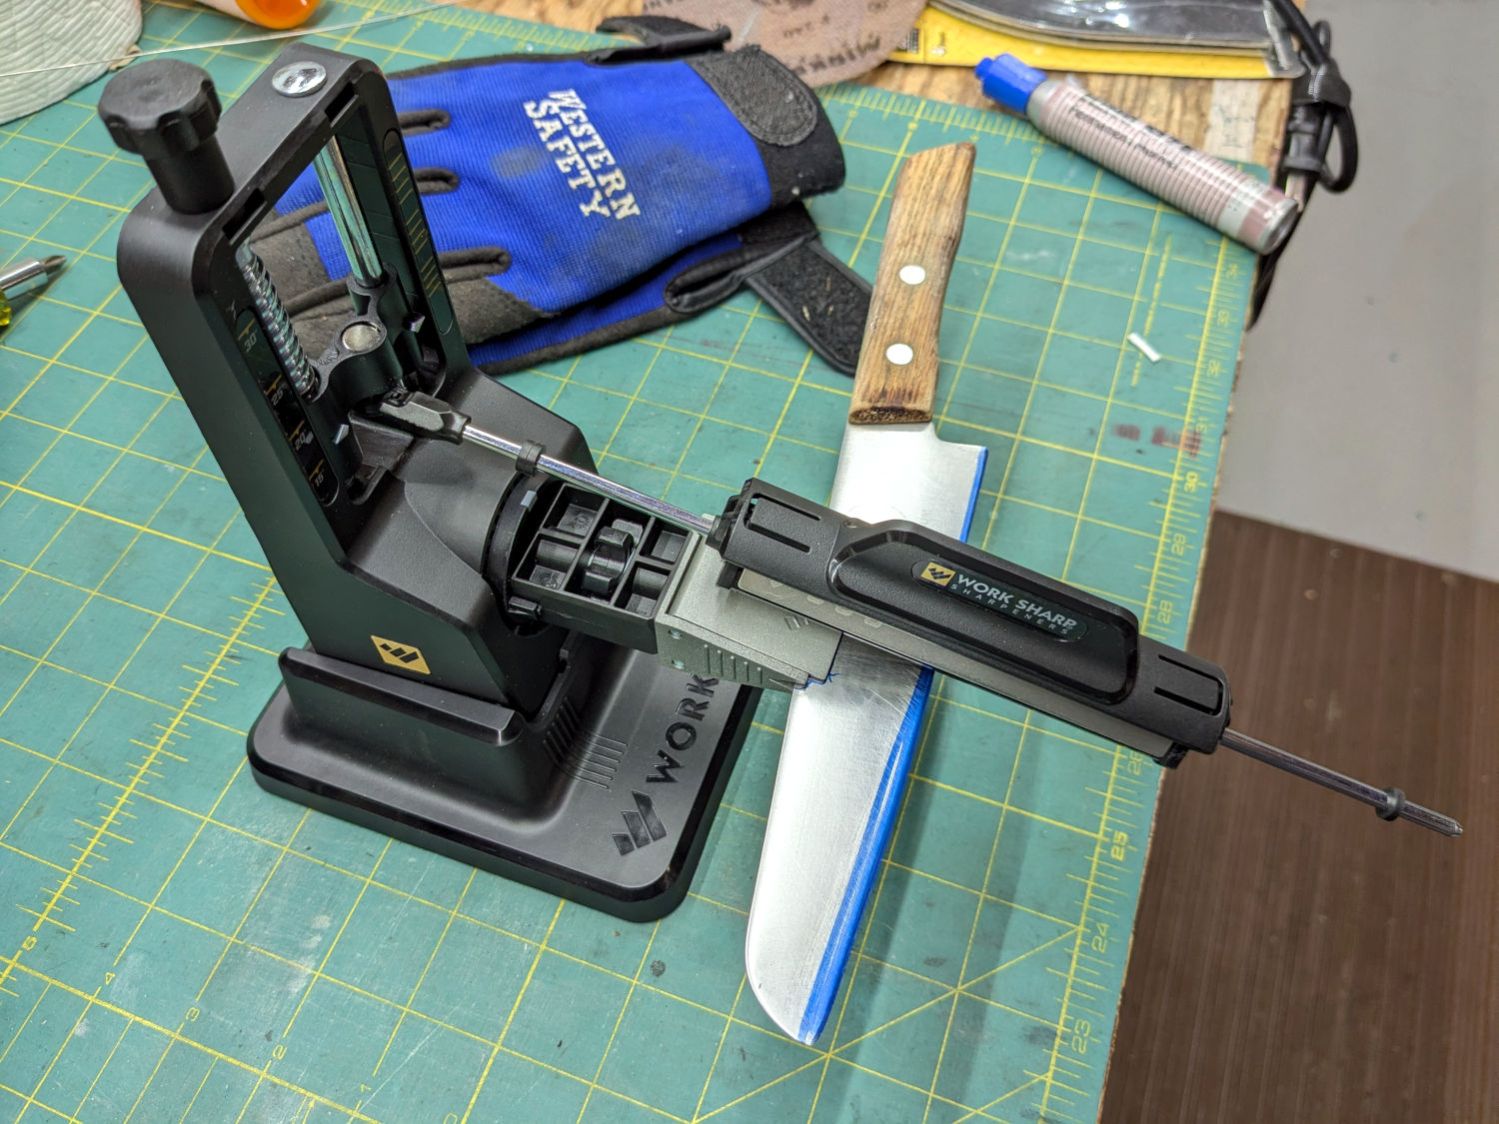
Protip: Wear gloves, because you’re working in front of an unprotected and eventually very sharp blade.
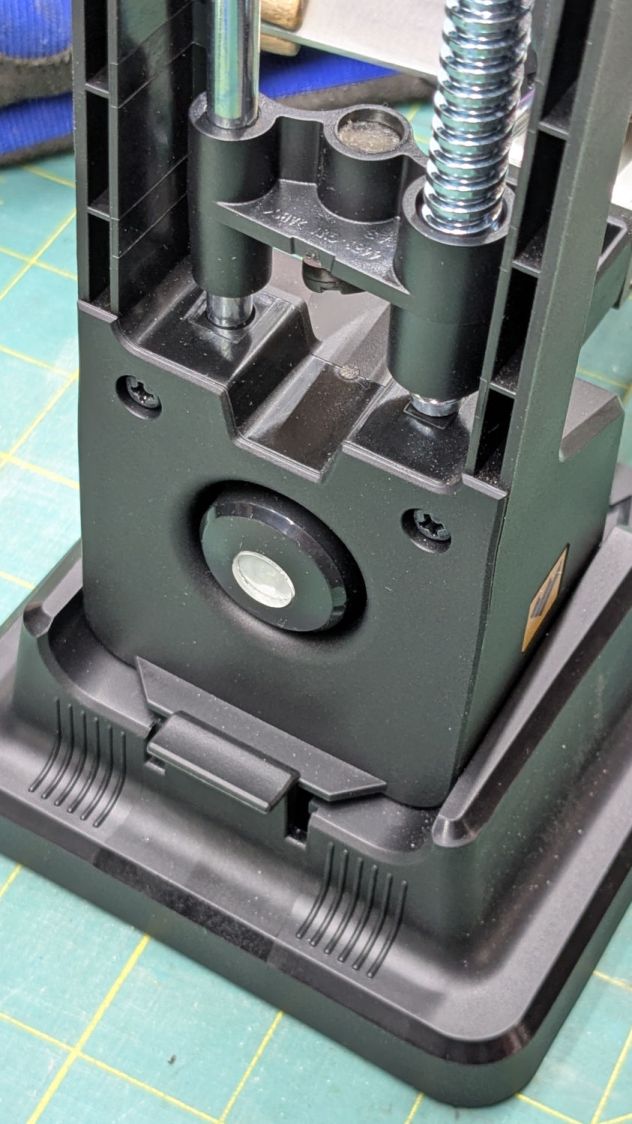
The blade-holding clamp snaps magnetically into a rotating chuck so you can flip the knife over, at least if it’s not quite as long as that one. The chuck index has a spring-loaded release button:
Work Sharp Knife Sharpener – rear view
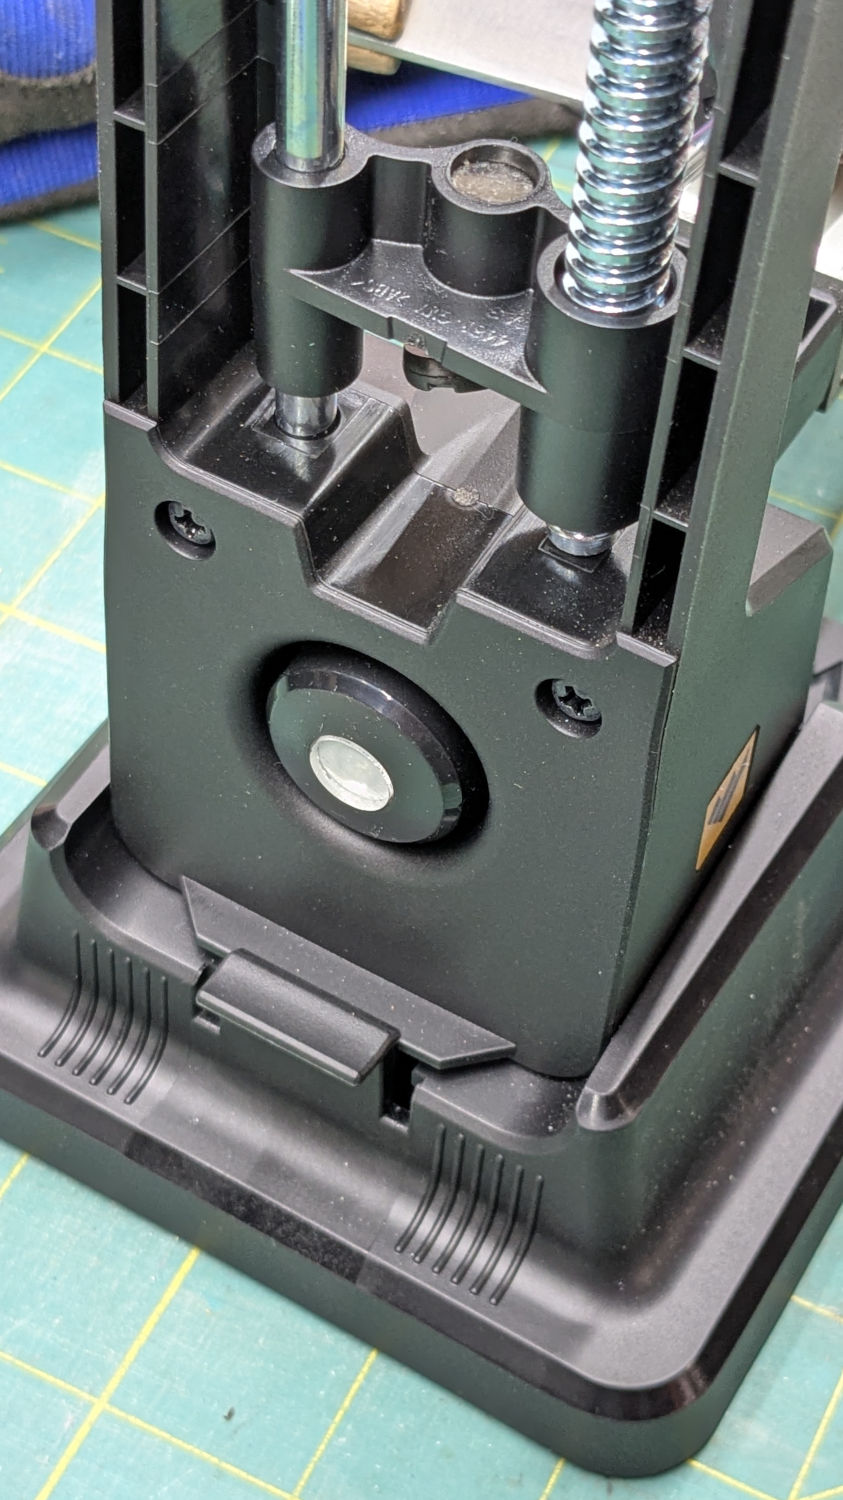
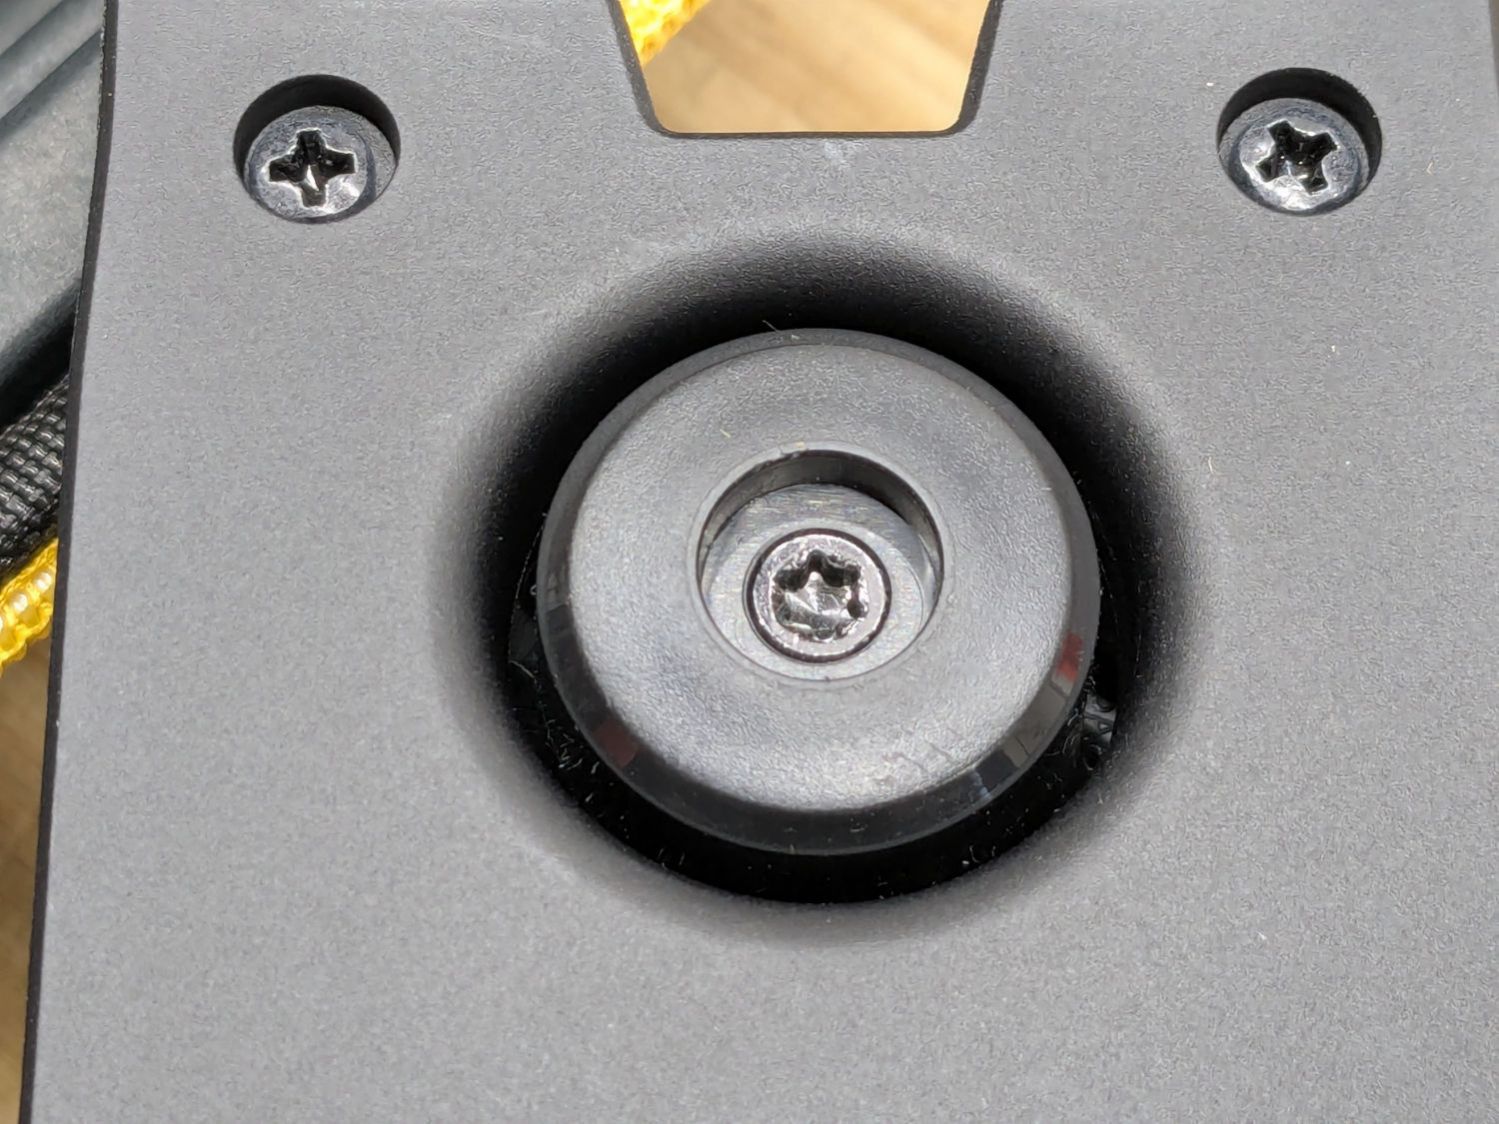
The spring is powerful and the button arrived with a recess around the screw holding the chuck together:
Work Sharp Knife Sharpener clamp button – as received
Pressing the button hard enough to release the chuck hurt my index finger, but their Tech Support said it’s like that and that’s the way it is. Turning the screw adjusts the spring compression, but I think this situation calls for “more secure” rather than “easy to push”.
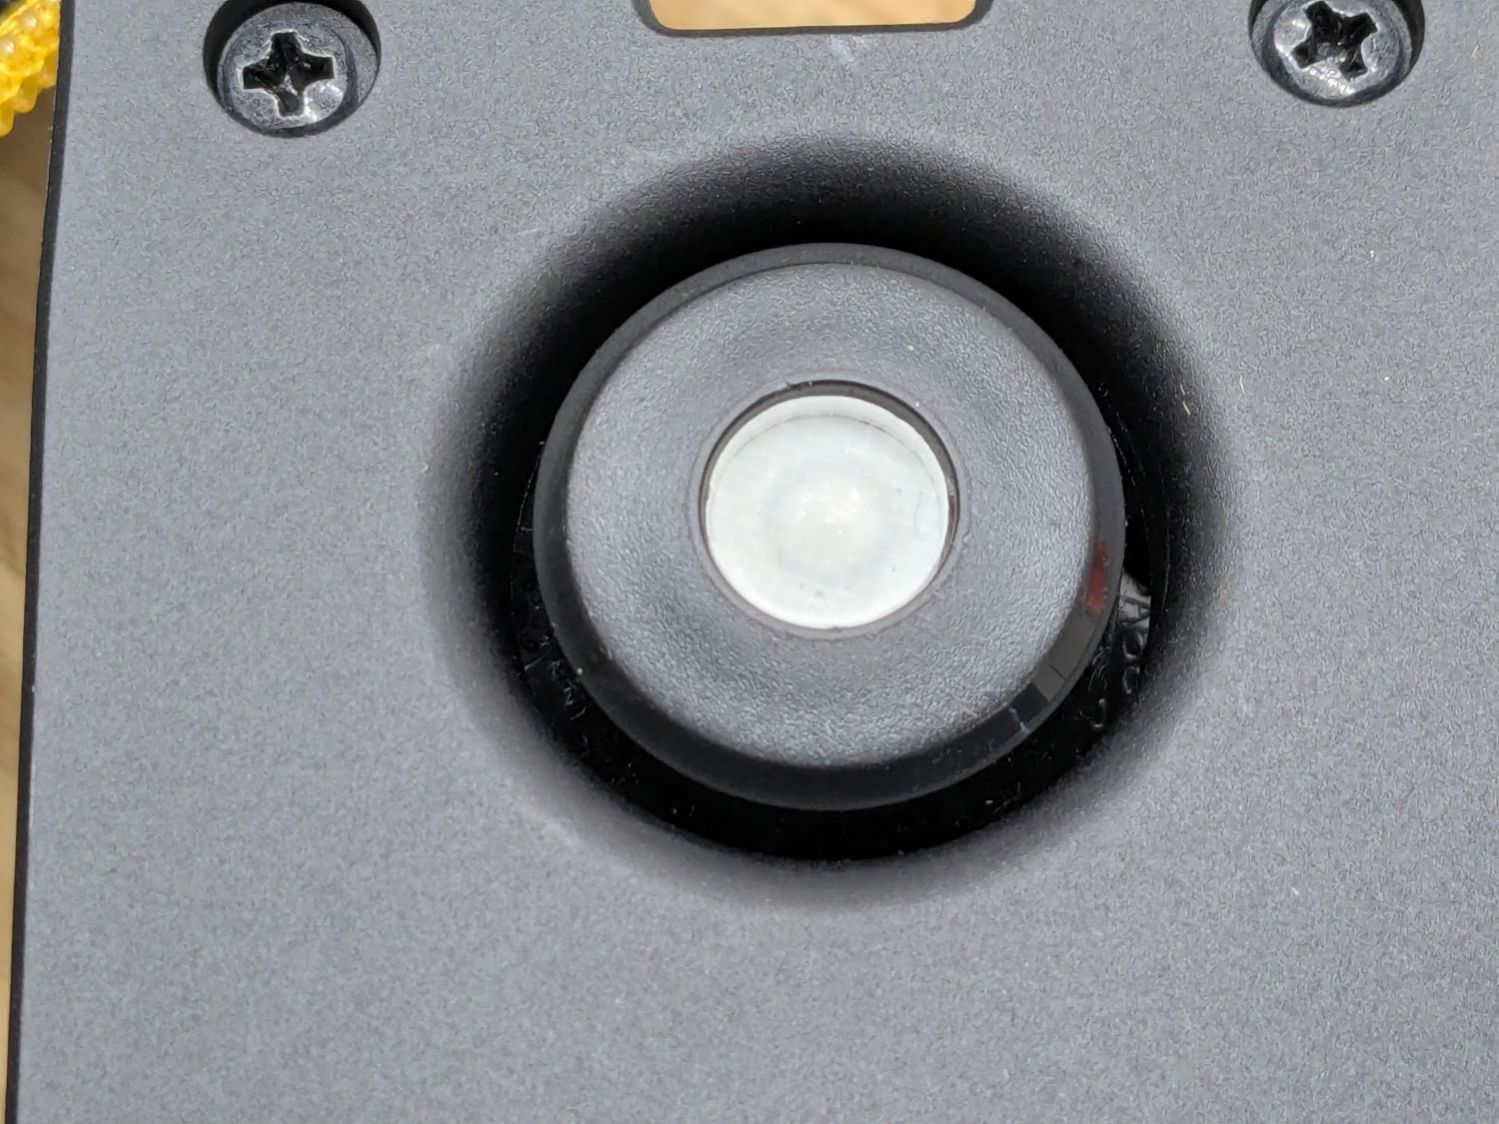
Fortunately, I have a laser cutter and know how to use it:
Work Sharp Knife Sharpener clamp button – filled
Despite appearances, it’s a 10 mm disk of 4.3 mm clear acrylic stuck to the screw head with a snippet of white double-sided tape and flush with the surrounding plastic surface.
A smooth button makes my index finger much happier …
A sheet of craft adhesive holds them together; stick a generous rectangle of adhesive on the cork, then cut them at the same time. However, given the irregular perimeter, it’s basically impossible (for me, anyway) to align the cork + adhesive with the printed frame.
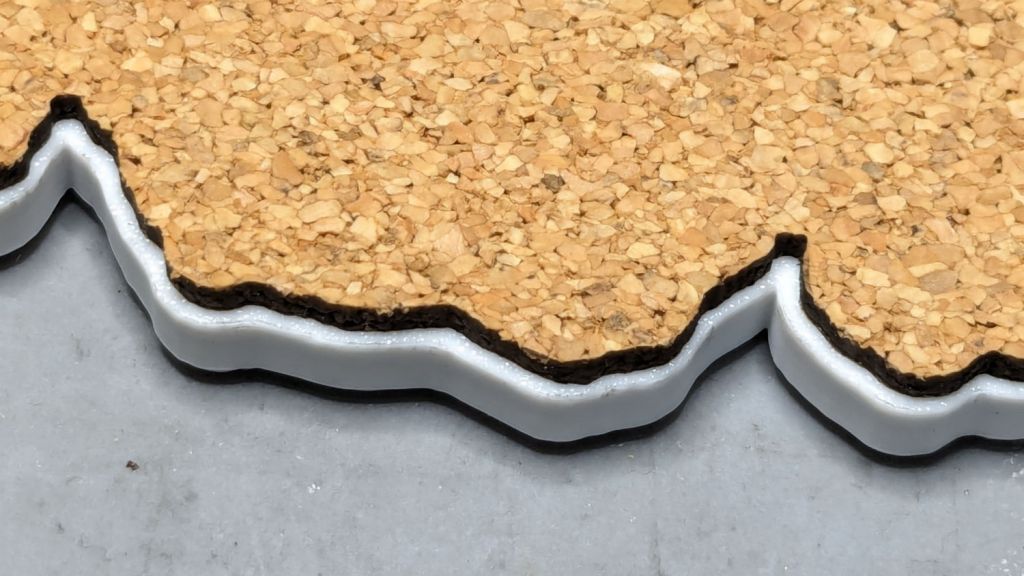
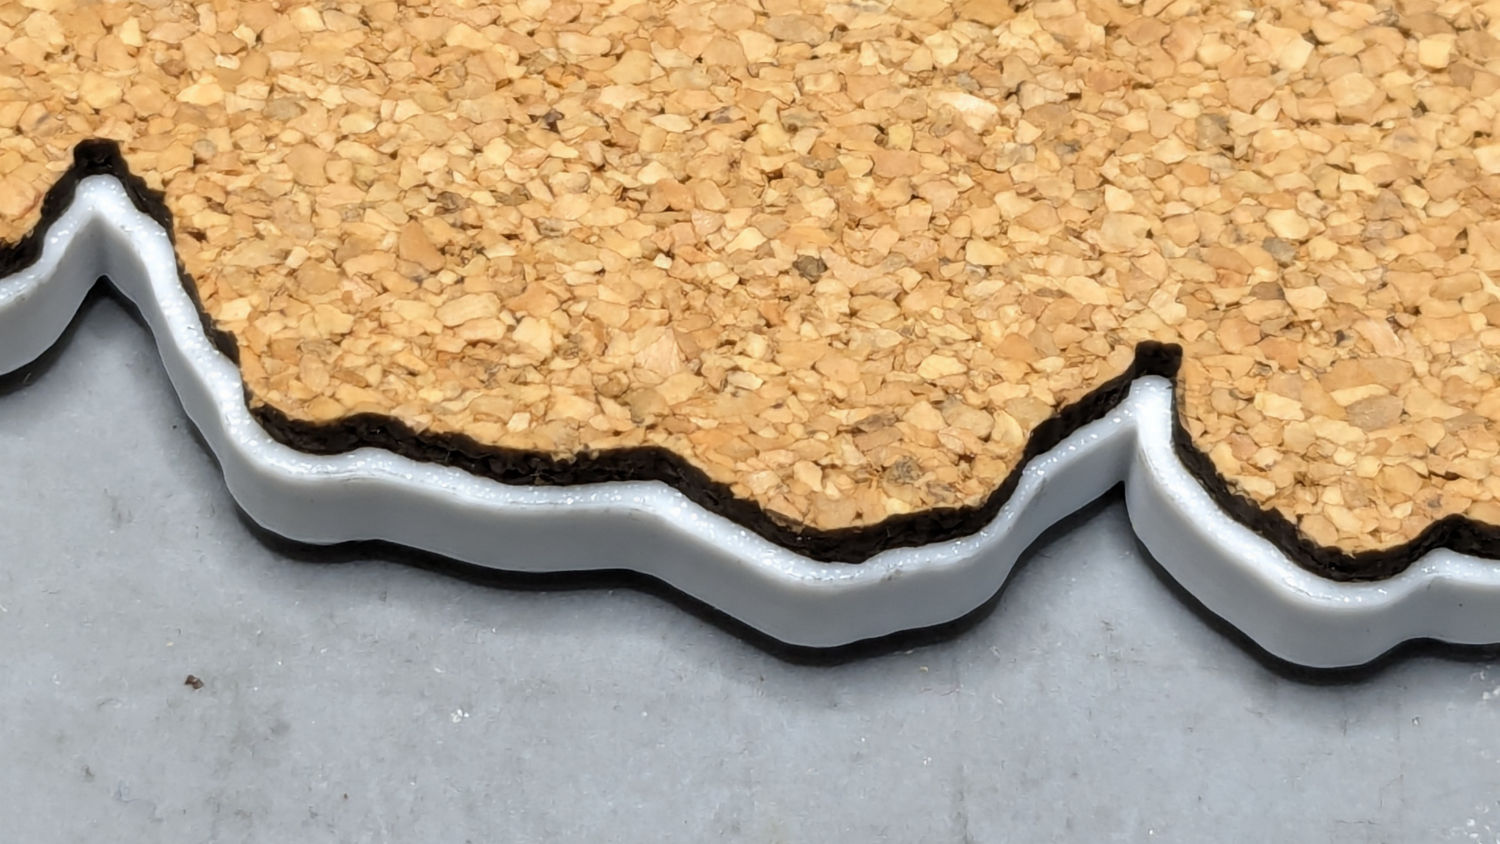
A single-use fixture made from corrugated cardboard make that task trivially easy:
Printed Coaster – cork alignment fixture – detail
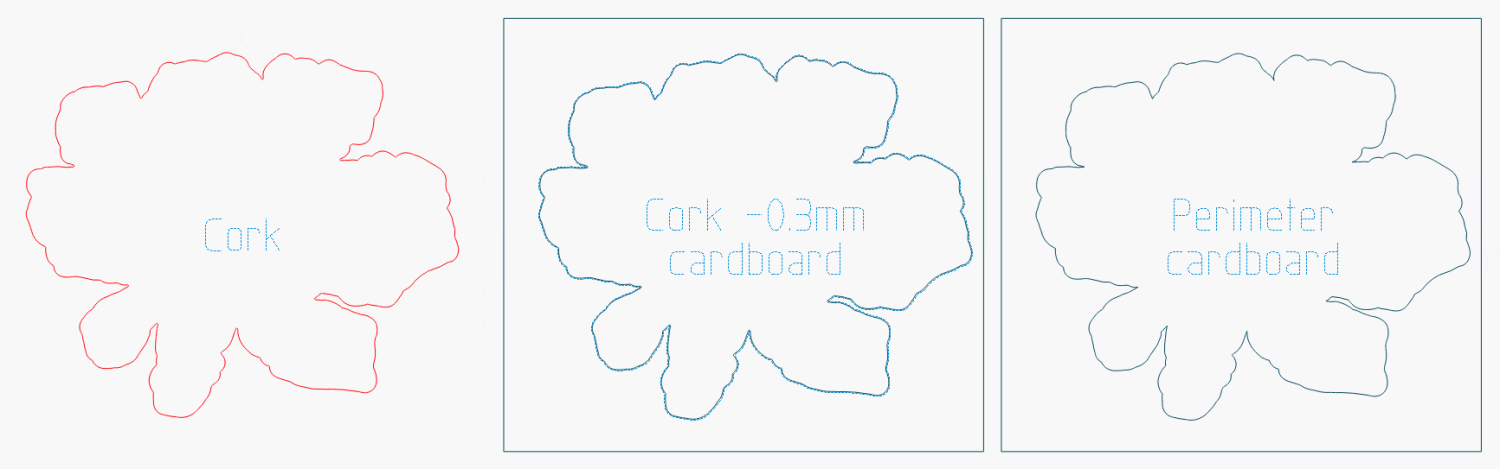
The LightBurn layout shows the cork layer and the two fixture pieces:
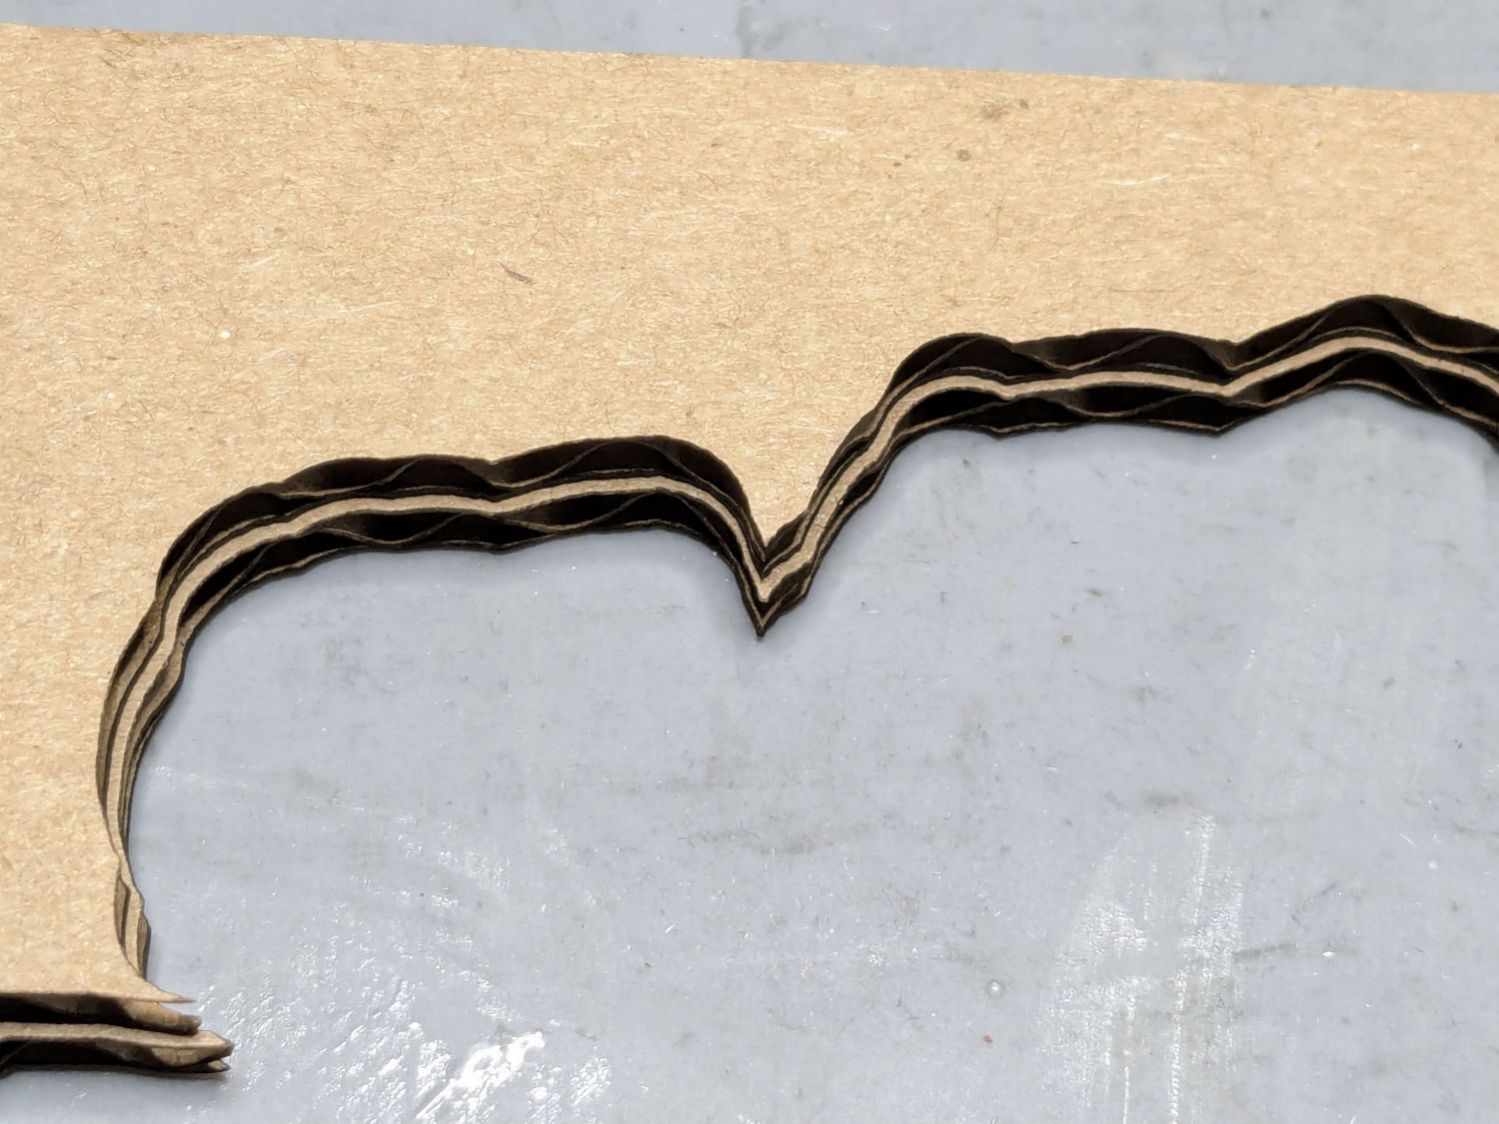
The cork shape is offset 0.5 mm inward from the Perimeter shape, but I found offsetting the cardboard cut by only 0.3 mm inward produced a snug fit around the cork. The other piece of cardboard gets cut with the exact Perimeter shape and no offset, with the laser kerf providing just enough clearance for a very snug fit on the printed shape.
Align the two pieces of cardboard by eye to match their inner shapes as shown in the picture, tape them together, and the fixture is ready. In principle, the outer edges should exactly coincide: Trust, but verify.
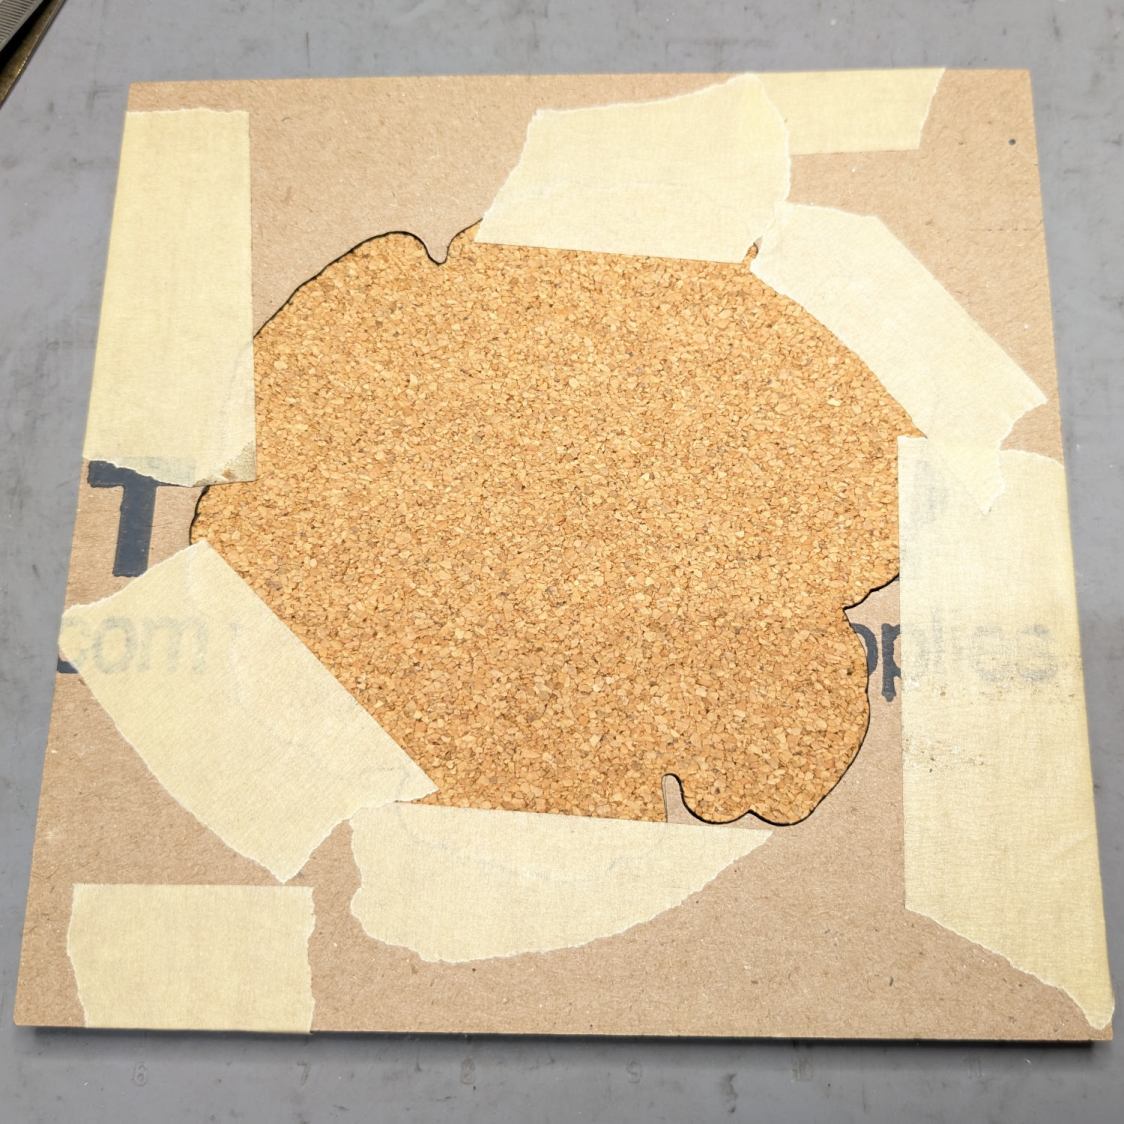
Peel off the craft adhesive paper and put the cork in the bottom of the fixture. The cork comes off a roll and really wants to roll up again, making the masking tape holding it flat mandatory:
Printed Coasters – cork alignment template
Yes, that’s a different coaster.
Flip the fixture over, drop the coaster in place, press firmly together, peel the tape, and pull out the finished coaster:
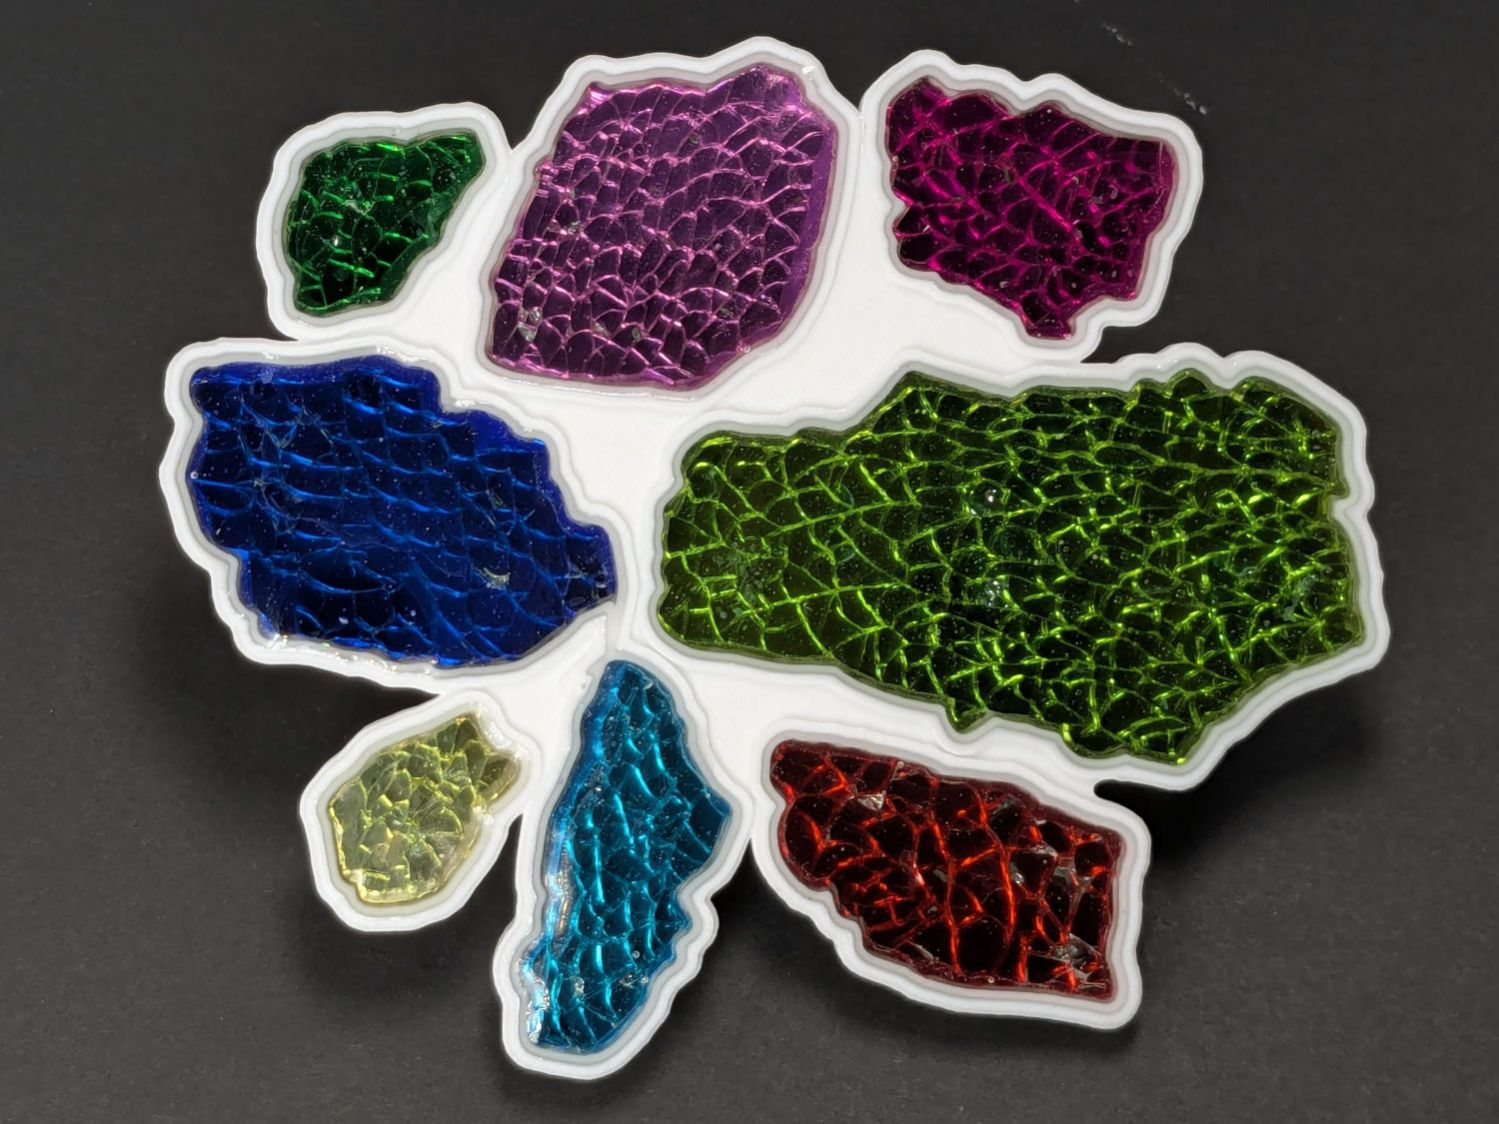
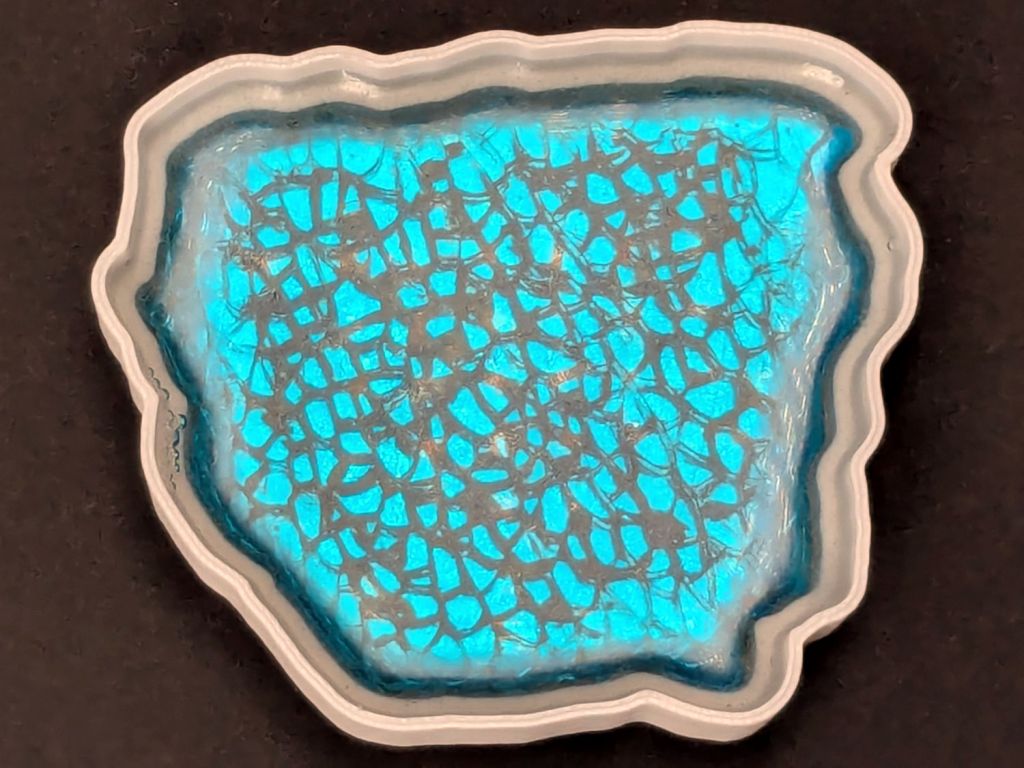
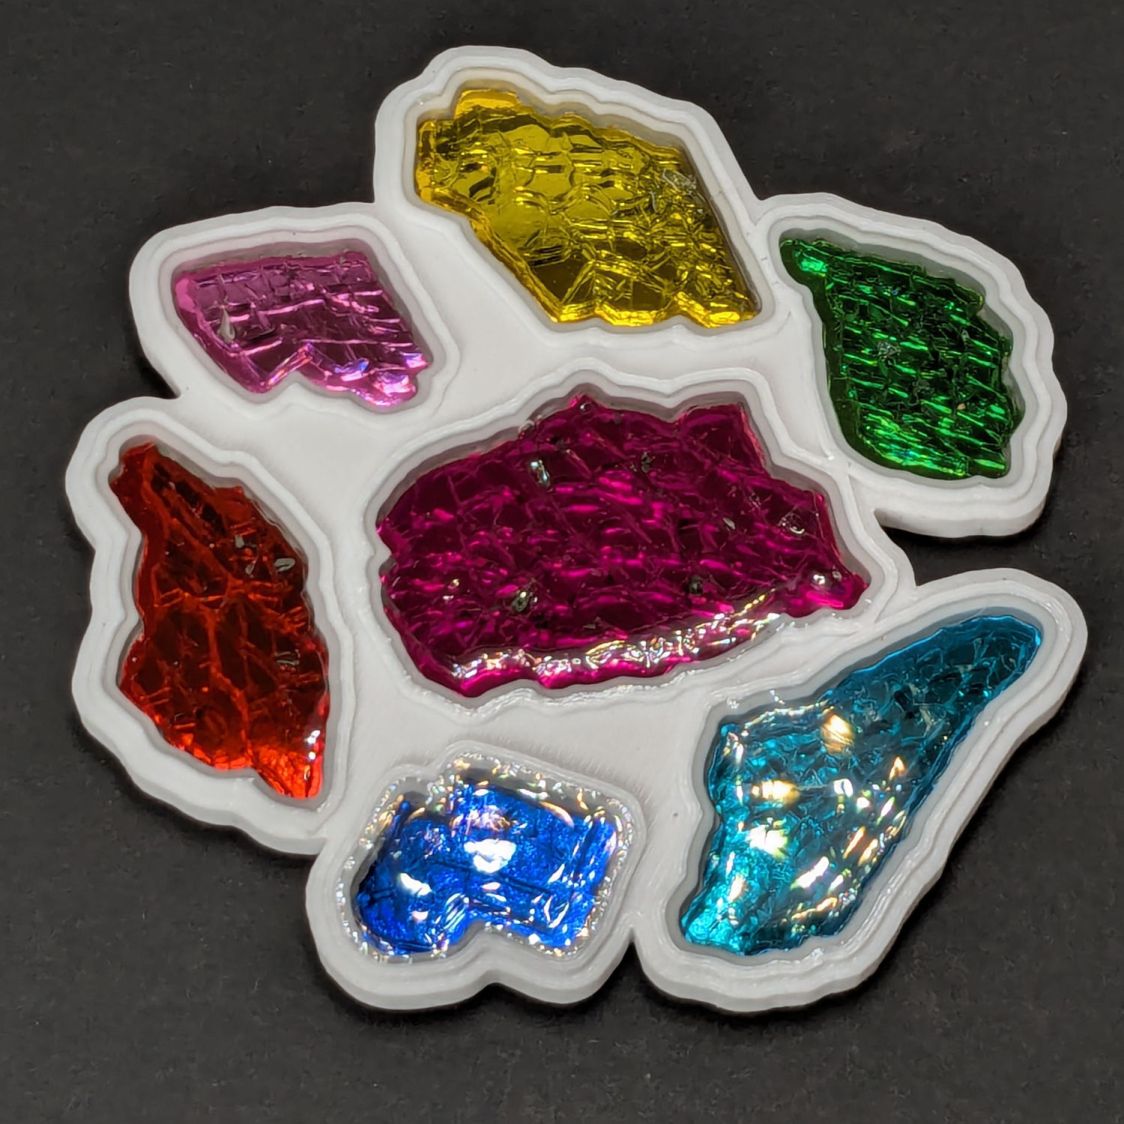
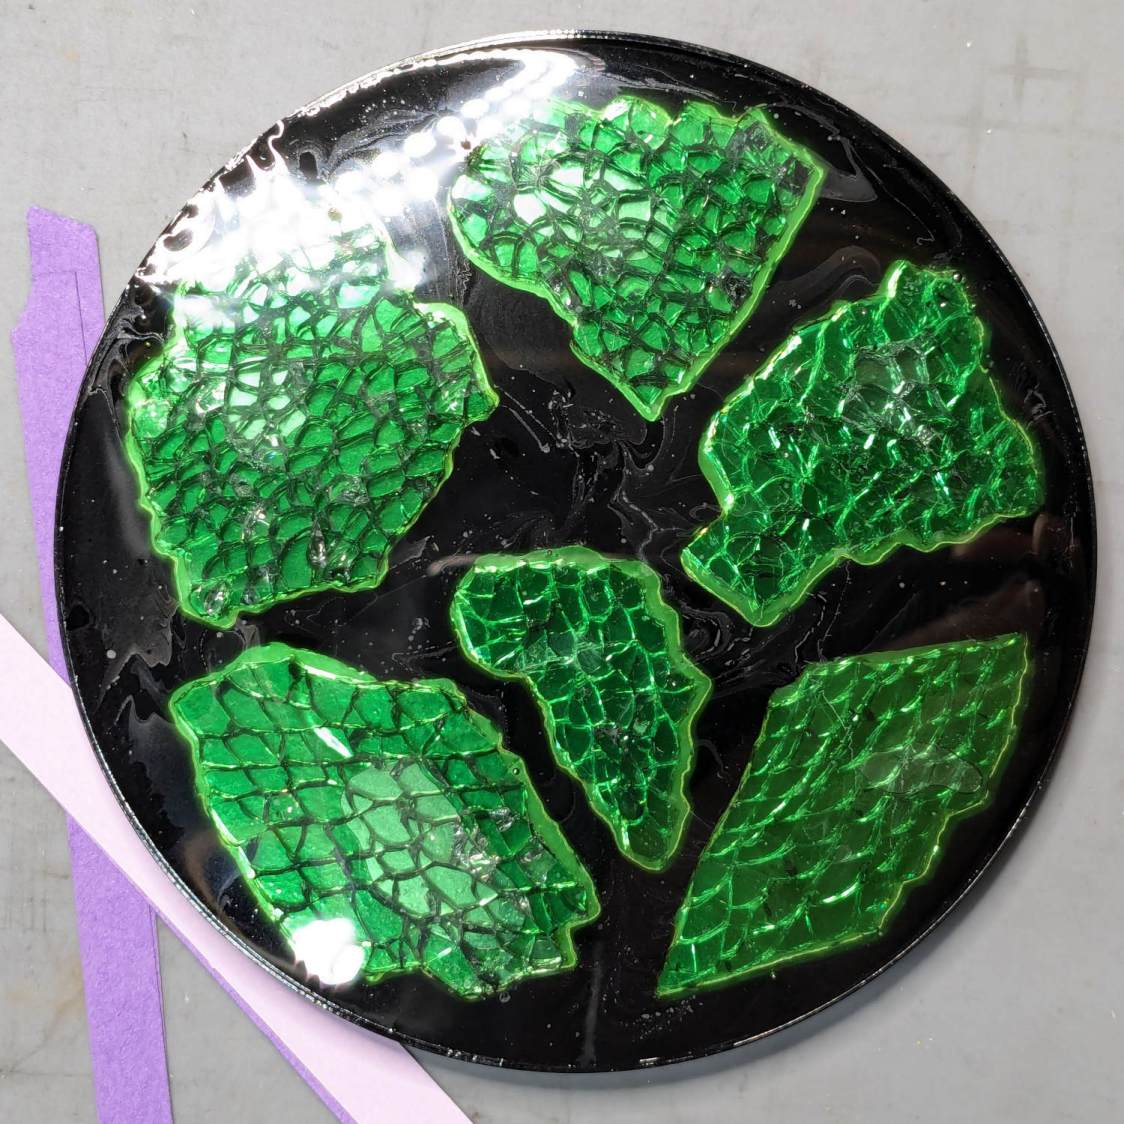
Printed Coasters – white PETG finished
The fixture goes in the recycling bin, as those fragments will never pass this way again.
Create the perimeter path as an offset around all the fragments in LightBurn
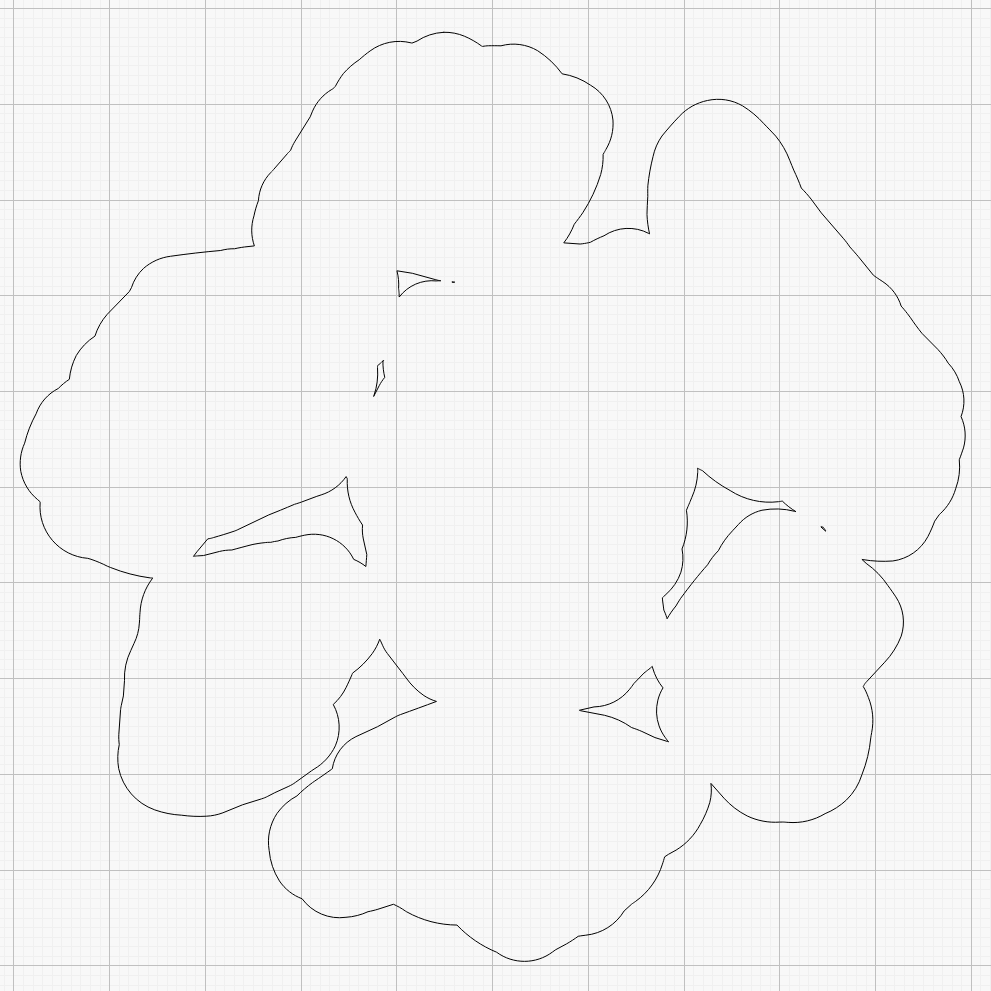
Because the fragments have irregular shapes and spacing, creating the perimeter path may also produce small snippets of orphaned geometry which must be manually selected and deleted. I also edit the path to remove very narrow channels between adjacent fragments.
Which is why you can’t generate that path automatically:
Printed Coaster Layout – 100 mm Set G – LightBurn perimeter geometry
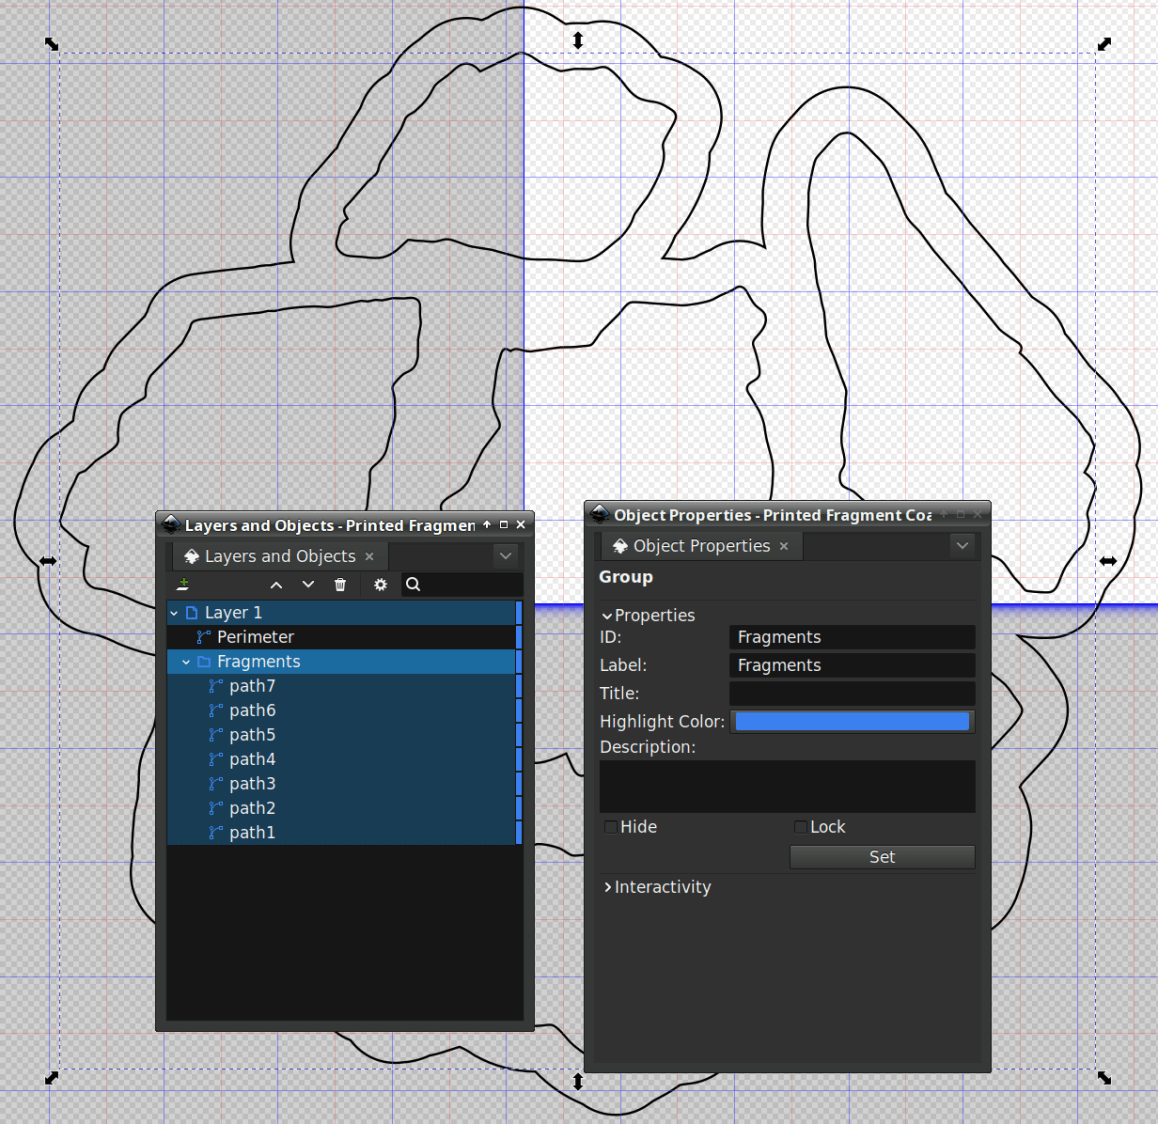
Because LightBurn doesn’t have the ability to name the various paths, the next step requires Inkscape. After importing the LightBurn paths saved as an SVG, group all the fragments and name the group Fragments, then name the perimeter path Perimeter:
Printed Coaster Layout – 100 mm Set G – Inkscape layer and IDs
Inkscape still crashes unpredictably while doing what seems to be a simple process, which may be due to the tremendous number of points in the hand-traced fragment outlines. Unfortunately, simplifying the curves in either LightBurn or Inkscape tends to round off the extreme points and increases the likelihood of the fragment not fitting into its recess.
OpenSCAD generates all the other features in the solid model with paths plucked from that file:
include <BOSL2/std.scad>

fn = "Printed Fragment Coaster - 100 mm Set G - Inkscape paths.svg";

FragmentThick = 3.8;

BaseThick = 1.0;
RimHeight = 1.0;

union() {

  linear_extrude(h=BaseThick)
    import(fn,id="Perimeter");

   color("Green")
  up(BaseThick)
    linear_extrude(h=FragmentThick)
      difference() {
        import(fn,id="Perimeter");
        offset(delta=0.2)
          import(fn,id="Fragments");
      }

  color("Red")
  up(BaseThick)
    linear_extrude(h=FragmentThick + RimHeight)
      difference() {
        offset(delta=2.5)
          import(fn,id="Fragments");
        offset(delta=1.2)
          import(fn,id="Fragments");
      }


}
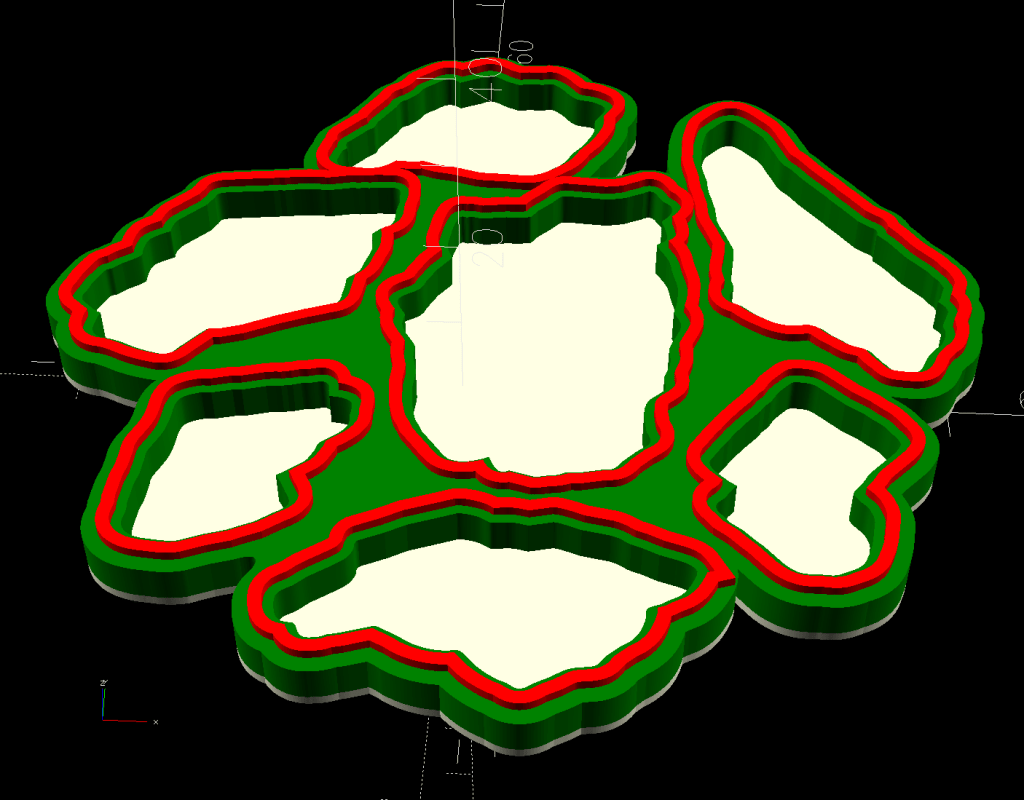
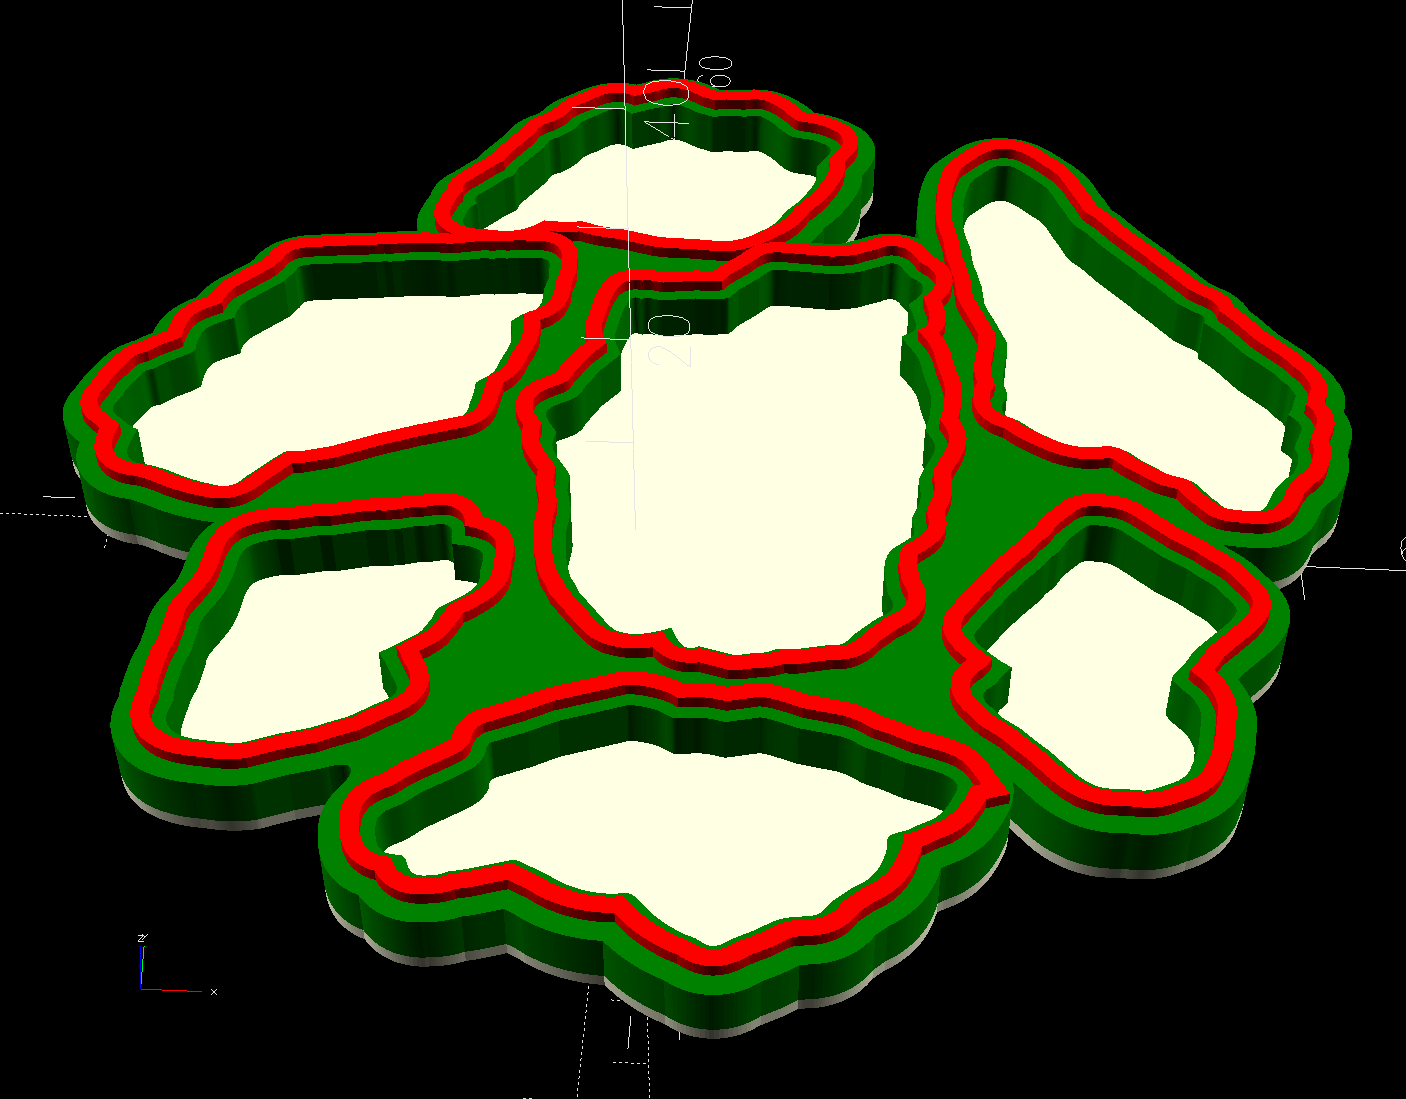
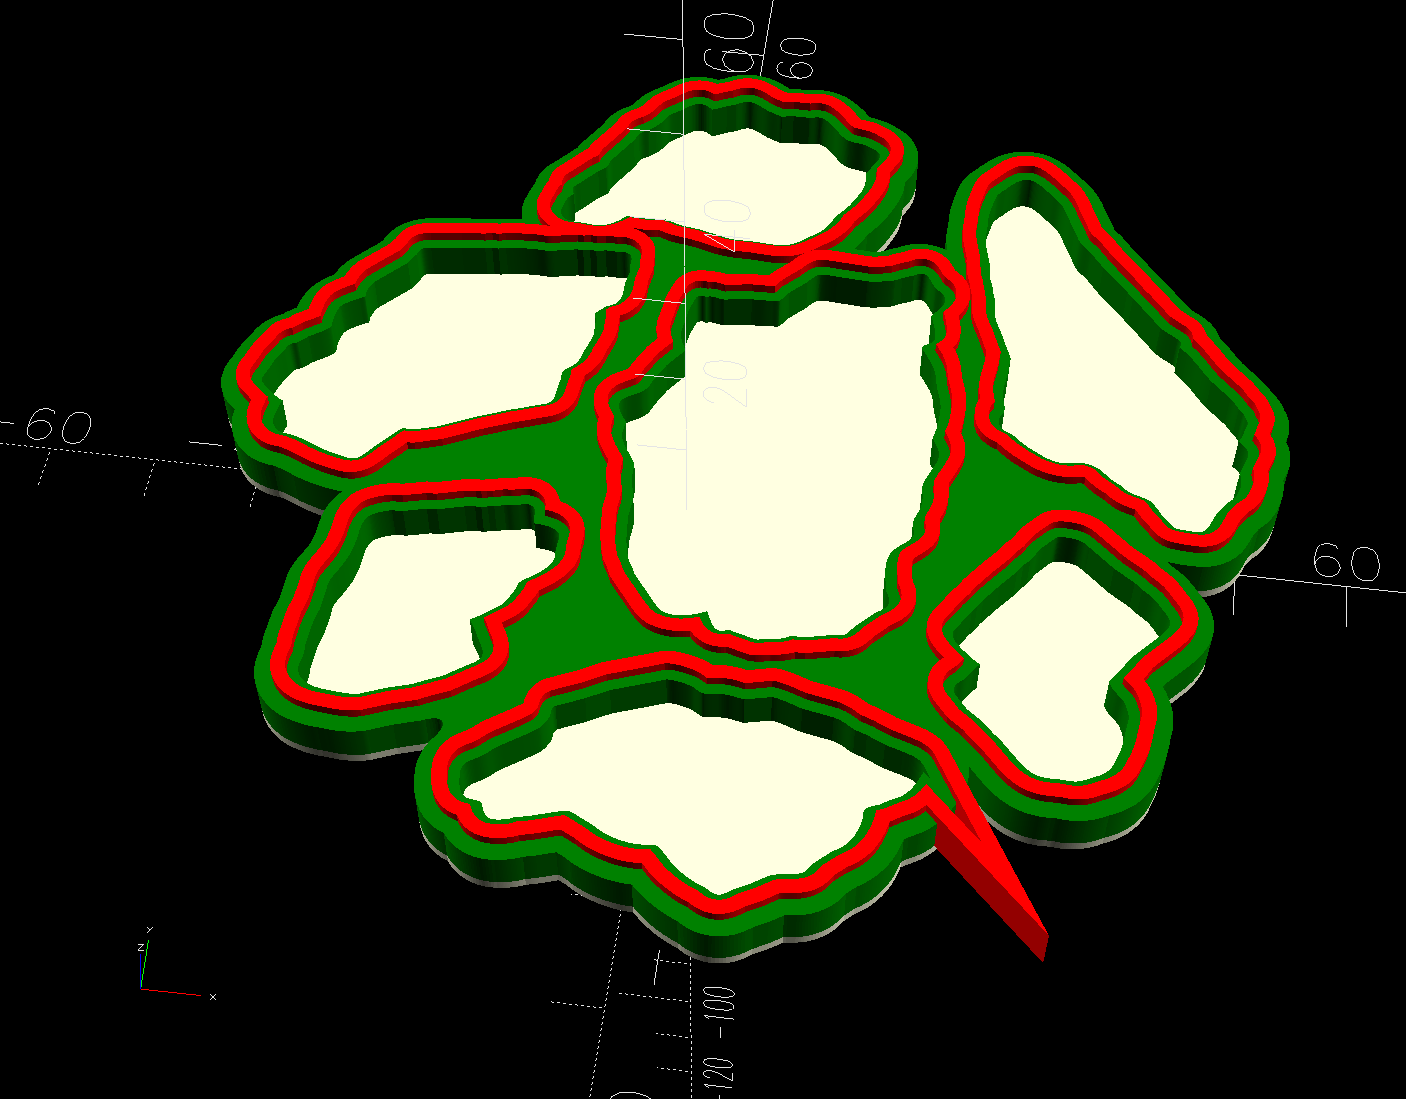
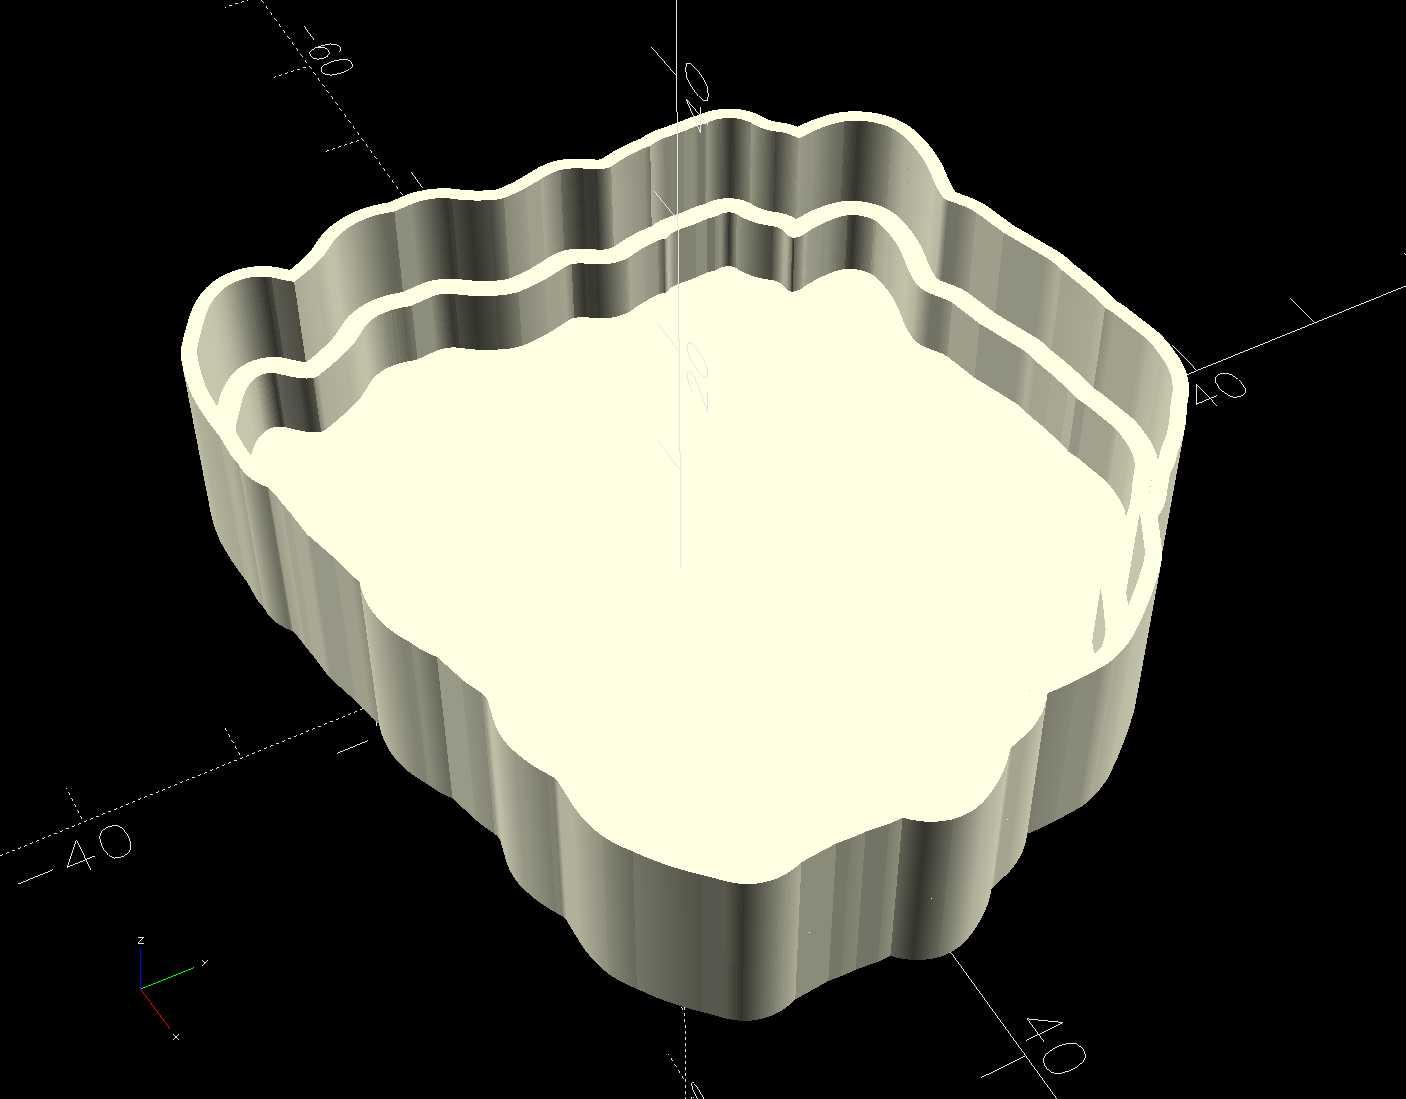
The Perimeter path defines the overall shape of the coaster as a 1.0 mm thick slab, visible as the white-ish line around the edge and at the bottom of all the fragment recesses.
Atop that, the green shape is the same Perimeter shape, with the Fragment shapes removed after the offset() operation enlarges them by 0.2 mm to ensure enough clearance.
Finally, the red walls containing the epoxy above each fragment are 1.3 mm wide, the difference of the two offset() operations applied to the Fragments.
Because the outer edge of the wall is 2.5 mm away from the edge of its fragment:
The Perimeter path must be offset at least 2.5 mm from the Fragments in LightBurn. I used 4.0 mm to produce a small lip around the outside edge of the coaster.
The fragment shapes must be placed at least 5.0 mm apart to prevent the walls from overlapping. I set Deepnest to exactly 5.0 mm spacing, but you can see a few places where the fragments come too close together. I think this happens due to an approximation deepnest uses while rotating the paths, but it may be better to manually adjust the errant fragments than increase the average space.
While this still requires manually tracing the glass fragments and fiddling a bit with Inkscape, the overall process isn’t nearly as burdensome as getting all the offsets correct every time.
However, some oddities remain. OpenSCAD produced this result during the first pass through the process for this coaster:
Printed Coaster Layout – 100 mm Set G – spurious point
As far as I can tell, the spurious point came from a numeric effect, because telling Inkscape to store only five decimal places in the SVG file reduced the spike to the small bump seen in the first picture. I cannot replicate that effect using the same files and have no explanation.
This should have been trivially easy and turned into a nightmare.
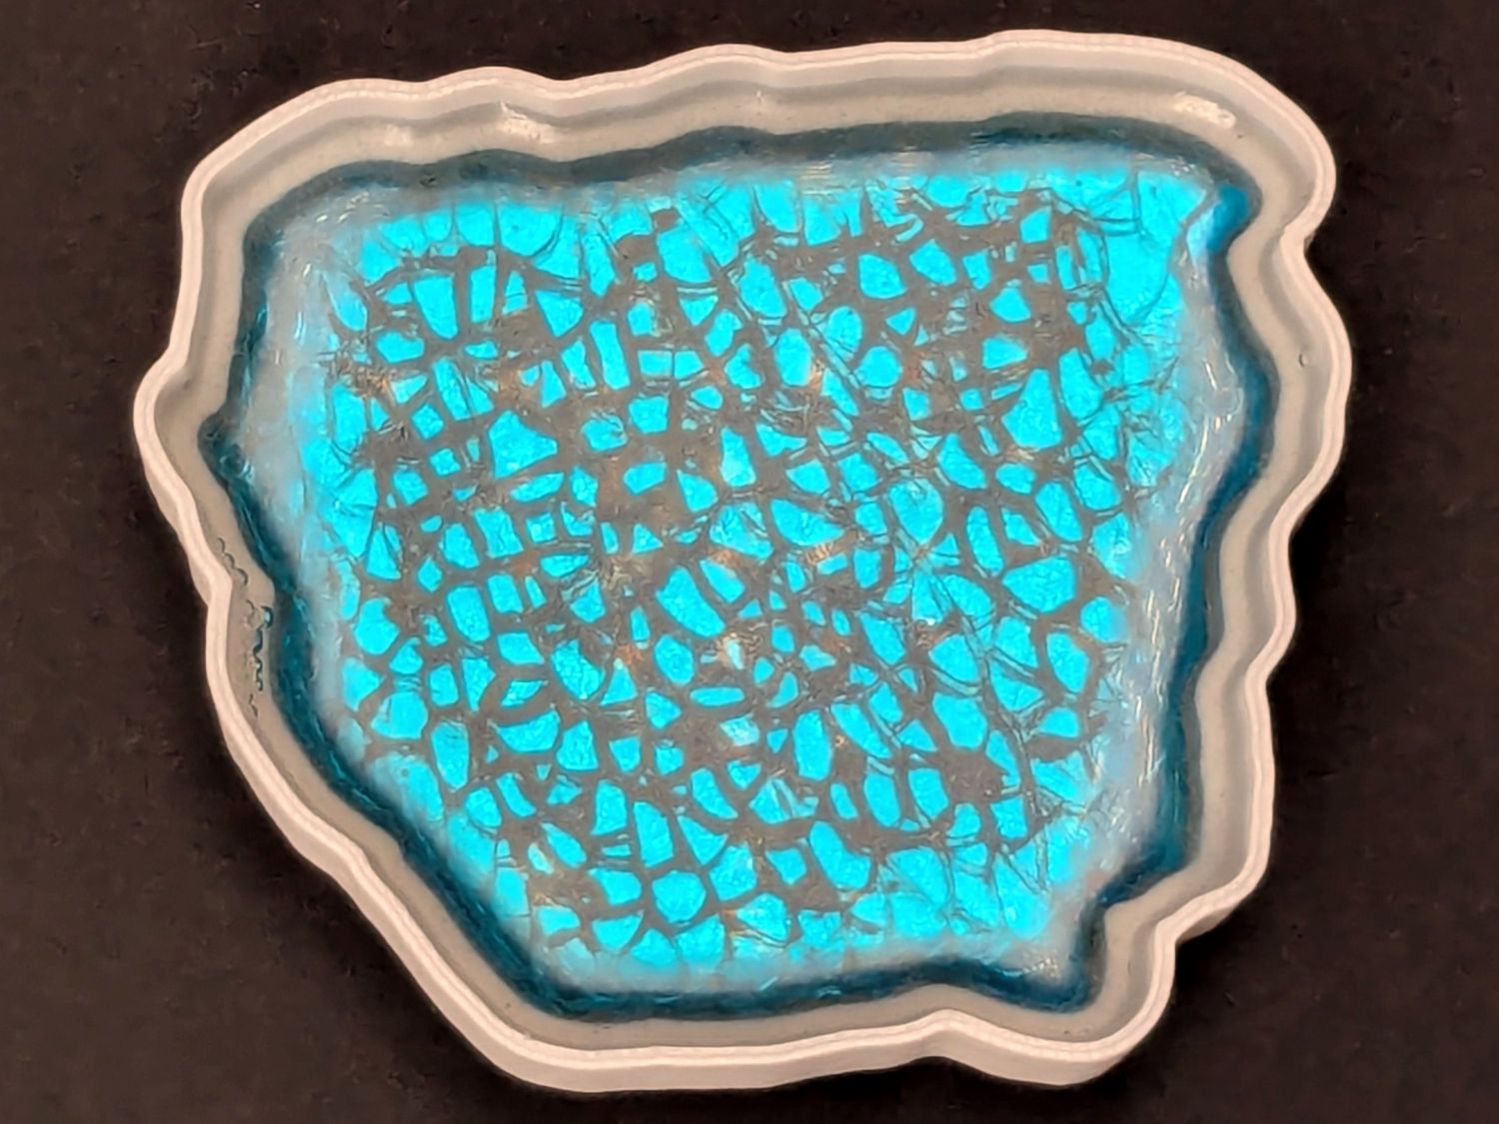
The problem to be solved is generating paths around fragments for the various recesses / reflectors / lips / rims / whatever. This clutter collector was a test piece:
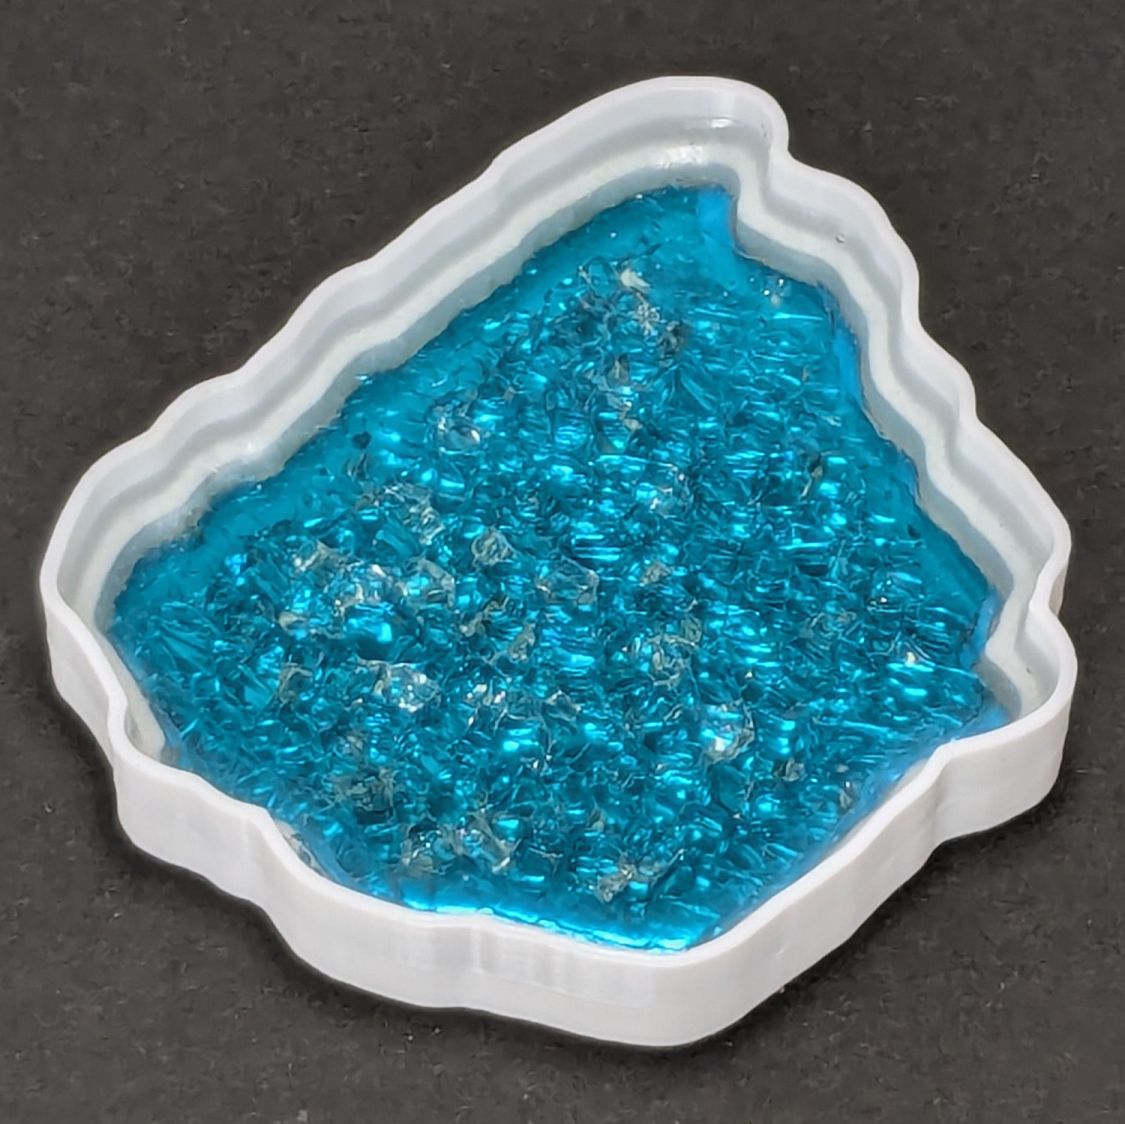
Smashed Glass Clutter Collector – overview
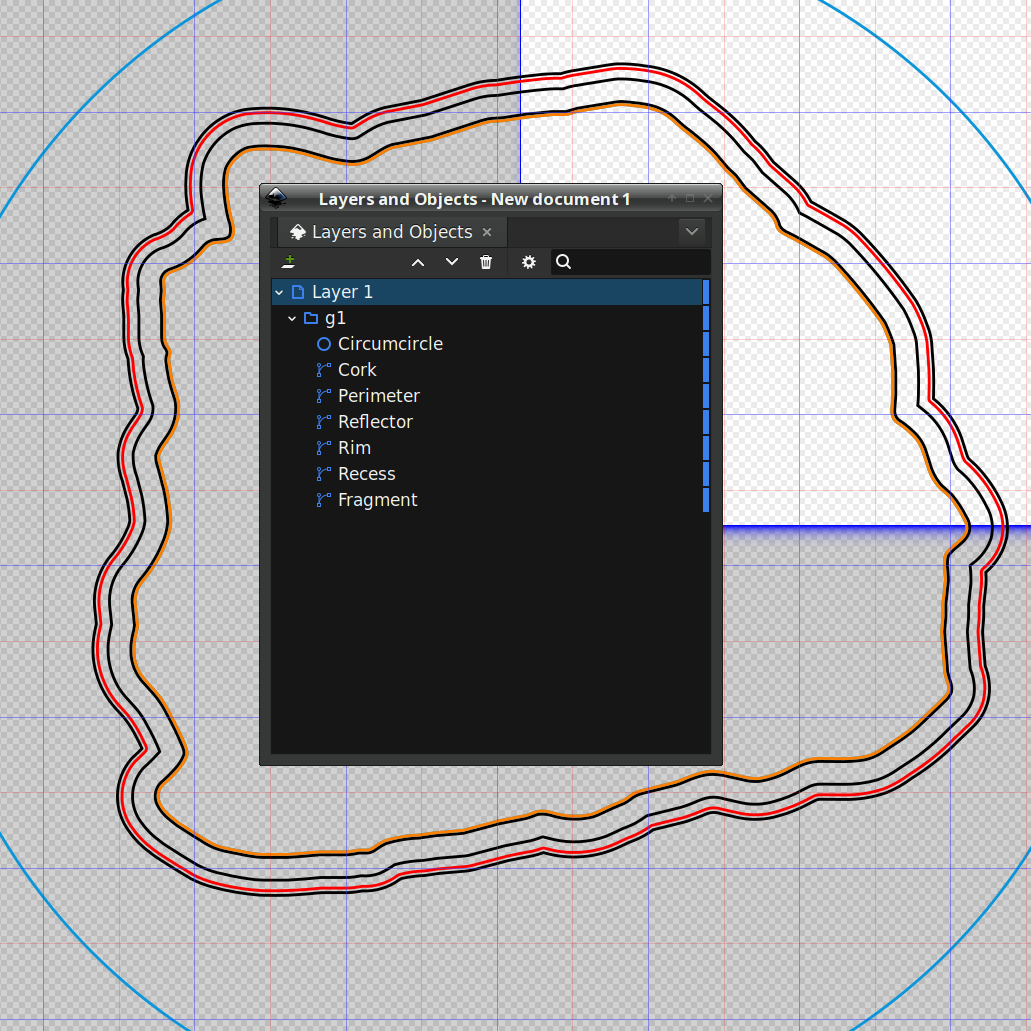
The corresponding paths:
Printed Clutter Collector – Inkscape layers
Which was how I convinced myself I didn’t need all those paths to make the thing, but that’s why it’s a test piece.
Anyhow, Inkscape has a remarkably complex and fiddly way of generating precise offsets:
Select a path
Hit Ctrl-J to create a Dynamic Offset path
Drag the offset path away from the original in any direction for any distance
Hit Ctrl-Shift-x to fire up the XML editor (!)
Change the offset path’s inkscape:radius property to the desired offset
During the course of working that out, I discovered Inkscape 1.4.2 is incredibly crashy when creating and dealing with offsets, to the point that I simply gave up trying to do that.
LightBurn has no trouble creating a path at a specific offset from another path and can export the result as an SVG file. You then use Inkscape to set the path IDs so that OpenSCAD can import them by name for a specific use. Although Inkscape isn’t entirely stable doing even that seemingly trivial task, it’s usable.
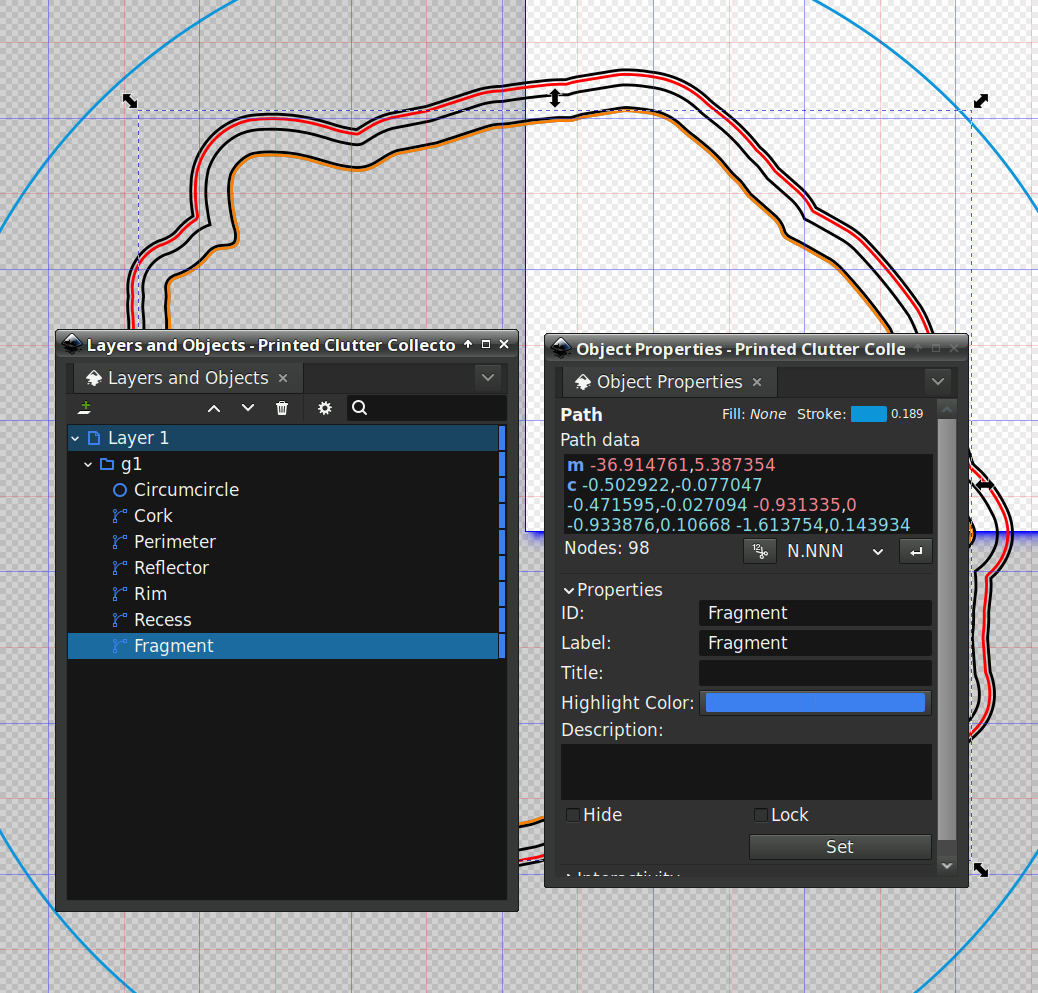
For reasons I do not profess to understand, setting the name of a path sometimes does not set its ID property, which is required by OpenSCAD to extract it from the SVG file. Instead, you must verify / set the ID using the path’s Object Properties window:
Save that, import it into PrusaSlicer, pick the filament, and print it out.
While the printer buzzes away, use LightBurn to cut a shiny blue metallized paper reflector and a cork base using the appropriate paths; presumably you set those paths to LightBurn layers corresponding to the various materials. The Inkscape file has those paths with their names, because … why not?
To assemble:
Cover the bottom of the recess with epoxy
Squish the reflector in place with epoxy oozing around it on all sides
Cover the reflector with epoxy
Squish the fragment atop the reflector with epoxy oozing around it on all sides
Fill the recess level with the lip inside the perimeter wall
Pop bubbles as needed
When it’s cured, stick the cork sheet on the bottom
Note that the OpenSCAD program uses the path geometry without question, so it’s your responsibility to create them with the proper offsets and names.
While all of that to-ing and fro-ing works, in the sense that I did make a rather nice clutter collector, it’s entirely too complicated and fiddly to be useful. Instead, I can now generate a coaster from just the fragment outlines and the coaster’s outer perimeter, a straightforward process which requires a bit more explanation.