Of course, the diamond engraving points have a 3 mm shaft that doesn’t fit in the 2.5 mm Collet Pen Holder, but making a hole bigger isn’t much of a problem …
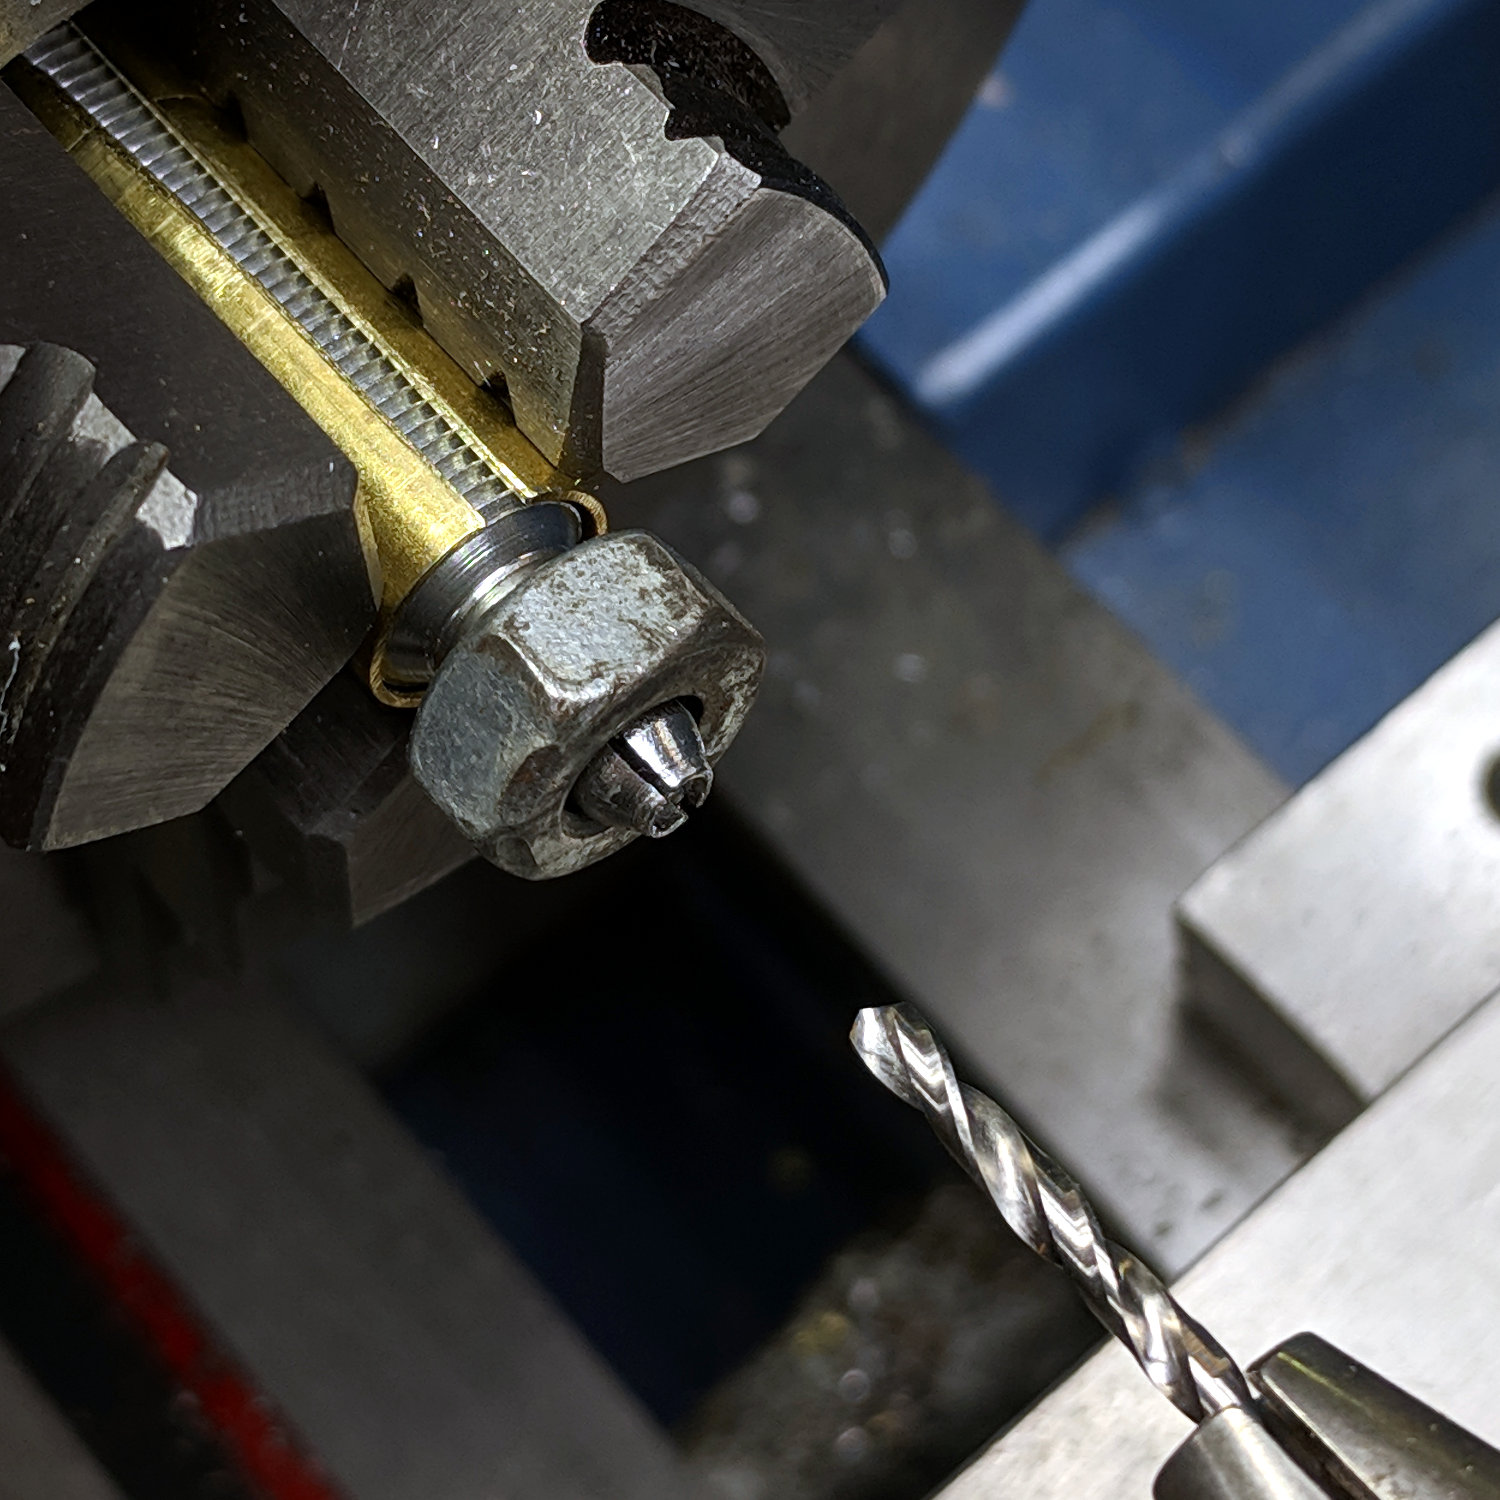
Commence by drilling out the collet closer nut:
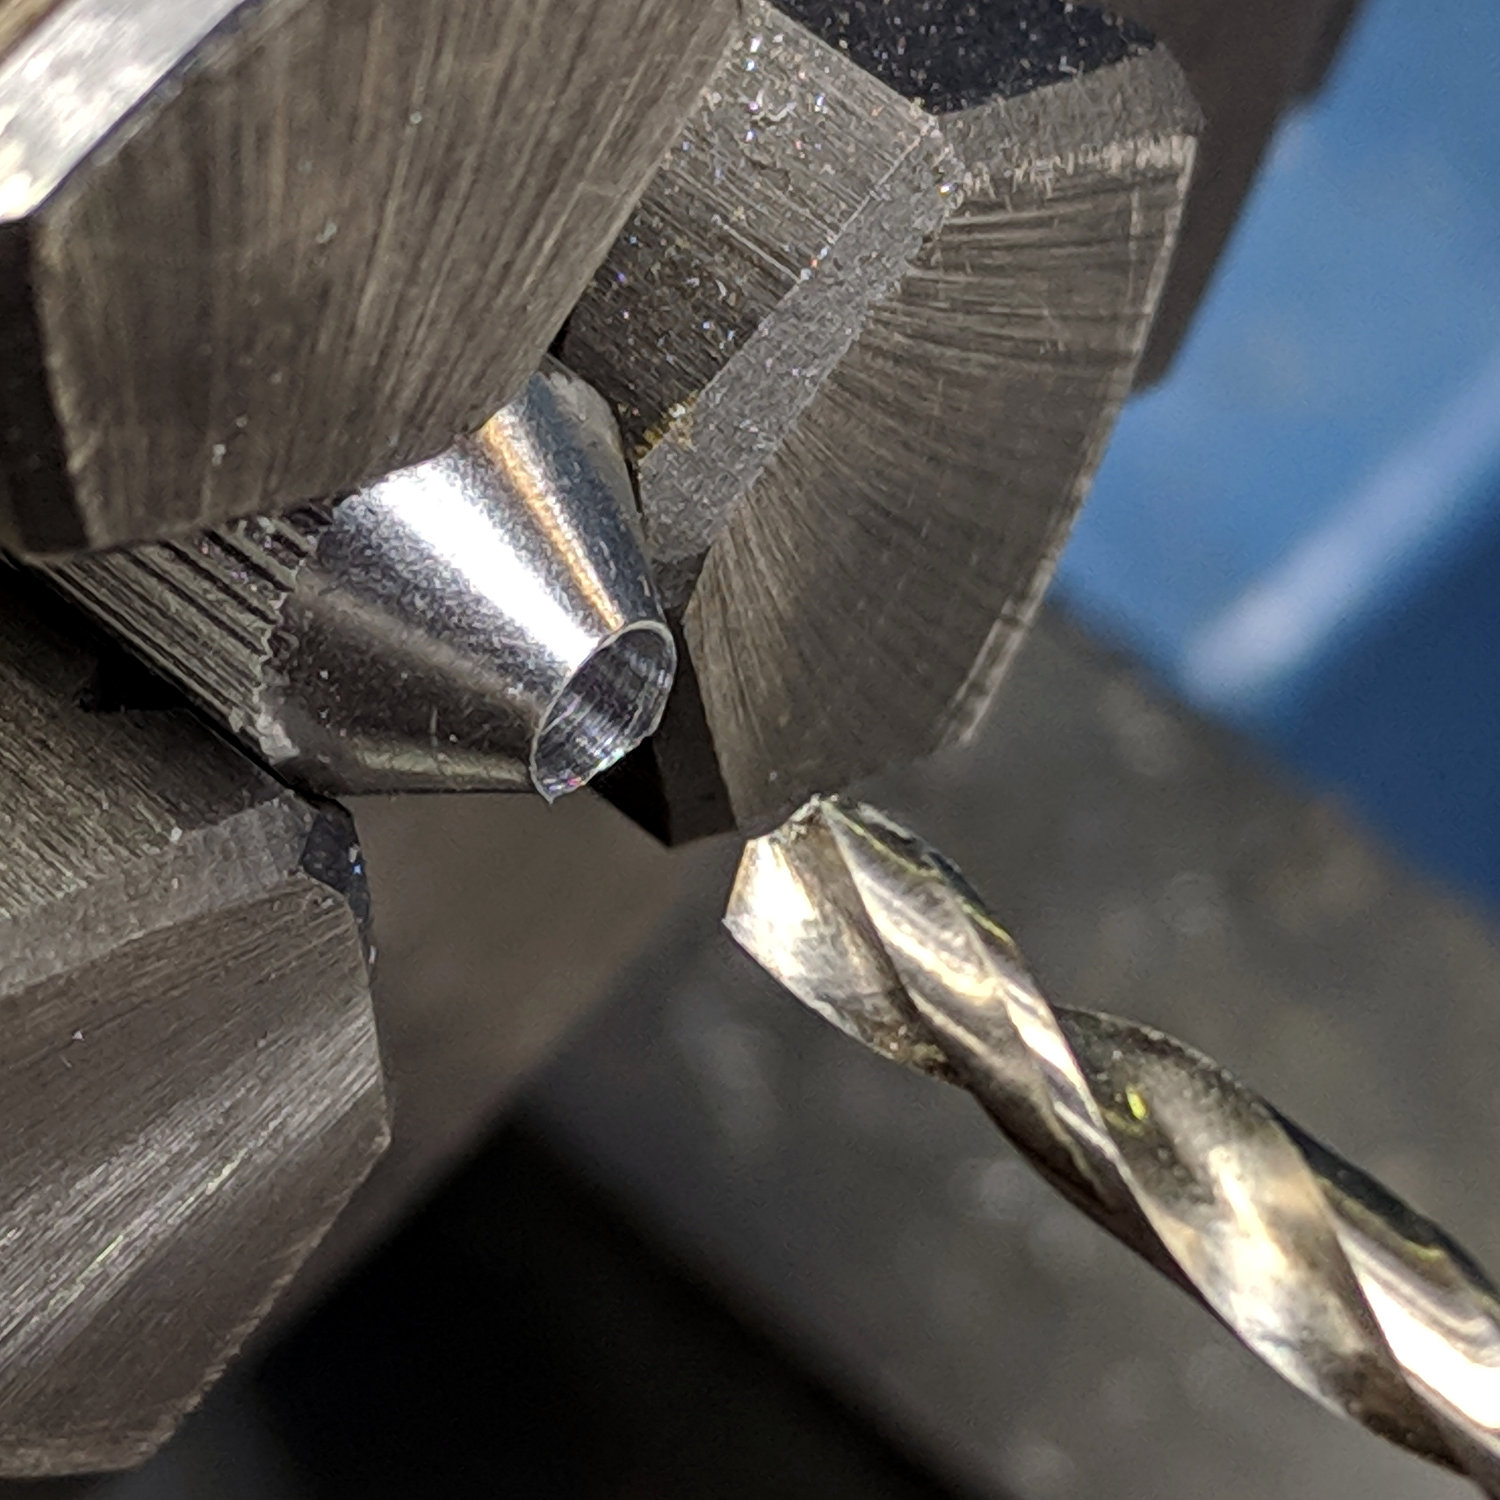
The hole didn’t start out on center and I didn’t improve it in the least. A touch of the lathe bit and a little file work eased off the razor edge around the snout.
The knurled ridges at the top are larger than the threaded body, which requires a shim around the threads to fit them into the lathe chuck. Start by cutting a slightly larger ID brass tube to the length of the threaded section:
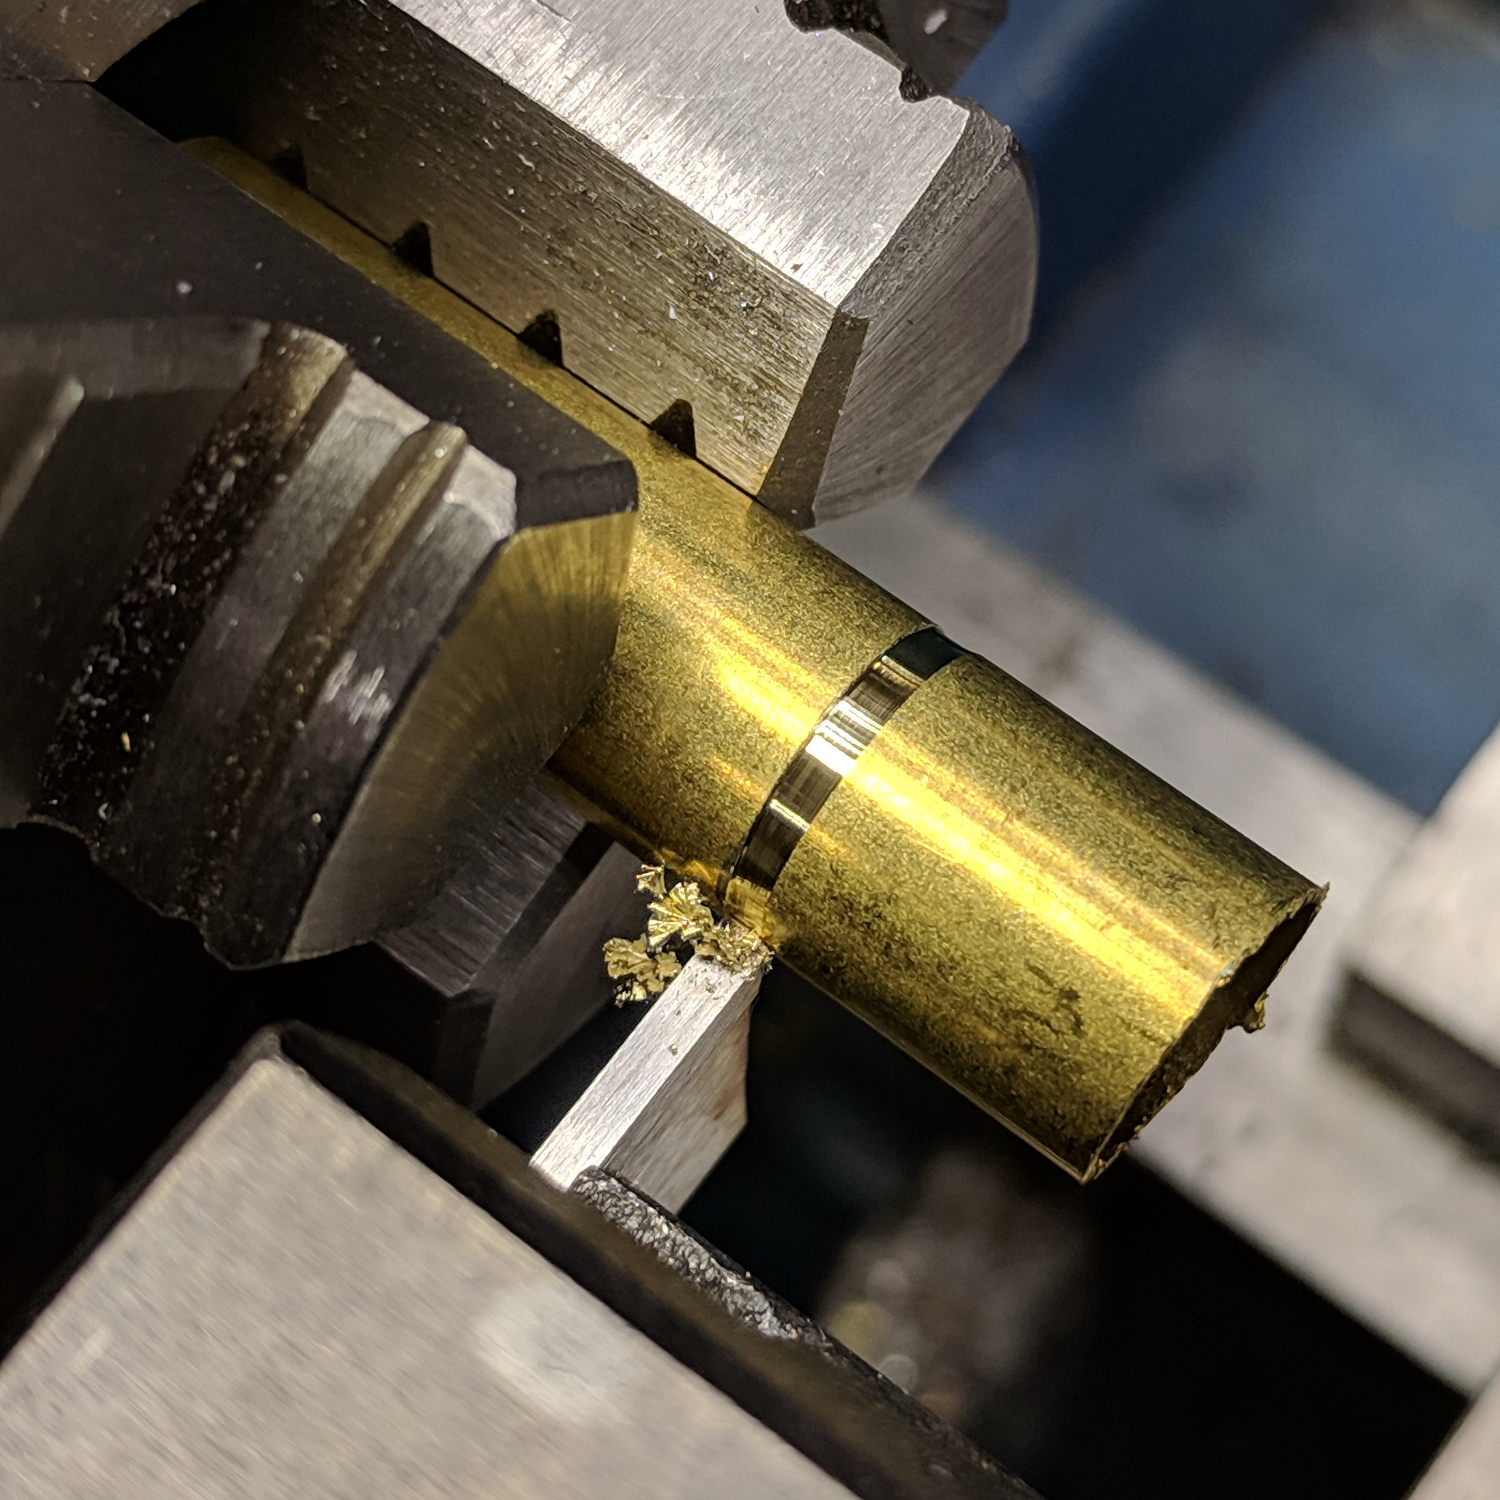
I finally got a Round Tuit and ground opposing angles on the cutoff tool ends, so I can choose which side of the cut goes through first. In this case, the left side cuts cleanly and the scrap end carries the thinned slot into the chip tray.
Grab the tube in a pair of machinist vises and hacksaw a slot:
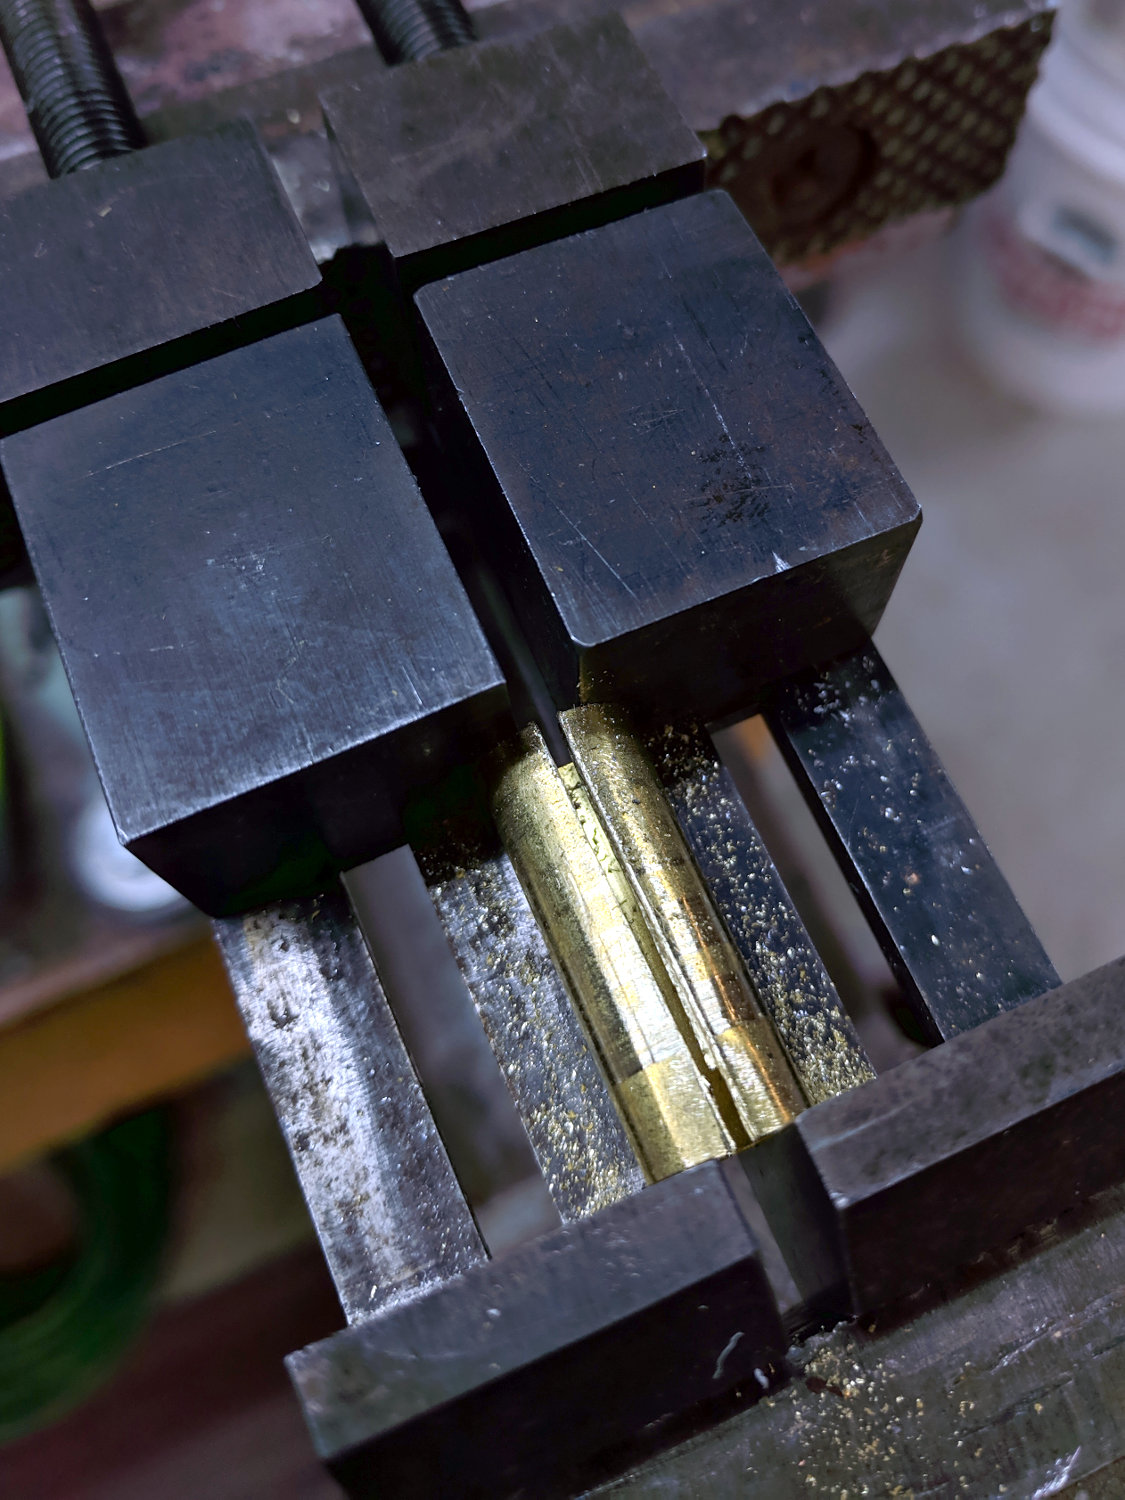
Apply a nibbler to embiggen the slot enough to leave an opening when it’s squashed around the threads:
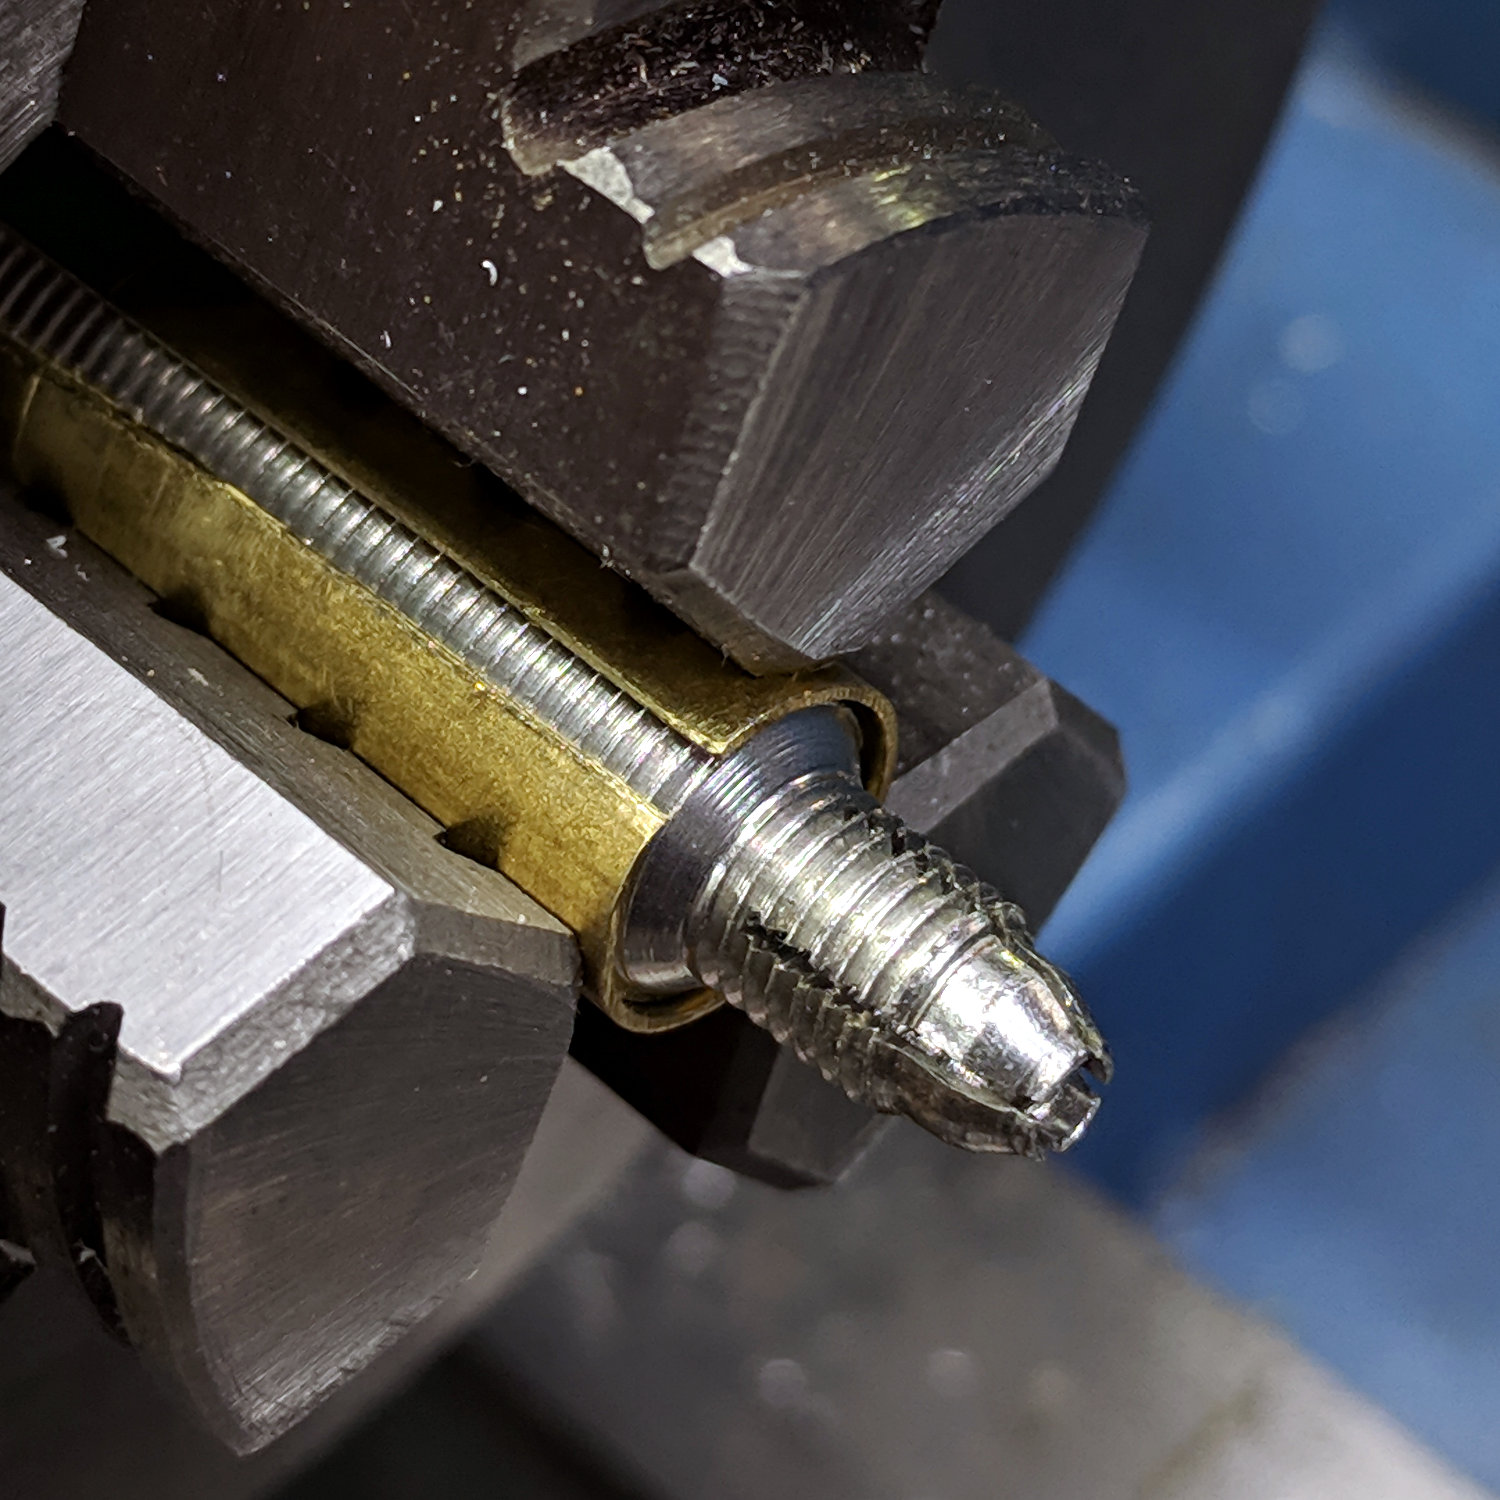
Put a nut on the collet threads in an attempt to keep them neatly lined up while drilling:
Drill the hole to a bit over 3 mm in small steps, because it’s not the most stable setup you’ve ever used. Eventually, the diamond point just slips right in:

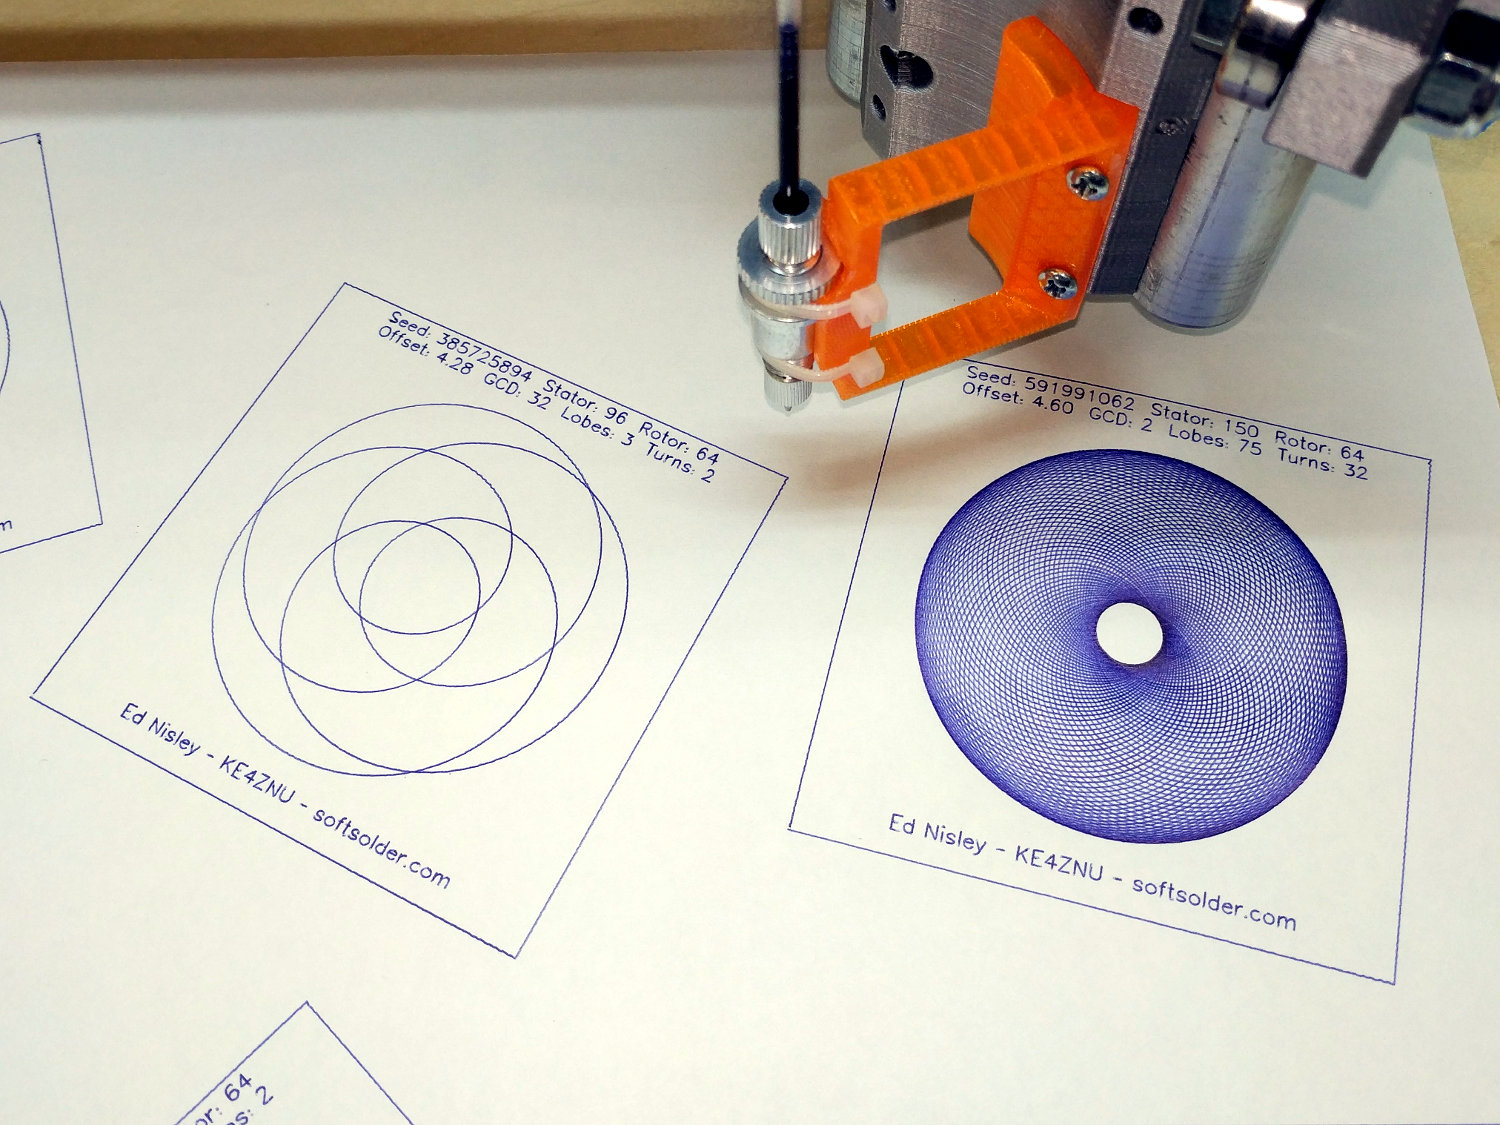
Reassemble in reverse order and It Just Works:
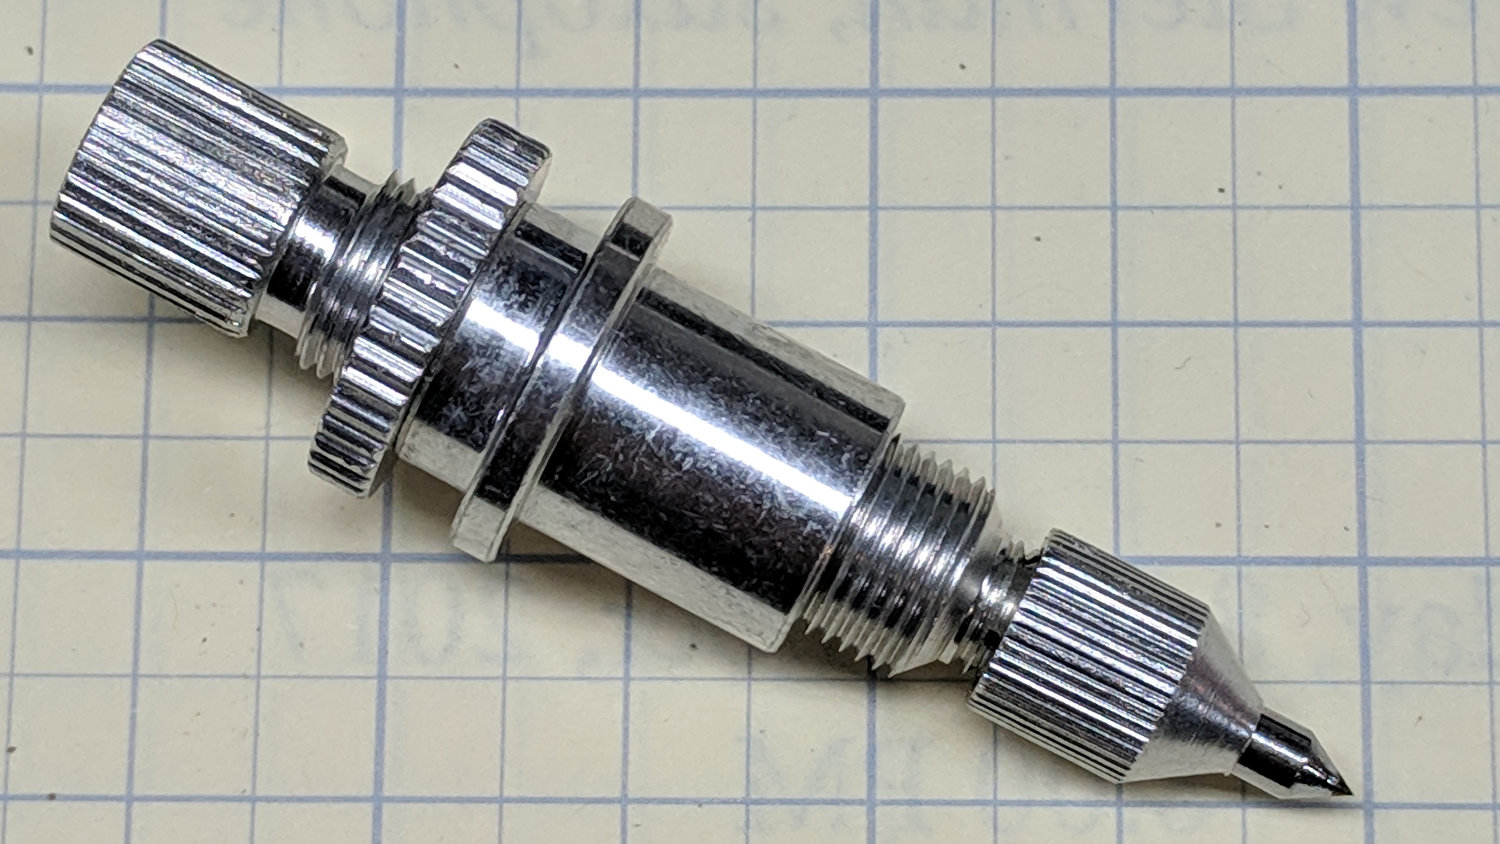
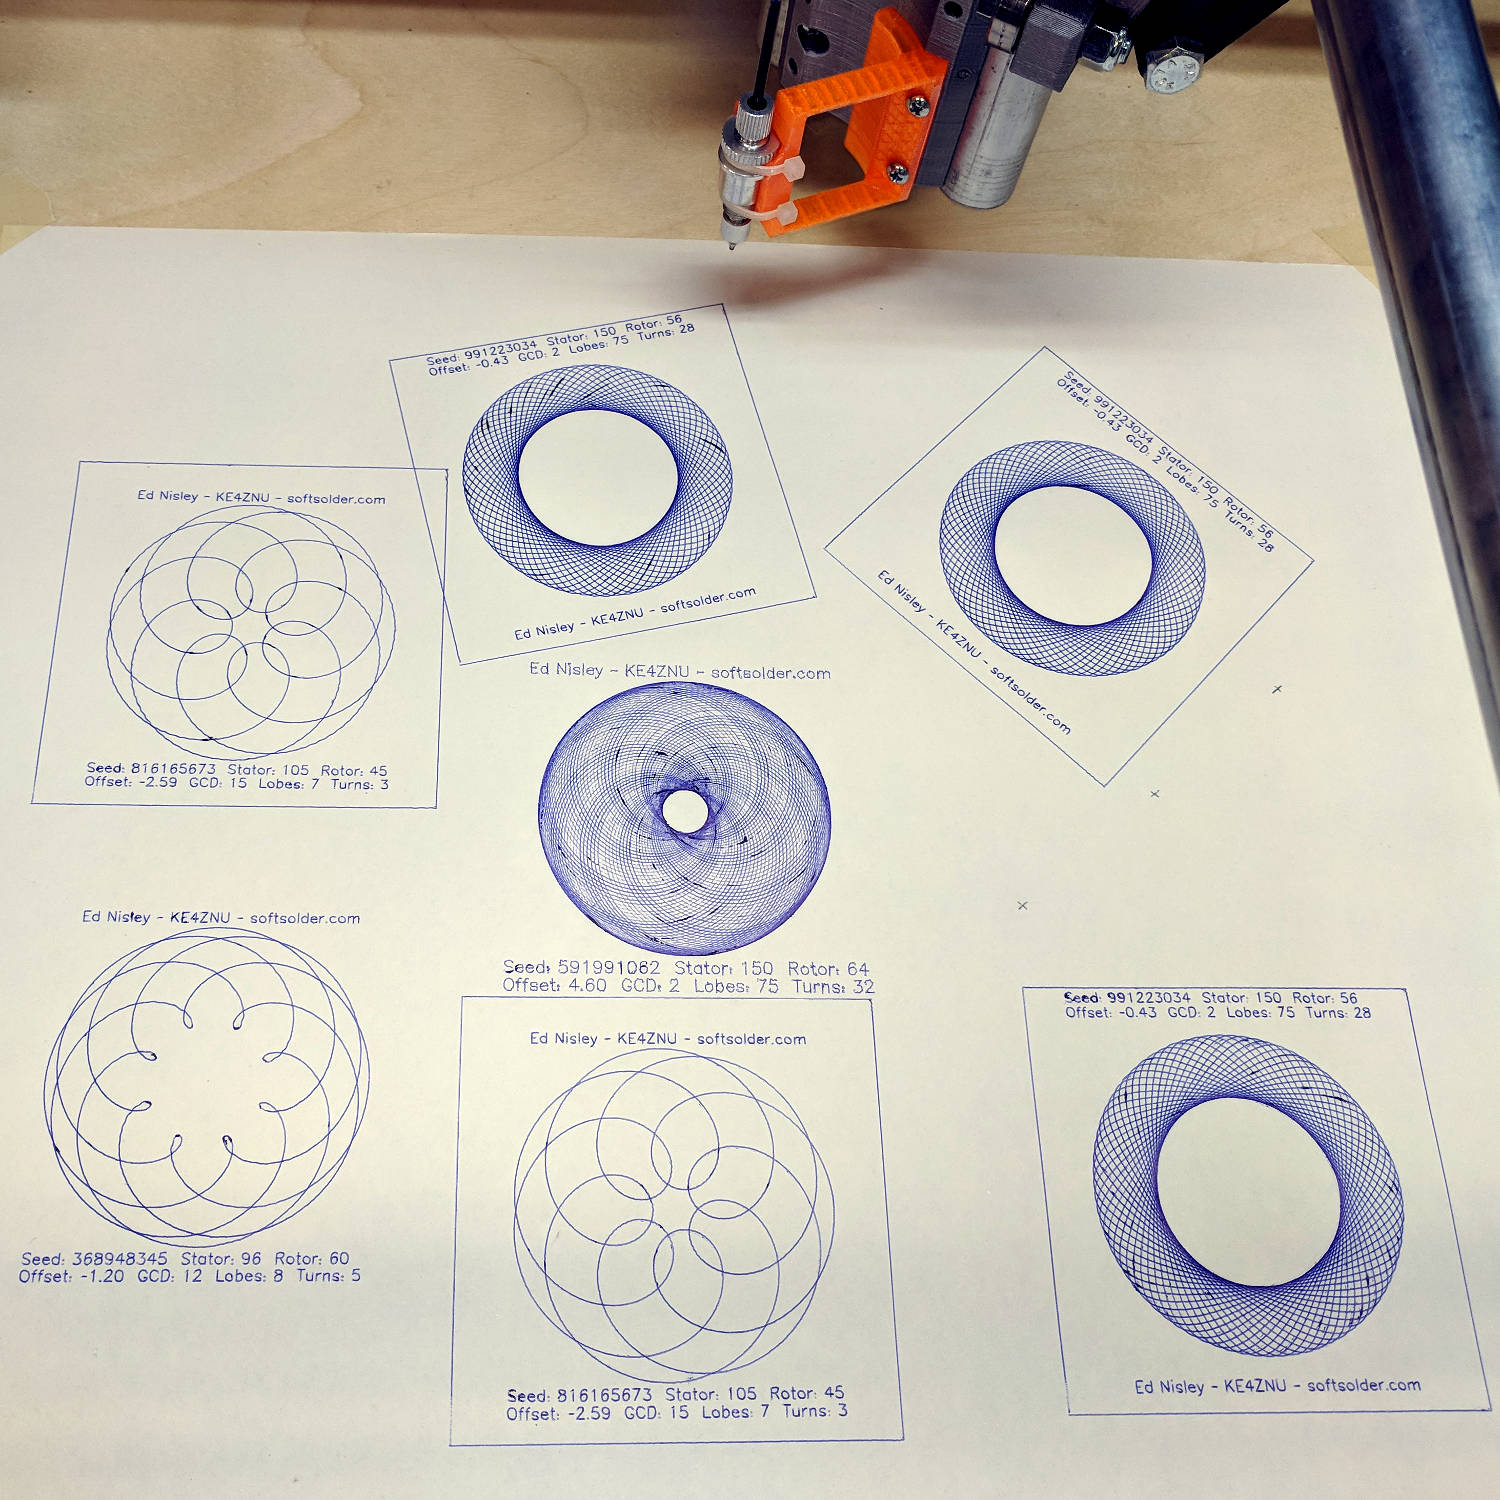
Now, to scratch up some acrylic!