Ed Nisley's Blog: Shop notes, electronics, firmware, machinery, 3D printing, laser cuttery, and curiosities. Contents: 100% human thinking, 0% AI slop.
Category: Science
If you measure something often enough, it becomes science
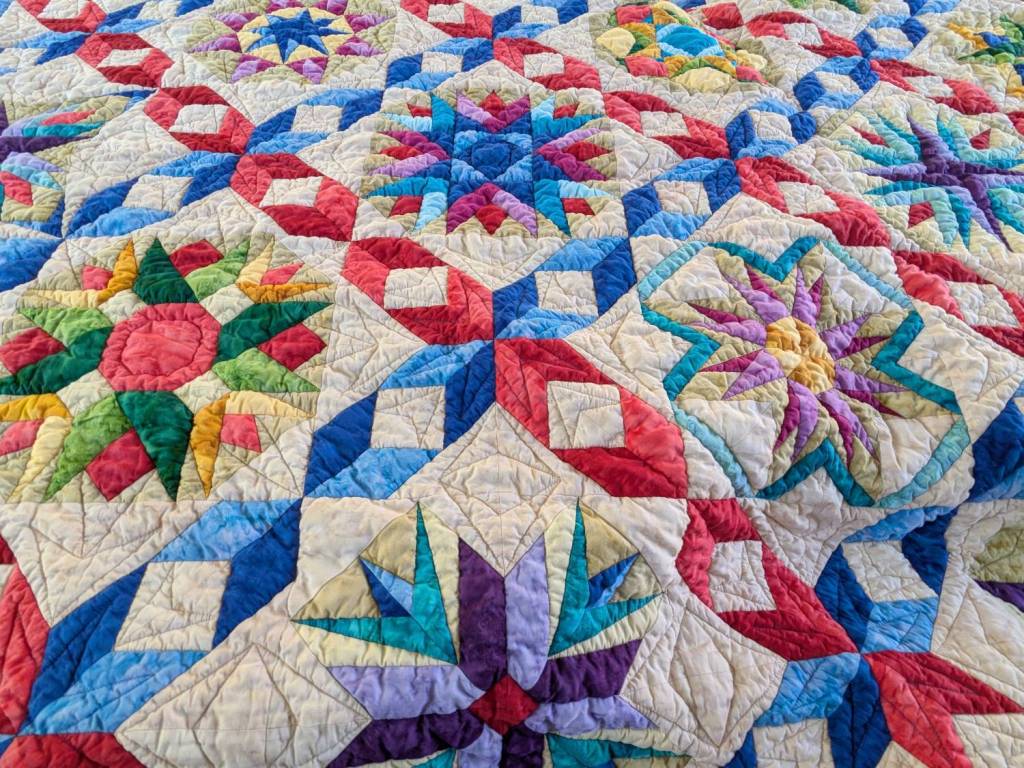
Mary recently finished a multi-year quilt project:
Dancine With The Stars quilt – detail
The overall pattern is “Dancing With The Stars” and it involves more intensive detail work than I have ever deployed on anything I’ve ever done:
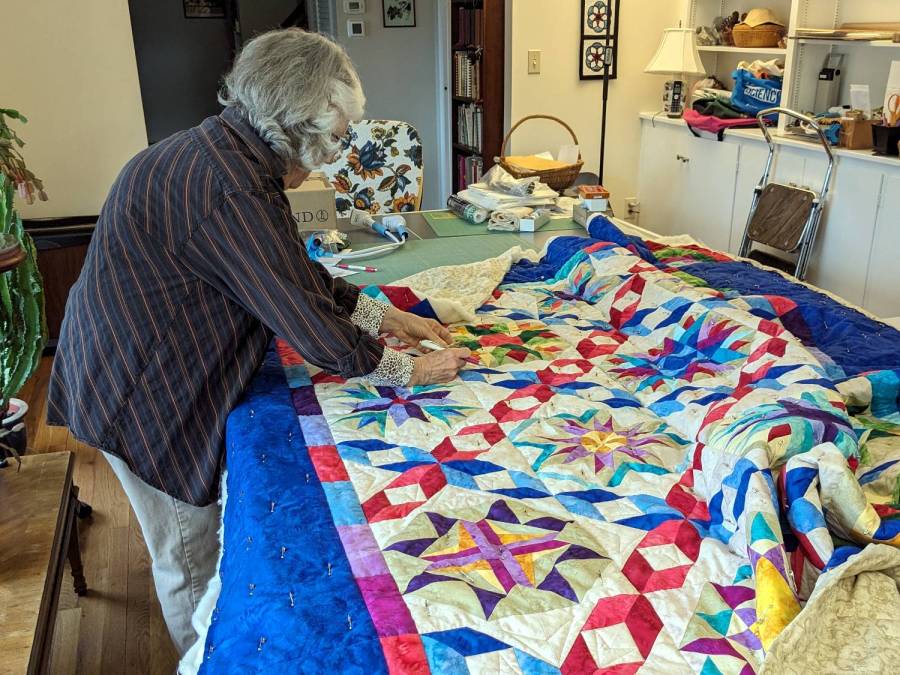
Mary with quilt on ping-pong table
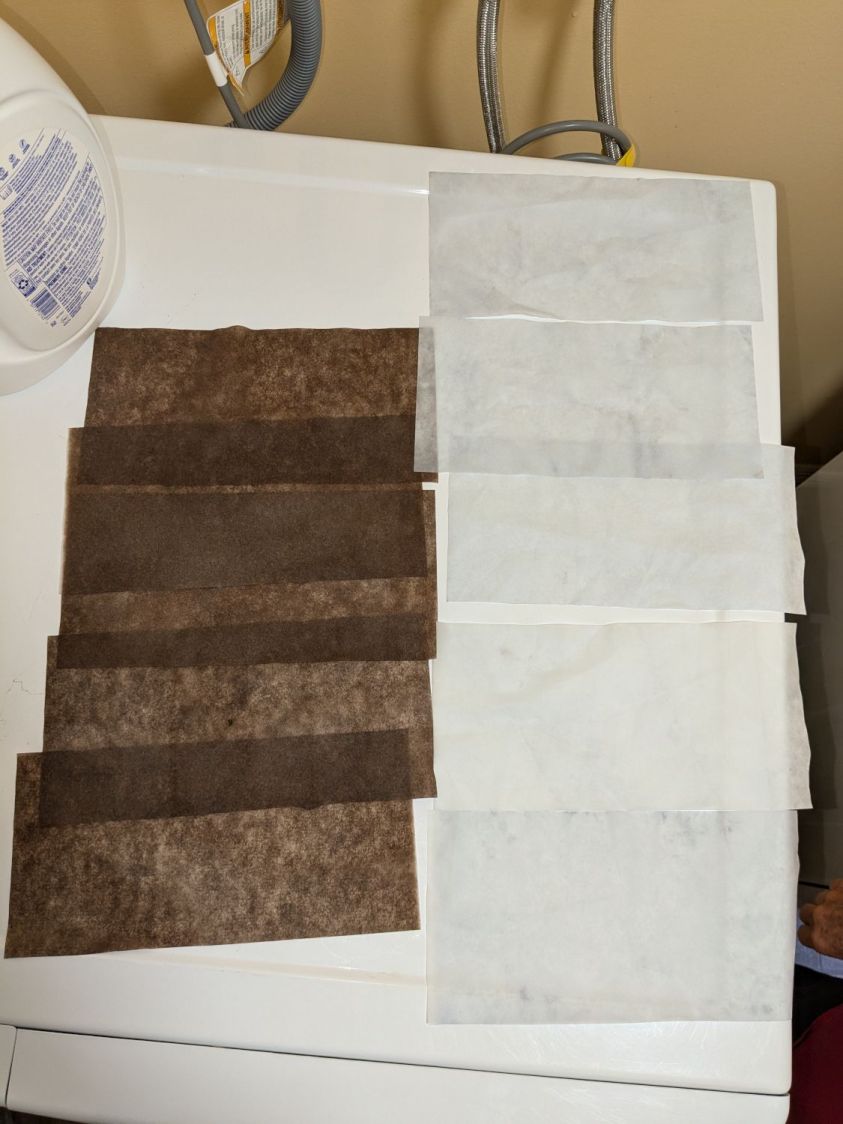
Washing the quilt required a generous handful of Color Catchers to prevent the bold colors from bleeding into the lighter fabrics:
Dancing With The Stars quilt – color catchers
The sheets on the left came from the wash and the ones on the right came from a separate rinse cycle. We didn’t expect the “average” color to be brown, but there it is. We were both mightily relieved when they performed as expected!
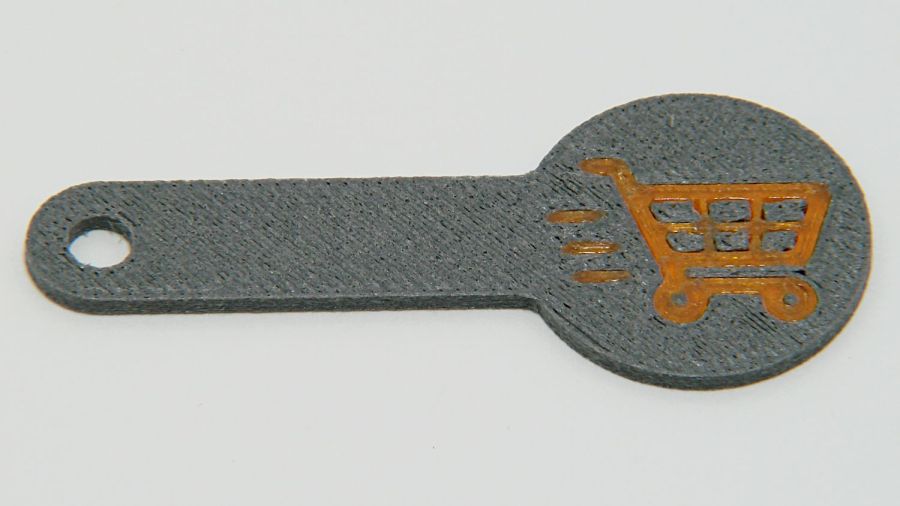
A special request came in for cart coins with a handle:
Overstuffed cart key – 1.0EM
That’s in gray PETG-CF (carbon fiber) with Extrusion Multiplier = 1.0 based on the Pill Tube tests and and slightly lower temperatures based on the temperature tower. It definitely looks overstuffed and so does the Wipe Tower for that set of six coins:
Overstuffed cart key – wipe tower
The orange threads off to the right suggest something went terribly wrong with the top layer, which corresponds to the somewhat recessed cart image in the coin, but there were no other symptoms.
All six of the next set failed completely:
Failed cart key – 1.0EM
Apparently the nozzle hit the clotted gray filament in the Wipe Tower and stalled the X axis motor:
Failed cart key – wipe tower
That suggests the same thing happened to the first set during the last pass over the Wipe Tower, causing a less obvious failure.
Setting the Extrusion Multiplier = 0.65 produced a better result:
Cart key print – blue – 0.65EM
Albeit with a slightly understuffed top layer:
Cart key print – 0.65EM
But not by much:
Cart key print – black – 0.65EM
So the answer depends slightly on the PETG-CF filament color, but not by enough to justify defining three different filament types.
Cart coins are essentially solid plastic layers with no empty infill, so they have nowhere for excess filament to hide. The Wipe Tower should have plenty of room, but even at EM=0.65 the tower looks overstuffed on the side with the carbon fiber purge lines:
Cart key print 0.65EM – wipe towers
The default 110% line spacing in the tower seems too small for PETG-CF, so I’ll increase it to 150% to see if that reduces the clumping.
Judged by the surface finish, a 0.65 Extrusion Multiplier is too low, so I’ll try a set of coins at 0.80.
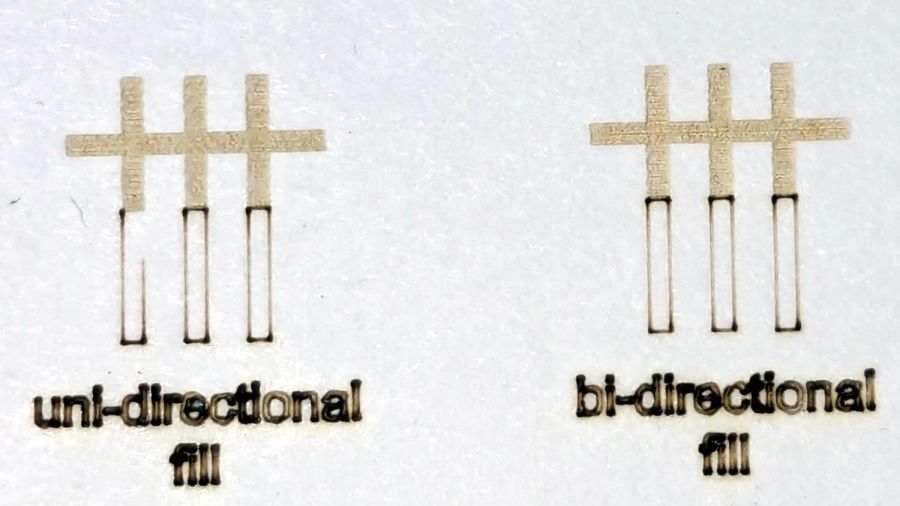
The test patterns will require power / speed tweakage to properly mark cardboard on other machines. The vector boxes are about 1.5 mm wide: these are small differences in small patterns.
The setup for both LightBurn 1.7 RC-13 and RDWorks 8.01.65:
The engraved patterns run at 500 mm/s & 20% power
The lines & letters run at 100 mm/s & 8% Min – 9% Max power
All on white cardboard, with image contrast blown out
Scanning offset = 0.2 mm = the usual setting for my machine
In LightBurn:
Scanning Offset 0.2 – LightBurn
In RDWorks:
Scanning Offset 0.2 – RDWorks
The slight shift to the left in the LightBurn results shows LB does not shift the uni-directional pattern to line up with the vector shape as RDWorks does, which is what started the forum thread.
Scanning offset = 1.0 mm to accentuate the difference, while shredding the bi-direction pattern as expected.
LightBurn’s uni-directional engraved pattern is still in the same slightly leftward-shifted position relative to the vectors, showing the offset value has not been applied:
Scanning Offset 1.0 – LightBurn
RDWorks definitely applies the offset in both modes:
Scanning Offset 1.0 – RDWorks
I do not know why RDWorks did not output the final “l” over there on the right, but it did so on some (not all) of the patterns while setting things up. The jank is strong with it.
So having LightBurn apply the same offset value for both uni- and bi-directional engravings would fix the (slight) offset in my machine. I think it will also fix the much larger misalignment in [the other] machine in that forum discussion.
The whole problem seems to arise from the response time of the HV power supply / laser tube: the position of the left & right edges of the scanned output line depend critically on the rising and falling edges of the current applied to the tube and its power output.
Being me, of course, makes me want a different offset value applied to the uni-directional case, just for fine tuning. Which would require a duplicate offset-per-speed table and that looks like a UX disaster comin’ on strong.
One of my Old Guy medicines has an elaborate desiccant container:
Pill desiccant container
Being that type of Old Guy, I weighed the container when I emptied the bottle, then left it sit in the kitchen cabinet with the scale for a week as the weight slowly increased.
It started at 2.38 g and stabilized at 2.56 g, so it absorbed 0.18 g of water from the air after it got my attention.
Peeling the label revealed an obvious joint:
Pill desiccant – contents
Looks like HO-scale coal in there!
The desiccant weighs all of 1.20 g, so it absorbed something more than 10% of its weight. That’s less than I found with silica gel, but I don’t know the starting weight or how much moisture it already absorbed.
A newly opened pill bottle disgorged a container weighing 2.42 g. The initial weight obviously depends on many variables, none of which would be tightly controlled.
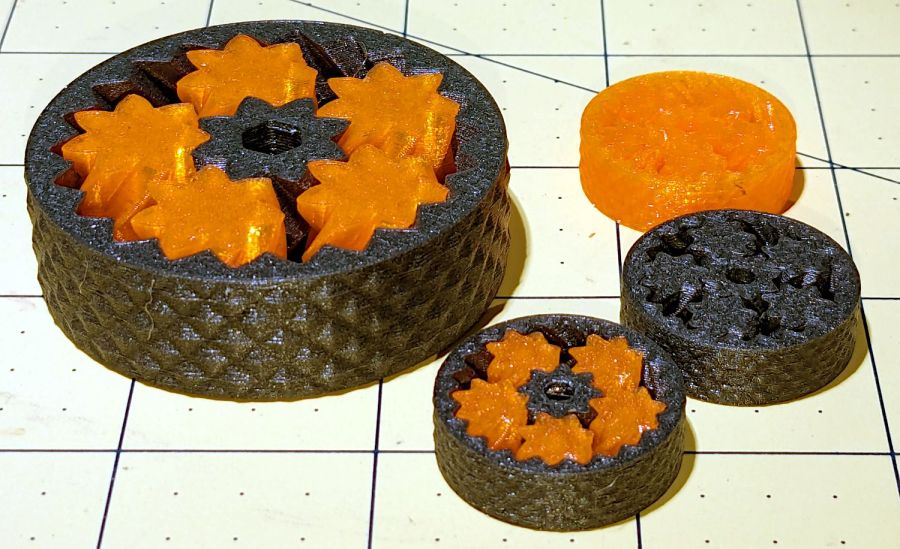
The small bearings are 25 mm OD, with correspondingly small clearances between their moving parts, but they all spun easily after a bit of breaking in.
As with their larger cousins, the orange PETG bearing has the most axial play and worked just fine right off the platform. The gray PETG-CF bearing was jammed and required concerted effort to get the gears rolling, but now has essentially no axial play while turning easily. The snappy-looking orange and black bearing has very little play and feels the best of the three.
The single-material bearings take about 20 minutes to print, while the mixed material one requires 80 minutes due to the extruder purging and nozzle clearing. The larger mixed material bearing took more than three hours, but time doesn’t scale as the cube of the size because changing materials runs at a constant time:
Small Planetary Gear Bearings – PETG PETG-CF with wipe towers
The smaller mixed gear produced the smaller wipe tower on the right, but changing materials remains an expensive process. Of course, if you were doing this in production, you’d make a couple dozen of the little things in one job: the machine would spend most of its time squirting out planetary gear bearings with the same number of material changes building the same size wipe tower.
They’re slightly too small for my fingers and surely pose a choking hazard to children, but they’re definitely cute.
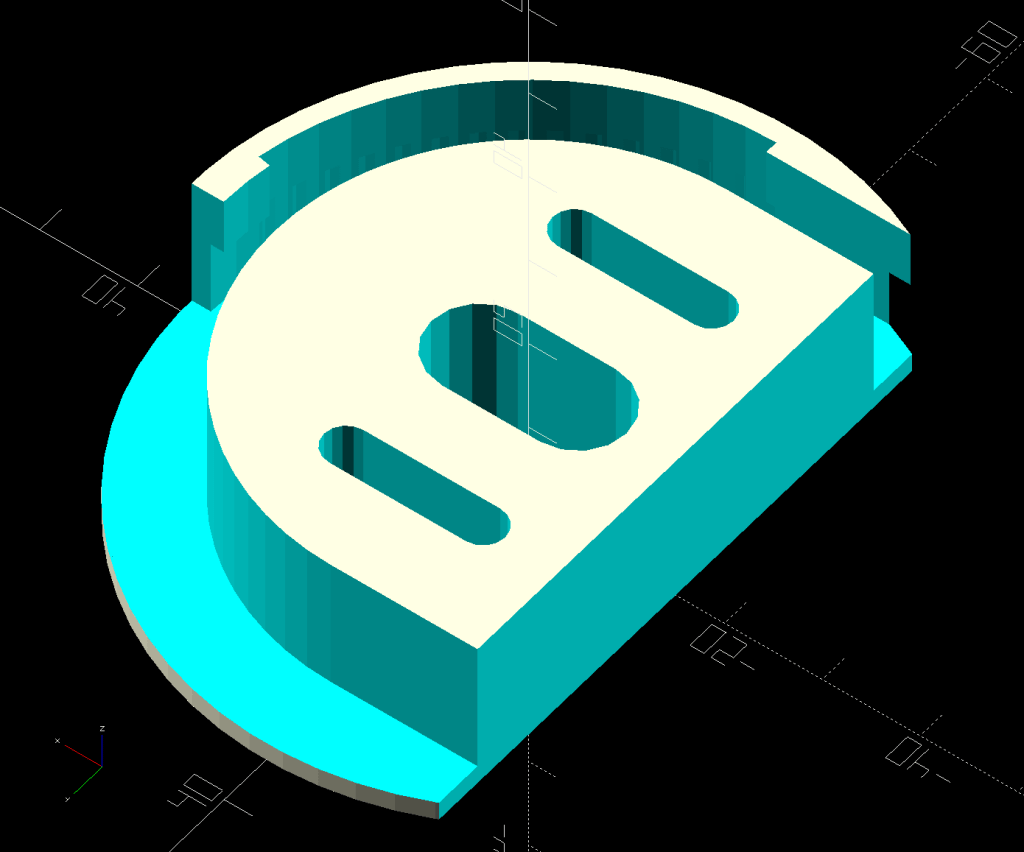
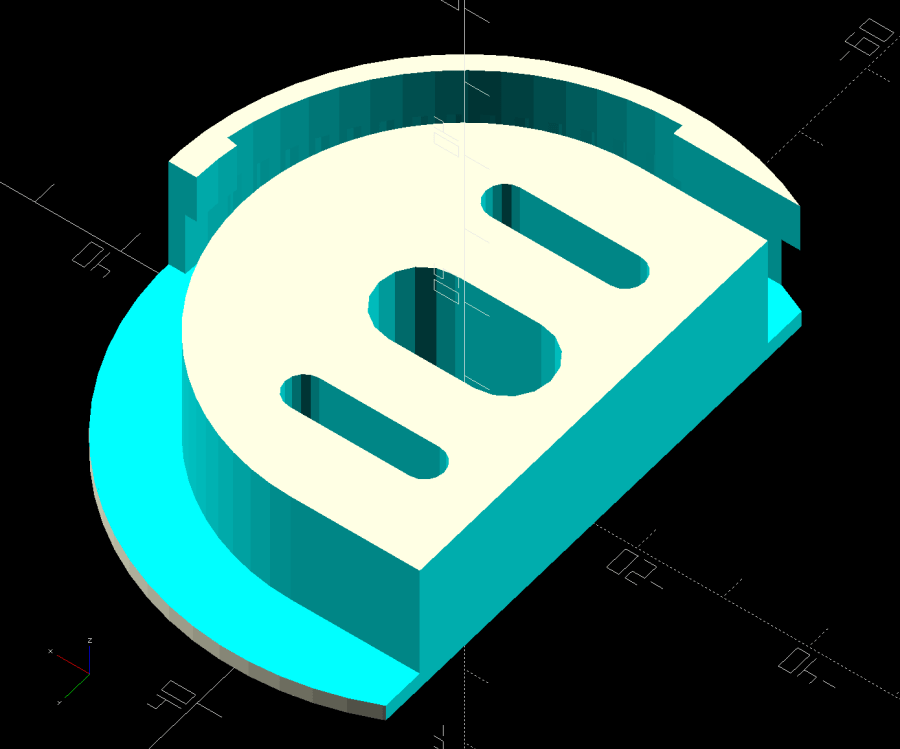
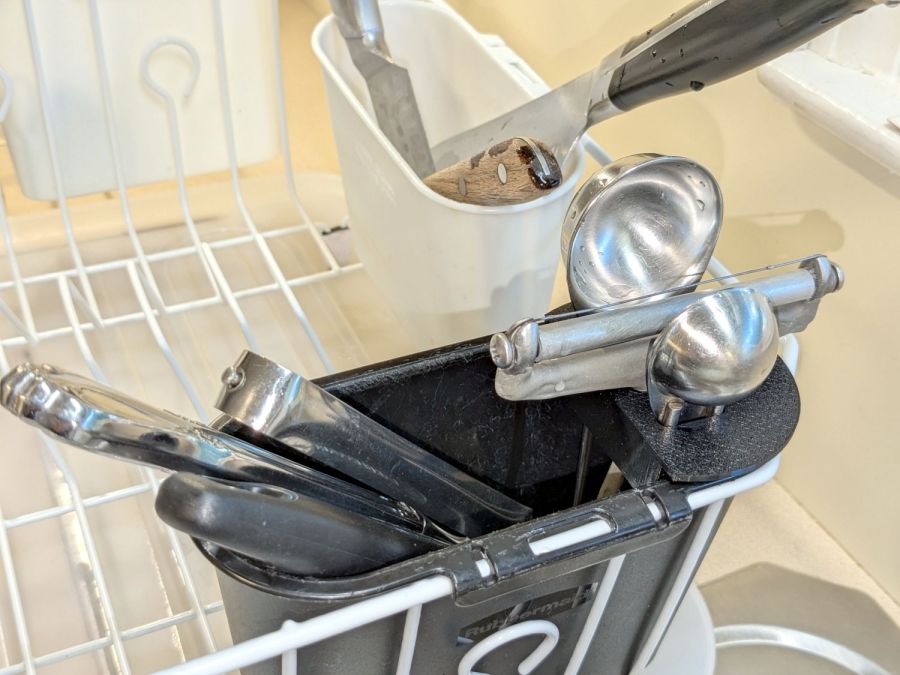
A small tweak to the venerable spoon drainer adds a configurable cutout adapting it to a slightly different dish drainer rack:
Measuring Spoon Drainer – solid model
Which lets it snuggle into the corner:
Measuring spoon drainer – installed
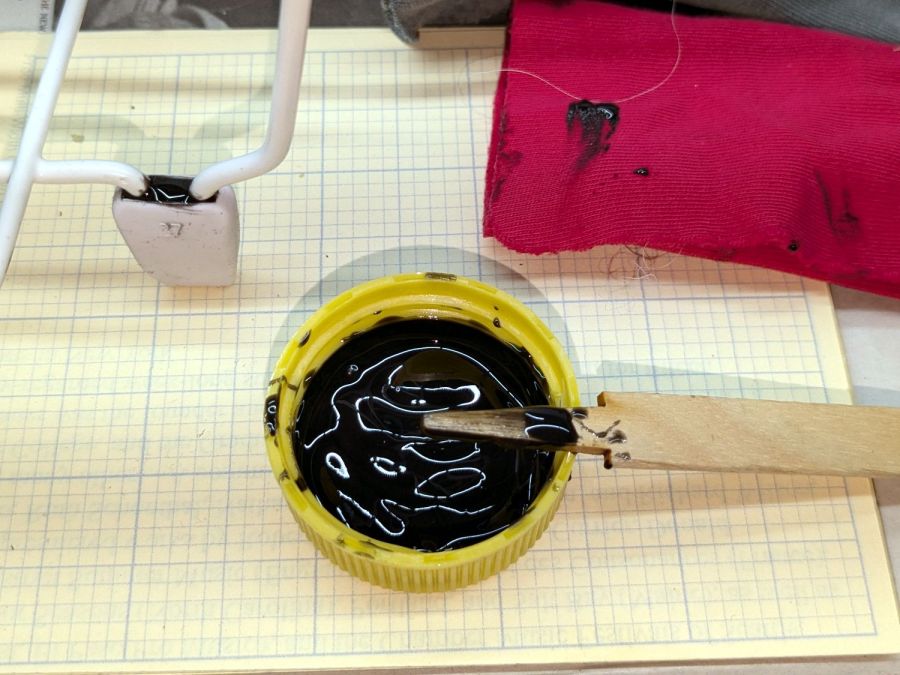
Both the old and new racks had coated steel loops stuck into rubberoid feet perfectly suited to collect water and eventually rust the loops. Given a new rack, I figured potting the feet in JB PlasticBonder urethane adhesive would help forestall the rust:
Rubbermaid dish drainer – foot potting
I wish it were white, rather than black, but the only other color choice is tan and I can’t wish nearly that hard.