The recent bitter cold and gusty winds swirled a dry snowfall around our back patio, where it clung to the (otherwise invisible) spider silk strands on the cedar shakes:

It’d be Art if a human did it!
The Smell of Molten Projects in the Morning
Ed Nisley's Blog: Shop notes, electronics, firmware, machinery, 3D printing, laser cuttery, and curiosities. Contents: 100% human thinking, 0% AI slop.
Taking & making images.
The recent bitter cold and gusty winds swirled a dry snowfall around our back patio, where it clung to the (otherwise invisible) spider silk strands on the cedar shakes:
It’d be Art if a human did it!
The ice behind this sundog foretold a snowstorm:

When I first saw it, the contrail bisected the sundog, but we had to walk to a safer spot before I could fumble with the Pixel.
See? I’m not always searching for treasures amid the roadside trash …
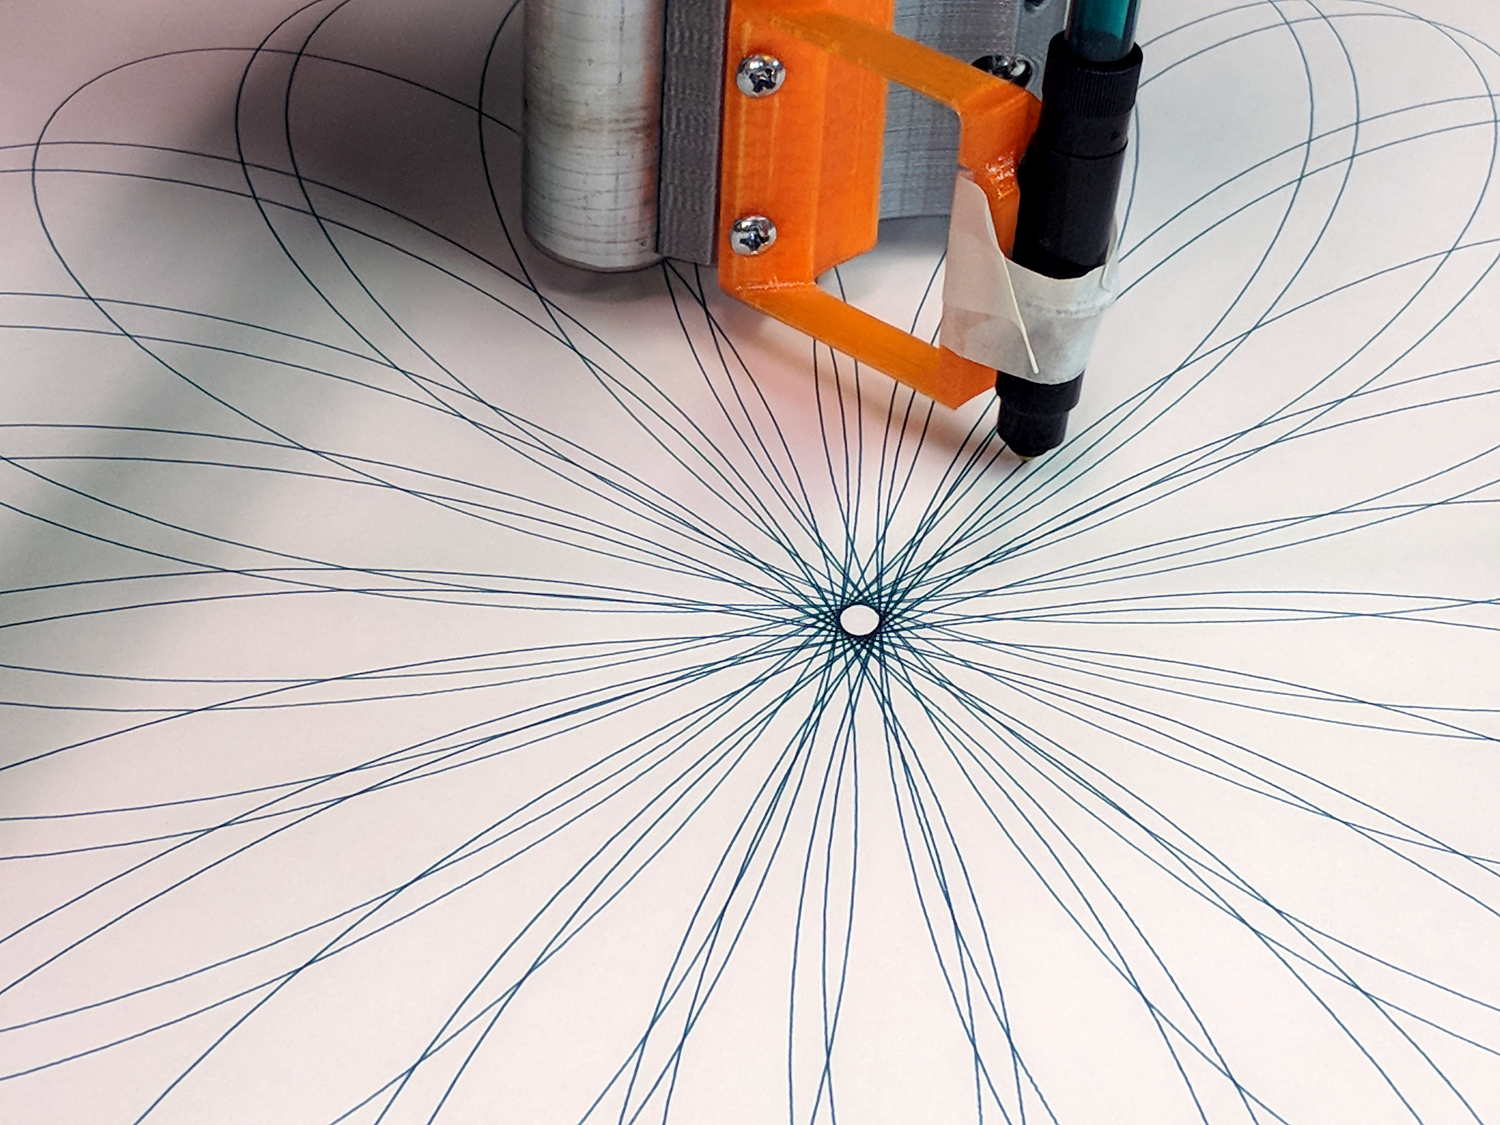
Gotta play with my new toy:

That’s with a set of liquid ink and ceramic tip plotter pens. They’re unbelievably cranky, but produce wonderfully fine lines:
Text comes out exactly the way vector lettering should look:

There’s a slight shake visible at 500 mm/min = 8.3 mm/s, but it’s Good Enough.
All the pen-and-ink traffic around the center produced a ring of damp green fuzz:

The artsy part of the plot ran at 1800 mm/min = 30 mm/s, with little of the wobbulation at 6000 mm/min = 100 mm/s. None of that would matter with a router, of course.
It’s a nice, Christmasy design in kinda-red and sorta-green.
From the stack of plots accumulating near the MPCNC bench:
Plots 7 and 9 show the tape sutures required to produce a 26×18 inch sheet covering the MPCNC’s full work area. The squat plots fit on B-size sheets and the rest come from 17×14 inch artist’s sketchpad sheets.
I used Google PhotoScan to capture and rectangularize paper sheets from the floor or atop the bench, then battered the contrast and crushed the file size with a one-liner:
i=1 ; for f in 1* ; do printf -v dn "Spiro %02d.jpg" $(( i++ )) ; convert $f -level '10,80%' -density 300 -define jpeg:extent=300KB tweaked/"$dn" ; done
The plots look great in person (modulo some incremental software improvements), but the slideshow images look awful because:
They’re not (yet) art and there’s no point in a high-quality workflow.
Enjoy the day …
A light snowfall revealed plenty of overnight traffic on the patio:
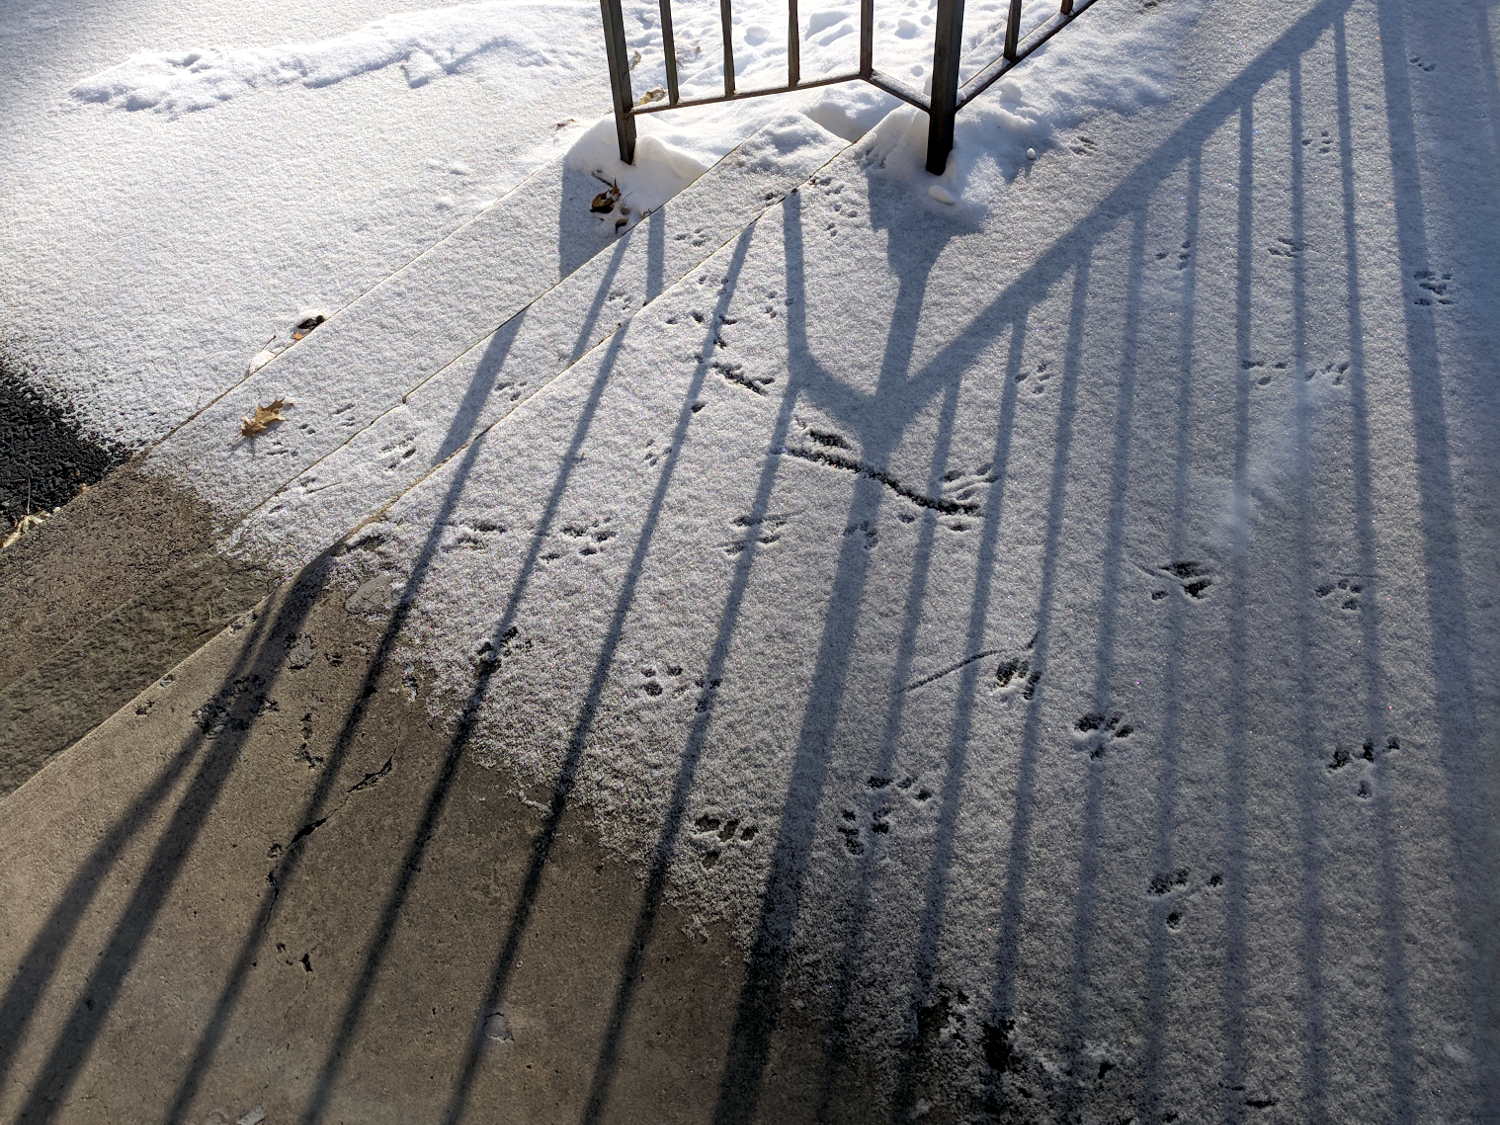
I should set up an IR camera to watch what’s going on out there!
Alas, what seemed like a better tube route didn’t work any better and, in fact, the generous loop snagged crosswise between the print head box and the R380’s frame. So I deployed the big diagonal cutters and a nasty end cutter to chop a channel through the side of the box:
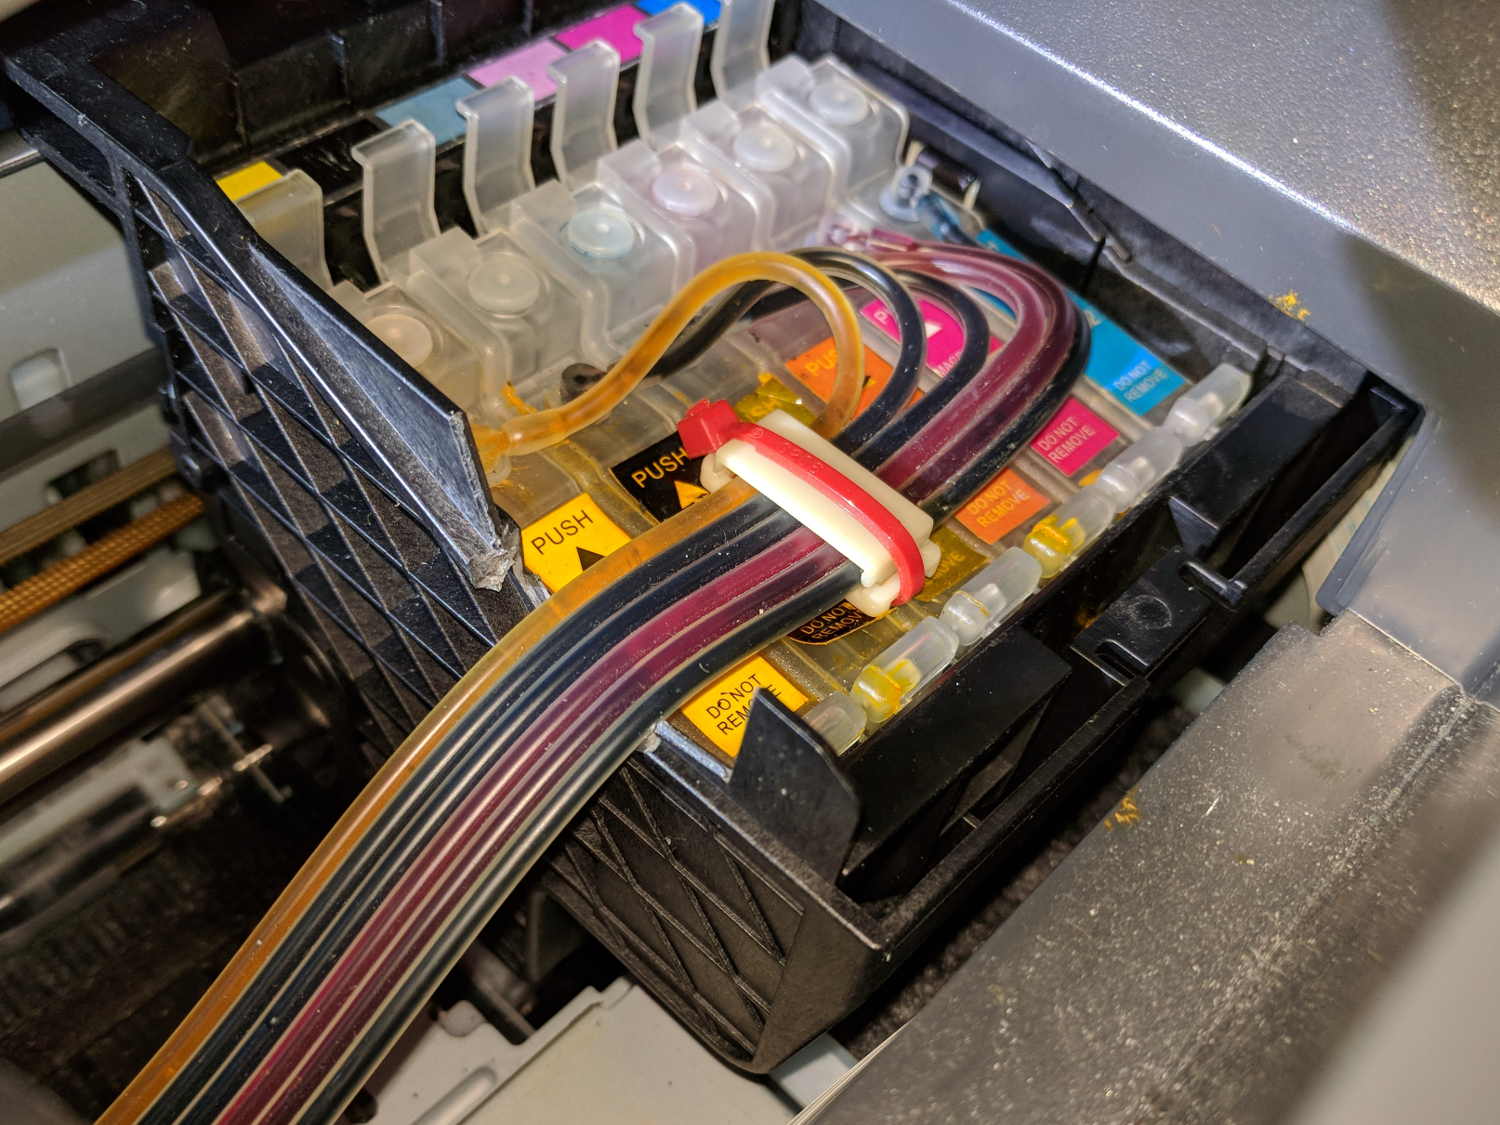
As far as I can tell, the thin section above the reinforcing gridwork exists specifically to get in the way of routing CISS tubes, but I suppose it could be just for pretty.
With the tubes coming directly off the top of the tanks and folding neatly as the print head moves under the frame, I could rearrange the supports to hold the tubes in a nearly straight line throughout their motion:

So far, so good.
Although the yellow ink now feeds properly and all the nozzles appear up on the test page, the printer output has an overall cyan tinge that gave the Annual Christmas Letter a gloomy aspect. Maybe the latest bottle of cheap Light Cyan ink isn’t quite as light as it should be?
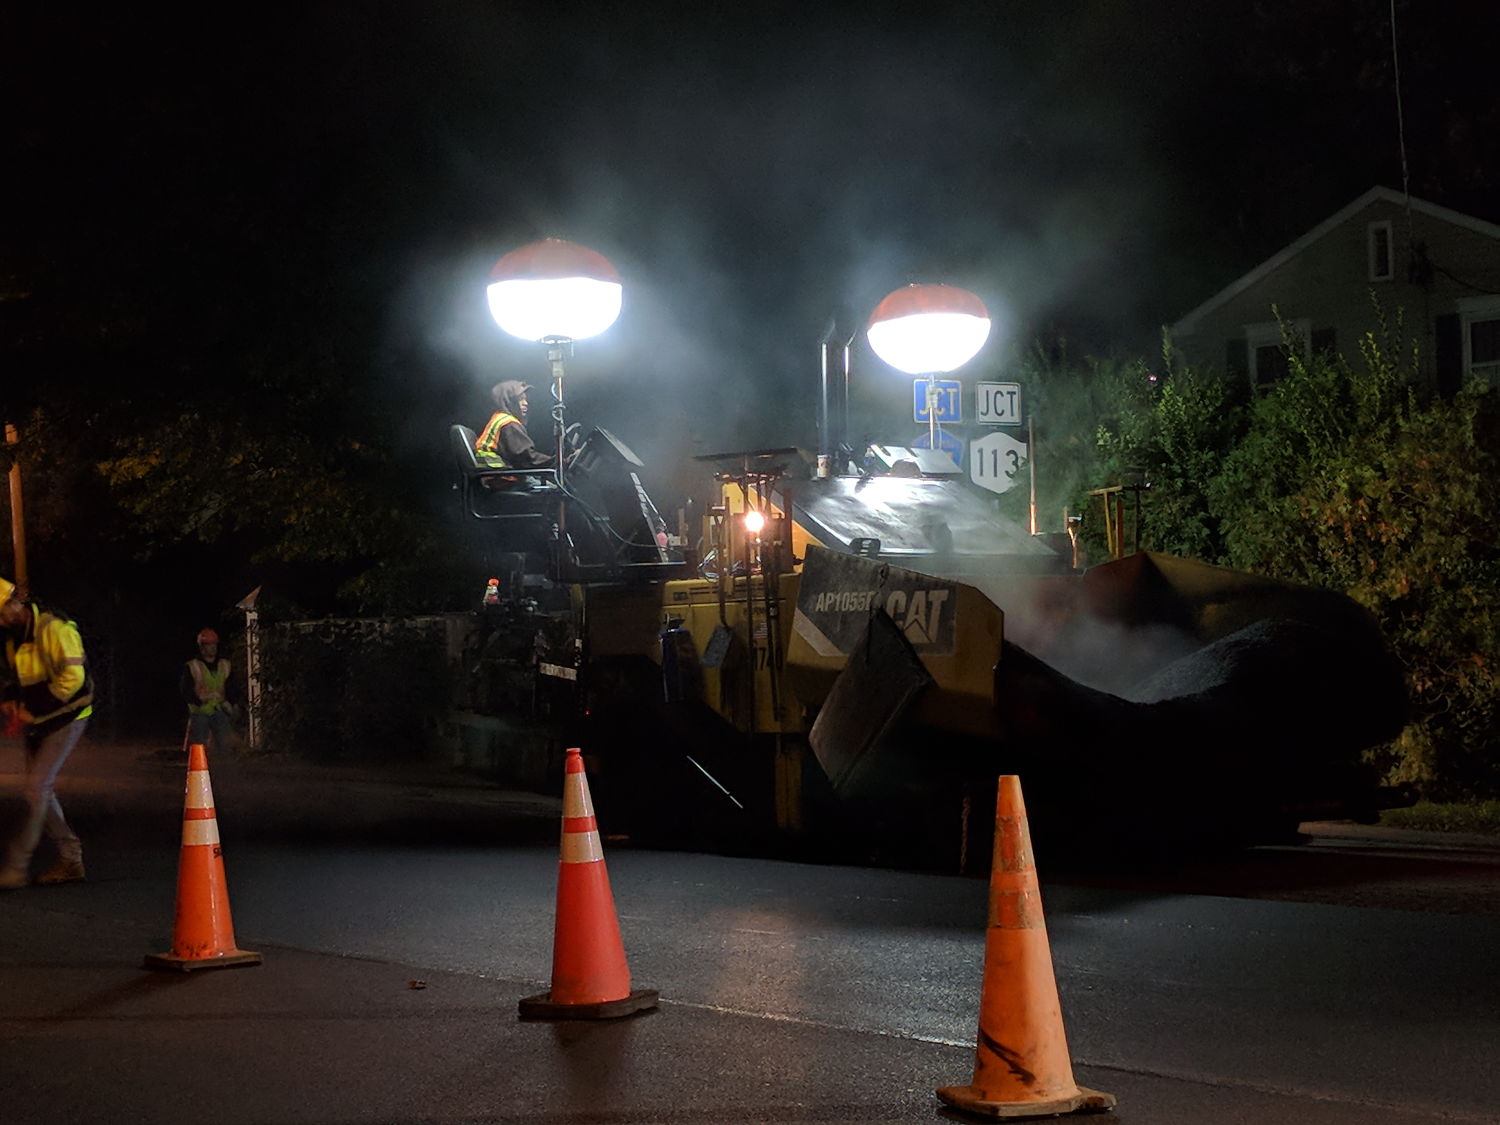
NYS DOT repaved the section of Rt 376 between our house and the Red Oaks Mill intersection during a mid-October week, doing most of the work overnight to avoid jamming traffic to the horizon in all directions. Having nothing better to do, I supervised the proceedings …
They prepared the surface by milling off the old pavement during three successive nights, which was just about as noisy as you’d think:
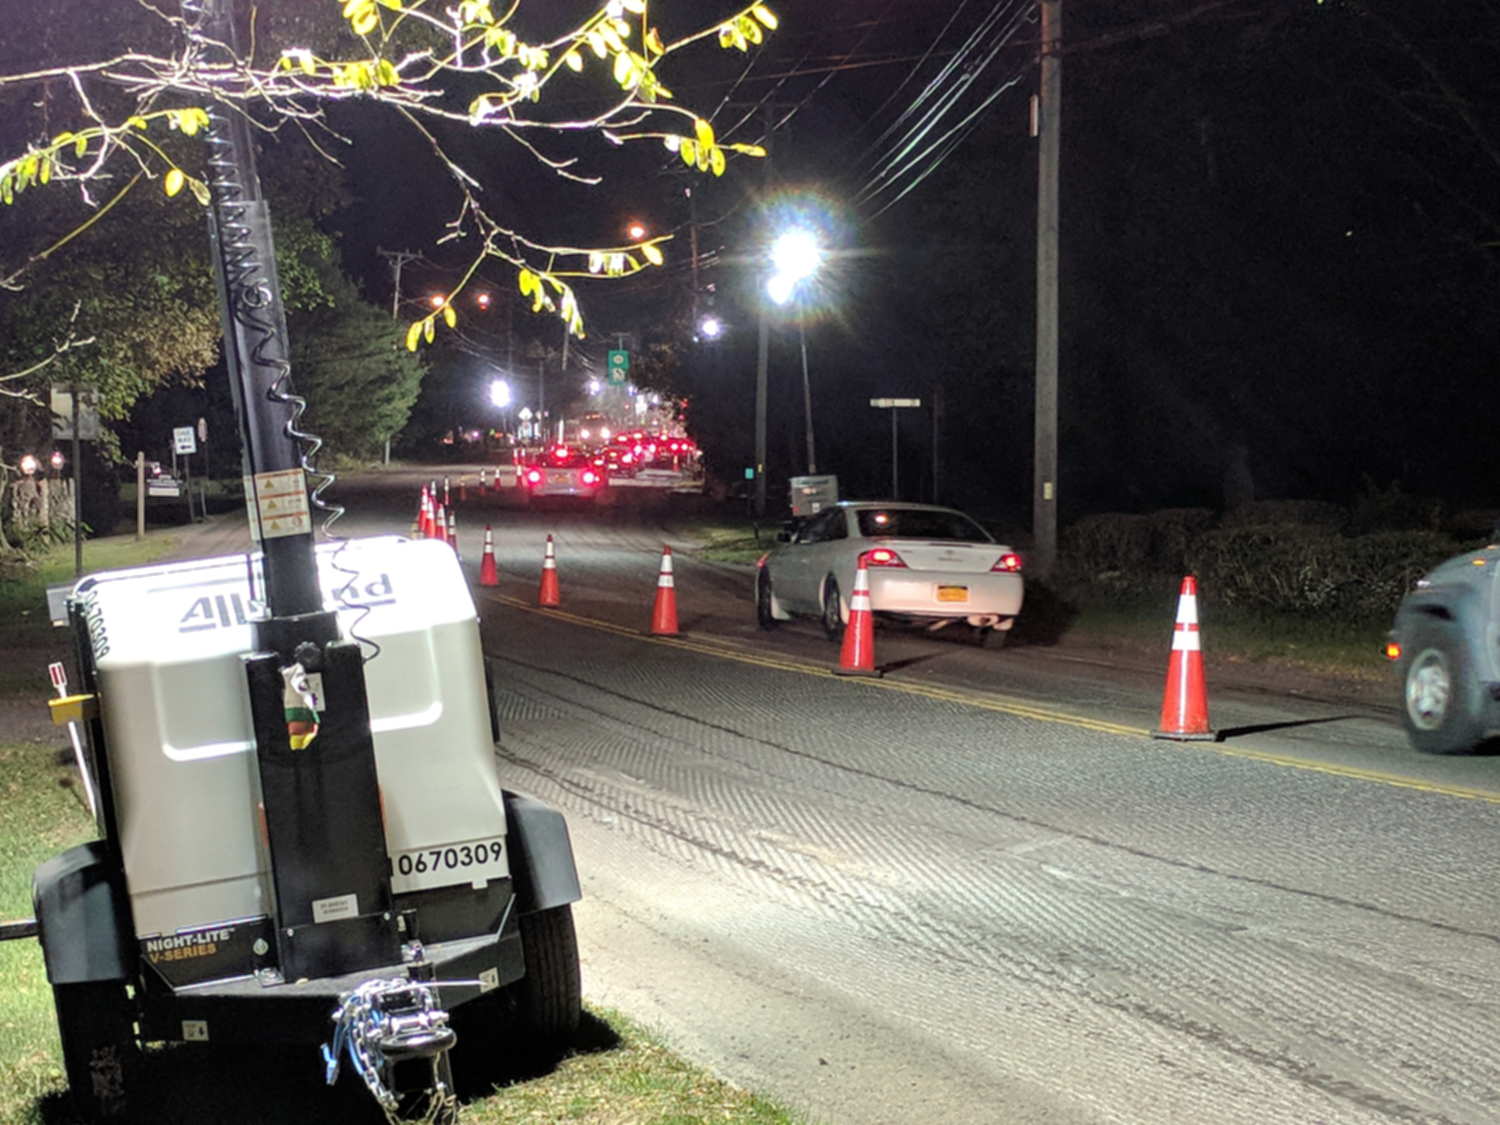
The asphalt spreader sported bizarre LED lights:
Southbound paving began with a crisp new truck:
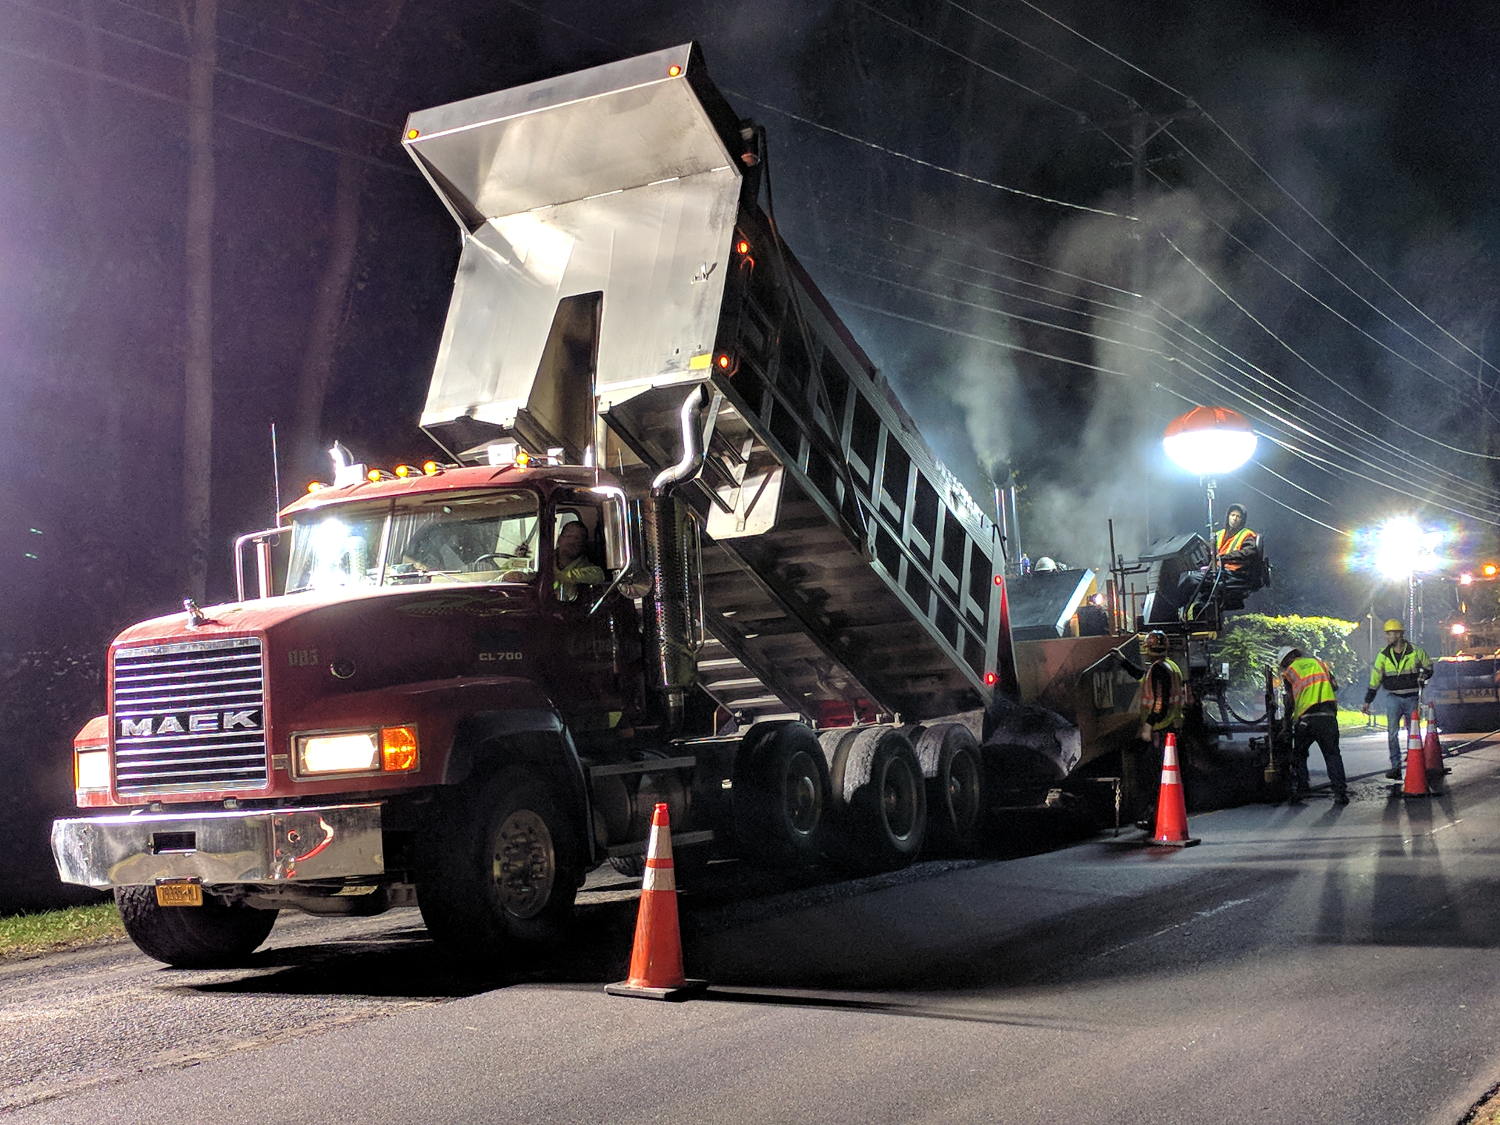
He would look the same rolling a highway straight through Hades:
The short truck cleared the overhead wire:

Then they chucked up a series of longer Flow Boy trailers:

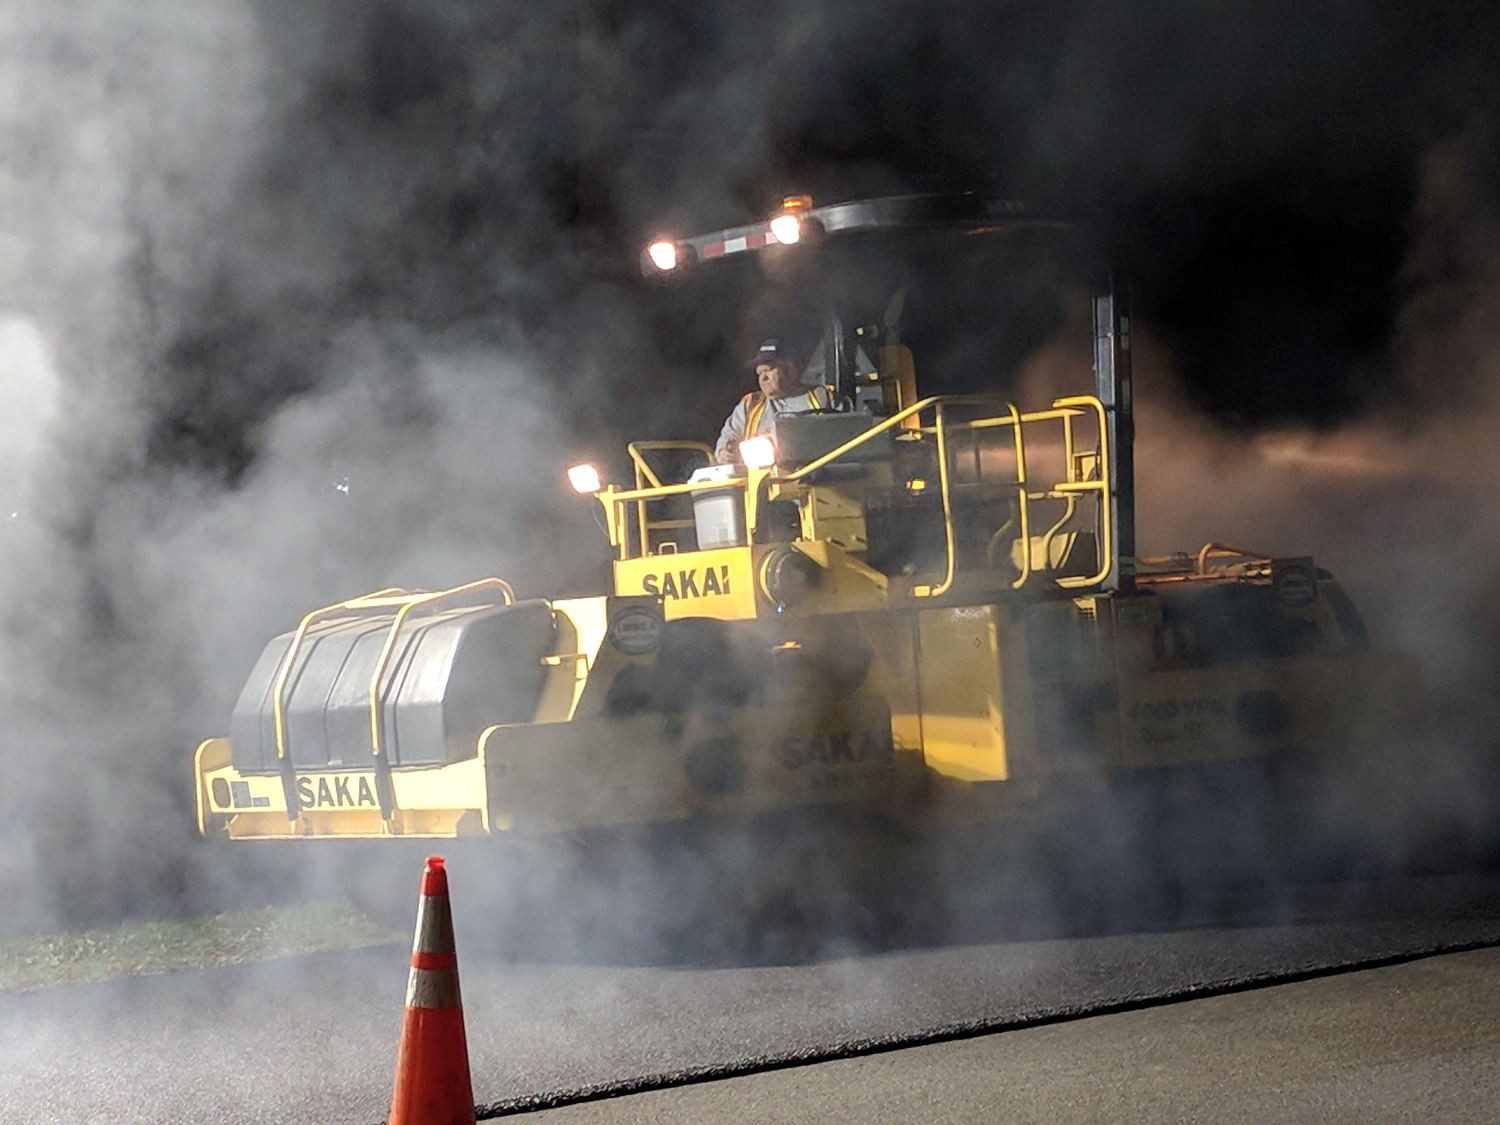
Despite all the machinery, the job requires guys with rakes and shovels.
All the pictures come from the Pixel, hand-held with automagic exposure and HDR+.
My tax dollars were definitely awake and hard at work during those nights!
My Cycliq Fly6 continued to shut down during rides, even with a new video-rated card, suggesting:
Following all the steps recommended by Cycliq Tech Support didn’t improve the situation. It’s just under two years old and thus outside the warranty, so they advised me to buy their new, not-quite-released-yet Fly6, now with Bluetooth / ANT+ / phone app / shiny, but still with a non-replaceable battery.
Seeing as how the Fly6 works as well as it ever did, apart from the minor issue of shutting down both dependably and intermittently, the problem is almost certainly a bad battery. Cycliq does not offer a repair service, nor a battery replacement service; being based in Australia probably contributes to not wanting to get into those businesses. You’re supposed to responsibly recycle the Whole Damn Thing when the battery goes bad. Which, inevitably, it does.
Protip: anything with a non-replaceable battery is a toy, not a tool.
The most recent ride gave some evidence supporting a bad battery. The first shutdown happened after about half an hour and it gave off three battery status beeps (four = full charge, as at the start of the ride) when I restarted it a few minutes later. It shut down again a few minutes later while we were stopped at a traffic signal and gave off one lonely charge beep when I reached back to restart it, indicating a very low battery voltage. The battery voltage (and the number of startup beeps) increased with longer delays between shutdown and restart, but after the first shutdown it’s never very enthusiastic.
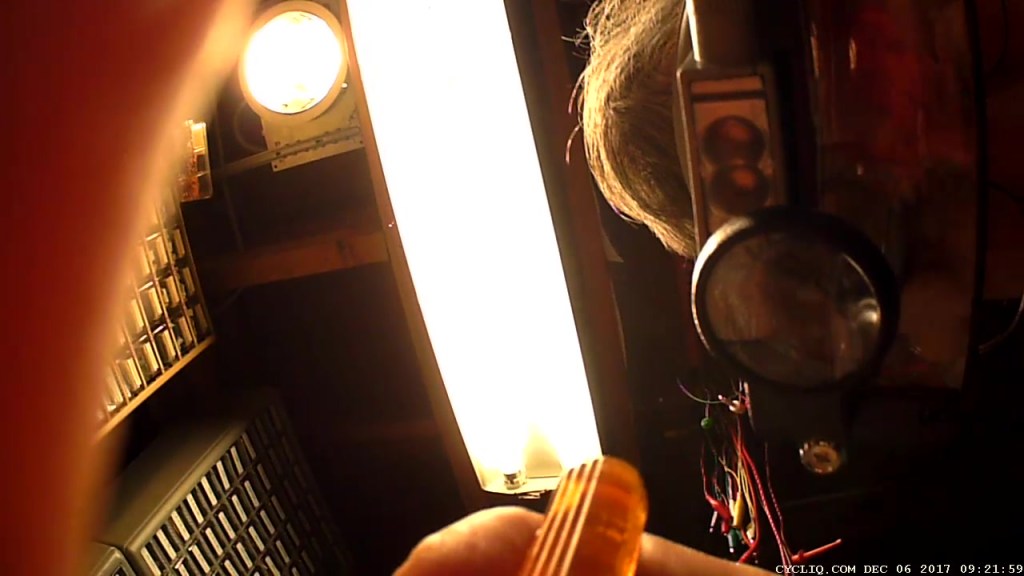
Having nothing to lose, let’s see what’s inside:

Don’t do as I did: you should extract the MicroSD card before you dismantle the camera.
Remove the rubber plugs sealing the four case screws:

The case pops open, with a ribbon cable between the LEDs and the main circuit board:
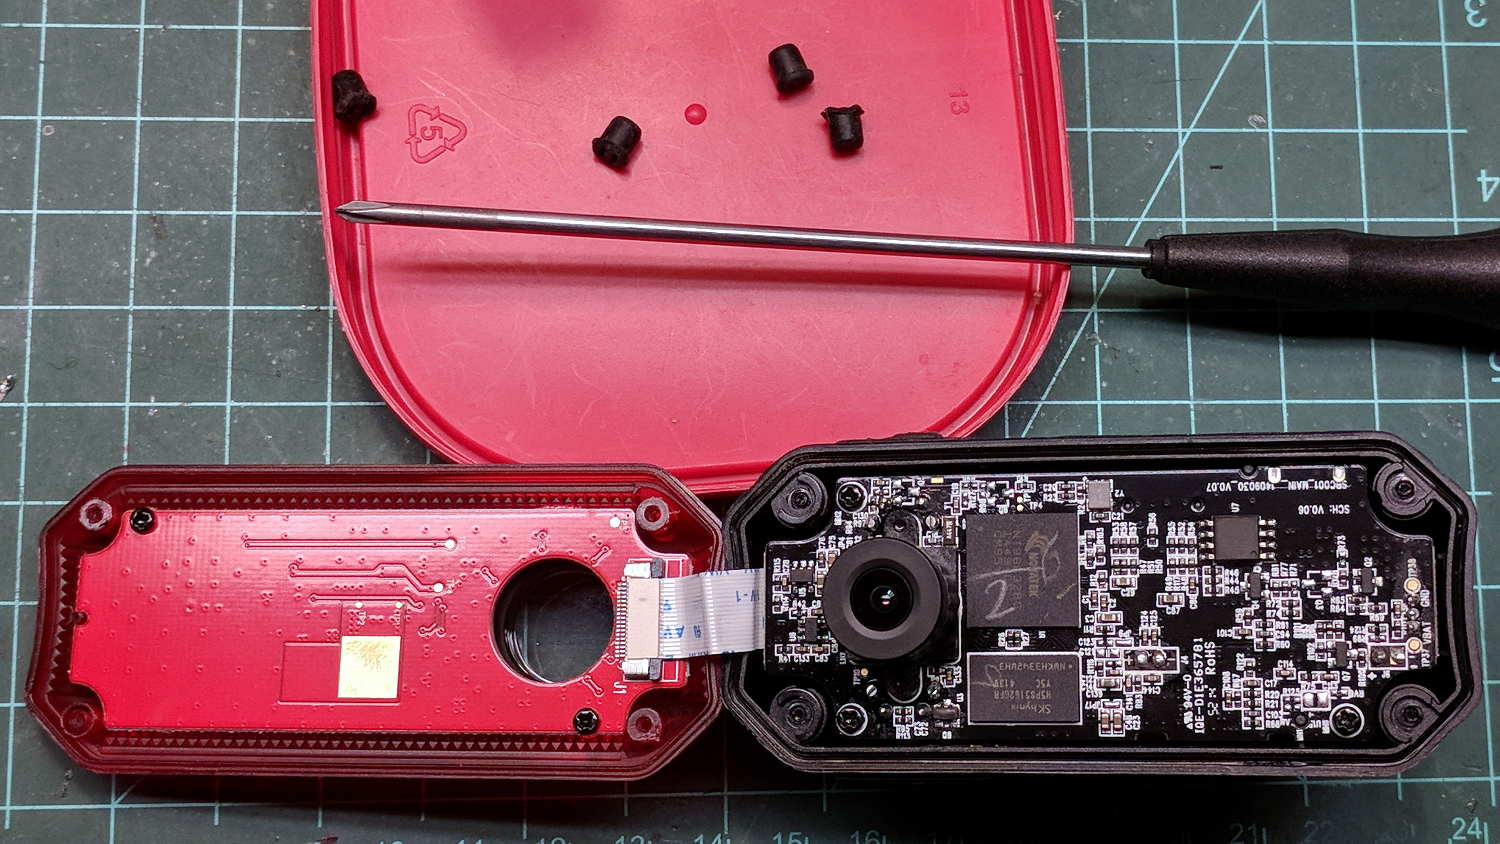
Pull the ribbon cable latch away from the connector before pulling the cable out.
It’s amazing what you find inside a blinky taillight these days:

I’m sure there’s a fancy 32 bit RISC computer in the big chip, along with plenty of flash ROM just below it. The clutter over on the right seems to be the power supply. Yeah, it has a camera in addition to blinky LED goodness, plus USB charging, so eight bits of microcontroller aren’t nearly enough.
There’s supposed to be some nanotech waterproofing protecting everything inside. It sure looks like magic to me and, in any event, solders just like a layer of ordinary air.
Note: the case screws are slightly longer than the PCB retaining screws:

The underside of the PCB has even more teeny parts, along with, mirabile dictu, a battery connector and (most likely) battery charging stuff:

A plastic piece holds the “Rechargeable Li-Ion Battery Pack” in place:

A strip of gooey adhesive holding the mic and speaker wires in place also glues the battery strap to the case, but it will yield to gentle suasion from a razor knife.
Pause to count ’em up:
It looked a lot like an ordinary 18650 lithium cell to me and, indeed, it is:

More razor knife work removes the outer shrinkwrap. The cell has a protection PCB under the black cardboard cover:

I don’t know what the yellow wire does:

The FS8205A on the left may be an SII S8205 protection IC preset and packaged for a single cell:

After all that, yeah, it’s a dead battery:

The red curve shows the in-circuit charge state after taking it apart, the green curve comes from charging the bare cell in my NiteCore D4 charger. I have no idea what the nominal current drain might be, but a 0.25 Ah capacity is way under those Tenergy cells.
A new cell-with-tabs should arrive next week, whereupon I’ll solder the protection circuit in place, wrap it up, pop it back in the case, and see how it behaves.
