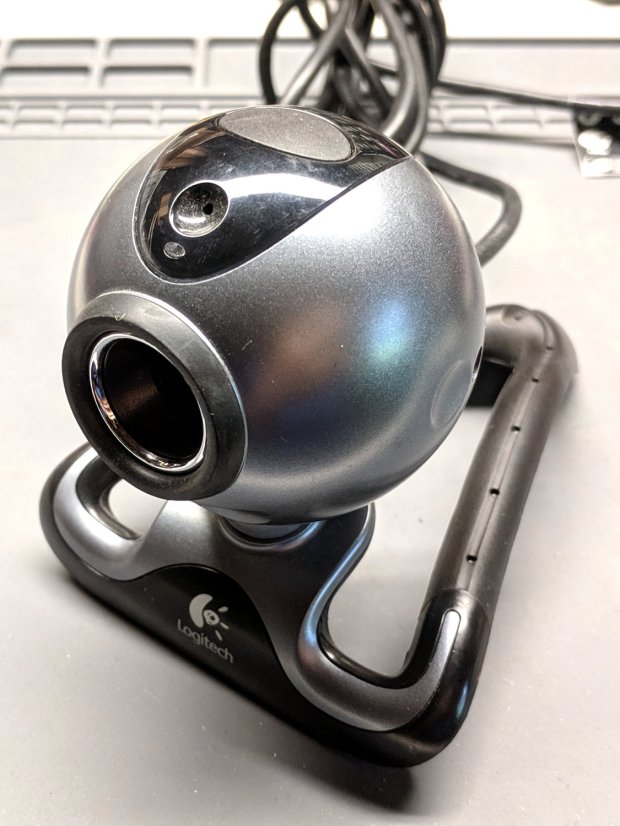
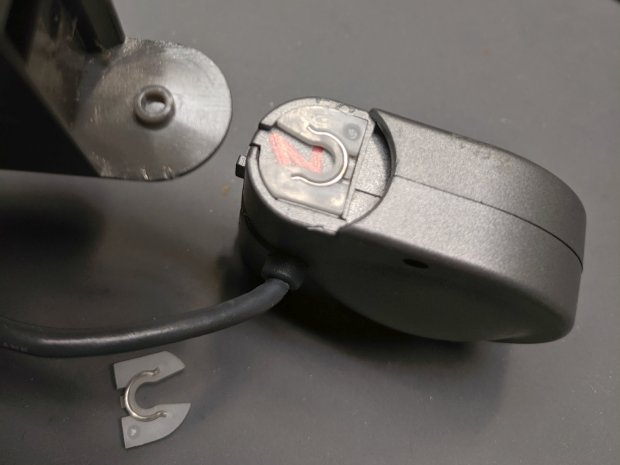
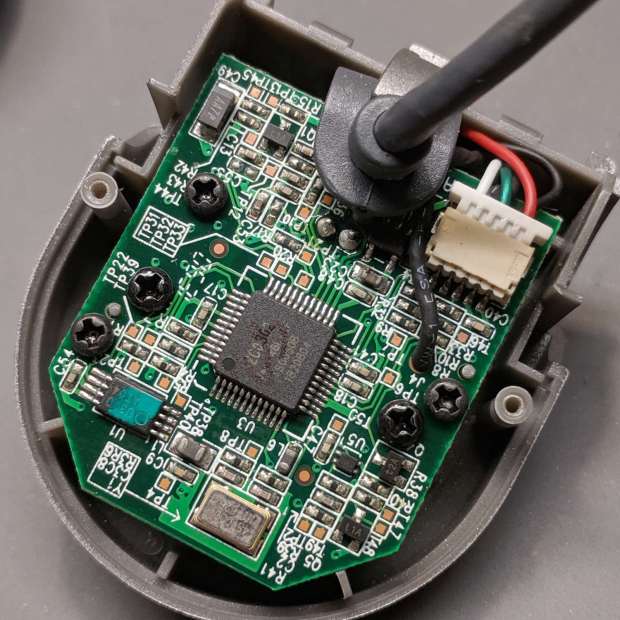
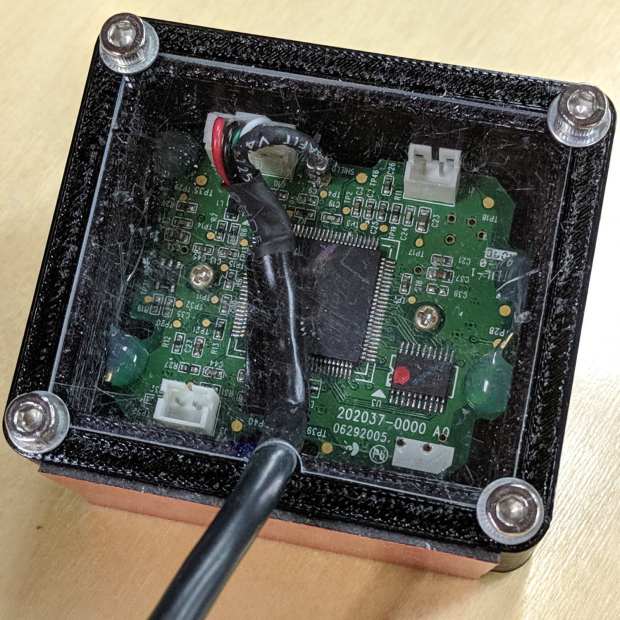
The ball-shaped Logitch QuickCam Pro 5000 has a rectangular PCB, so conjuring a case wasn’t too challenging:

That’s more-or-less matte black duct tape to cut down reflections.
The top side has a cover made from scuffed acrylic scrap:
The corners are slightly rounded to fit under the screw heads holding it in place.
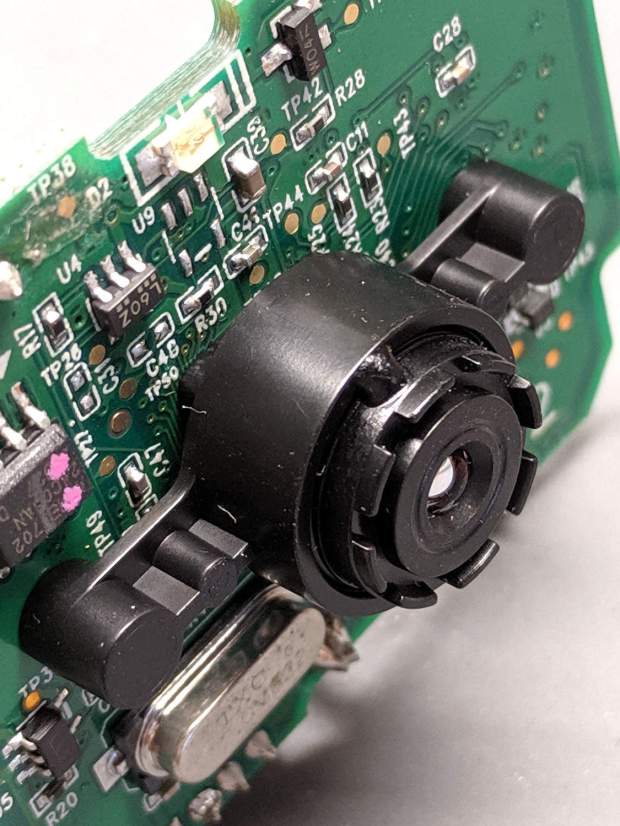
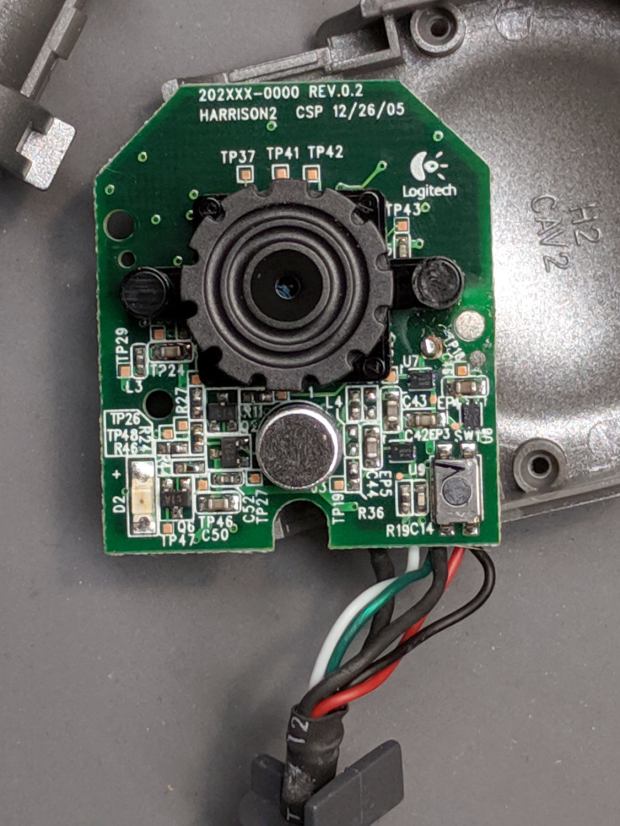
The solid model shows off the internal ledge positioning the PCB so the camera lens housing rests on the floor:
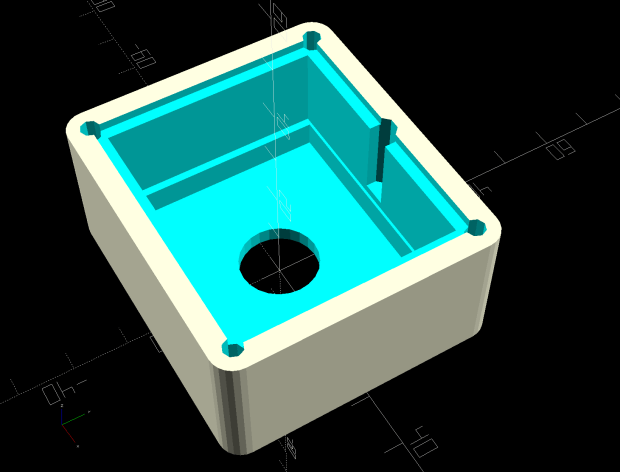
The notch lets the cable out, while keeping it in one place and providing some strain relief.
I though if a camera was recognized by V4L2 and worked with VLC, it was good to go:
Regrettably, it turns out the camera has a pixel format incompatible with the Python opencv interface used by bCNC. This may have something to do with running the code on a Raspberry Pi, rather than an x86 box.
The camera will surely come in handy for something else, especially with such a cute case.
The OpenSCAD source code as a GitHub Gist:
| // Probe Camera Mount for CNC 3018-Pro Z Axis | |
| // Ed Nisley – KE4ZNU – 2019-08 | |
| Layout = "Block"; // [Show,Build,Block] | |
| Support = false; | |
| /* [Hidden] */ | |
| ThreadThick = 0.20; | |
| ThreadWidth = 0.40; | |
| HoleWindage = 0.2; | |
| Protrusion = 0.1; // make holes end cleanly | |
| function IntegerMultiple(Size,Unit) = Unit * ceil(Size / Unit); | |
| ID = 0; | |
| OD = 1; | |
| LENGTH = 2; | |
| inch = 25.4; | |
| //———————- | |
| // Dimensions | |
| PCB = [45.0,38.0,1.5]; // Logitech QuickCam Pro 5000 ball camera | |
| PCBLip = 1.0; // max non-component border | |
| PCBChamfer = 3.0; // cut along XY axes for corner bevel | |
| PCBClearTop = 15.0; // cables & connectors | |
| PCBClearSides = [0.5,0.5]; // irregular edges & comfort zone | |
| PCBClearBelow = 5.0; // lens support bracket rests on floor | |
| Lens = [11.5,14.2,3.0]; // LENGTH = beyond PCBClearBelow bracket | |
| LensOffset = [-1.5,0.0,0]; // distance from center of board | |
| CableOD = 4.5; | |
| BaseThick = Lens[LENGTH]; | |
| Screw = [ | |
| 3.0,6.8,18.0 // M3 OD=washer, LENGTH=below head | |
| ]; | |
| RoundRadius = IntegerMultiple(Screw[OD]/2,1.0); // corner rounding | |
| ScrewOC = [PCB.x + 2*sqrt(Screw[OD]),PCB.y + 2*sqrt(Screw[OD])]; | |
| echo(str("Screw OC: ",ScrewOC)); | |
| Lid = [ScrewOC.x,ScrewOC.y,1.0/16.0 * inch]; // top cover plate | |
| echo(str("Lid: ",Lid)); | |
| BlockSize = [ScrewOC.x + 2*RoundRadius,ScrewOC.y + 2*RoundRadius, | |
| BaseThick + PCBClearBelow + PCB.z + PCBClearTop + Lid.z]; | |
| echo(str("Block: ",BlockSize)); | |
| NumSides = 2*3*4; | |
| //———————- | |
| // Useful routines | |
| module PolyCyl(Dia,Height,ForceSides=0) { // based on nophead's polyholes | |
| Sides = (ForceSides != 0) ? ForceSides : (ceil(Dia) + 2); | |
| FixDia = Dia / cos(180/Sides); | |
| cylinder(r=(FixDia + HoleWindage)/2, | |
| h=Height, | |
| $fn=Sides); | |
| } | |
| // Basic shapes | |
| // Overall block | |
| module Block() { | |
| difference() { | |
| hull() | |
| for (i=[-1,1], j=[-1,1]) | |
| translate([i*ScrewOC.x/2,j*ScrewOC.y/2,0]) | |
| cylinder(r=RoundRadius,h=BlockSize.z,$fn=NumSides); | |
| for (i=[-1,1], j=[-1,1]) // corner screws | |
| translate([i*ScrewOC.x/2,j*ScrewOC.y/2,BlockSize.z – Screw[LENGTH]]) | |
| cylinder(d=Screw[ID],h=2*Screw[LENGTH],$fn=8); // cylinder = undersized | |
| translate(LensOffset + [0,0,-Protrusion]) // lens body | |
| PolyCyl(Lens[OD],2*BlockSize.z,NumSides); | |
| translate([0,0,BlockSize.z/2 + BaseThick]) // PCB lip on bottom | |
| cube([PCB.x – 2*PCBLip,PCB.y,BlockSize.z],center=true); | |
| translate([0,0,BlockSize.z/2 + BaseThick + PCBClearBelow]) // PCB clearance | |
| cube([PCB.x + 2*PCBClearSides.x,PCB.y + 2*PCBClearSides.y,BlockSize.z],center=true); | |
| translate([0,0,BlockSize.z – Lid.z/2]) // lid recess | |
| cube(Lid + [0,0,Protrusion],center=true); | |
| translate([0,Lid.y/2 – CableOD/2,BaseThick + PCBClearBelow + PCB.z]) // cable exit | |
| hull() | |
| for (j=[-1,1]) | |
| translate([0,j*CableOD/4,0]) | |
| rotate(180/8) | |
| PolyCyl(CableOD,BlockSize.z,8); | |
| } | |
| } | |
| //- Build it | |
| if (Layout == "Block") | |
| Block(); | |
| if (Layout == "Show") { | |
| Block(); | |
| } | |
| if (Layout == "Build") { | |
| Block(); | |
| } |