Inkscape is not a CAD program (neither is LightBurn), but for my simple needs it works well enough, with the compelling advantage that OpenSCAD can import named layers and extrude them into solid models.
LightBurn can import Inkscape SVG images to define the patterns for laser cutting / engraving and will automatically put the vectors into layers corresponding to their colors if and only if the SVG image uses colors from the LightBurn palette. Regrettably, picking those colors from the default Inkscape palette is essentially impossible, but you can have Inkscape use a palette file that displays only the LightBurn colors corresponding to its layers.
I conjured this GIMP / Inkscape palette file based on the table in a LightBurn forum post, plus tool layer colors from another post:
GIMP / Inkscape Palette
Name: LightBurn Layers
#
  0   0   0 BLACK
255 255 255 WHITE
  0   0   0 LBRN #0
  0   0 255 LBRN #1
255   0   0 LBRN #2
  0 224   0 LBRN #3
208 208   0 LBRN #4
255 128   0 LBRN #5
  0 224 224 LBRN #6
255   0 255 LBRN #7
180 180 180 LBRN #8
  0   0 160 LBRN #9
160   0   0 LBRN #10
  0 160   0 LBRN #11
160 160   0 LBRN #12
192 128   0 LBRN #13
  0 160 255 LBRN #14
160   0 160 LBRN #15
128 128 128 LBRN #16
125 135 185 LBRN #17
187 119 132 LBRN #18
 74 111 227 LBRN #19
211  63 106 LBRN #20
140 215 140 LBRN #21
240 185 141 LBRN #22
246 196 225 LBRN #23
250 158 212 LBRN #24
 80  10 120 LBRN #25
180  90   0 LBRN #26
  0  71  84 LBRN #27
134 250 136 LBRN #28
255 219 102 LBRN #29
243 105  38 LBRN T1
 12 150 217 LBRN T2
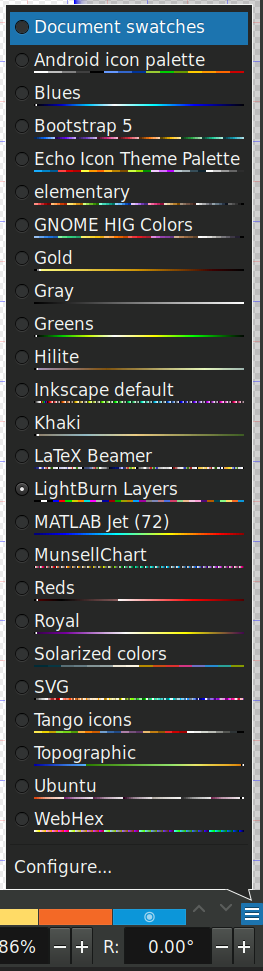
Plunk that file (which I named Lightburn.gpl) into /home/ed/.config/inkscape/palettes/, restart Inkscape, then select it (the Name line defines its mmm name):

Which lays a row of the LightBurn layer colors along the the Inkscape window:

The text after the RGB triplet in each file line appears as the tool tip for the color swatch:

Because LightBurn uses only the vector Stroke and ignores its Fill, you (well, I) must become accustomed to Shift-clicking palette colors.
You can fetch a similar palette file directly from the LightBurn doc, although minus the tool tips. GIMP and Inkscape have many palettes available, should you make artsy drawings where subtle color shading matters.
I generally use only a few cheerful primary colors, because I have trouble distinguishing (heck, in some cases even seeing) the more subtle colors against LightBurn’s light (or dark) workspace background. I assign the layer cut settings using the Material Library: reds for cutting, blues for marking, and grays for engraving.
When I need more than maybe half a dozen colors, I (eventually) realize I’m trying to be too clever and split the project into separate LightBurn files.