Ed Nisley's Blog: Shop notes, electronics, firmware, machinery, 3D printing, laser cuttery, and curiosities. Contents: 100% human thinking, 0% AI slop.
The big price displays at the Mobil station on the corner have always behaved oddly, but these replacements began failing within a week of their installation:
Mobil price sign – north face
That doesn’t look too bad, until you notice the number of dead LEDs in both red displays.
The south face is in worse shape:
Mobil price sign – south face
The green LEDs seem to be failing less rapidly than the reds, but I don’t hold out much hope for them.
The previous display had seven-segment digits made of smooth bars, rather than discrete LEDs. This one appeared after the segments failed at what must have been more than full brightness; the red LEDs were distracting by day and blinding by night.
Maybe they got the LEDs from the same folks selling traffic signals to NYS DOT? The signals around here continue to fail the same way, so I suppose DOT doesn’t replace them until somebody enough people complain.
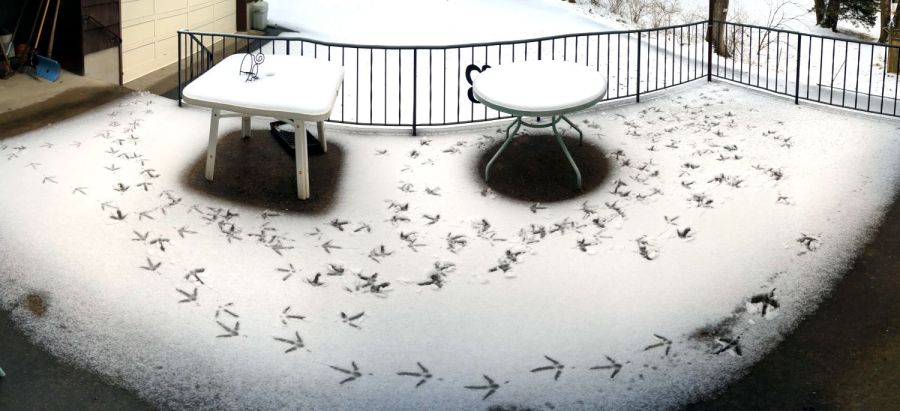
Jake, our affectionate term for whichever turkey is having trouble, eventually walked from right to left closest to the house, down the patio steps, and rejoined the flock. The tip of his “arrow” tracks aims backwards, because all three toes point forward.
It turns out turkeys panic when they’re behind a barrier and see the rest of their flock moving away. A panicked turkey makes a lot of noise while rushing back and forth, the rest of the flock contributes what must be advice, and the resulting tumult suffices to wake the dead.
That would be me, in the bedroom off to the left, but my cold-boot sequence takes long enough that I missed the action.
Some years ago, we discovered how distressed a trapped turkey can get when the flock descended from trees in an adjacent yard, with (a different) Jake landing in the garden, on the other side of the fence from the flock. Over the course of the next several hours, Jake ran back and forth along the fence while the rest of the flock alternated between sympathetic honking and disinterested feeding, until eventually he remembered his wings and managed a short-field takeoff over the fence.
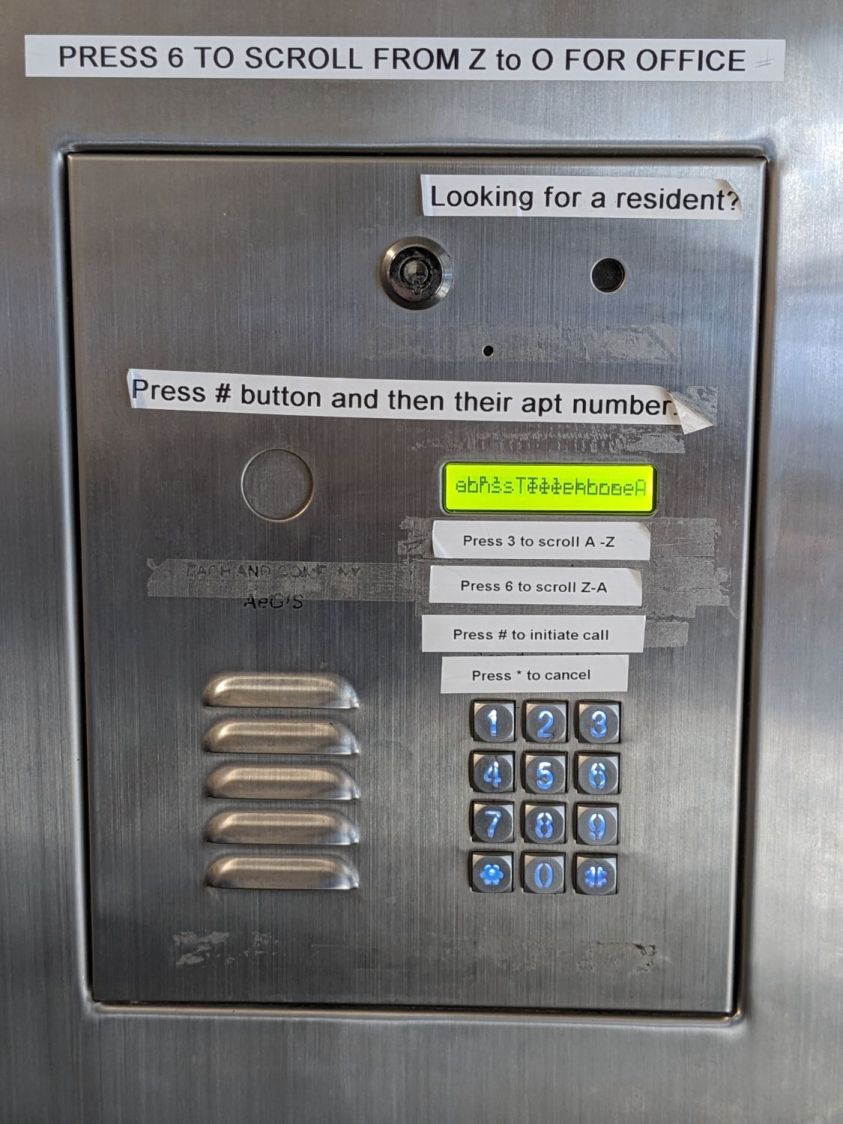
The LCD gibberish comes from an interaction with the camera shutter. It scrolls a lengthy set of instructions, but the peeling labels demonstrate ain’t nobody got time for that.
You were supposed to figure out how to use this thing with no instructions other than the scrolling display. In particular, the multi-multi-function keypad has no labels.
I suspect most folks just haul out their phones and call the tenant.
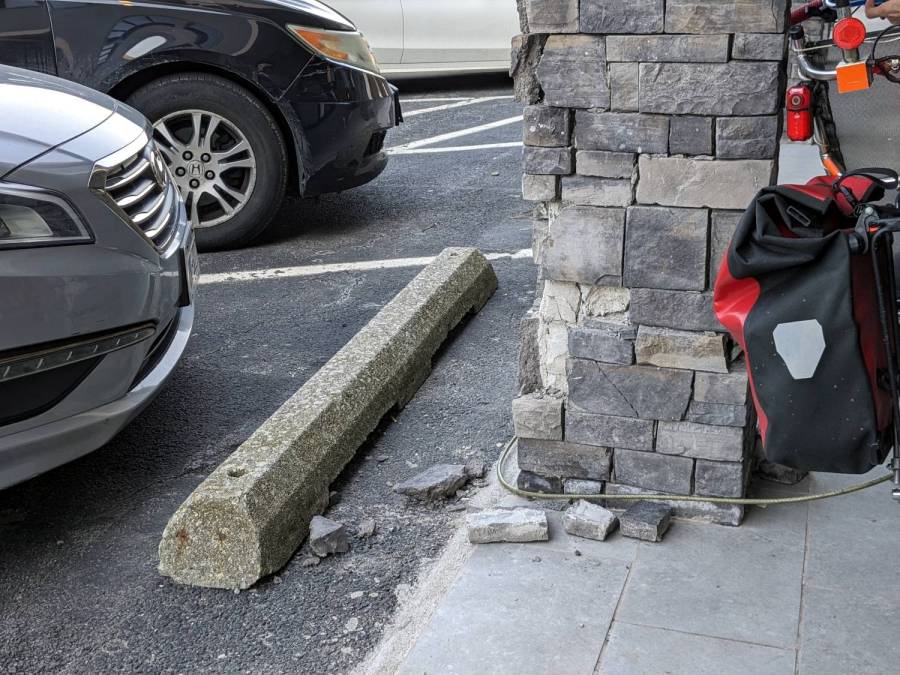
Spotted on a walk along the Mighty Wappingers Creek after a storm with plenty of gusty winds:
Tree-smashed guide rail
The tangle of branches and logs came from a tree that fell across the road from the far right side and put that crease into the guide rail. The vertical stump seems unrelated to that incident.
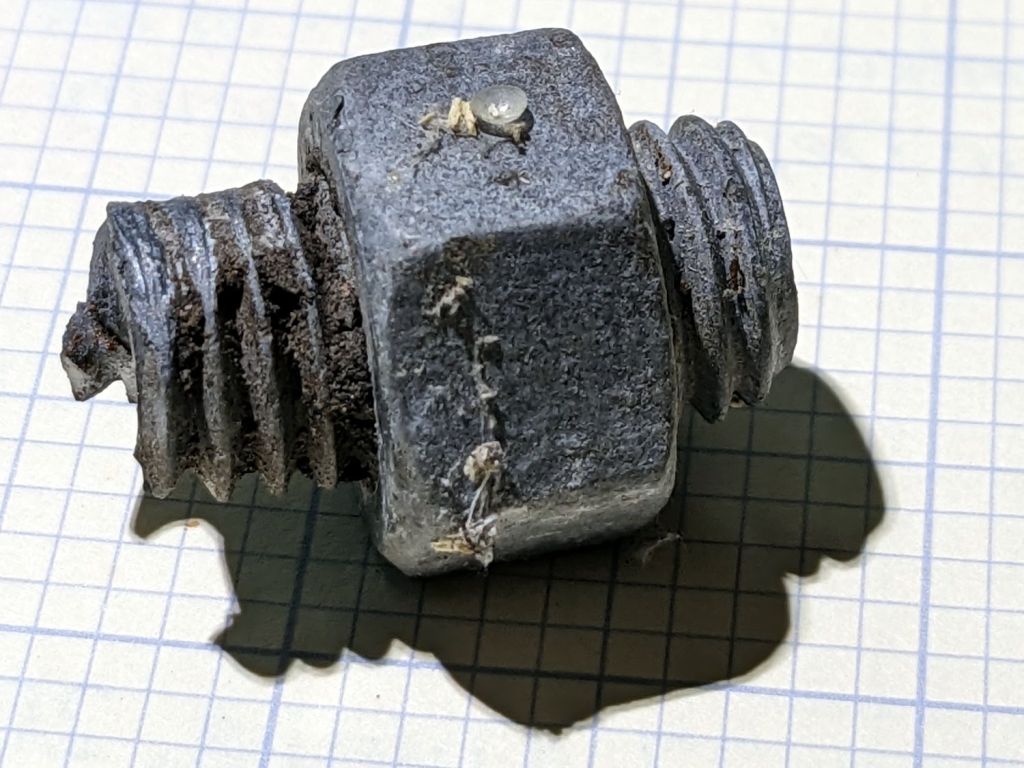
A bit of rummaging at the base of one post produced a victim:
Tree-smashed guide rail – sheared bolt – side
The impact produced enough force to turn the rail brackets into guillotine metal shears against the posts:
Tree-smashed guide rail – sheared bolt – end
It’s not a clean shear cut, which isn’t surprising under the circumstances.
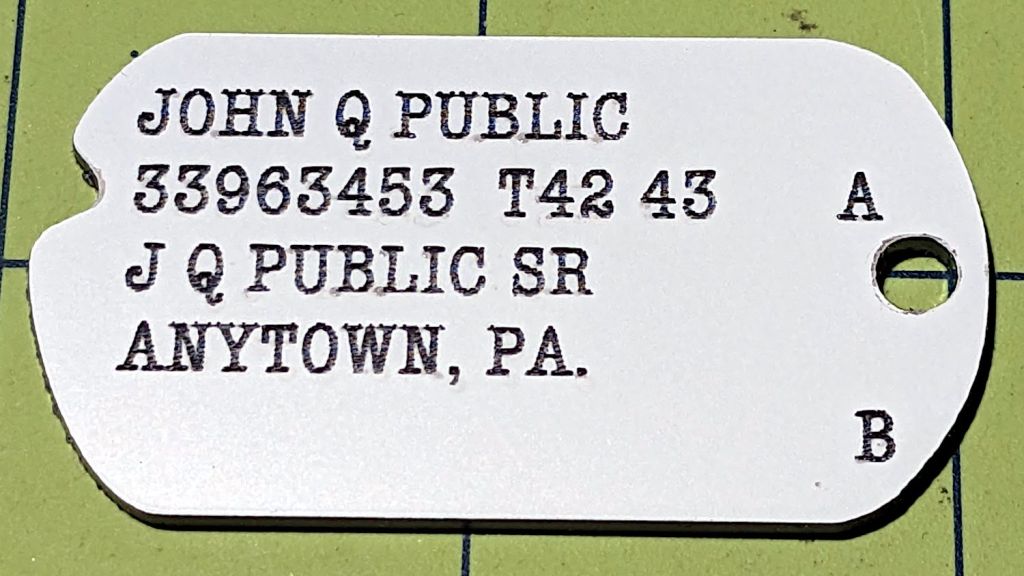
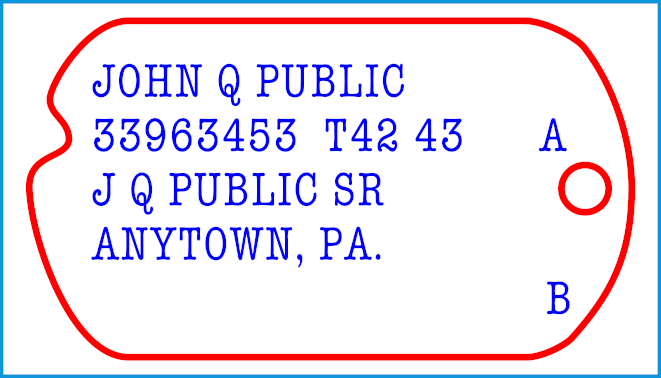
The outline traces a scanned image of my father’s tag, fitting a few hand-laid splines around the curves:
John Q Public – WWII dog tag – spline curves
I generated a random serial number based on my father’s draftee status (he was in his early 30s during his South Sea Island tour) and state of residence; my apologies to anyone carrying it for real. His blood type was A and (I think) the religion code marks him as “Brethren”, a common group in my ancestry.
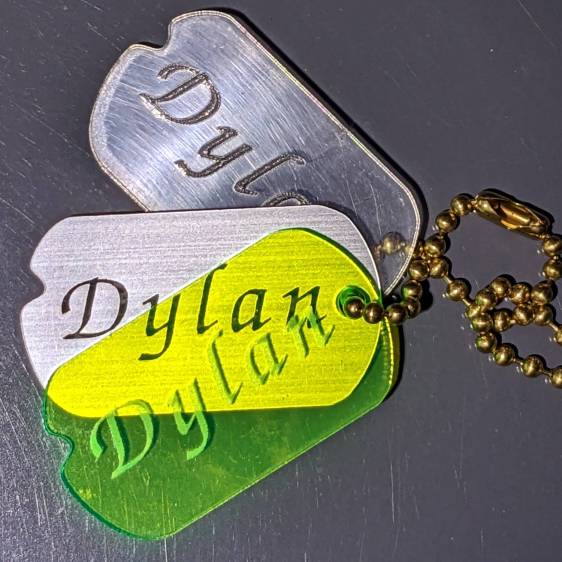
Given the outline, various plastics, and a laser, other effects become possible:


