Ed Nisley's Blog: Shop notes, electronics, firmware, machinery, 3D printing, laser cuttery, and curiosities. Contents: 100% human thinking, 0% AI slop.
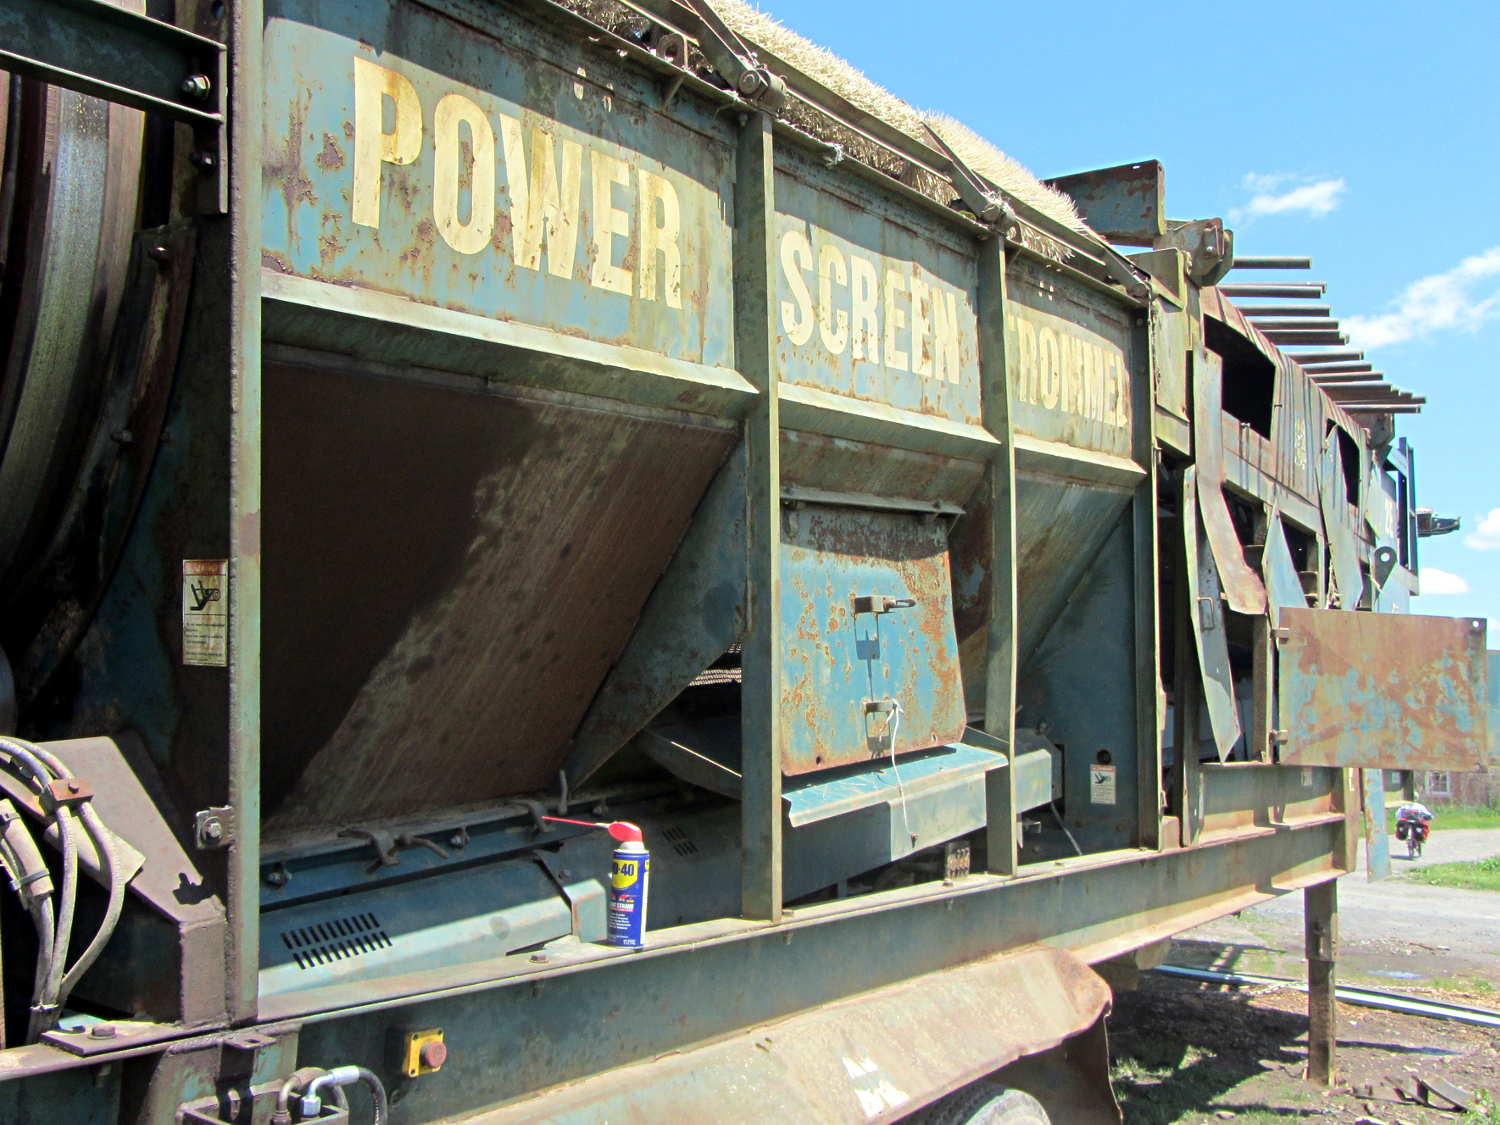
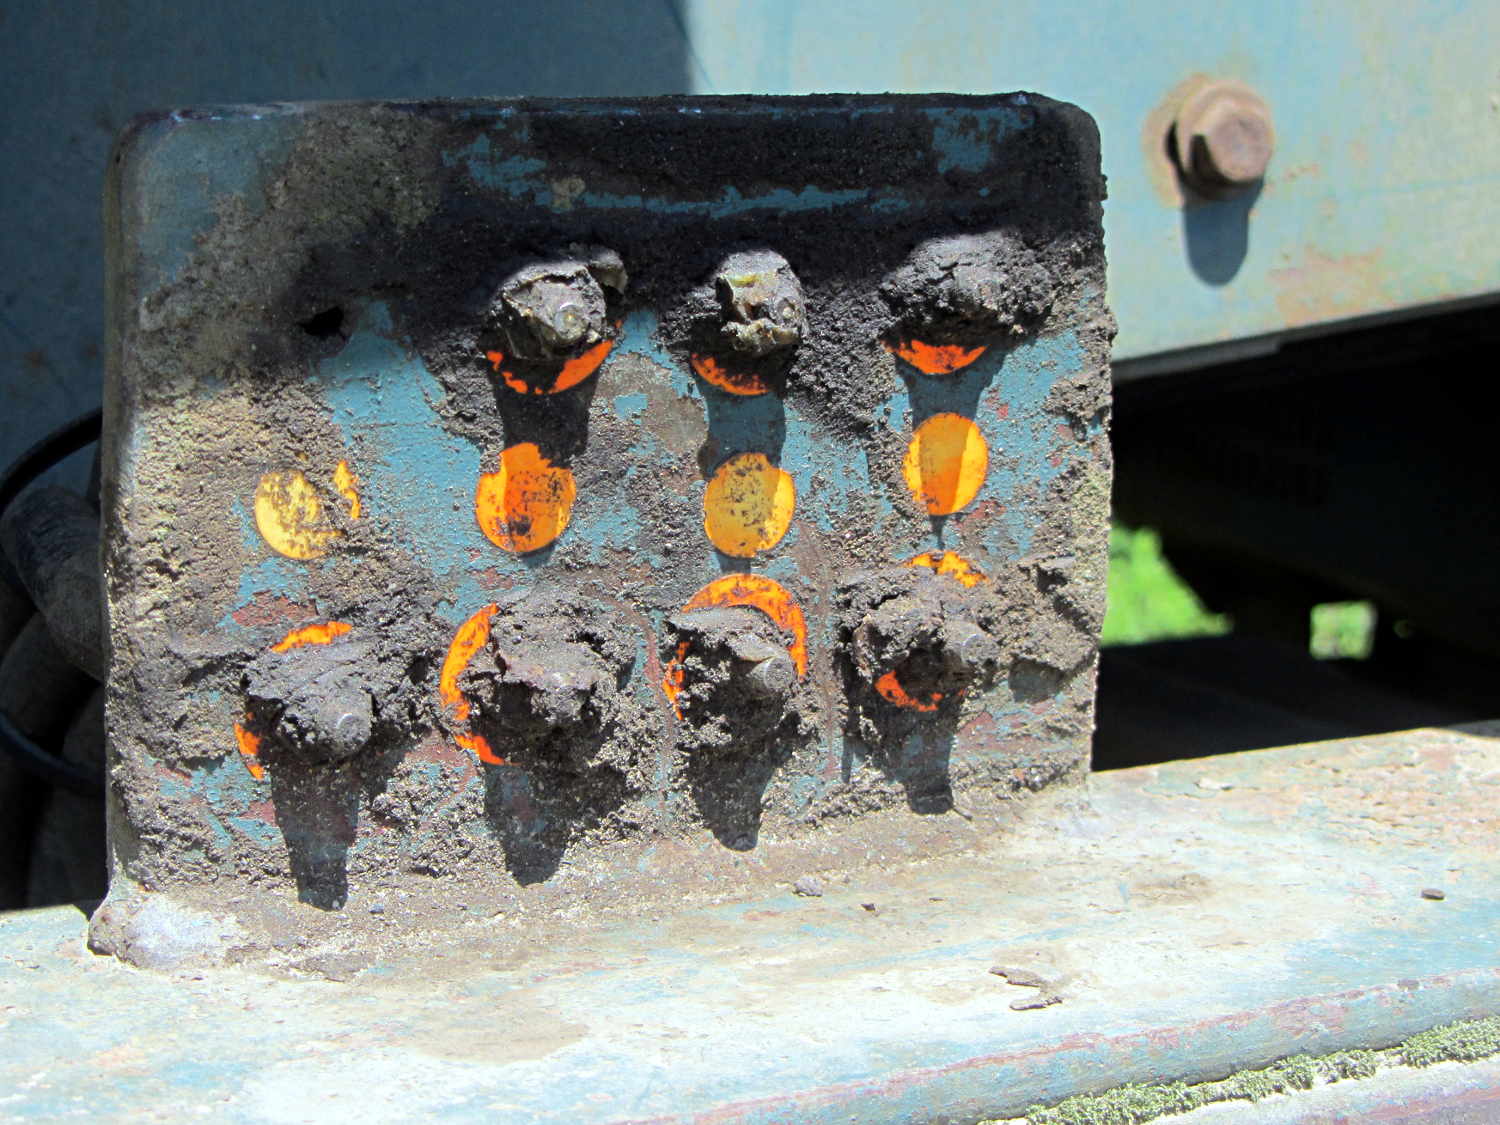
Apparently suffering a breakdown, it spent the next two weeks idle with all its covers open. The can of WD-40 makes a nice touch, but the condition of the central lubrication panel suggested the last grease went through those Zerk fittings quite a while ago:
Power Screen Trommel – lube panel
The manufacturer’s information label, tucked in a protected position, remains pristine:
Power Screen Trommel – mfg plate
Scrawled notes near the control panel noted that someone installed new oil and fuel filters in late 2004, with 4103 hours on the running time meter:
Power Screen Trommel – controls
Then, one day, it vanished, perhaps back into the mysterious universe from whence it came …
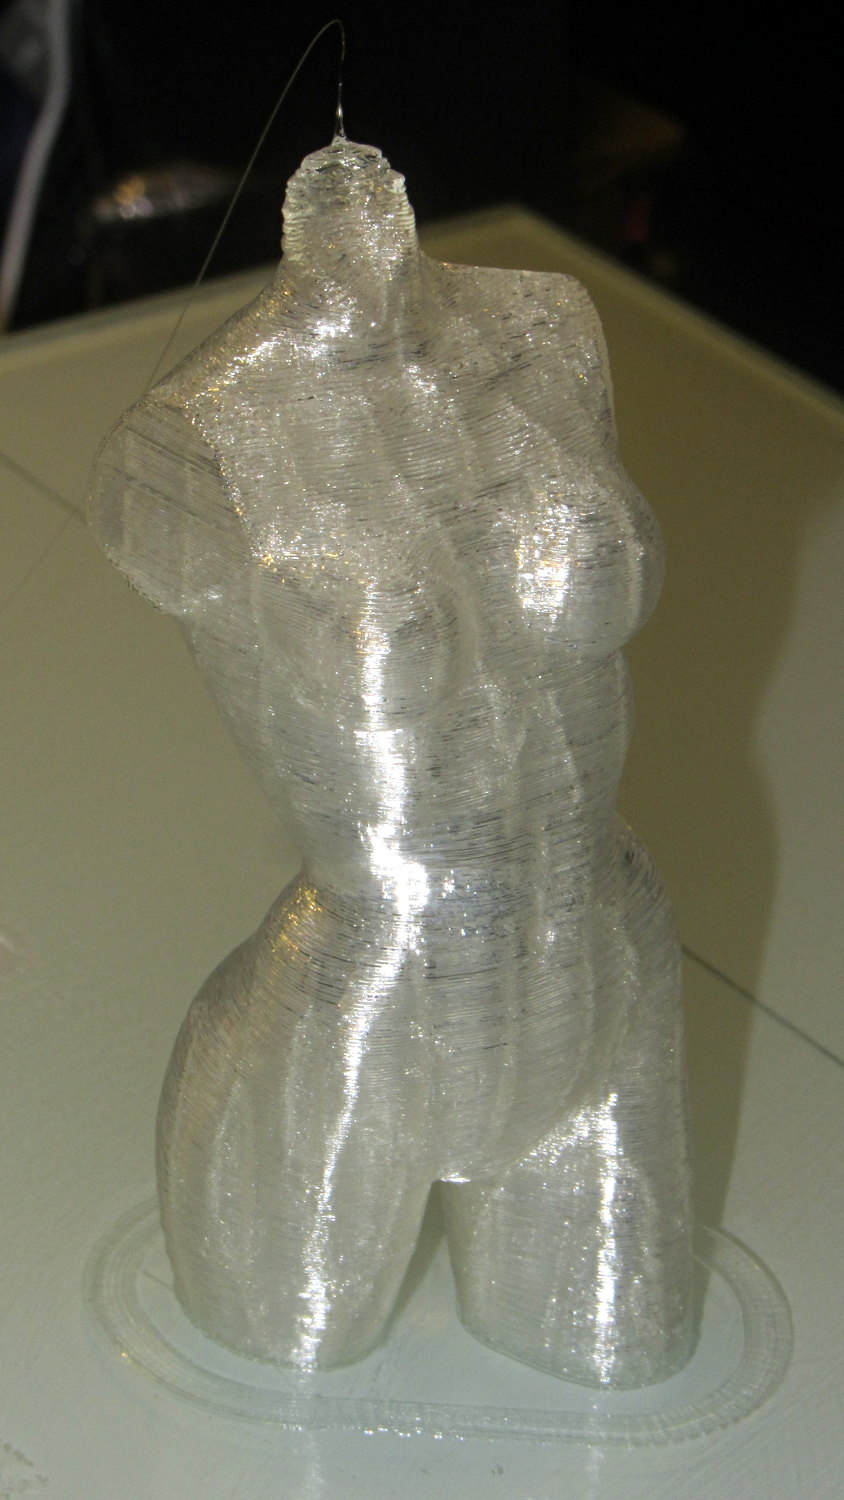
Done in natural PLA, as it seems the previous version also walked off:
Pink Panther Woman – natural PLA
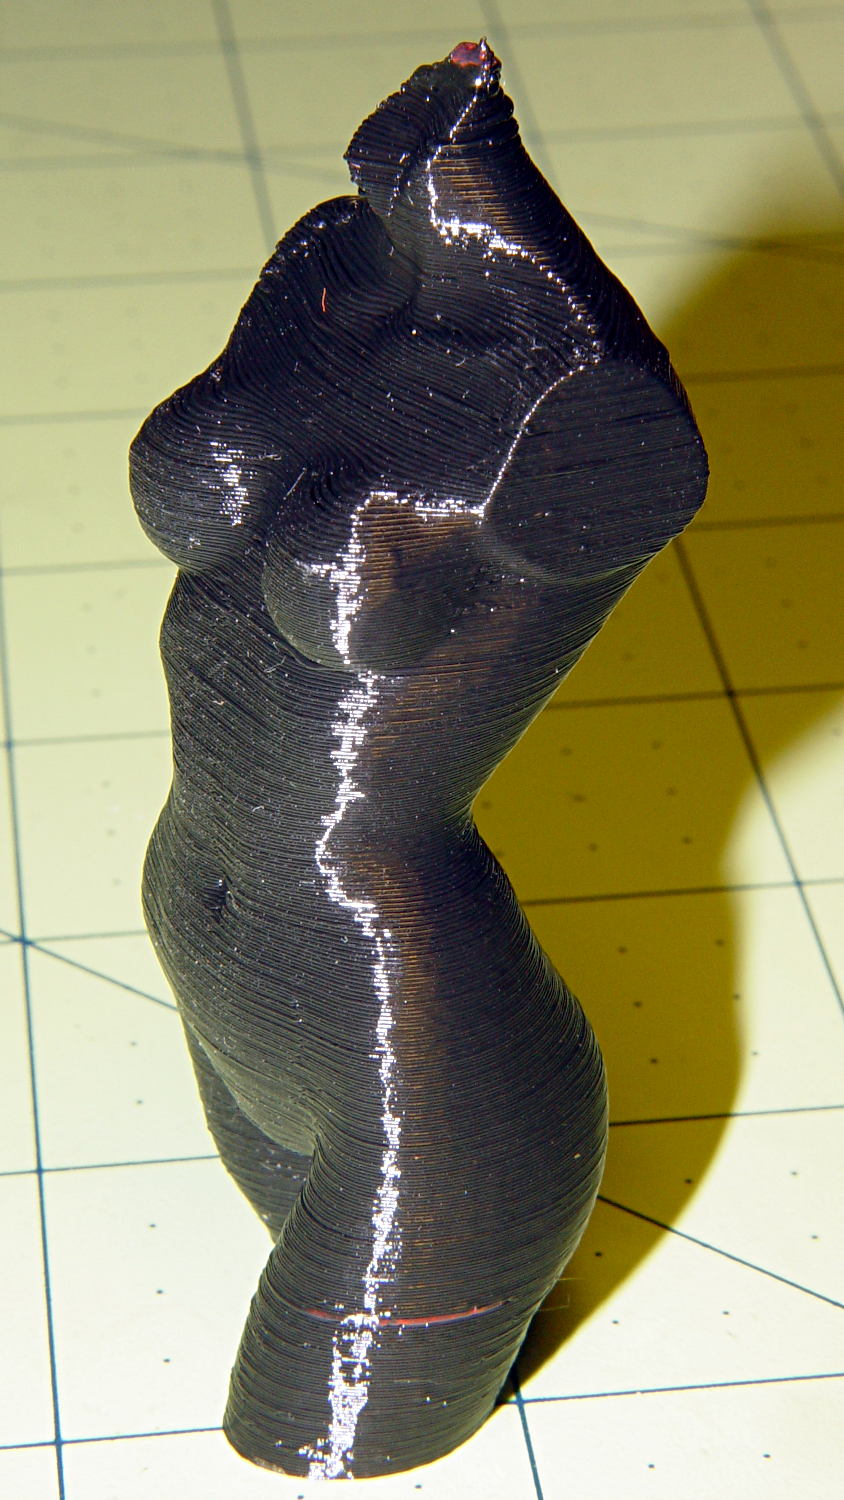
The attentive reader will note an odd red stripe on the left leg of the black PLA version. Here’s a closer look:
Pink Panther Woman – black with red contamination – detailPink Panther Woman – black with red contamination – detail
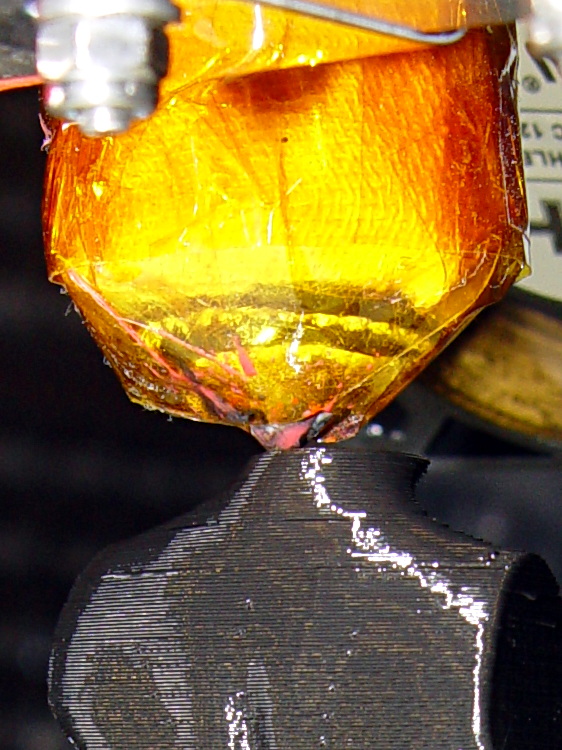
I had recently changed from red to black PLA and, as usual, purged the extruder with a few hundred millimeters of black filament, until it emerged pure black. Alas, I forgot to wipe the outside of the nozzle:
Pink Panther Woman – black – contaminated nozzle
That red blob produced the red tab on the neck, as you can see if you look carefully at the first picture.
There are very few visible imperfections in either object: the state of DIY 3D printing is pretty good.
(*) Does anyone know of similar male figures suitable for this purpose? That torso seems to be about the extent of Thingiverse’s offerings.
The improved platform was designed for a 30 V supply that would run it at about 150 W, which took slightly less than forever to reach operating temperature.
With the 36 V supply set to 38.6 V, the platform drew 6.2 A at room temperature, which worked out to 6.2 Ω and 240 W. It was a tad pokey getting up to temperature
At 40 V, the platform starts at 6.3 A / 6.3 Ω / 250 W from a bit over room temperature and drops to 5.8 A / 6.9 Ω / 232 W at 70 °C.
At about 250 W, the platform takes about three times longer to reach operating temperature than the extruder, but it doesn’t require calling down to the engine room for more coal before maneuvering. I must run some numbers on it, now that I have a power supply with a useful range.
There’s obviously an upper limit to the peak power the PCB traces under the glass can handle, but it runs at the same average power (to produce the same average temperature) and, at least so far, hasn’t shown any signs of distress. The few additional watts at 40 V won’t make any difference.
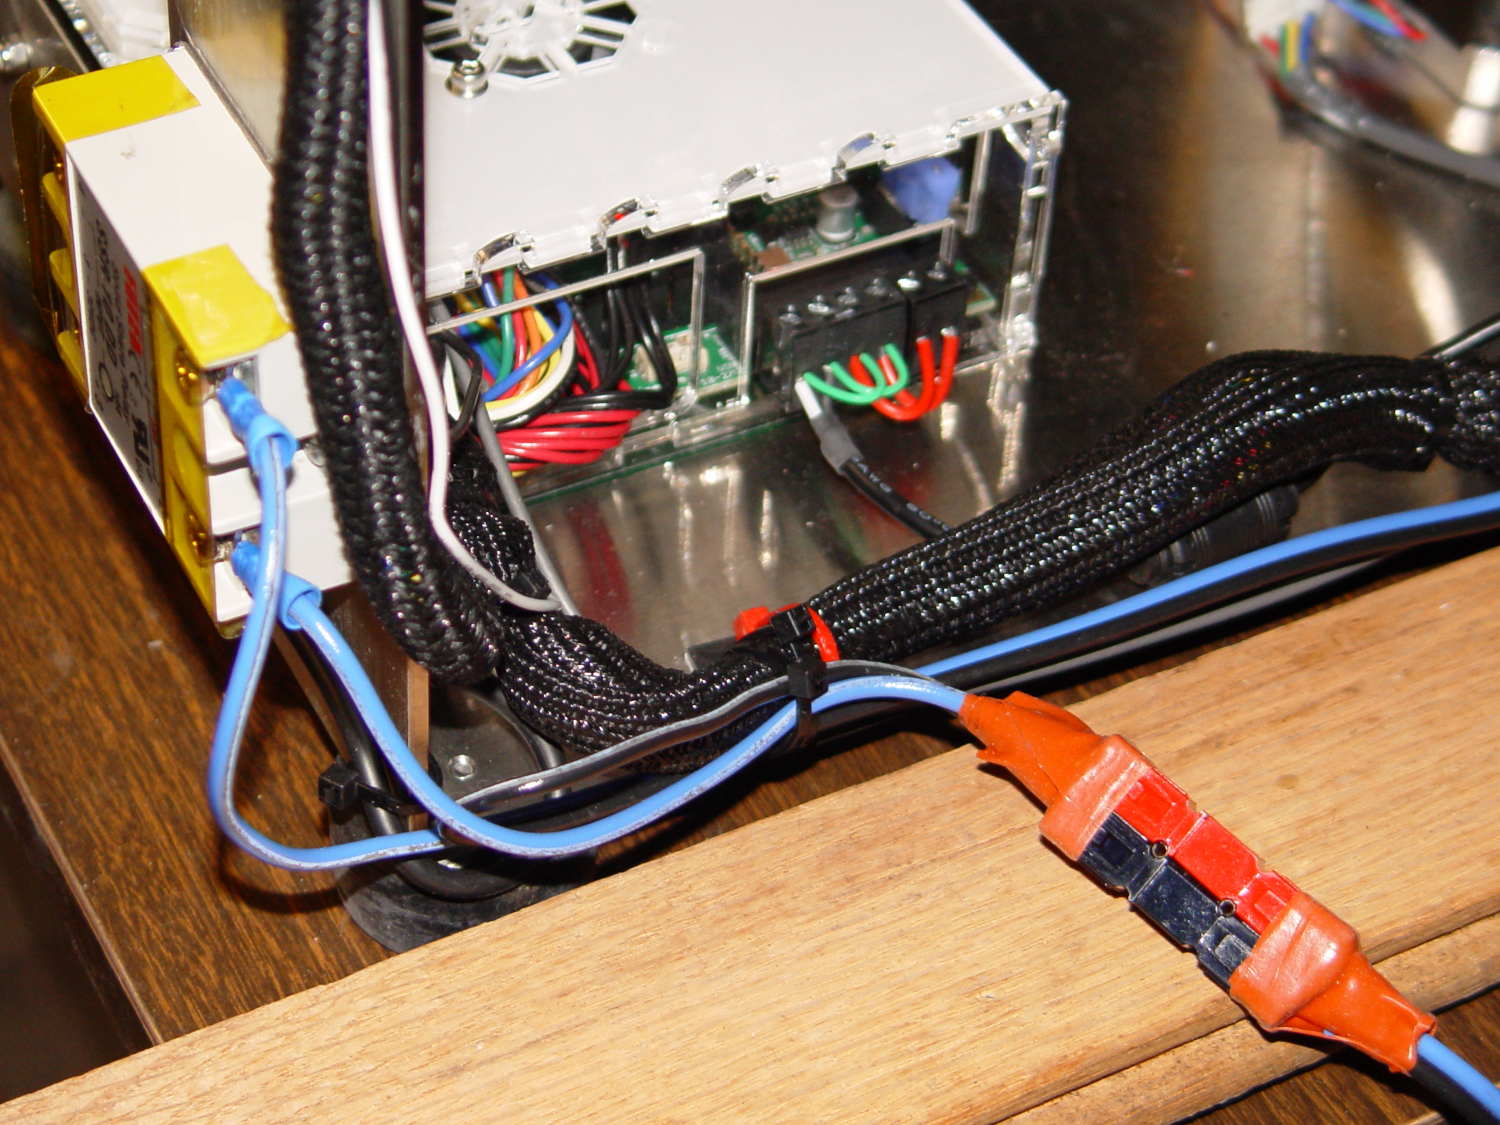
Note that you must use an external DC-to-DC solid state relay, because the Rambo controller board can’t handle anything over 24 VDC and high current loads tend to melt its Phoenix-style connectors. When you add the SSR, replace the HBP connectors with Anderson Powerpoles, use fat wires, and be done with it.
M2 HBP SSR Wiring
The M2’s Marlin firmware uses bang-bang control and tends to overshoot the setpoint; I’m not sure a few degrees makes all that much difference, particularly because it’s not measuring the temperature at the top of the glass plate.
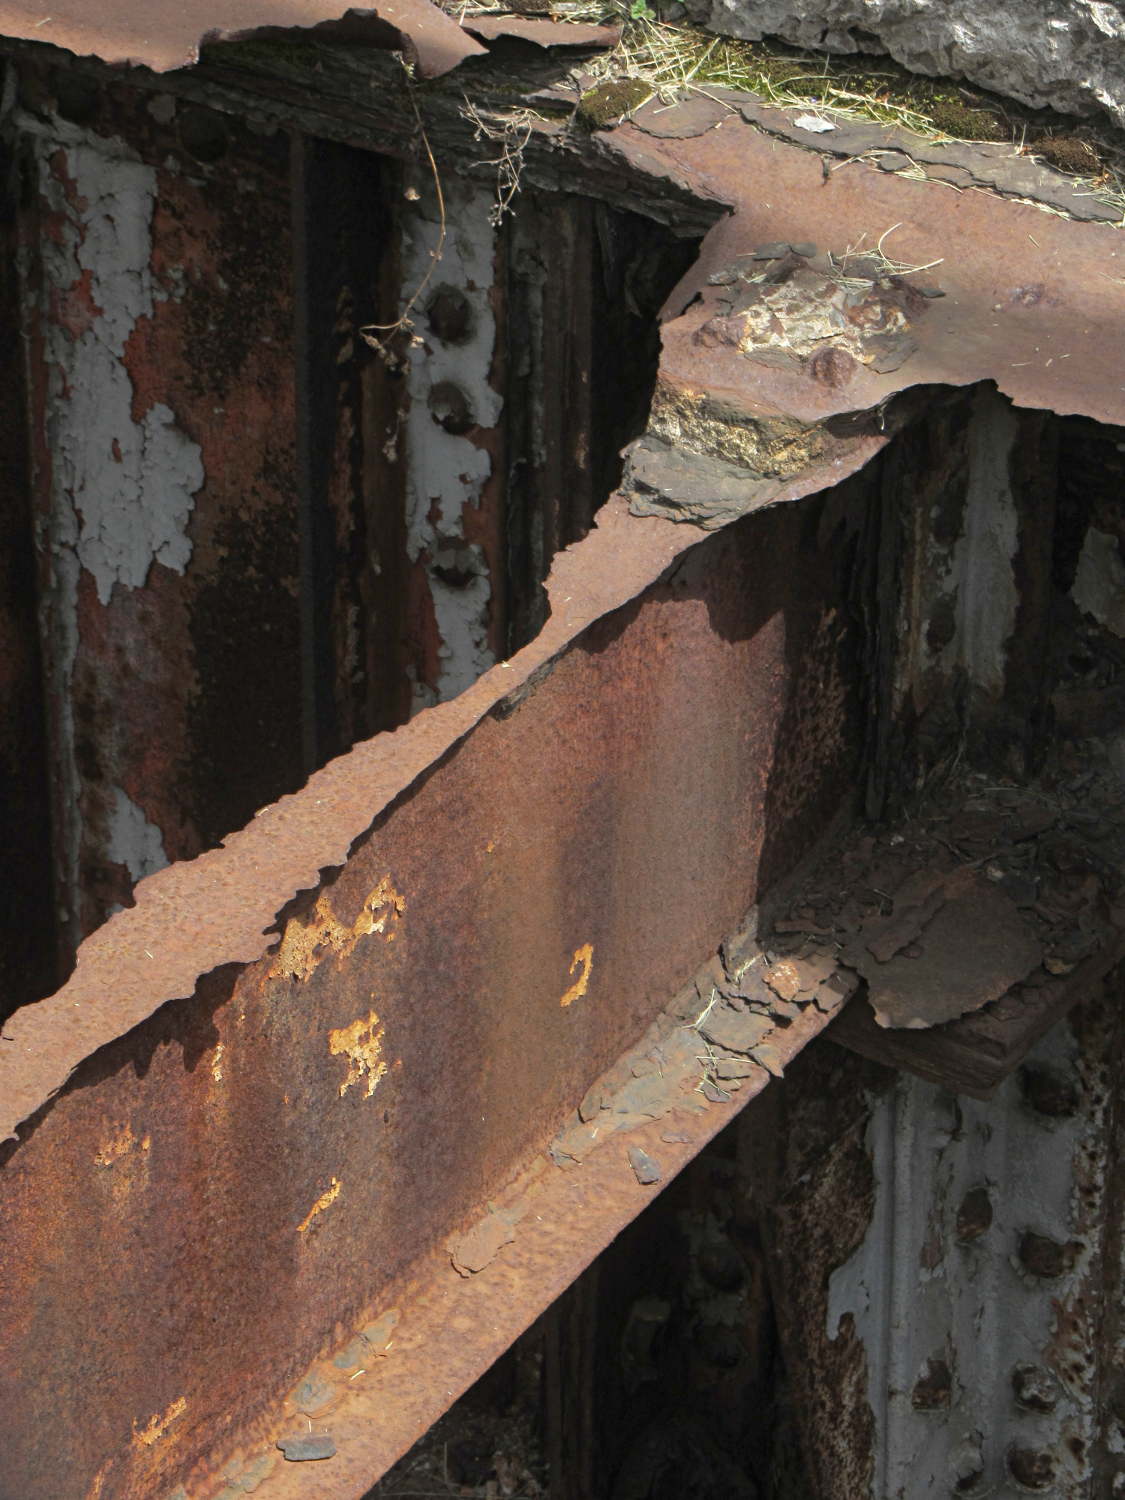
The longitudinal I beams have more iron and haven’t corroded through:
Rusted beams – Rochester RR station
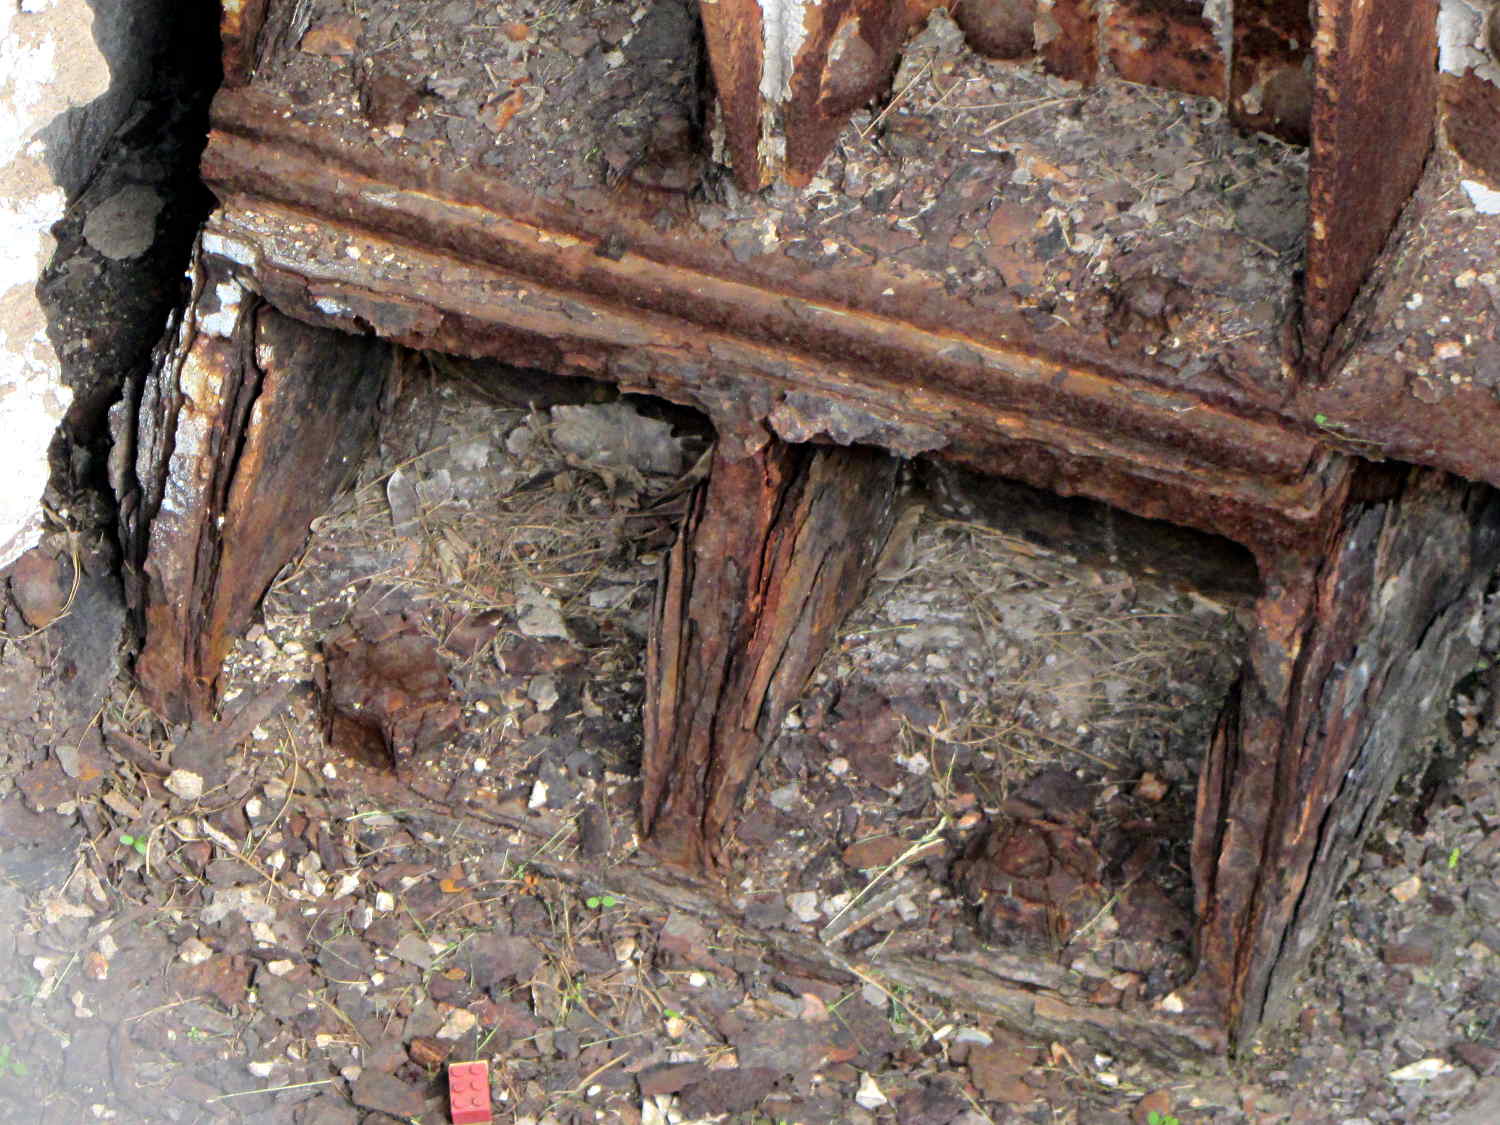
But the footing under that beam doesn’t look very good at all:
Rusted beam base – Rochester RR station
I think that Lego brick is a nice touch …
We drove the van along I-90 to Rochester and passed many bridge repair operations. The NY Thruway isn’t all that old and the rebar has been corroding out of the concrete pylons for years.
Nowadays, we use exactly enough material to carry the anticipated loads and not one gram more; fast forward a century and our structures won’t be around.
Those pictures were taken from the platform just west of the covered section.
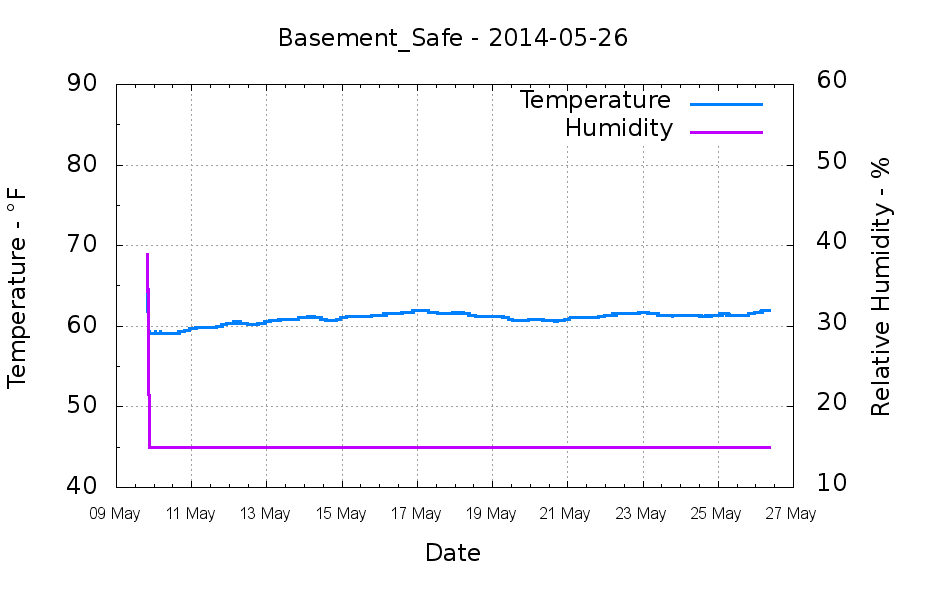
Back in early May, I swapped in a new bag of silica gel, which (as always) immediately punched the humidity down to the Hobo datalogger’s 15%RH minimum reading:
Basement Safe – 2014-05-26
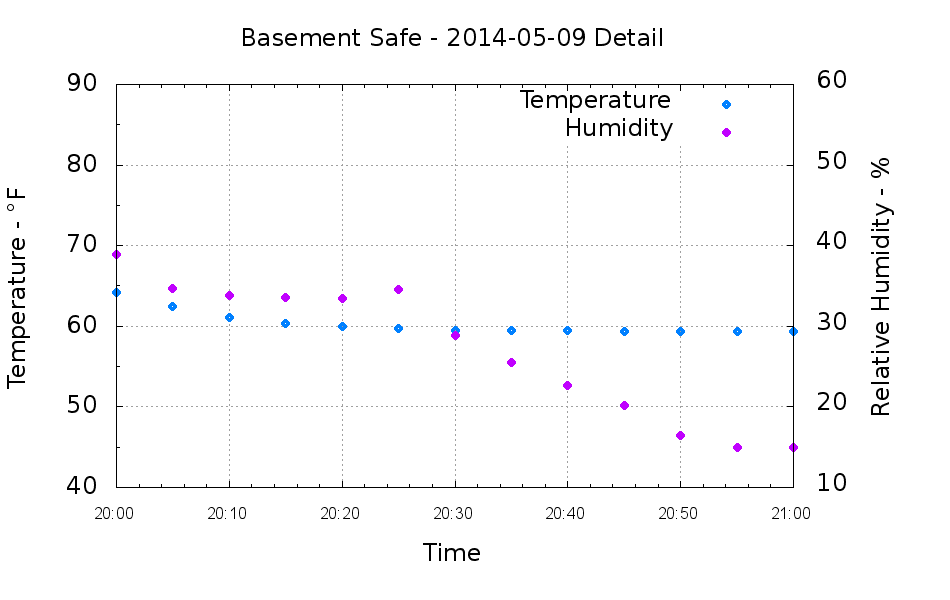
A closer look at the very beginning of that data shows the humidity dropping for an hour after the door closes:
Basement Safe – 2014-05-09 Detail
The logger is on the bottom of the safe, with the desiccant bag on the shelf above it, and there’s no mechanical air circulation: it’s all done by air currents, driven by whatever drives them. I have no idea what that bump in the middle means.
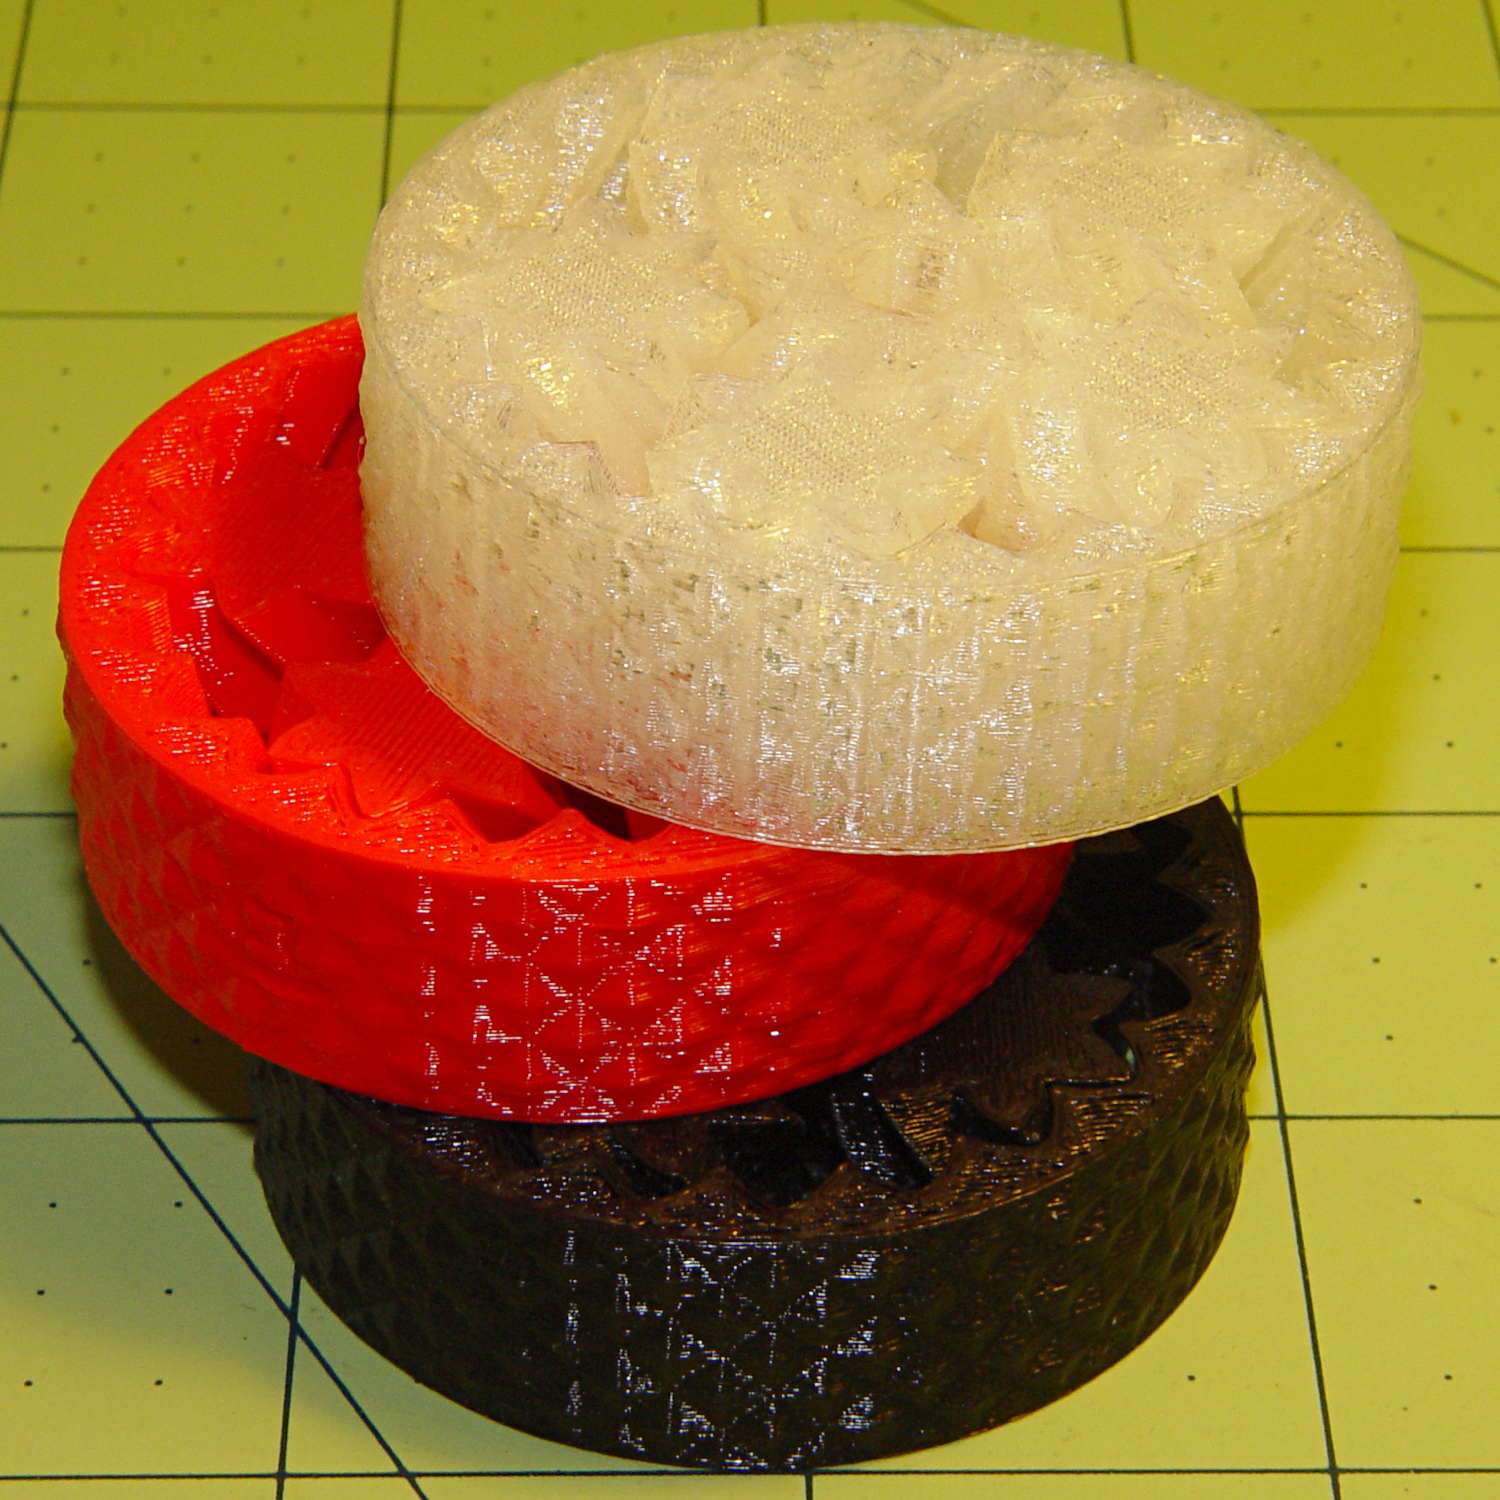
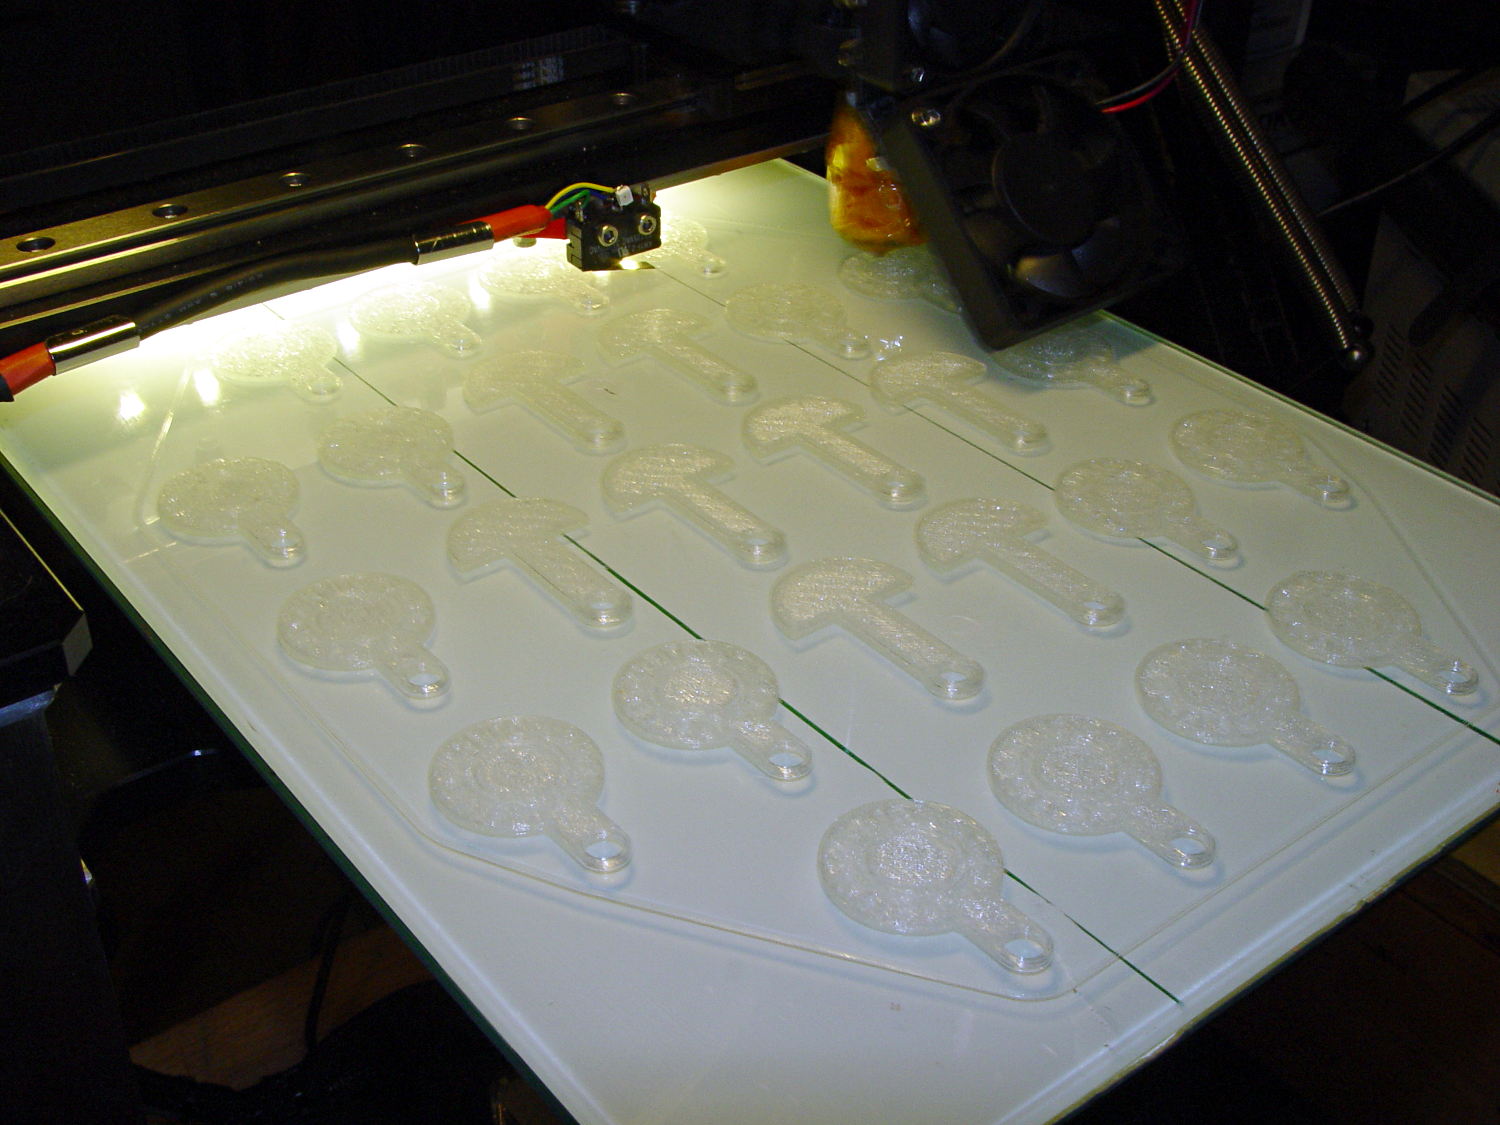
It turns out that an array of Cart Coins and Cart Releasers make a fine thickness test pattern and become useful tchotchkes when you’re done:
Cart Coins – printing
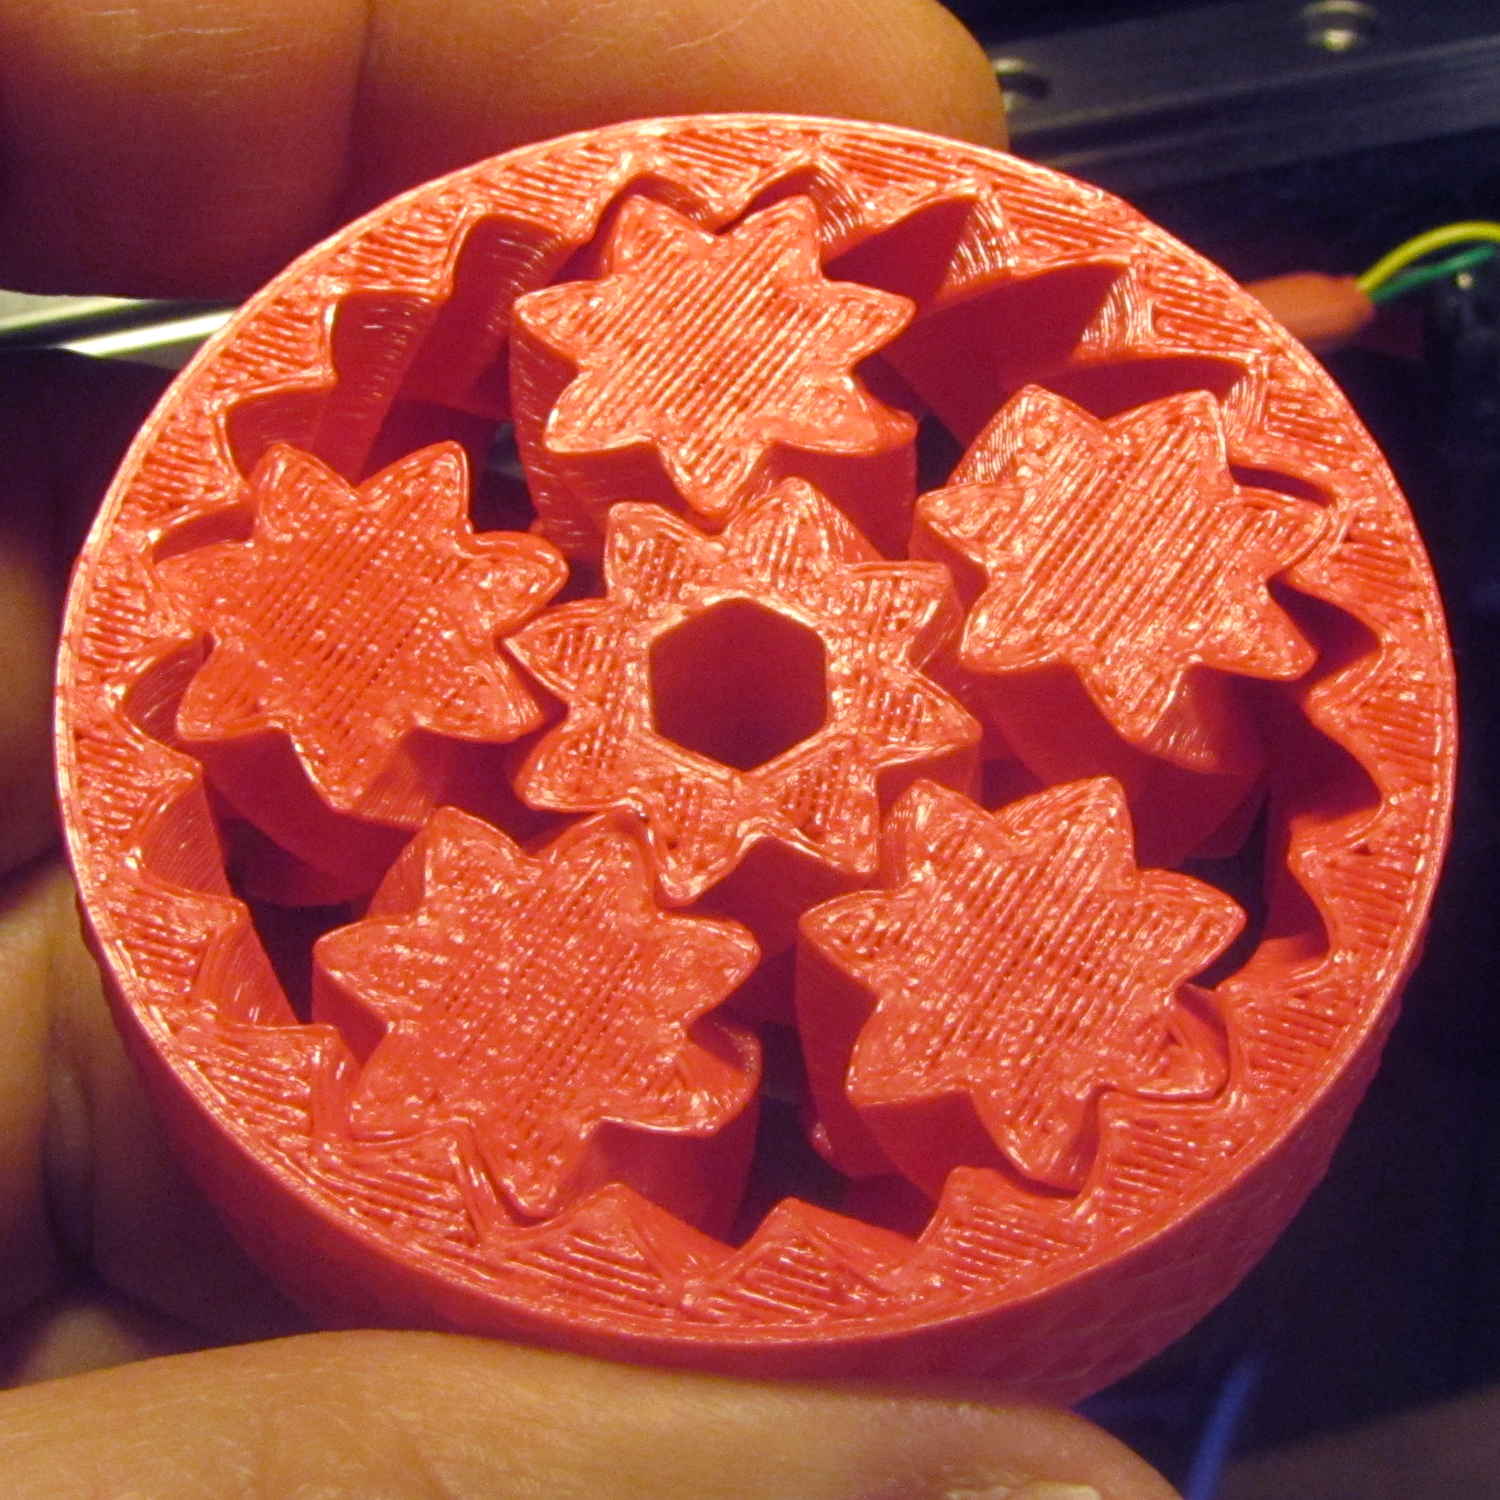
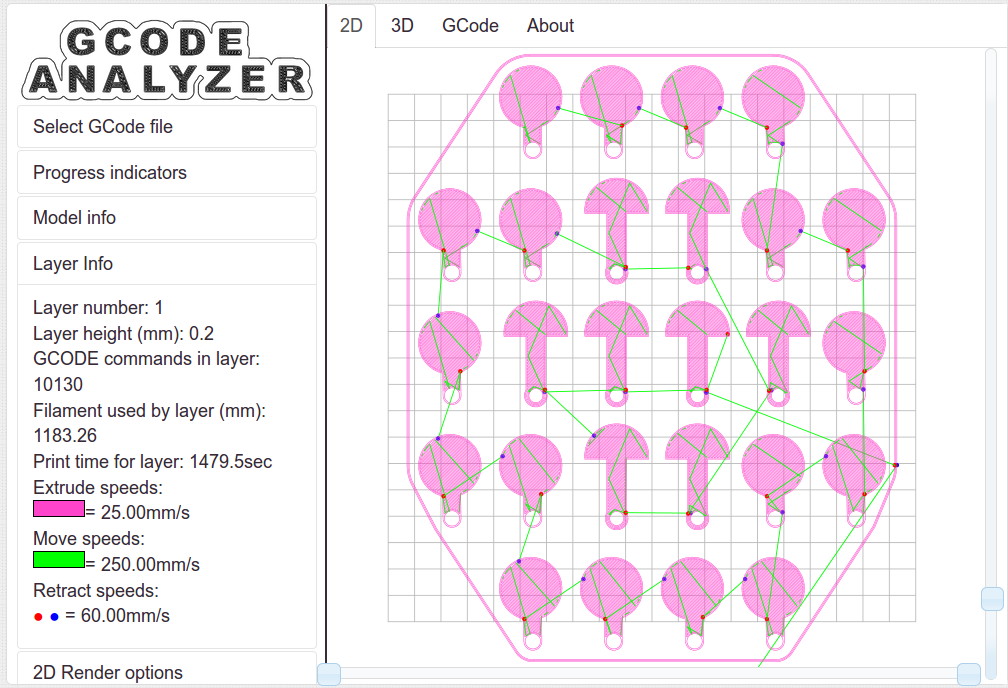
They’re a bit easier to see in the digital realm:
Cart Coins – platform layout – layer 1
The trick is that they’re both eight layers thick at 0.20 mm/layer. With the platform aligned exactly right, all the objects should measure exactly 1.60 mm thick.
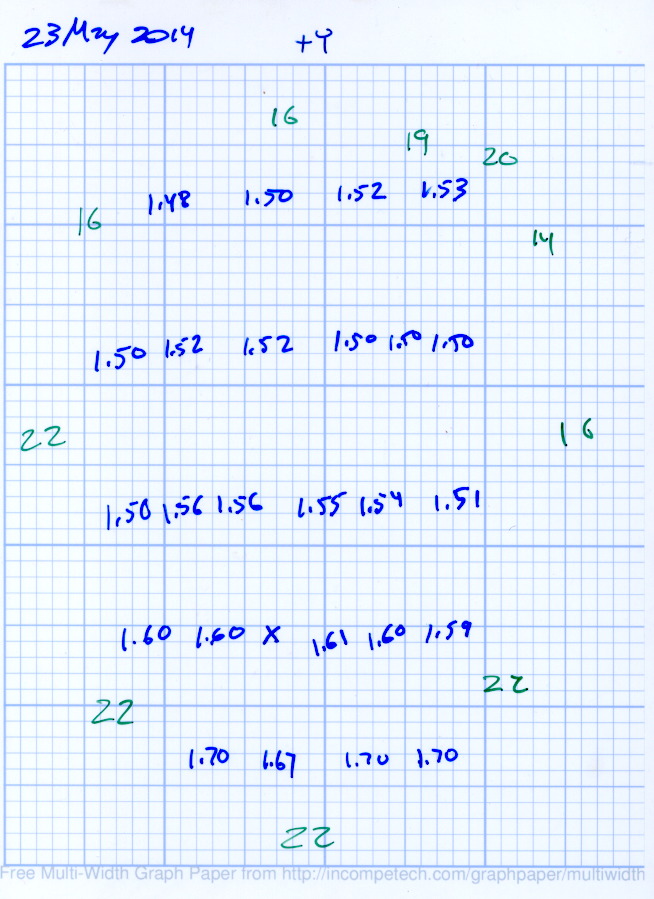
The blue numbers give the thickness measured across the stem, just above the hole, on each object:
Platform Leveling – Initial
The green numbers are the skirt thickness: 22 = 0.22 mm.
The platform has a tilt of 0.20 mm from +Y to -Y and is just about perfect from -X to +X.
The M3x0.5 adjusting screws under the (improved) platform, seen from the front (-Y) end of the platform:
M2 – Improved HBP – bottom view
The silicone plugs inside the springs are slightly compressed, so the springs are only decorative. The platform is rigidly mounted on the plugs, with only very slight compliance, and I haven’t leveled the platform in a few months.
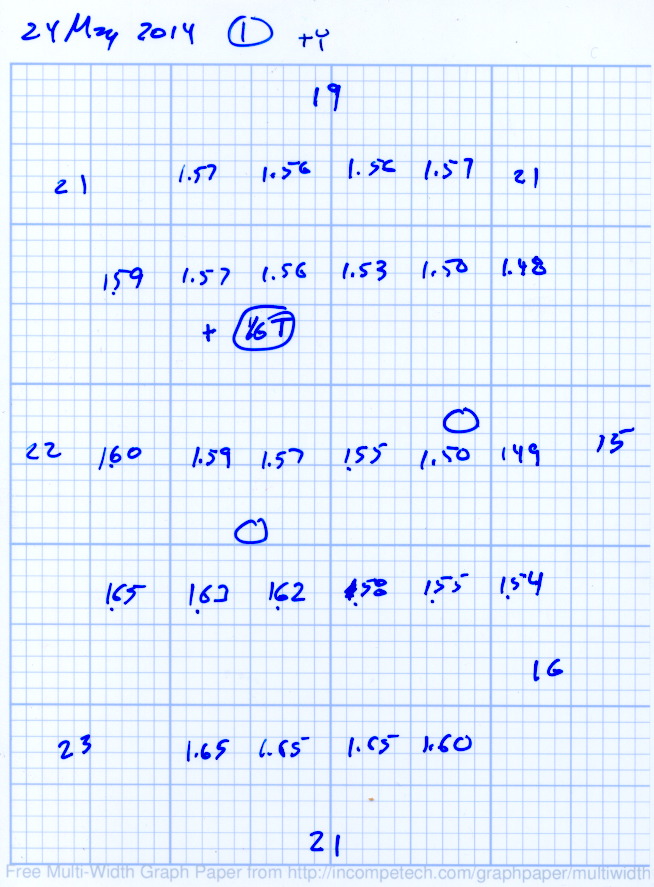
Tightening the “north” adjusting screw by 1/6 turn lowered the +Y end of the plate by about 0.05 mm and tilted the +X side slightly higher:
Platform Leveling – Adjustment 1
The skirt thicknesses are now in blue, too.
Tightening the “north” screw an additional 1/6 turn and tightening the “east” screw 1/6 turn produced an almost perfect result:
Platform Leveling – Adjustment 2
The thicknesses don’t vary quite randomly, but I think further adjustments won’t make much difference: the total range is only 0.12 mm = 1.53 to 1.65 mm. That’s pretty close to the limit of my measurement ability on the plastic pieces.
Notice that the skirt thread, which should be exactly 0.2 mm thick all around, really isn’t. I’m going to see whether a two-layer-thick skirt measures a more consistent 0.40 mm.