Ed Nisley's Blog: Shop notes, electronics, firmware, machinery, 3D printing, laser cuttery, and curiosities. Contents: 100% human thinking, 0% AI slop.
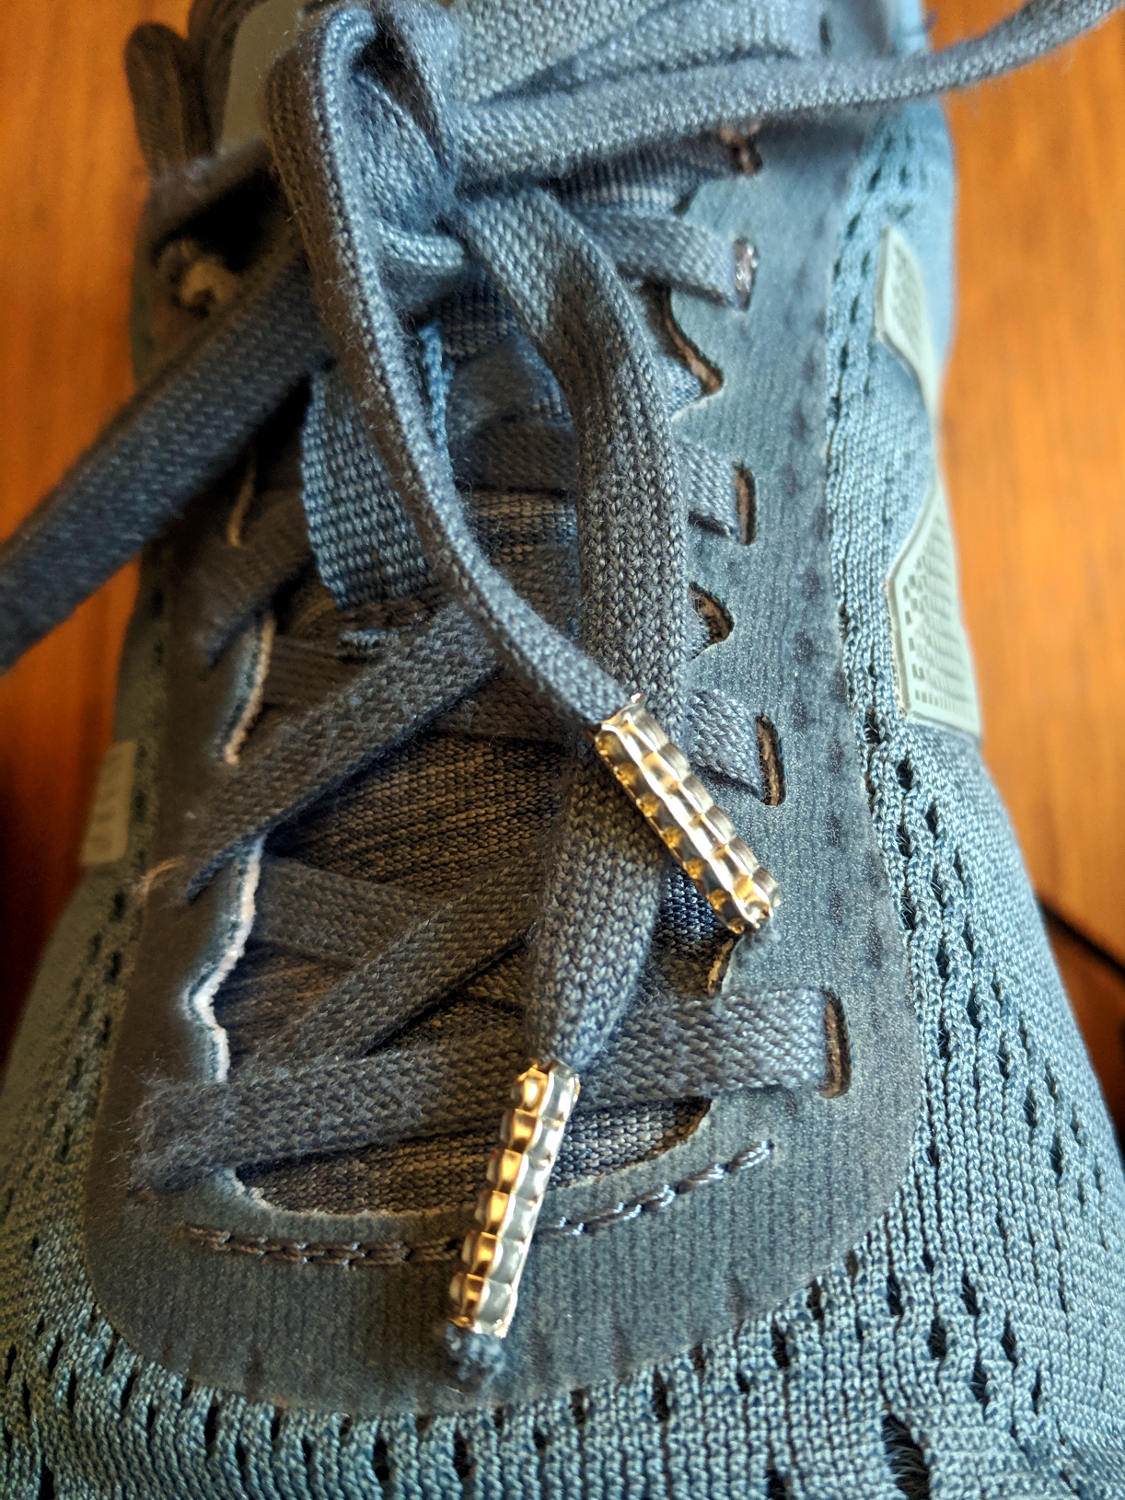
A new pair of shoes arrived with extravagantly long laces requiring shortening. Years ago, I found heatshrink tubing completely unequal to the task, so I deployed Real Metal:
Shoelaces with crimped ferrules
The ferrules come from a kit of such things, minus their plastic strain relief:
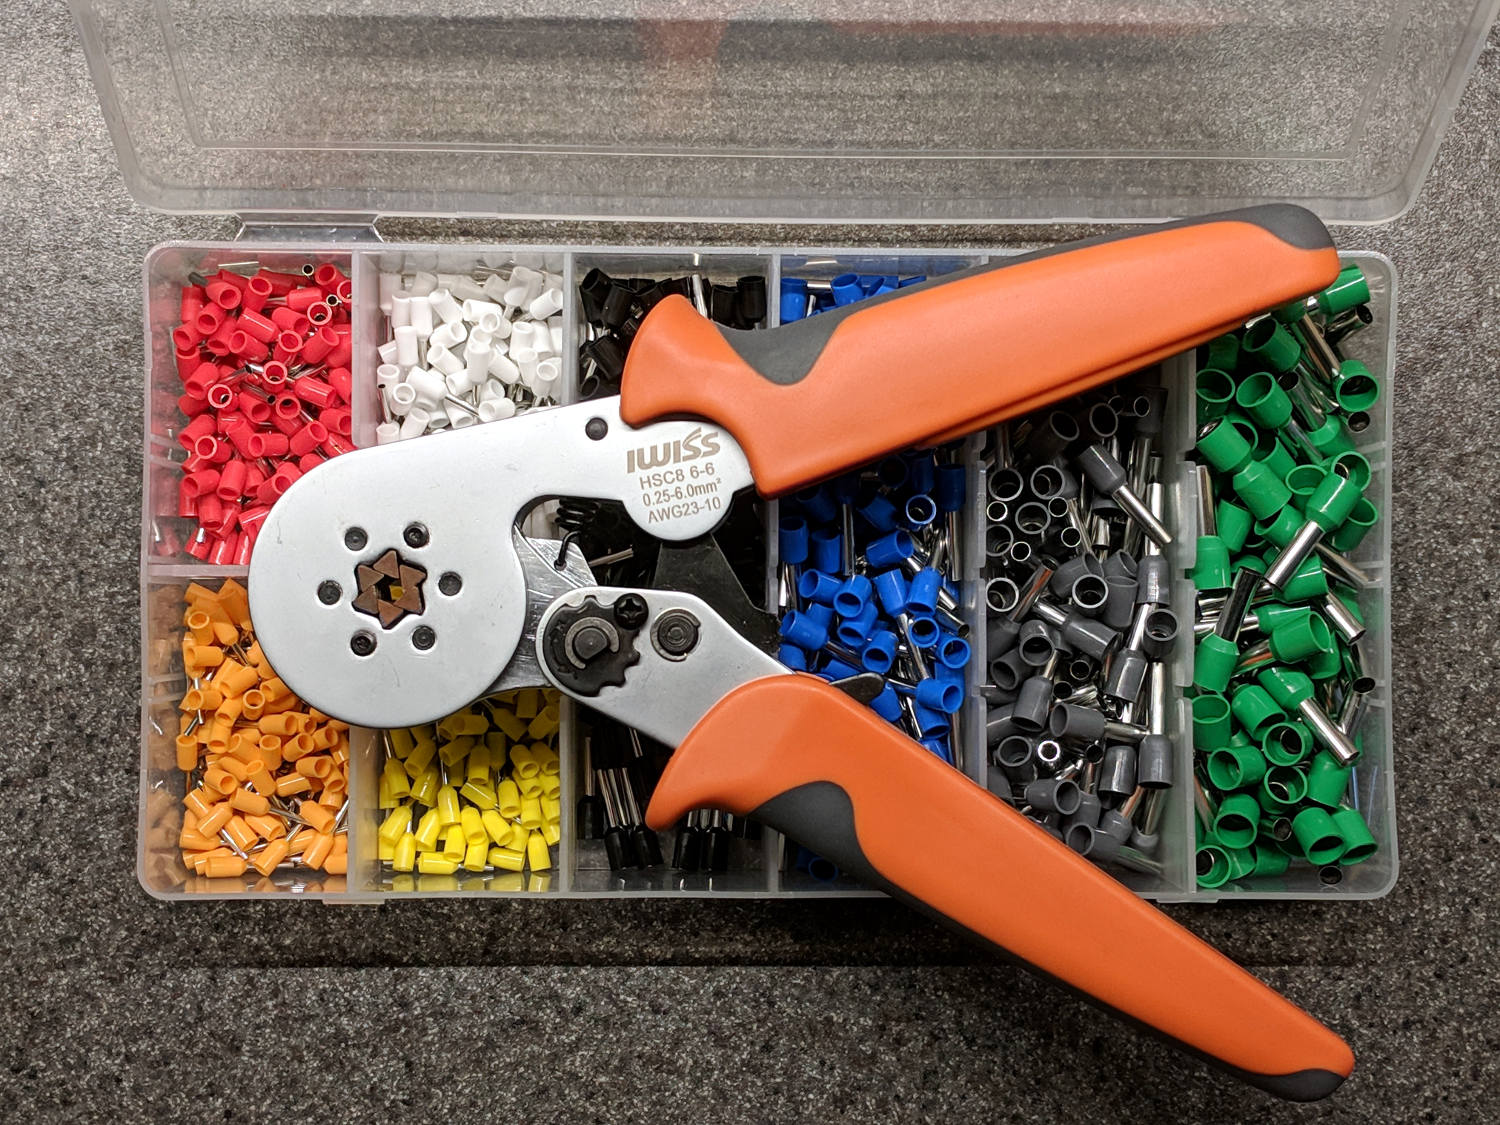
Ferrule terminals – hex crimper
That’s a fancy hexagonal crimper for round-ish results. If you have a square terminal block, you should use the square crimper that comes with the kit.
Worked perfectly and produced immediate customer satisfaction.
This seemed appropriate for a day involving toys of all descriptions…
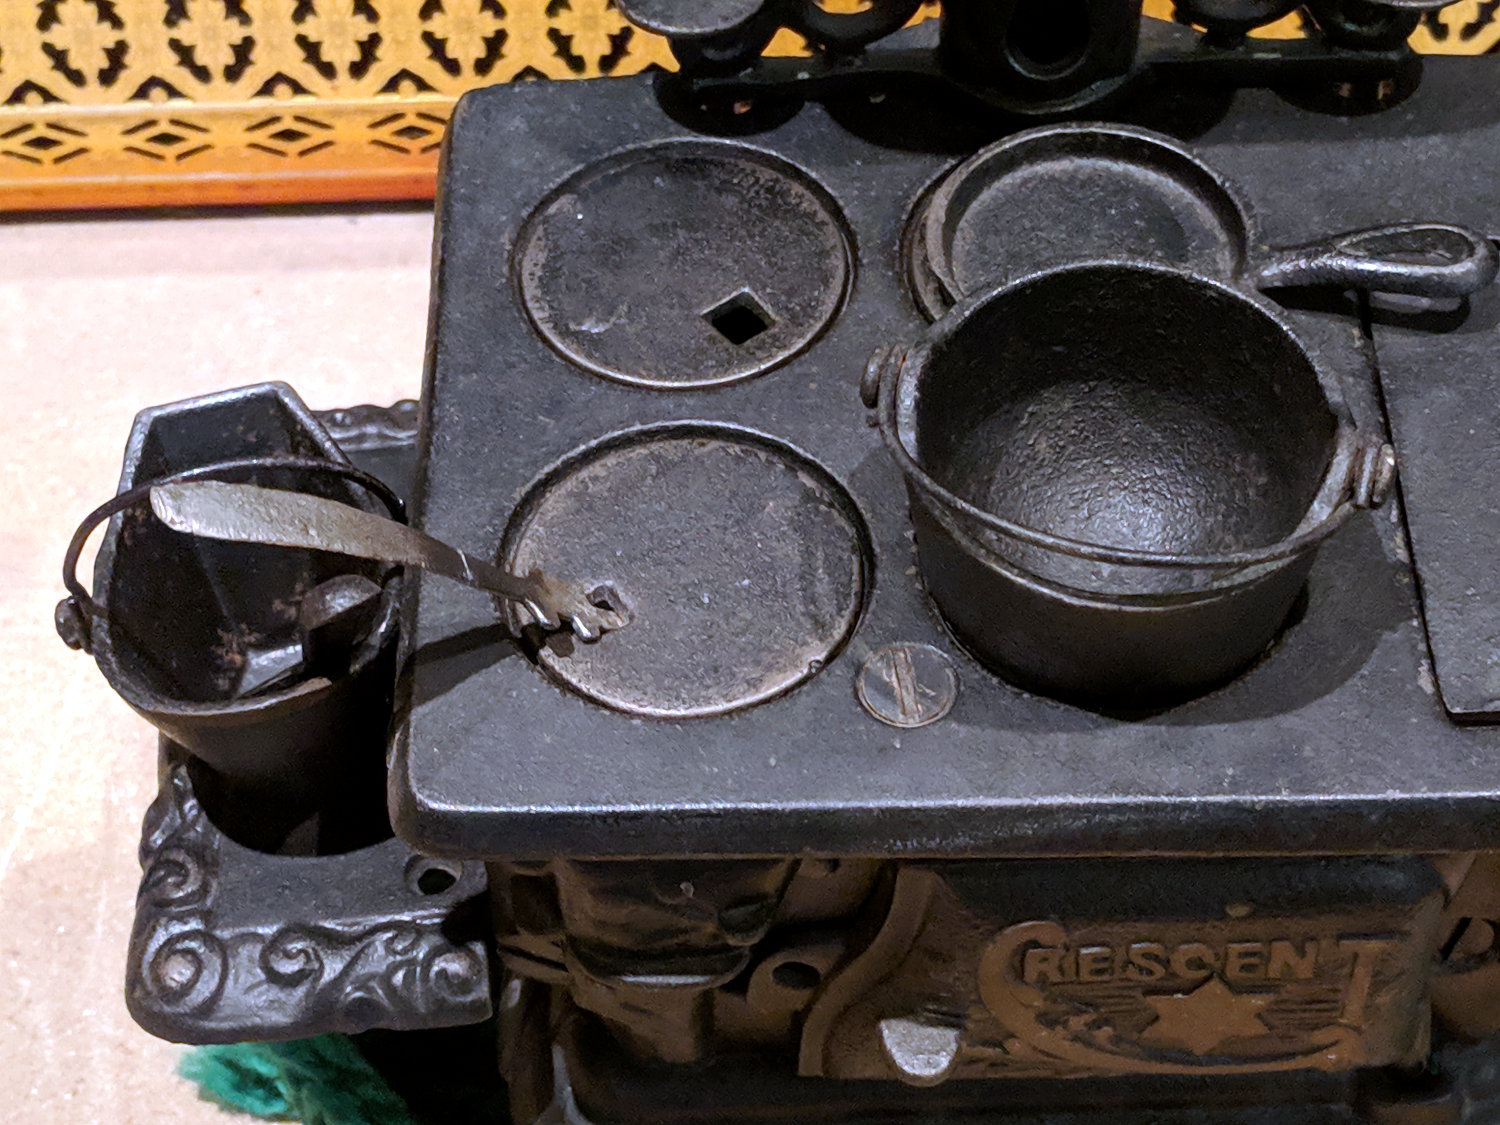
A cast iron stove (most likely a mid-last-century reproduction rather than a Genuine Antique™) emerged from a living room recess:
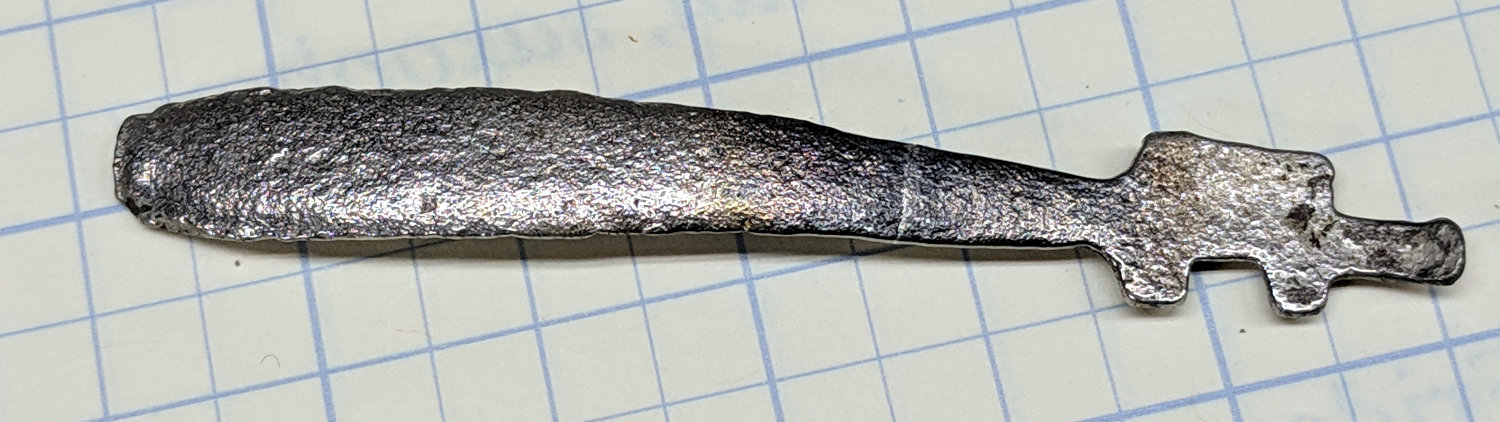
Toy stove with repaired lid lifter
The line across the lid lifter handle shows where it broke, long ago, likely while being played with. Back then, I’d done a static-display-grade fix with a dab of clear epoxy, but a better repair seemed called for; my repair-fu has grown stronger.
I expected the handle to be pot metal, so drilling a hole in both ends for a music-wire stiffener seemed reasonable:
Toy lid lifter – laser alignment
Much to my surprise, the carbide bit skittered off the surface, leaving fine swarf standing on the end. Turns out the lid lifter is cast iron, just like the rest of the stove!
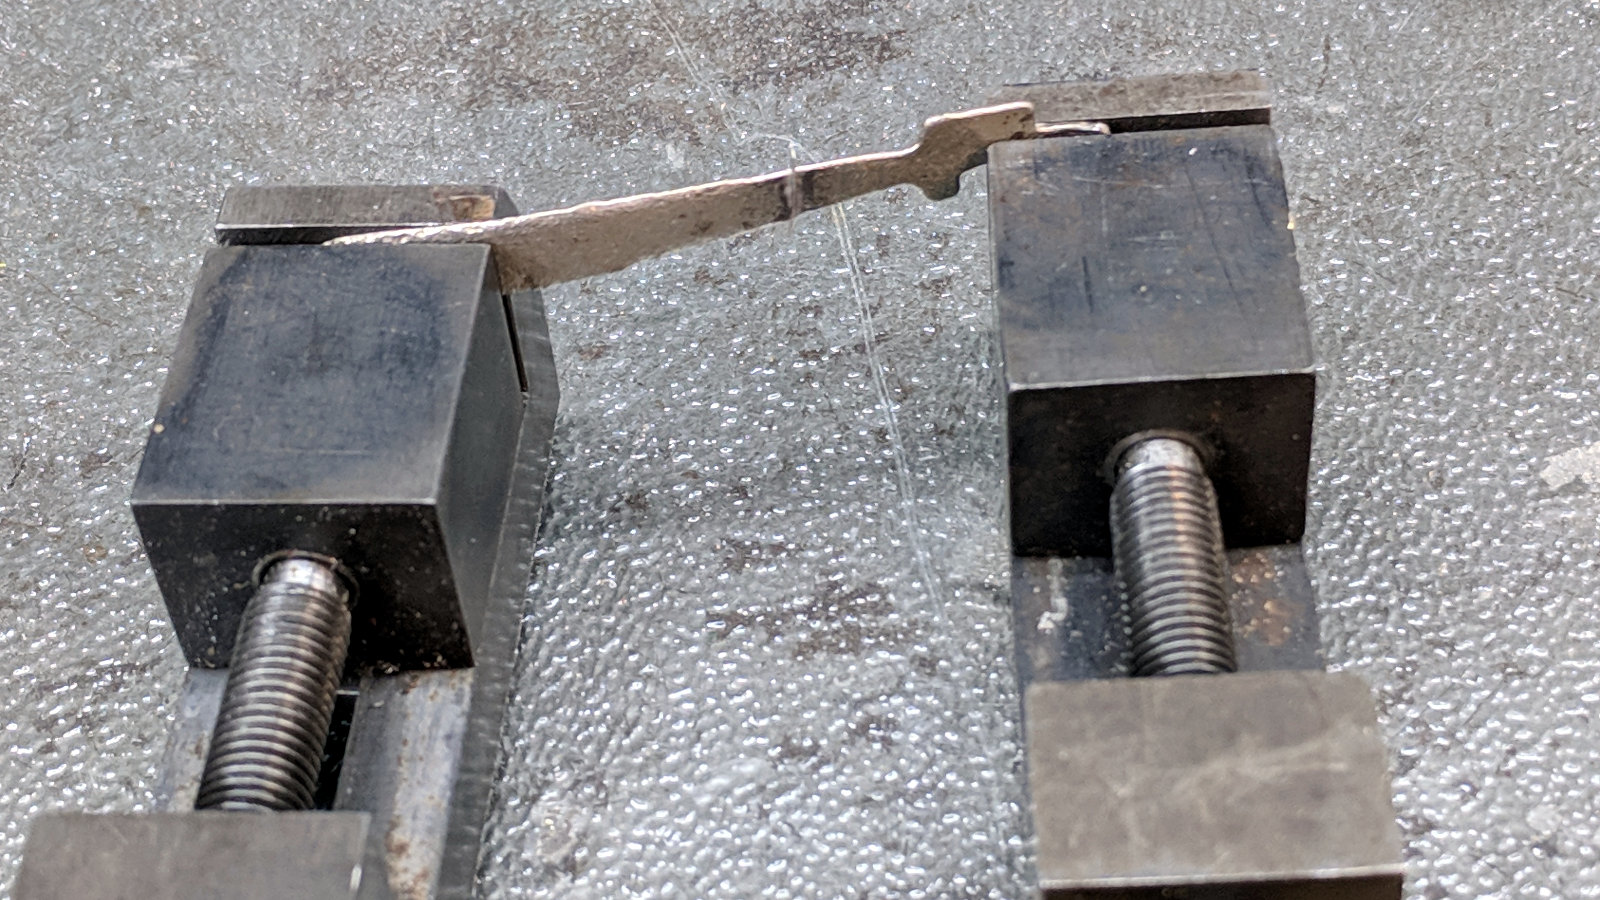
Given that much of a clue, I aligned the pieces in a pair of machinist’s vises:
Toy lid lifter – alignment
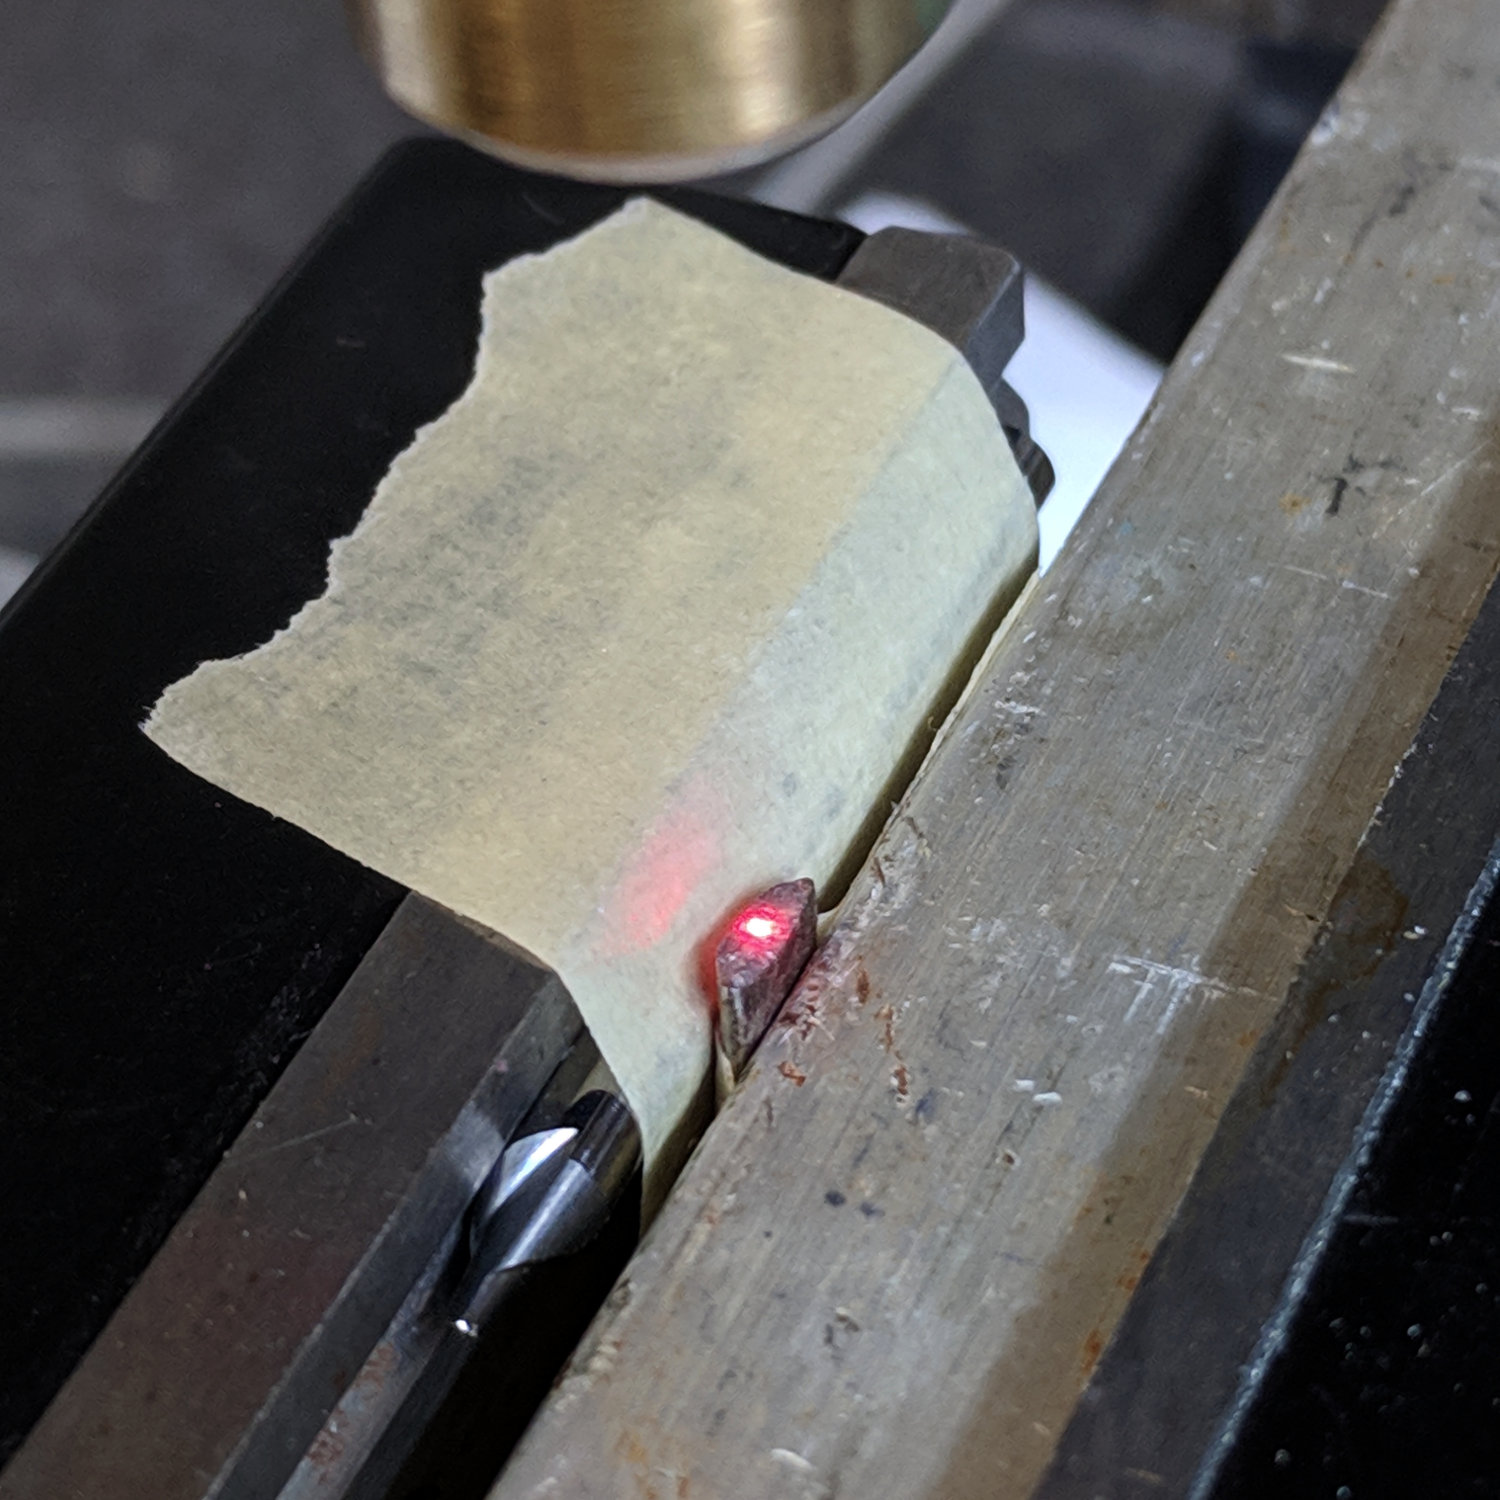
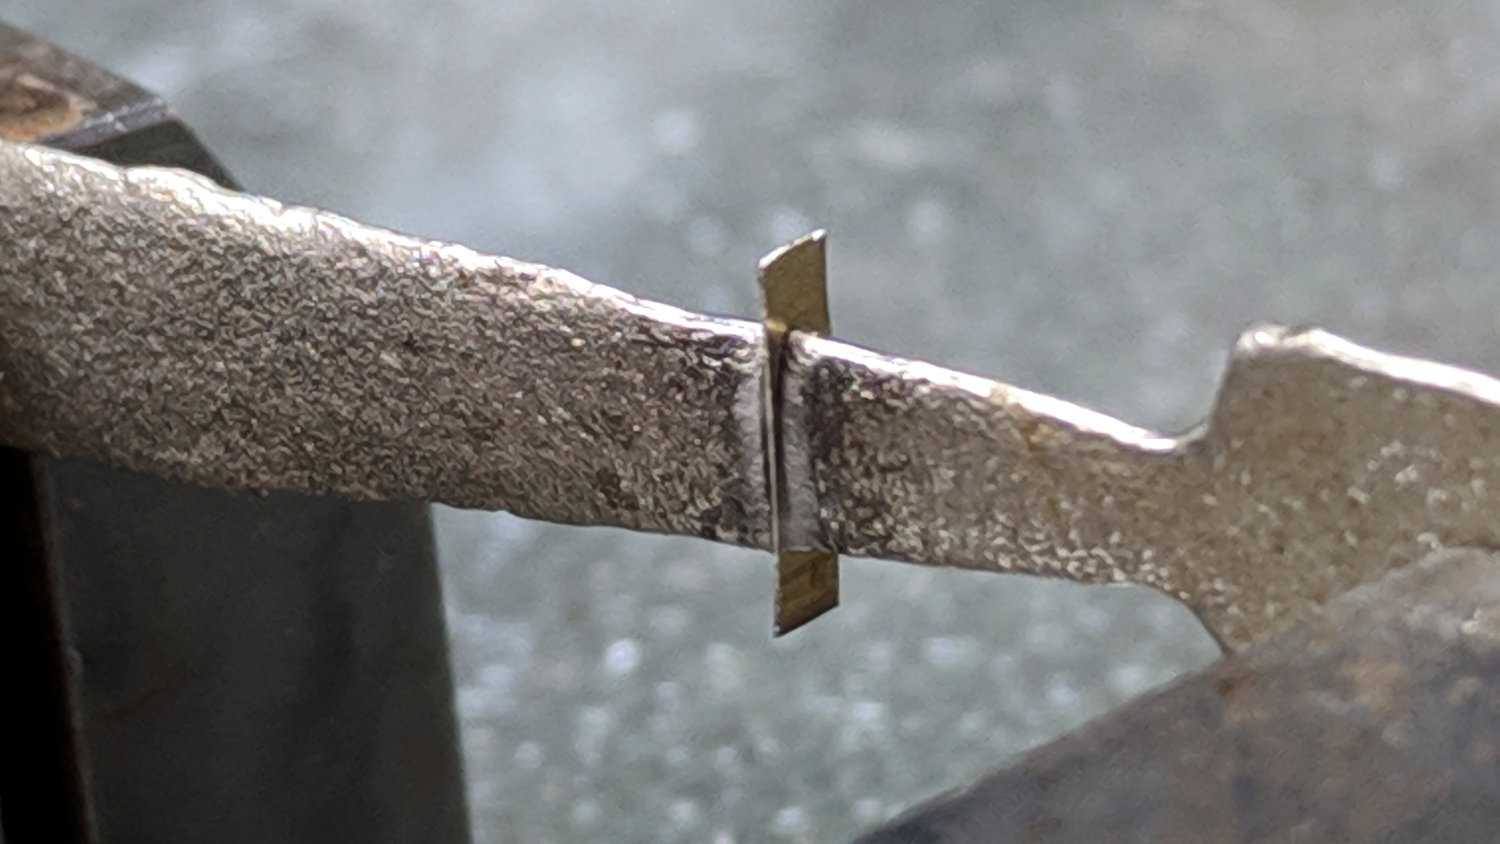
Slide apart (the vises stand on a smooth glass sheet; the nubbly side is down), dab silver solder flux on the ends, capture a snippet of 40% silver solder in the gap:
Toy lid lifter – silver solder setup
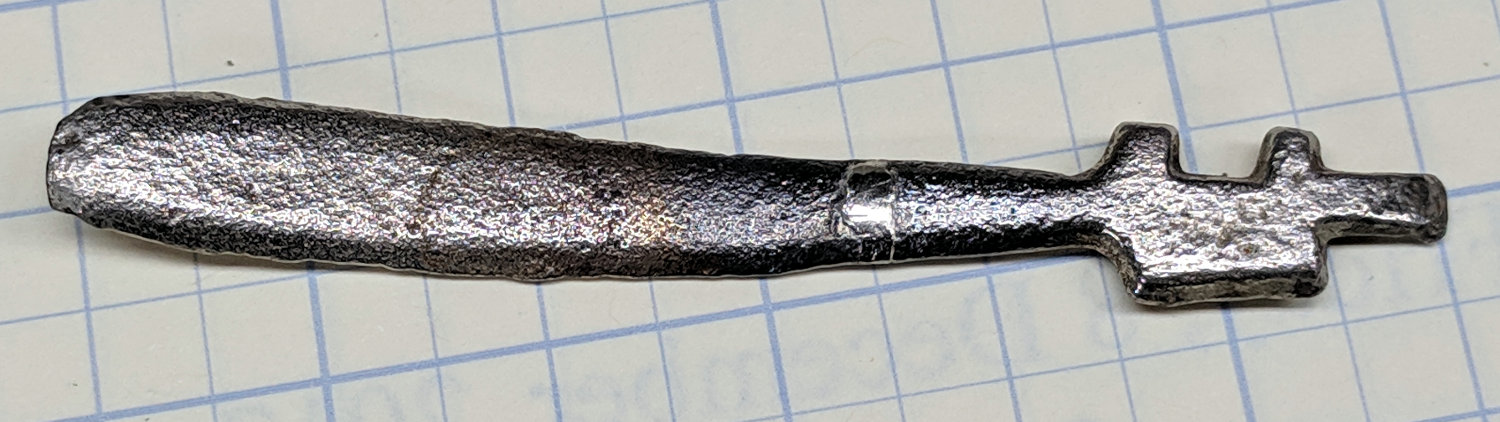
Hit it ever so gently with a propane torch and slide together:
Toy lid lifter – silver soldered
The solder flows at 1200 °F = 650 °C, roughly corresponding to the blue-gray color near the joint. The nice purple (540 °C) on the left shows where I held the flame to start, with yellows (400 °C) on both sides. Good enough, sez I, it’s going to be a static-display exhibit.
All those annoying CNN auto-play videos will vanish, along with any videos you might have wanted. For me, it’s a reasonable tradeoff, as most (useful) videos will be available on Youtube or elsewhere.
The built-in browser controls you might think of activating, as I have, don’t work on CNN videos, because CNN uses theoplayer, a “universal” Javascript-based player. It’s not Flash, it’s not HTML5, it’s not a specific video thing, it’s a way to work around all those blocking mechanisms.
Mostly, I don’t get news from CNN, but occasionally a link will lead there, a video appears, and instantly gets muted.
Burn them. Burn them all.
Update: Some sites run auto-play videos through JW Player, which you kill thusly:
||jwcdn.com
||content.jwplatform.com
That blocks the source of the player, which seems to not depend on the site using it. So far, so good.
Down near the end, the poor thing barely gave one brushing after an overnight charge.
While I was dismantling the case, I charged the last two new-old-stock NiMH cells:
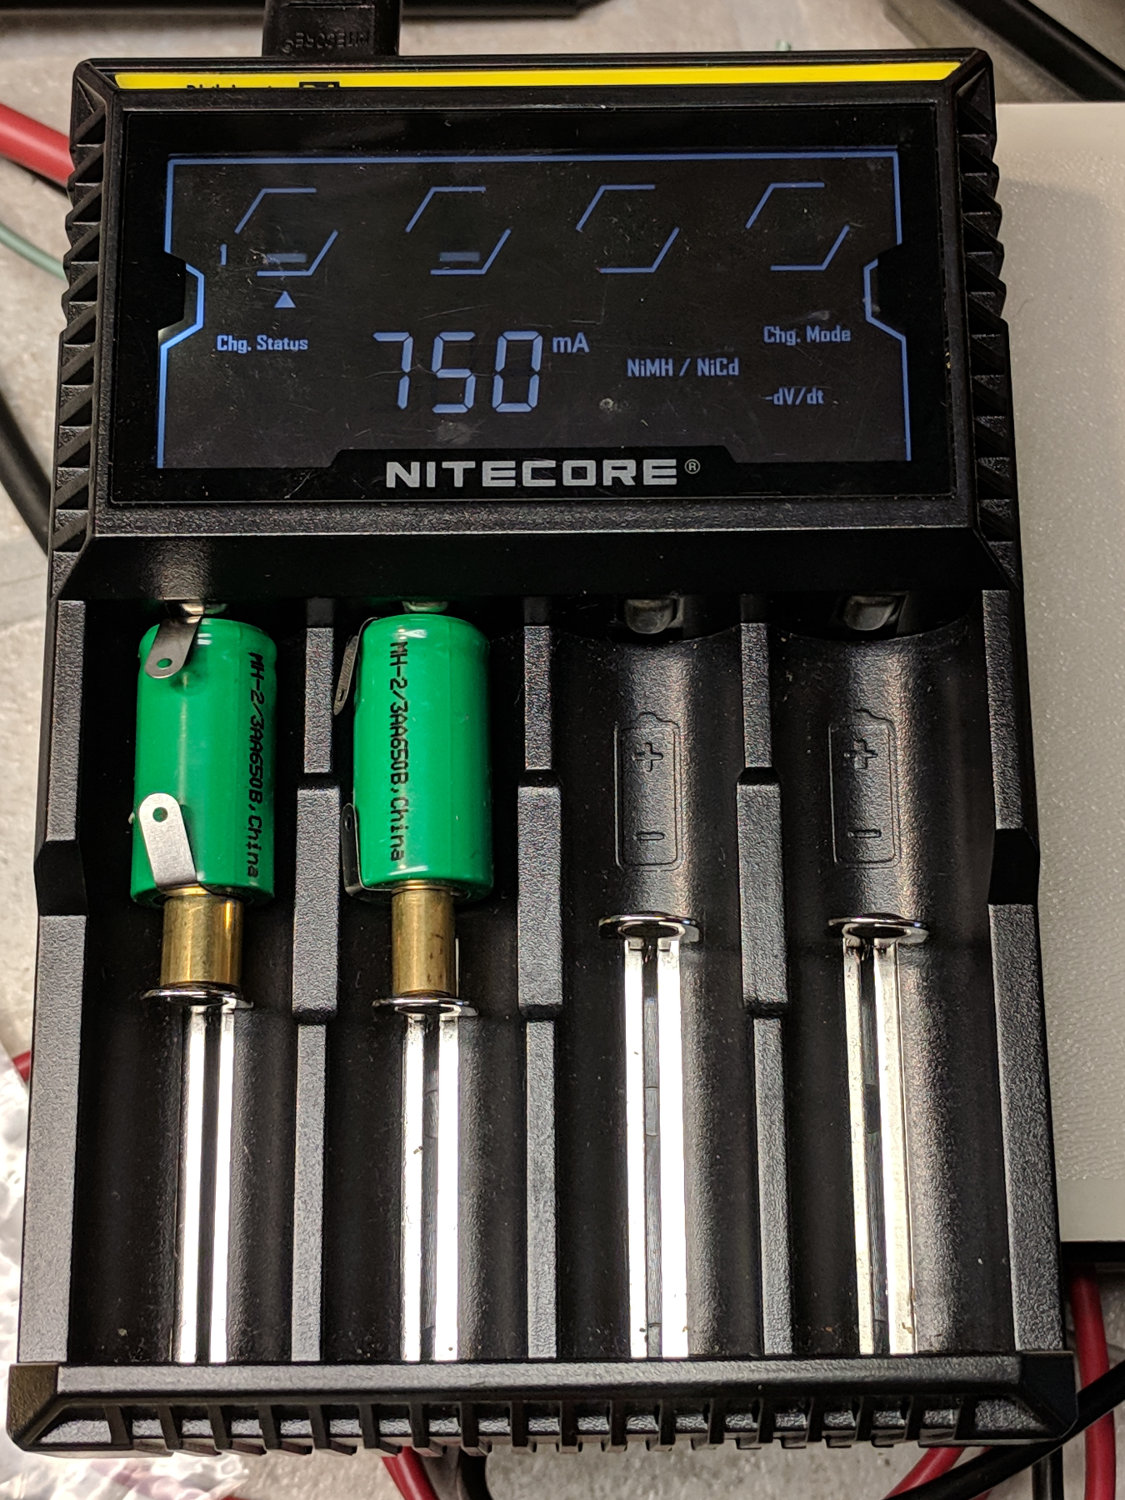
Sonicare Essence – charging short cells
They arrived the same five years ago as the deaders in the toothbrush, but haven’t been used in the interim and charged well enough. The NiteCore D4 charger arrived after they did and isn’t really intended for 2/3 AA cells, so I used short brass tubes to make up the difference. I should have used the 300 mA low-current charging option (press-and-hold the Mode button for a second), although it didn’t overcook them at 750 mA.
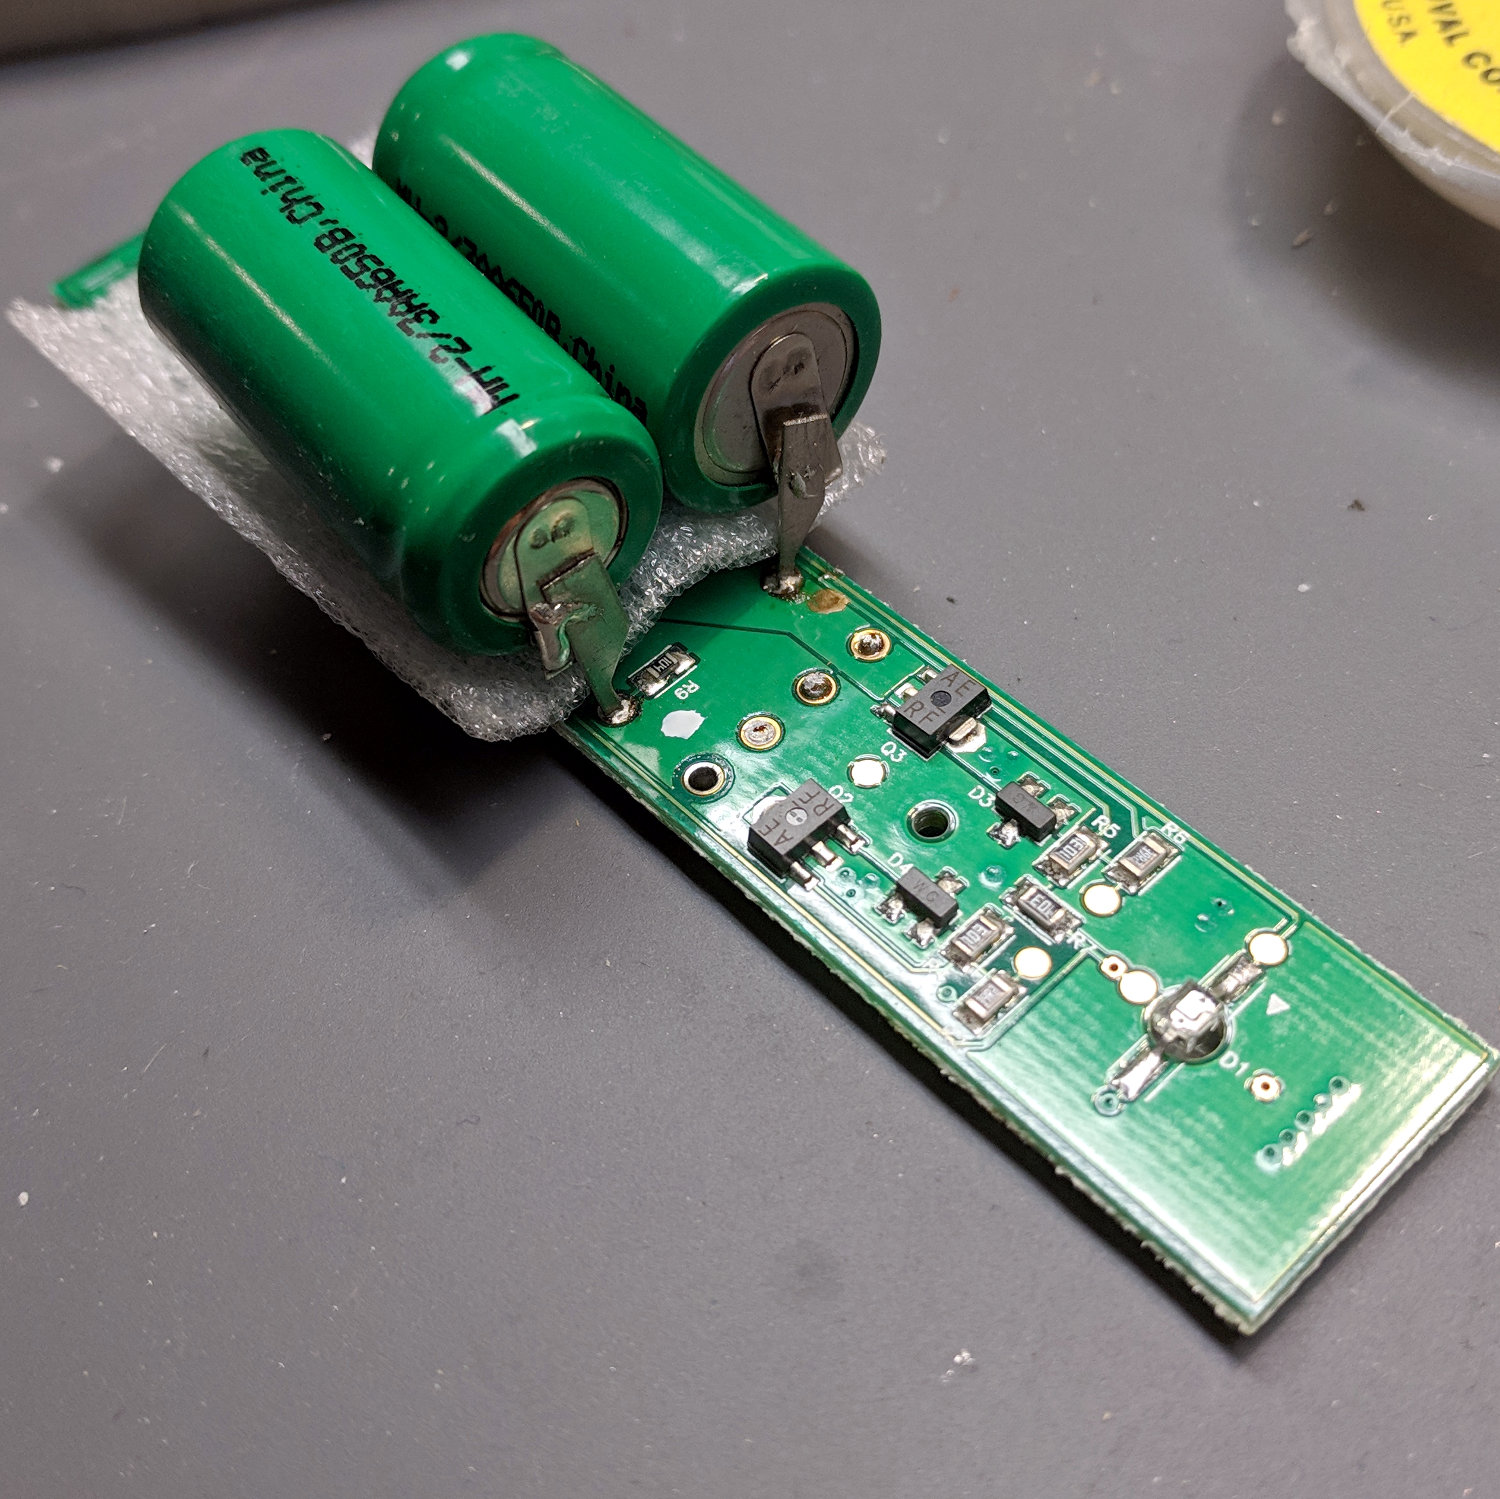
The process went pretty much as before, with the new cells soldered in place atop the PCB:
Sonicare Essence – batteries on PCB
And the PCB tucked back into the case:
Sonicare Essence – batteries installed
I applied a solder bridge to the BLINKY pads, which seemed to disable the blinking and turn the LED on full with the toothbrush in the charger. Without waiting for a full charge cycle, I sucked the solder off the pads and restored the previous blinkiness.
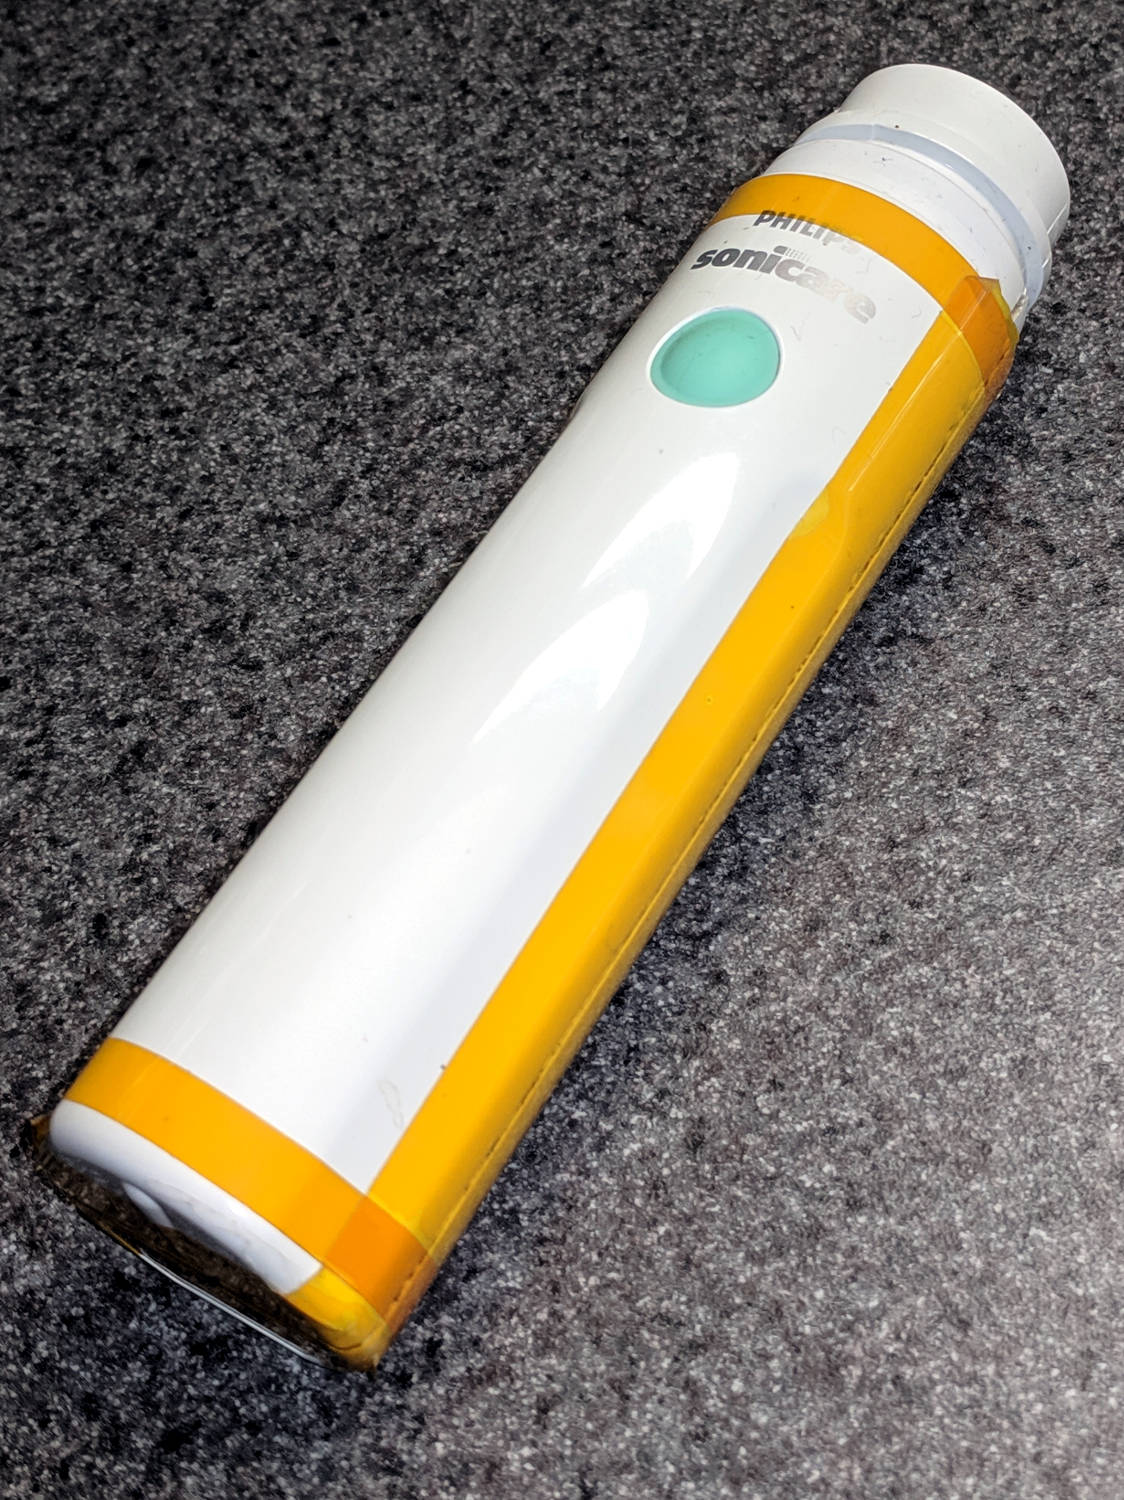
A few strips of Kapton tape and it’s back in operation:
Sonicare Essence – retaped
The first charge lasted for two weeks, so things are looking good again. When the stock of knockoff replacement brush heads wears out, it’ll be time to get a whole new toothbrush … even if the batteries aren’t completely dead yet.
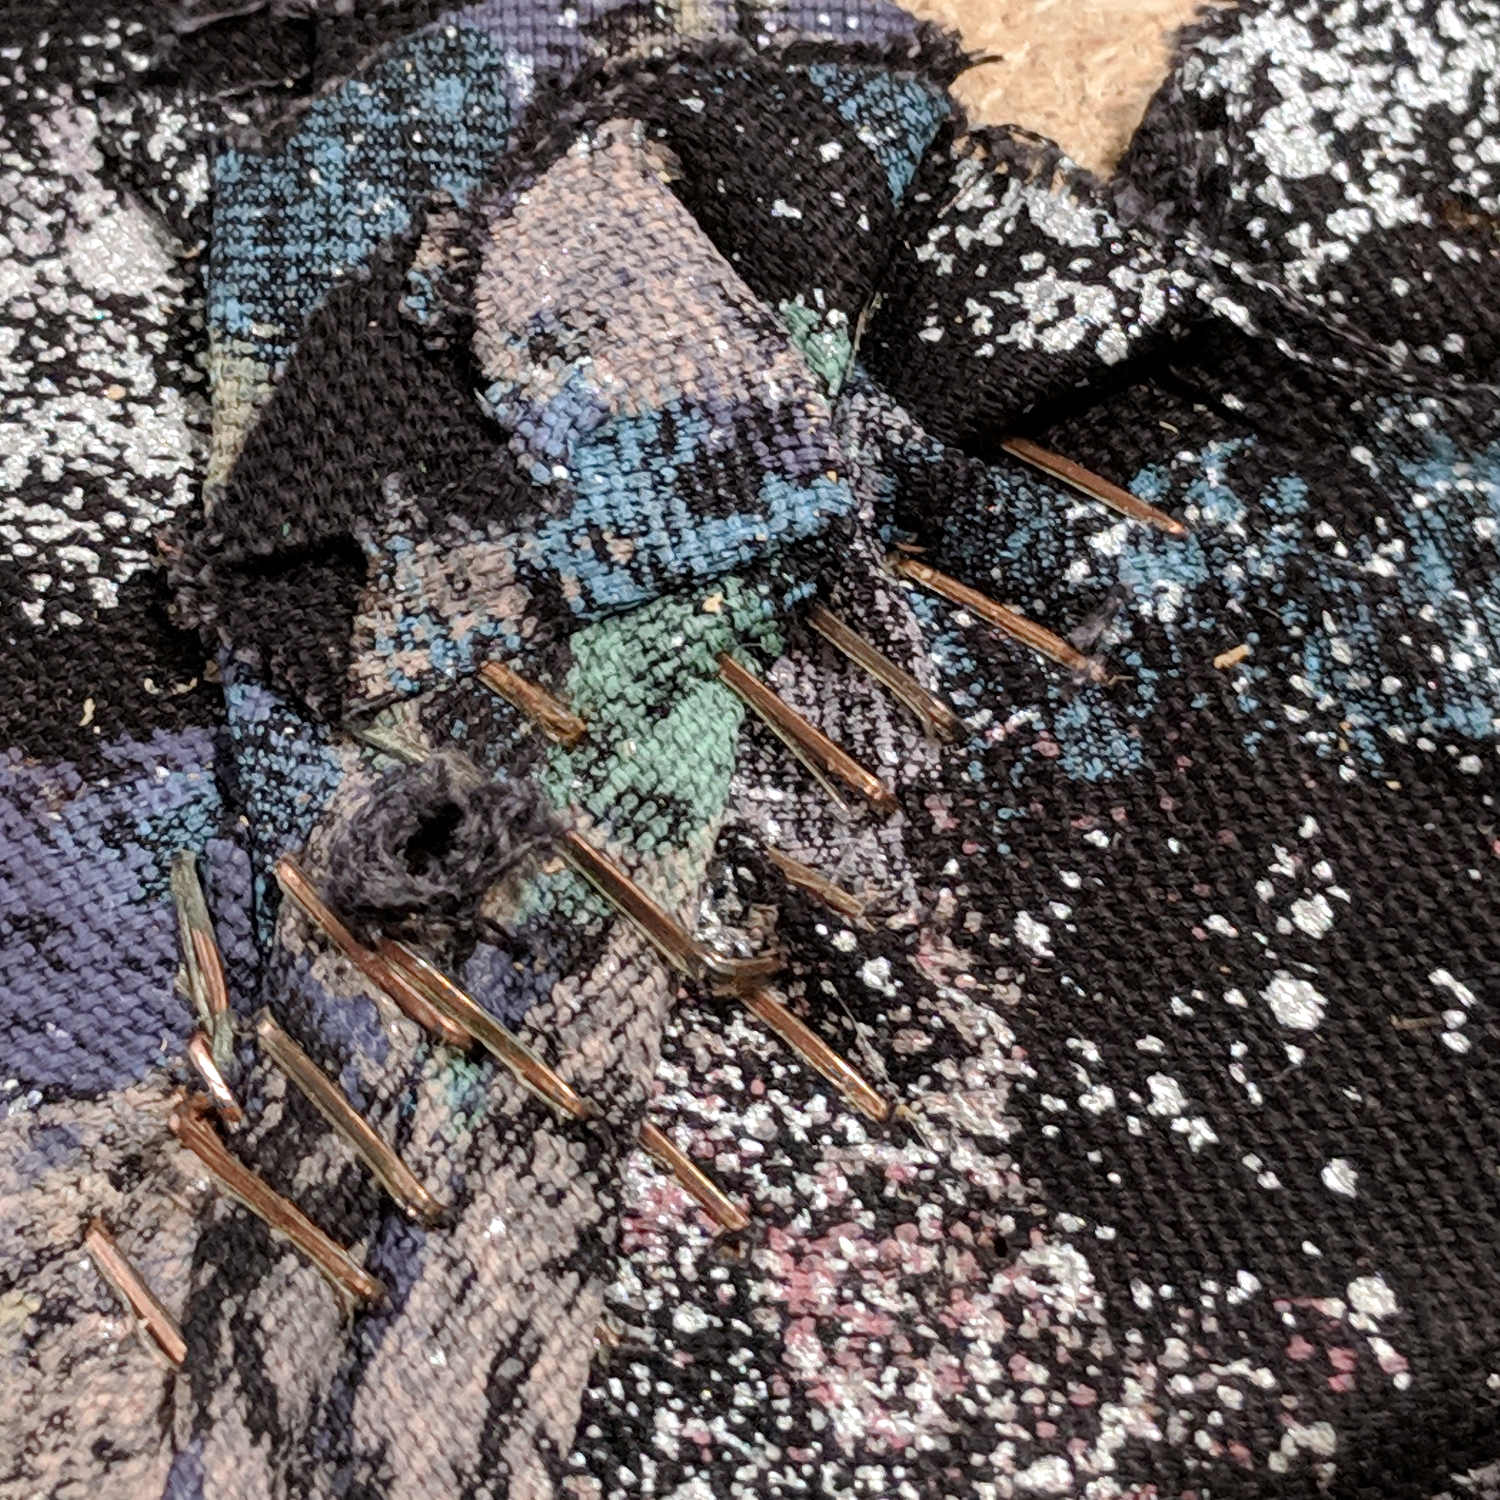
We were tasked with replacing the foam cushion and seat covering on a pair of kitchen chairs. Removing the existing fabric seemed simple, until I pulled a dozen staples holding the cardboard cover to the bottom of the chair and exposed the fabric stapled to the MDF plate:
Chair reupholstering – stapled fabric
That’s just part of one corner. Obviously, whoever built the chair wanted to be very very very sure the fabric didn’t come loose!
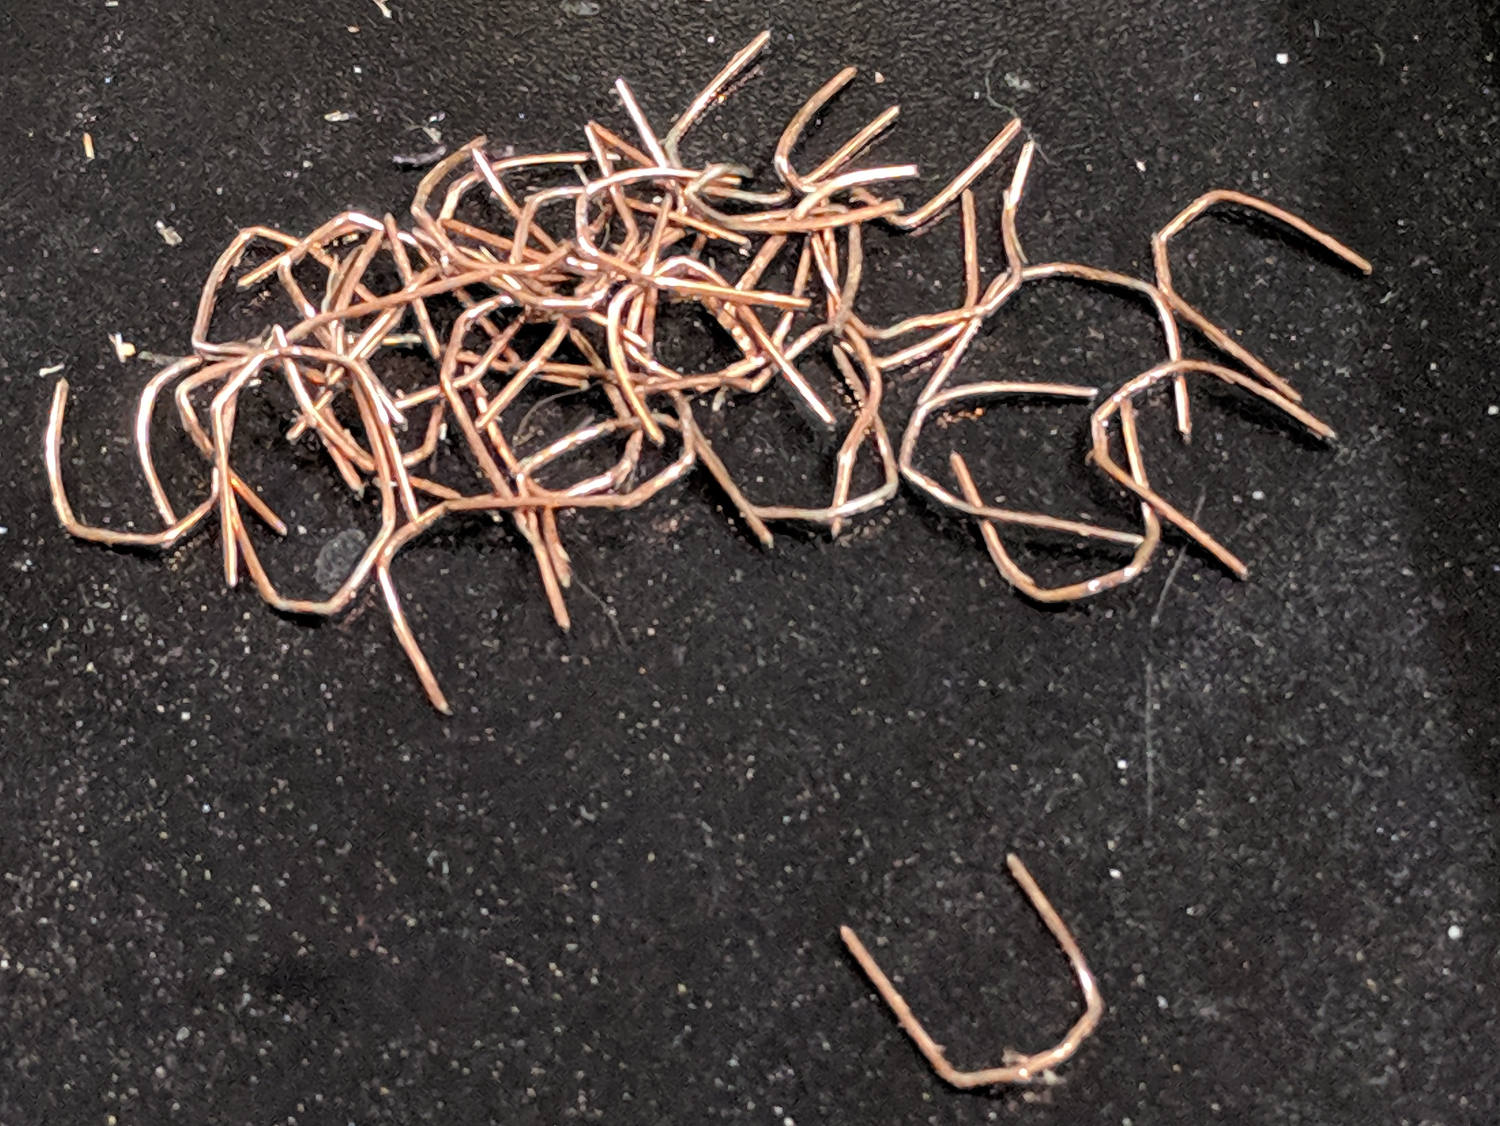
Removing the staples from one corner produced a pile:
Chair reupholstering – one corner of staples
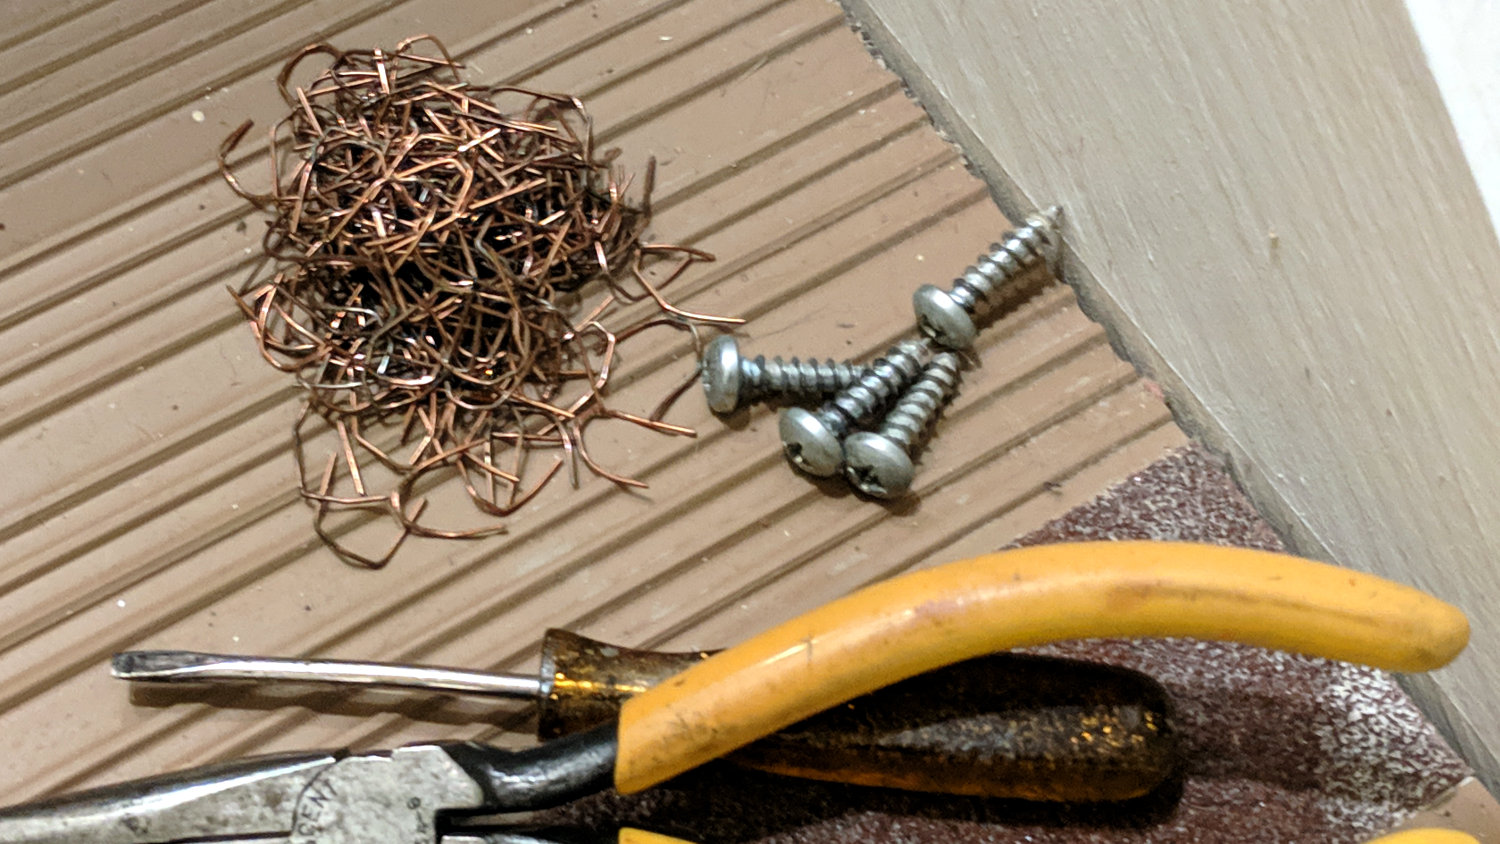
Piling up all the staples from the other chair looked even more impressive:
Chair reupholstering – staple pile
I fired maybe a third as many staples into the new fabric, which seems secure enough.