This seemed appropriate for a day involving toys of all descriptions…
A cast iron stove (most likely a mid-last-century reproduction rather than a Genuine Antique™) emerged from a living room recess:
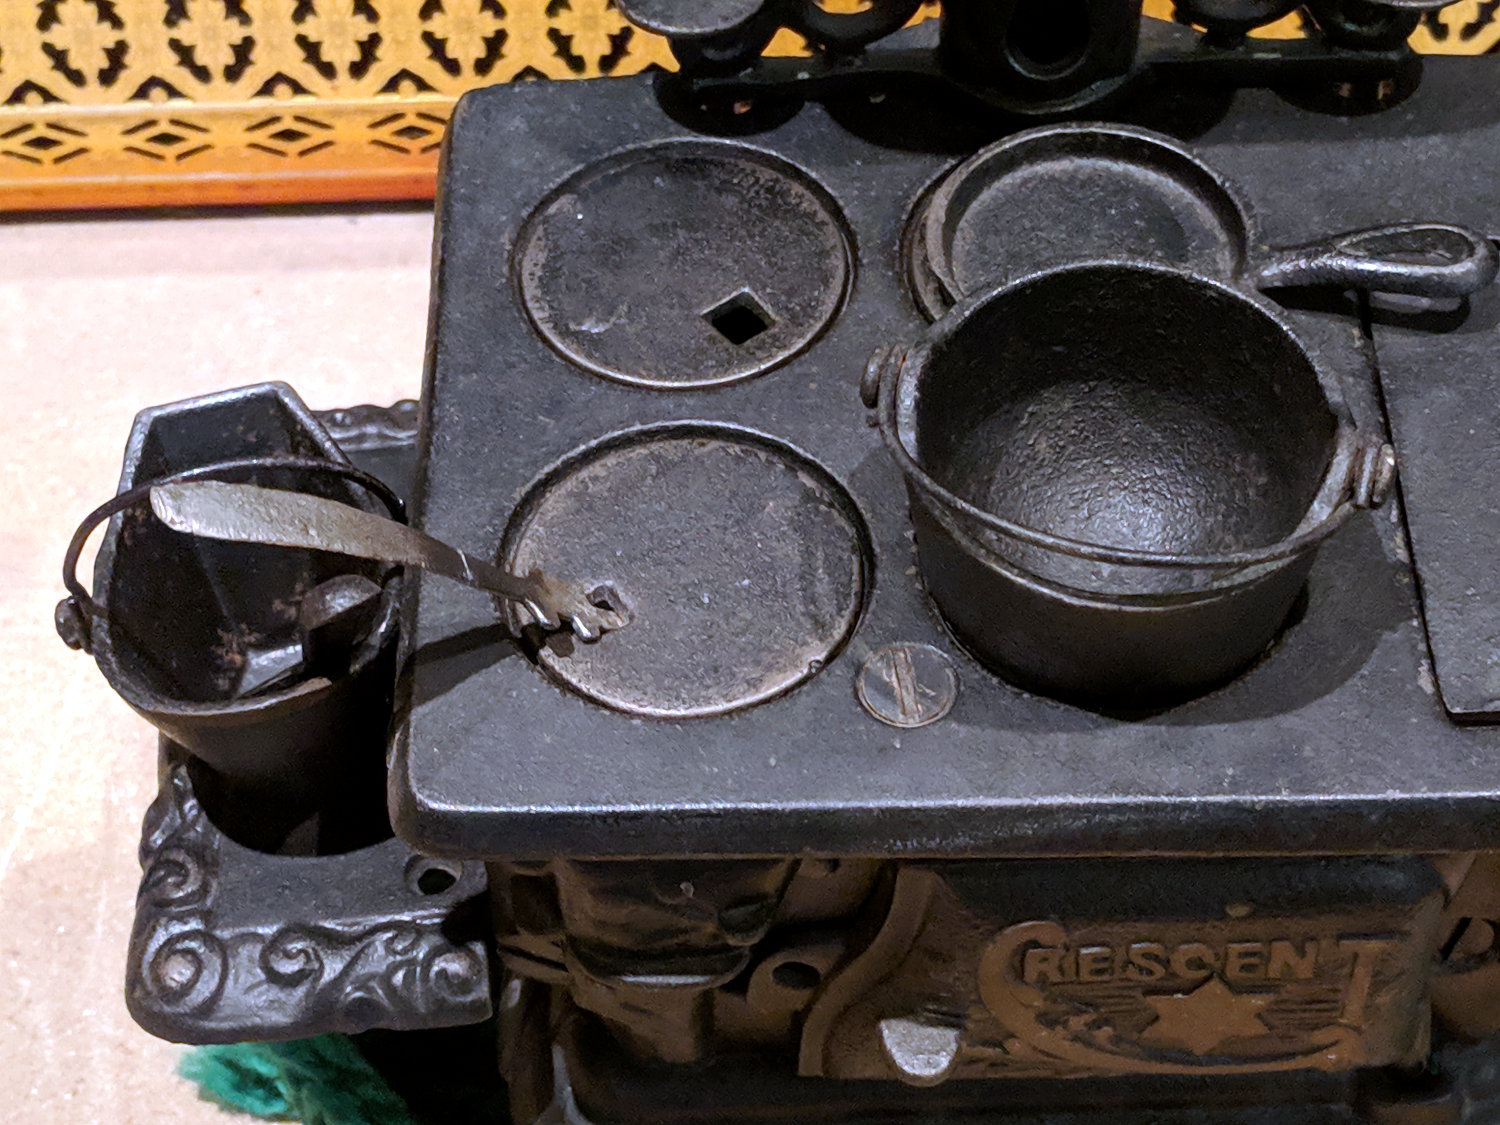
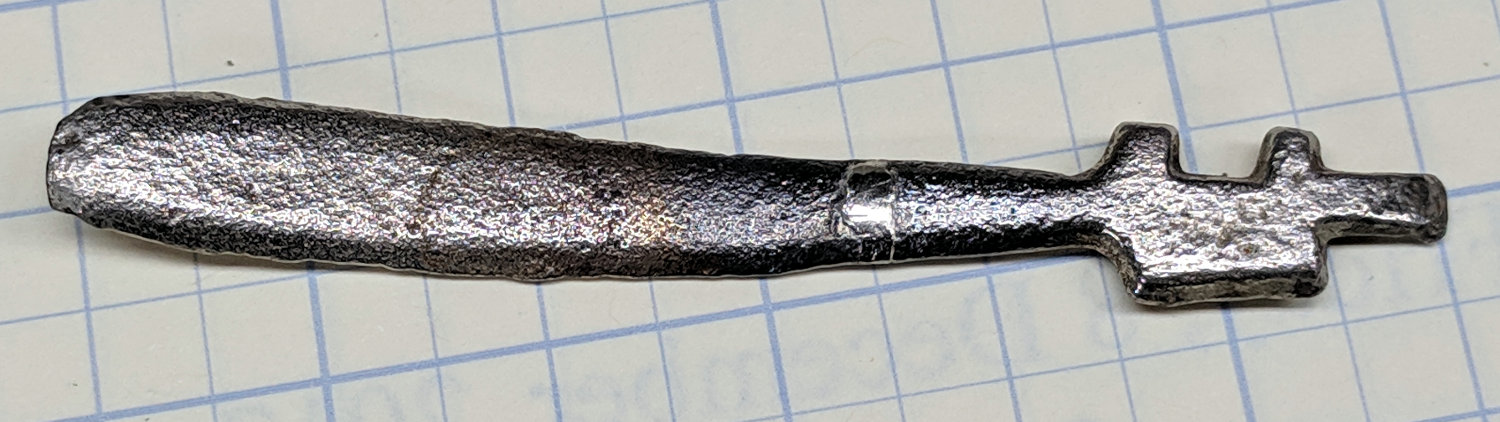
The line across the lid lifter handle shows where it broke, long ago, likely while being played with. Back then, I’d done a static-display-grade fix with a dab of clear epoxy, but a better repair seemed called for; my repair-fu has grown stronger.
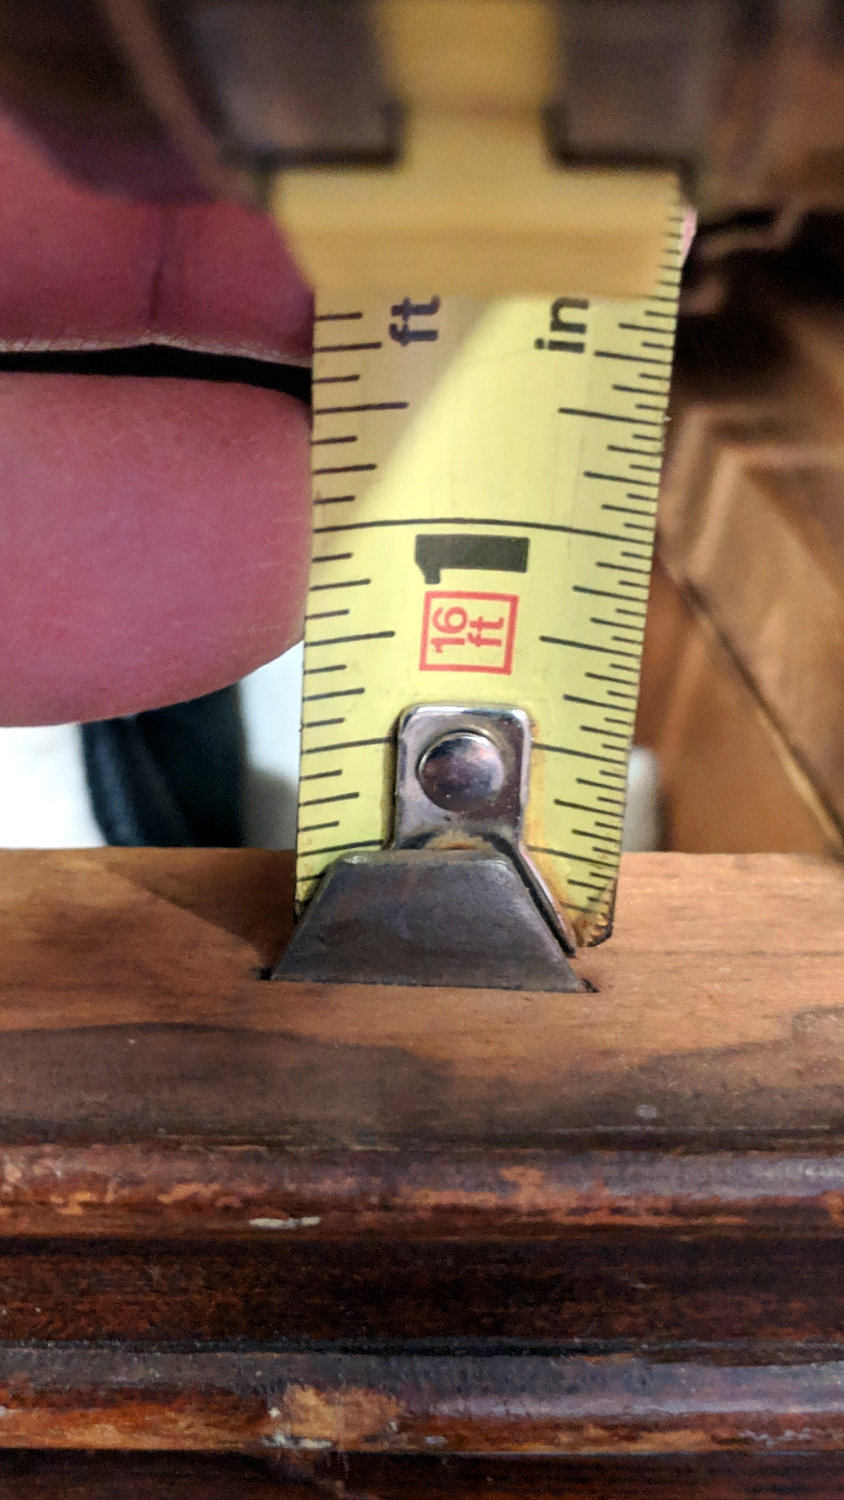
I expected the handle to be pot metal, so drilling a hole in both ends for a music-wire stiffener seemed reasonable:
Much to my surprise, the carbide bit skittered off the surface, leaving fine swarf standing on the end. Turns out the lid lifter is cast iron, just like the rest of the stove!
Given that much of a clue, I aligned the pieces in a pair of machinist’s vises:
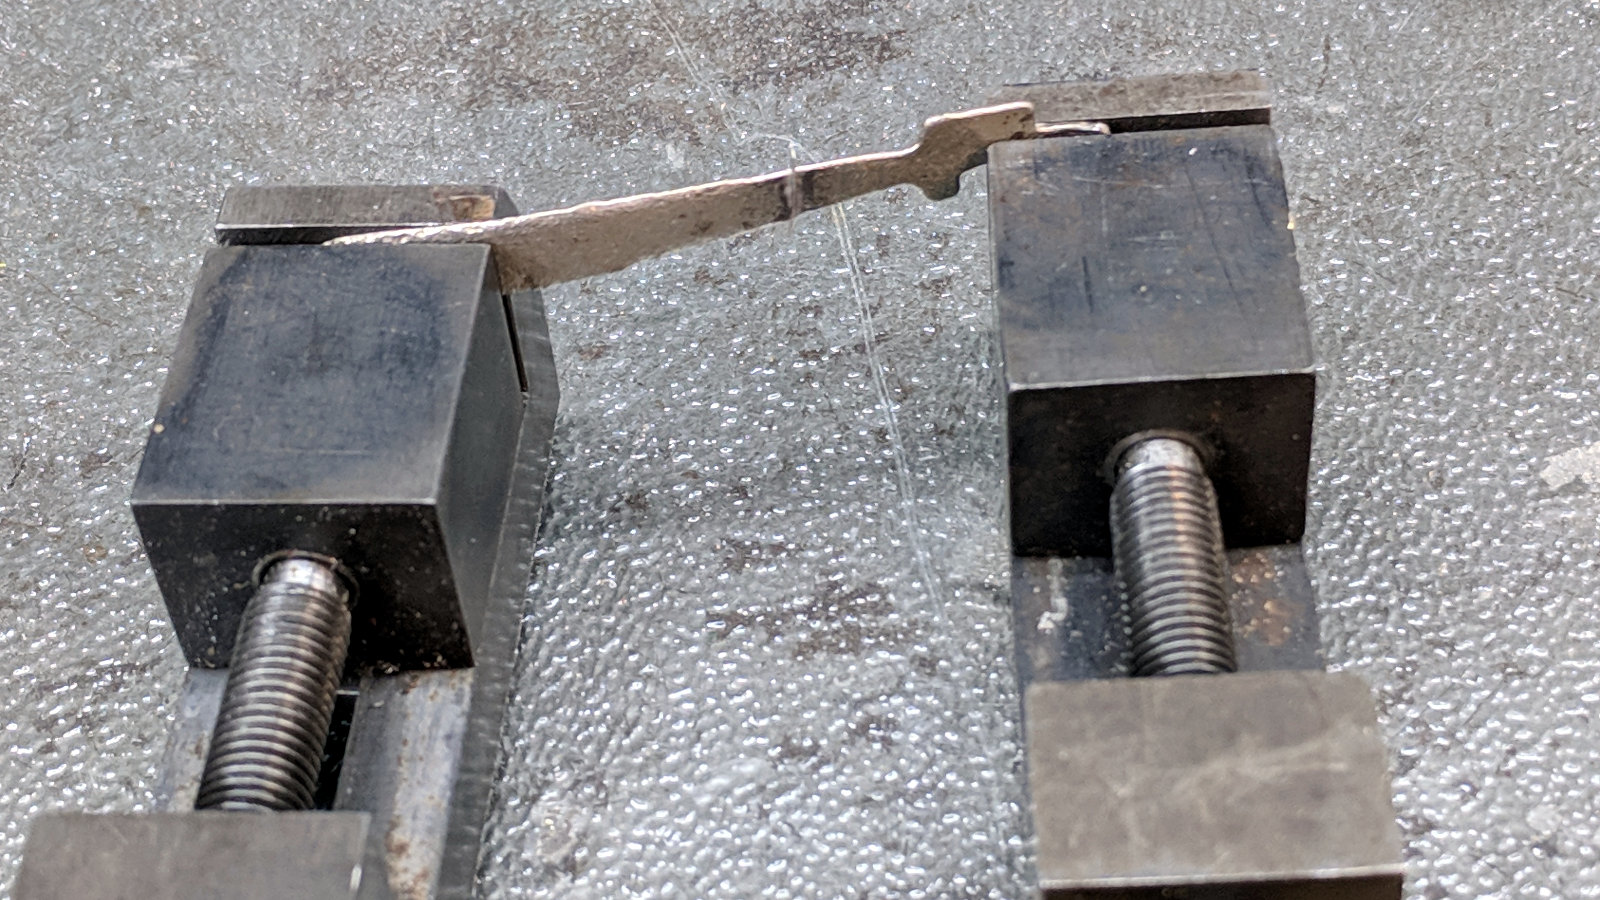
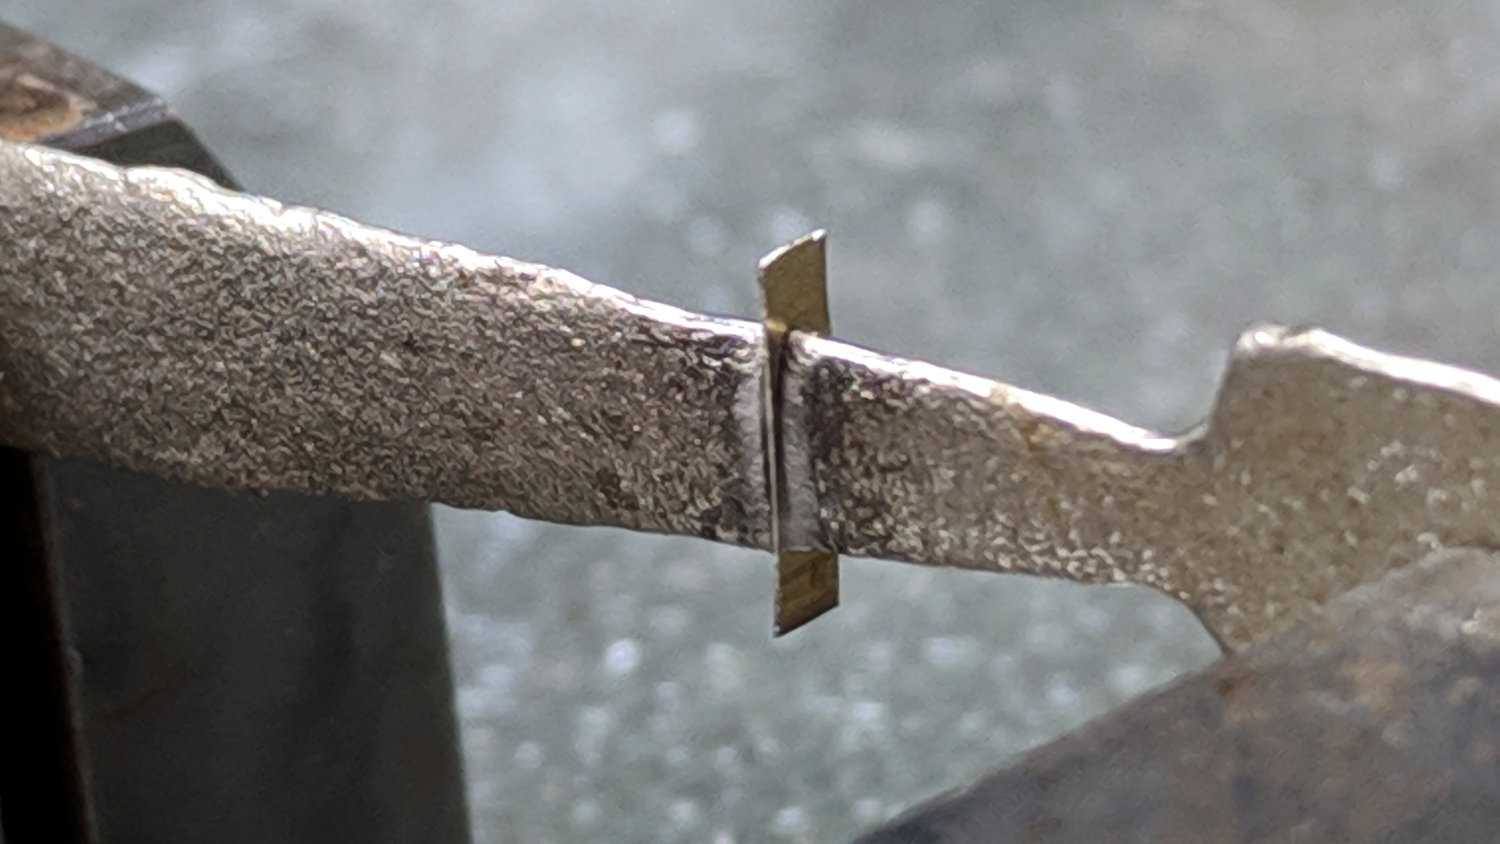
Slide apart (the vises stand on a smooth glass sheet; the nubbly side is down), dab silver solder flux on the ends, capture a snippet of 40% silver solder in the gap:
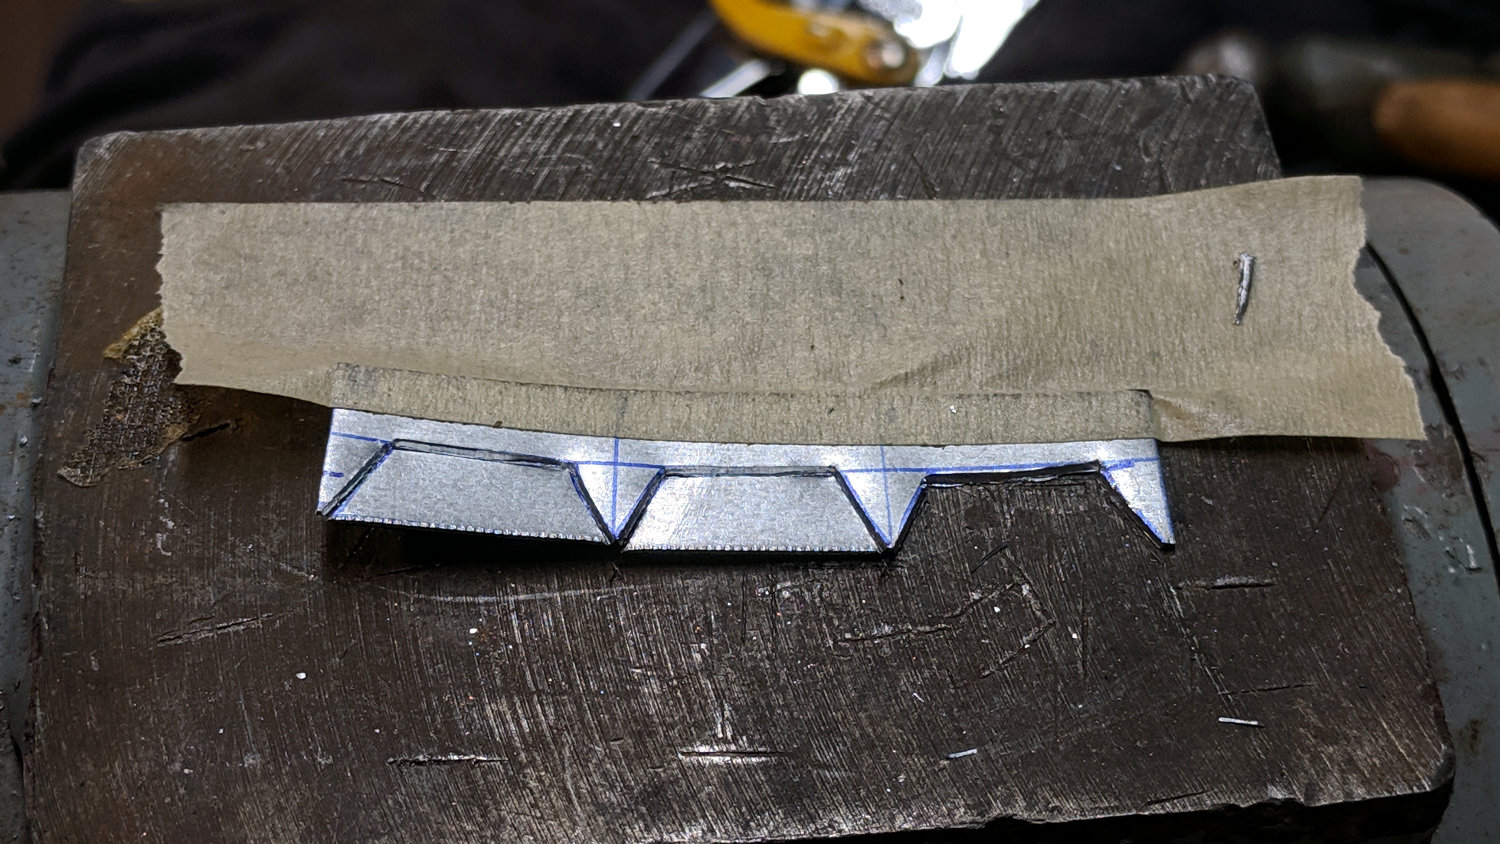
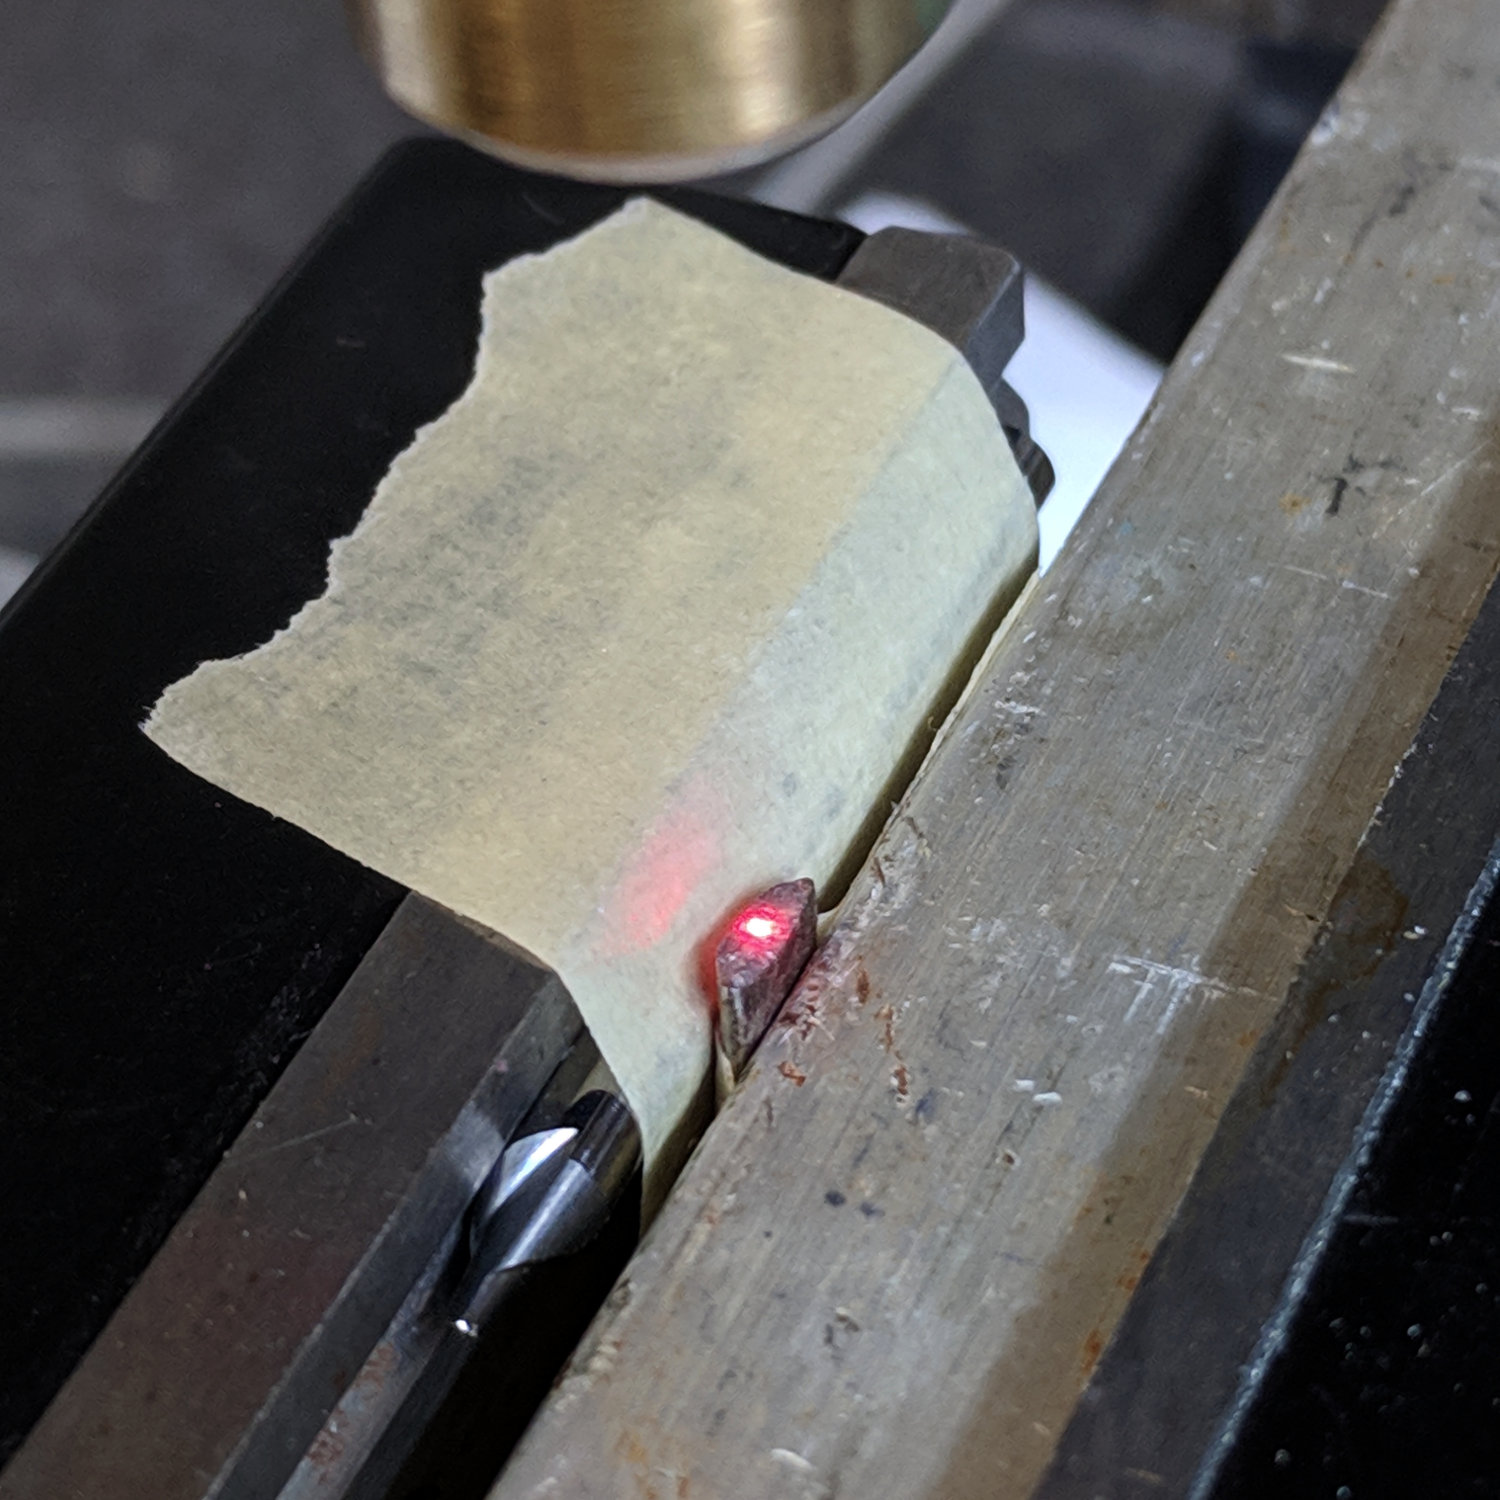
Hit it ever so gently with a propane torch and slide together:

The solder flows at 1200 °F = 650 °C, roughly corresponding to the blue-gray color near the joint. The nice purple (540 °C) on the left shows where I held the flame to start, with yellows (400 °C) on both sides. Good enough, sez I, it’s going to be a static-display exhibit.
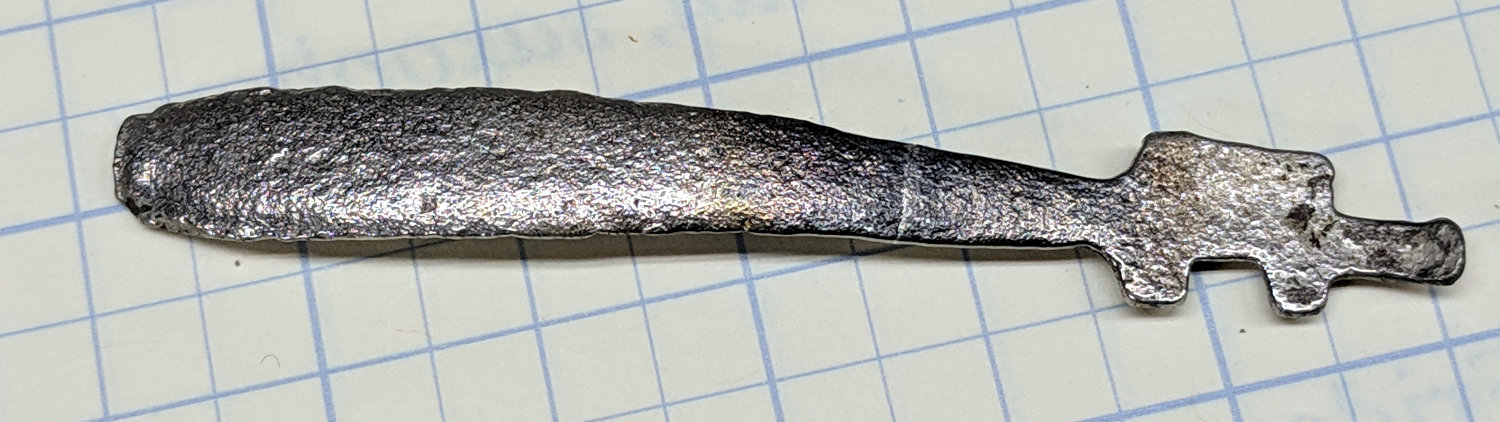
Most of the solder went to the back side, so I filed it smooth and buffed off most of the heat coloration with a stainless-steel wire wheel in the Dremel:
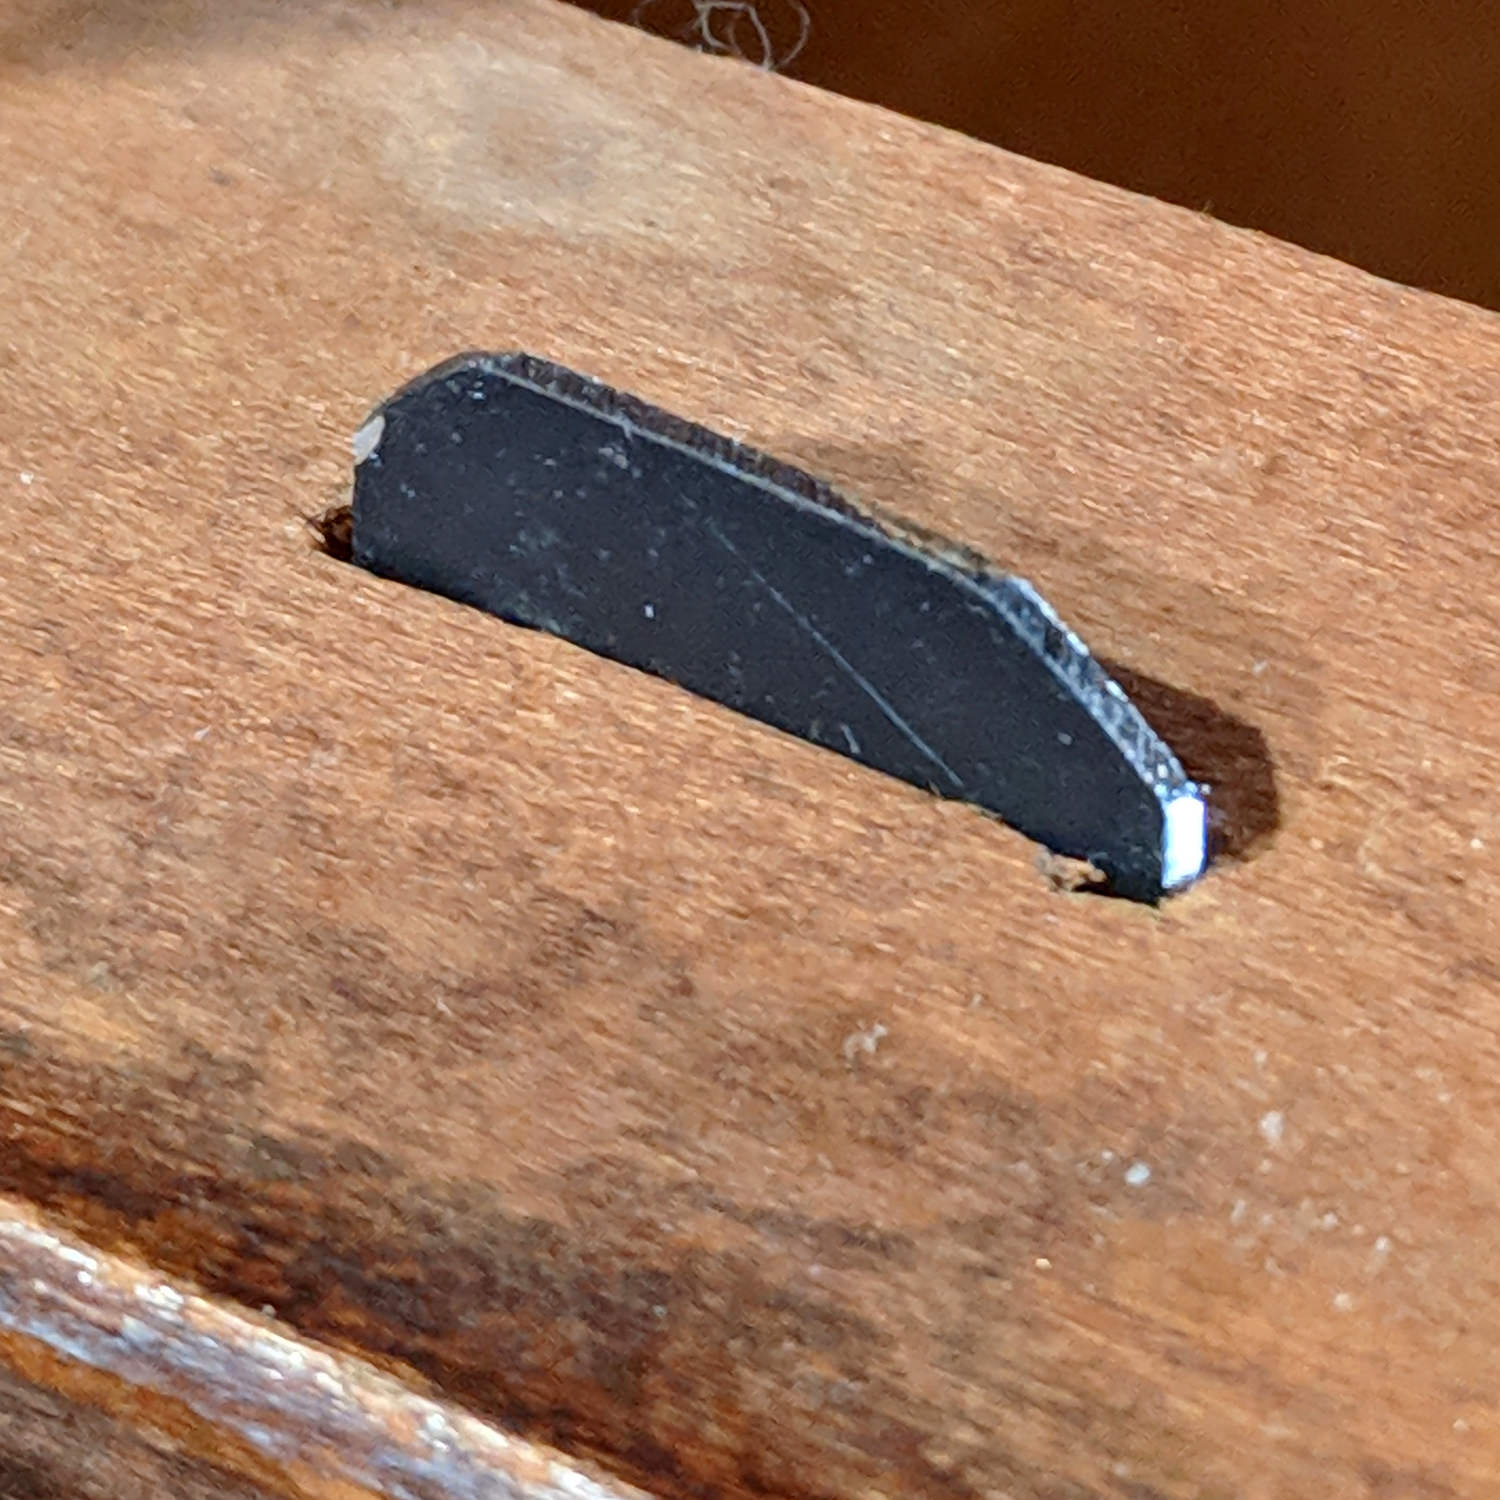
A little more wire-brush action left the front side looking good:
As with most of the repairs around here, it simply makes me feel better …
Now, go play with your toys!