The Smell of Molten Projects in the Morning

Ed Nisley's Blog: Shop notes, electronics, firmware, machinery, 3D printing, laser cuttery, and curiosities. Contents: 100% human thinking, 0% AI slop.

Category: Home Ec

Things around the home & hearth

  • Onion Maggot Flies vs. Sticky Traps: Round 1

    Onion Maggot Flies vs. Sticky Traps: Round 1

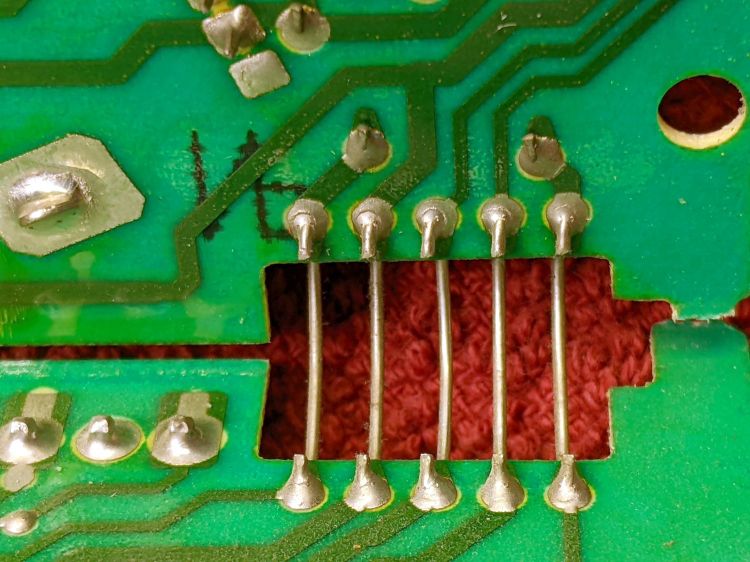
    We deployed six sticky traps in the onion patch immediately after planting in late April and replaced the cards in mid-June. The first set of cards collected a considerable number of what resemble, to my untrained eye, onion maggot flies and the onion plants remain healthy:

    • VCCG Onion Card A
    • VCCG Onion Card B
    • VCCG Onion Card C
    • VCCG Onion Card D
    • VCCG Onion Card E
    • VCCG Onion Card F

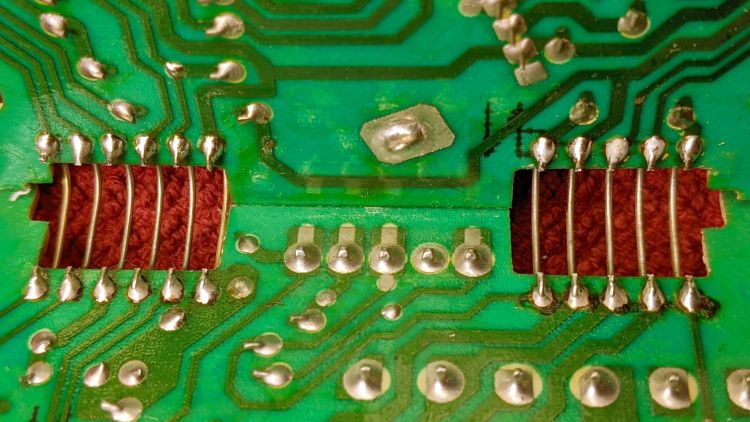
    Each image shows both sides of a single card.

    The cards sit a foot above the shredded leaf mulch and I managed to drop at least one of the cards while extracting it from the cage, but they all have plenty of onion maggot flies in addition to the random debris.

    The cards inside their cages have not accumulated larger insects like honeybees / moths / butterflies, although the tiniest specks are definitely mini-critters along the beetle / gnat / aphid / mosquito axis.

    Unlike last year, the second set of cards will remain in place until harvest to maintain continuous pressure on the fly population.

    If you’re really interested, the dozen original camera images have more detail.

  • 70 inch OD Curved Quilting Layout Template

    70 inch OD Curved Quilting Layout Template

    Mary sketched a quilt layout on ordinary Letter-size paper using her quilting templates, but the final design will be a 30×30 inch layout requiring a suitably upscaled template. Running the numbers suggested a template with curved edges lying on a 70 inch diameter circle, which was easy enough:

    Quilting Template - 70 inch dia - short
    Quilting Template – 70 inch dia – short

    The normal-size acrylic template with a 20 inch diameter sits atop the upscaled cardboard version. We decided cardboard would work fine for a single-use tool; should she need one in the future, I have the technology.

    It turns out that the inner curve also has a 70 inch diameter: its center point is displaced 200 mm along the center radius from the outer curve. The straight sides are parallel, not radii of either circle.

    She decided a much longer template would simplify smooth edge-to-edge curves, so I laid out a skinnier version with a keyed joint in the middle:

    Quilting Template - 70 inch dia - long
    Quilting Template – 70 inch dia – long

    The grid represents the OMTech laser’s 700×500 mm platform, so I used LightBurn’s Cut Shapes function to chop the template into two overlapping parts:

    Quilting Template - 70 inch dia - split
    Quilting Template – 70 inch dia – split

    The cuts at the keyed ends extend slightly more than needed, but weren’t critical. Similarly, I didn’t worry about kerf compensation for two pieces of cardboard joined by packing tape.

    The template looks a lot like a scimitar:

    Quilting Template - 70 inch dia - long
    Quilting Template – 70 inch dia – long

    The shorter version had its corrugations running along the short dimension. I put the longer version’s corrugations along the longer dimension, thinking they would prevent bending. That was true, but they also interfered with the pencil tracing the curves. Next time, I’ll know better!

  • Memory Is the First Thing to Go

    Memory Is the First Thing to Go

    An email from Amazon arrived a few days ago:

    Purchase Reminder - not found
    Purchase Reminder – not found

    I suppose we’re even, because I have no recollection of setting a Purchase Reminder on anything at any time.

    By default, my email client does not display remote content in messages, which chops out the cute pictures, as well as killing all the cruft and tracking widgetry infesting commercial email these days.

  • Pine Pollen Season

    Pine Pollen Season

    When the driveway runs yellow in the rain, it’s pine pollen season:

    Pine Pollen Season - Driveway Flow
    Pine Pollen Season – Driveway Flow

    Our robot vacuum snuffles up quite a collection of dust:

    Pine Pollen Season - vac filter B
    Pine Pollen Season – vac filter B

    Peeling a layer of the usual fuzz off the filter reveals the pollen:

    Pine Pollen Season - vac filter A
    Pine Pollen Season – vac filter A

    This, too, shall pass and my eyes will rejoice.

  • Sunbeam 3035 Clothes Iron: Rusted Spring

    Sunbeam 3035 Clothes Iron: Rusted Spring

    Some weeks ago the Sunbeam clothes iron Mary uses for her quilting projects stopped retracting its cord and a few days ago the entire compartment holding the cord spool simply fell off:

    Sunbeam 3035 Iron - detached cord compartment
    Sunbeam 3035 Iron – detached cord compartment

    One plastic stud and two thin plastic tabs held the compartment onto the rest of the iron. How they lasted this long I do not know, but they are neither replaceable nor fixable.

    When you see badly rusted screws in an electrical device, you know the story cannot end well:

    Sunbeam 3035 Iron - cord connections
    Sunbeam 3035 Iron – cord connections

    And, indeed, it hasn’t:

    Sunbeam 3035 Iron - retraction spring rust
    Sunbeam 3035 Iron – retraction spring rust

    This being a steam iron, it has a water tank that gets filled through an awkward port with a sliding cover. Mary is as conscientious a person as you’ll ever meet, but the occasional spill has certainly happened and it is painfully obvious the iron’s designers anticipated no such events.

    The coil spring had rusted into a solid mass:

    Sunbeam 3035 Iron - spring rust - detail
    Sunbeam 3035 Iron – spring rust – detail

    I removed the spring, soaked it in Evapo-Rust for a few hours, then cleaned and oiled it:

    Sunbeam 3035 Iron - relaxed spring
    Sunbeam 3035 Iron – relaxed spring

    Rewinding and reinstalling the spring showed it has lost its mojo and cannot retract more than a few feet of cord.

    She’s in the middle of a quilting project and will replace the iron with whatever cheapnified piece of crap might be available these days. Similar irons have reviews reporting they begin spitting rust after a few months, which suggests the plastic tank or stainless steel hardware in this one have been cost-reduced with no regard for fitness-for-use.

  • Kenmore Gas Range Control: Solder Joint Failure

    Kenmore Gas Range Control: Solder Joint Failure

    The entire control panel of our longsuffering Kenmore gas range became increasingly erratic, eventually reaching the condition where touching the upper right corner would blank the display, touching the lower right corner would restore it, and gently touching the temperature knob might elicit an F2 or F4 error code on the display. Given the symptoms, the old adage “It’s always the connectors” sprang unbidden to mind; I was pretty sure the oven temperature sensor had nothing to do with it.

    Pulling the thing apart reveals the PCB across the back of the control panel:

    Kenmore oven control - PCB overview
    Kenmore oven control – PCB overview

    Note that all of the external connections arrive on the white power supply PCB attached over the main PCB.

    A closer look shows one of the two groups of wire interconnects between the two boards:

    Kenmore gas range - rear PCB
    Kenmore gas range – rear PCB

    There’s a similar group hidden behind the hulking transformer.

    Removing the two obvious screws and easing the PCB out of the red plastic latches made the problem instantly obvious:

    Kenmore gas range - failed solder joint
    Kenmore gas range – failed solder joint

    Yeah, that broken solder joint would definitely be touch-sensitive!

    The solder joints in the other group also show signs of fatigue:

    Kenmore gas range - broken solder joints
    Kenmore gas range – broken solder joints

    It’s of interest only the upper joints on the power supply PCB have fractured. Perhaps those ends of the wires were hand-soldered separately from the other ends in the main PCB?

    Resoldering both ends of all the wires restored perfect operation:

    Kenmore gas range - resoldered joints
    Kenmore gas range – resoldered joints

    For the record, the Kapton tape I laid over the entire control panel 2-½ years ago continues to protect the slightly cracked membrane over the pushbutton switches:

    Kenmore oven control - Kapton tape cover
    Kenmore oven control – Kapton tape cover

    Gotta love yet another zero-dollar appliance repair …

  • Laser-cut Pole Bean Ties

    Laser-cut Pole Bean Ties

    This is the season for erecting the structures upon which the pole beans will climb:

    Garden Bean Poles - overview
    Garden Bean Poles – overview

    They’re made from a dozen small trees and branches of larger trees harvested around the yard. They last for a few years, just long enough for the next crop to reach useful lengths.

    We lash them together with fabric strips:

    Garden Bean Poles - joint detail
    Garden Bean Poles – joint detail

    My knot hand is weak, but seems sufficient to the task.

    Mary formerly tore the strips from old jeans / pants / whatever, which required considerable effort, produced ragged edges, and filled the air with fabric dust. This year, I proposed an alternative:

    Garden Bean Poles - laser cutting ties
    Garden Bean Poles – laser cutting ties

    The weird thing in the middle is a reflection of an overhead can light in the laser cabinet’s polycarb lid.

    From starting the LightBurn layout to presenting the strips for final inspection required the better part of ten minutes. I scissors-cut along the main seams to get single fabric layers, with everything above the crotch seam wadded off the platform to the left.

    As with my shop raglets, the layout depends on LightBurn’s overhead camera view to align the cuts with the fabric on the platform:

    Bean Pole Ties - LightBurn layout
    Bean Pole Ties – LightBurn layout

    It’d be easier to see with lighter fabric, but that’s what came to hand in the scrap box and the beans won’t care. We do not anticipate complaints about the odor of charred fabric when they reach the top of the poles, either.

    The strips must align with the fabric’s grain to put the warp threads along their length, which makes the main side seam parallel to the X-axis. Even I can handle that layout!

    Yes, the strips have rounded corners and, no, it doesn’t matter.