Clearing off the Electronics Bench unearthed the probes for my fancy Siglent SDM-3045 bench meter, which had been producing erratic readings. I isolated the problem to the red probe, which had an irregularly variable resistance ranging upward from a few ohms.
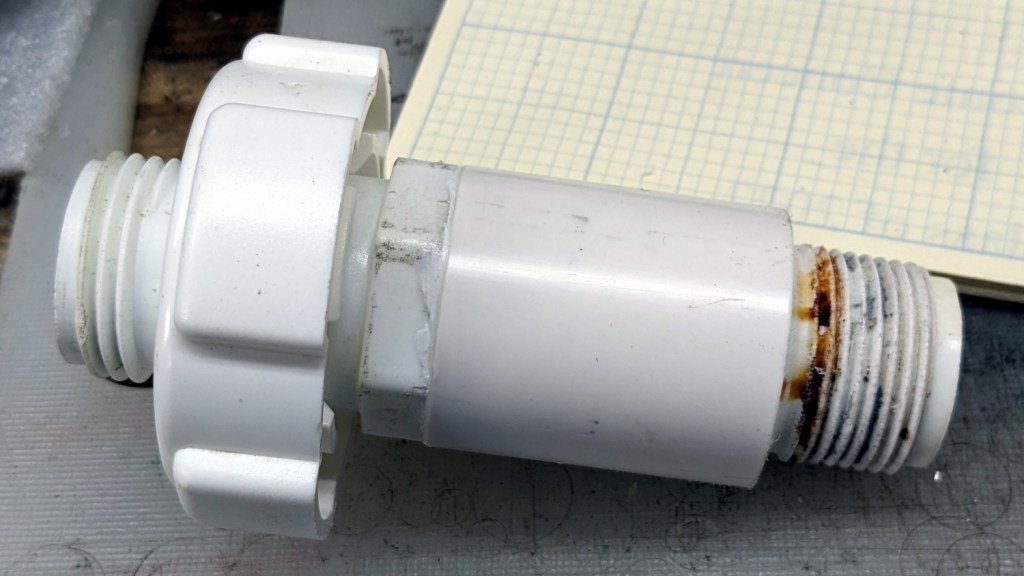
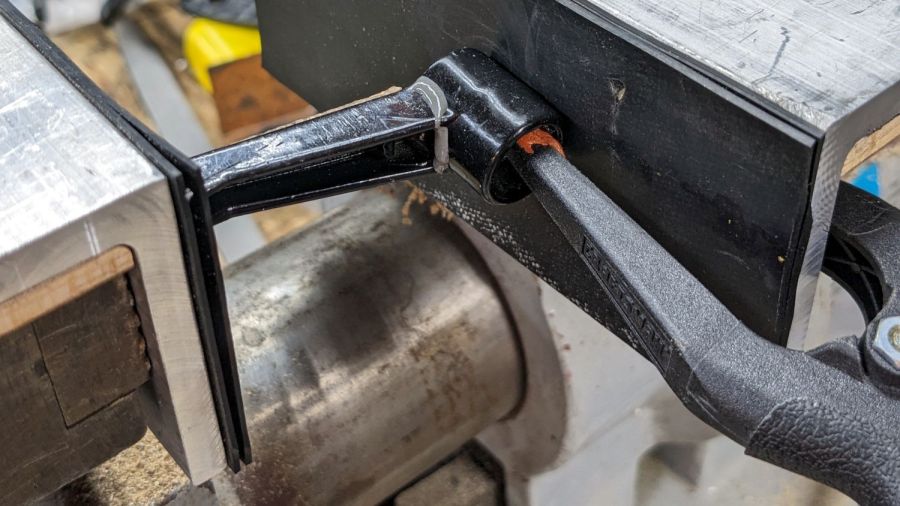
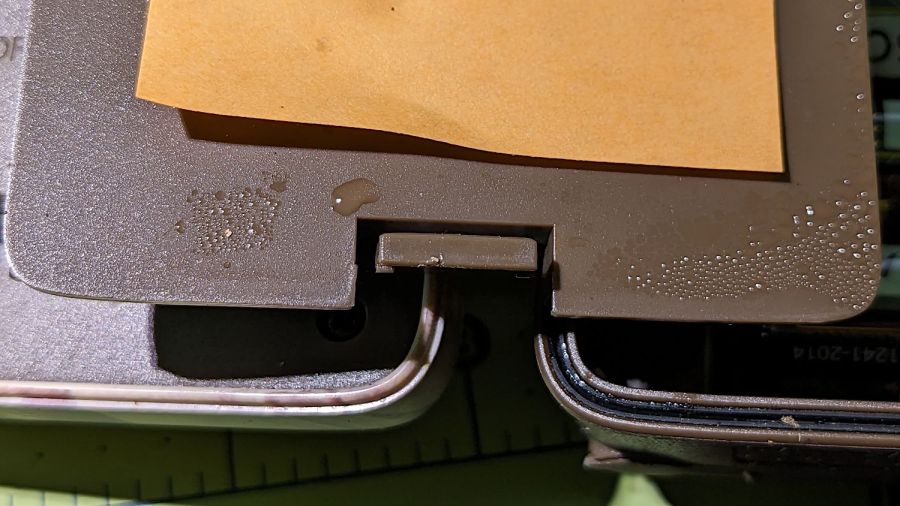
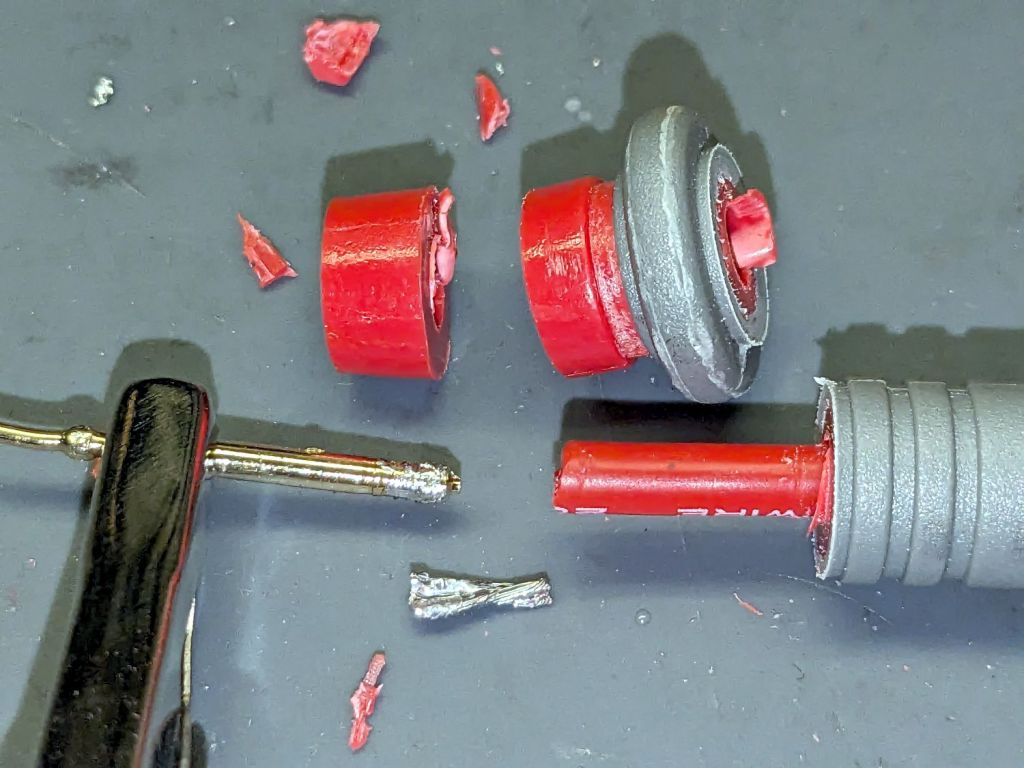
The probe being a non-repairable thing, I used the lathe to cut it apart and eventually found the problem:

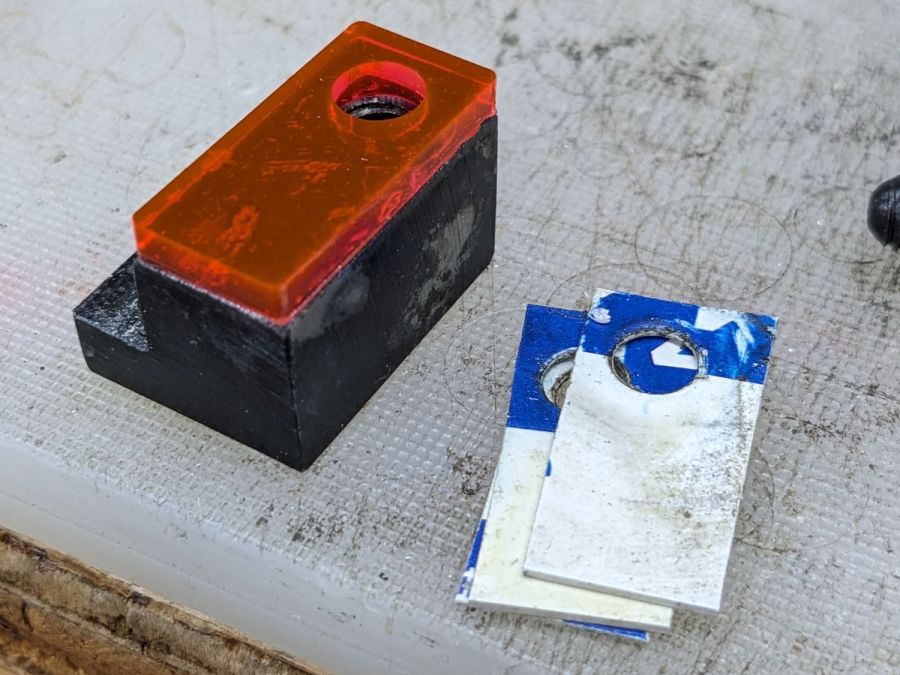
The probe tip on the right originally had no solder on it at all (*), with the curved part of the soldered wire fragment resting around it. The plastic pieces originally molded around the tip and wire applied enough force to hold them together, but the wire fragment fell out as I dismantled the probe.
Apparently the assembler didn’t get enough heat on the wire-to-tip joint to melt the solder on the probe tip, but the plastic shell got it past whatever QC might have happened between assembly and the shipping department.
A few years back, I refurbished all my failing alligator clips (using the Siglent meter and its test probes!) and no longer believe increasing my spend for such things will increase their quality. I’d love to be proven wrong, but the evidence is definitely stacking up the other way.
(*) I tried soldering the pin just to see if it was solderable: yes, it was.