Continuing the theme of slot resizing for various materials:
The DXF pattern imports directly into LightBurn and requires the usual joining / closing / optimization before all the slots resize in unison. Doing the resize changed the slots from the original 3.0 mm to the 3.9 mm required to convert a cardboard moving box into a pachyderm.
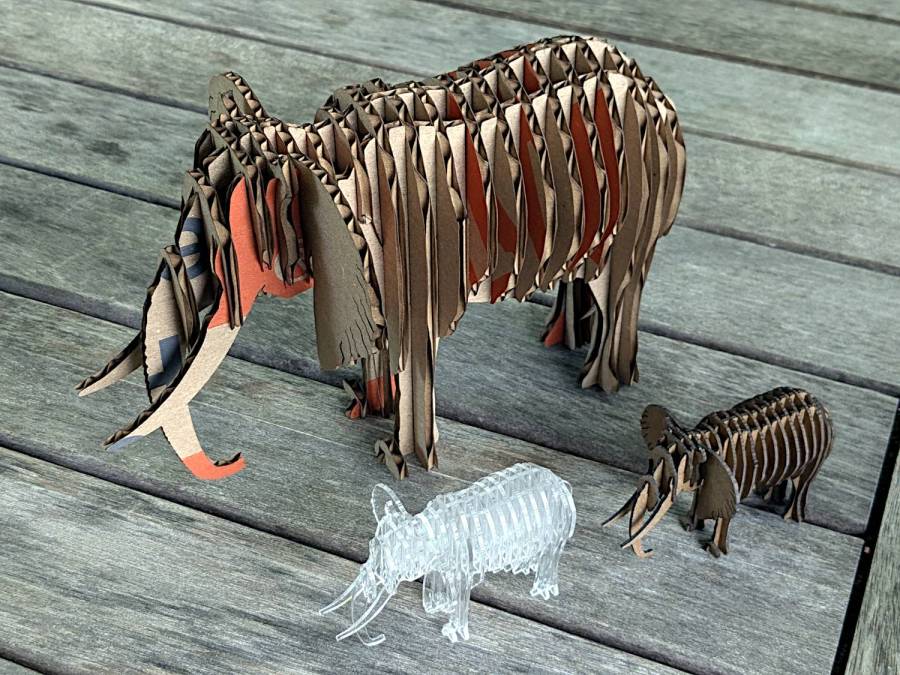
The leg sections turned out to be a bit too thin for corrugated cardboard, so the corrugations came loose from the surface sheets, although the tail looked much more realistic. Stipulated: corrugated cardboard is the wrong material, but I really didn’t need a big MDF elephant looming over everything else.
The smaller elephants, both in 1.5 mm thick materials, come from a global resize applied through the LightBurn Numeric Edit toolbar:
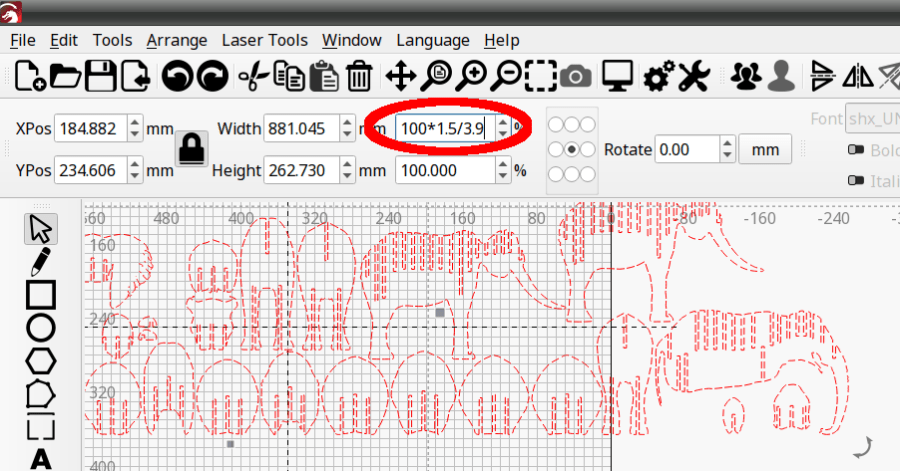
The ratio makes the slots become the new size, with the entire rest of the design scaled around them. This works if you don’t much care about the overall size, but is rare in actual practice where you need a model “that big” with the slots fitting “that material”.
But the pieces just slid together:
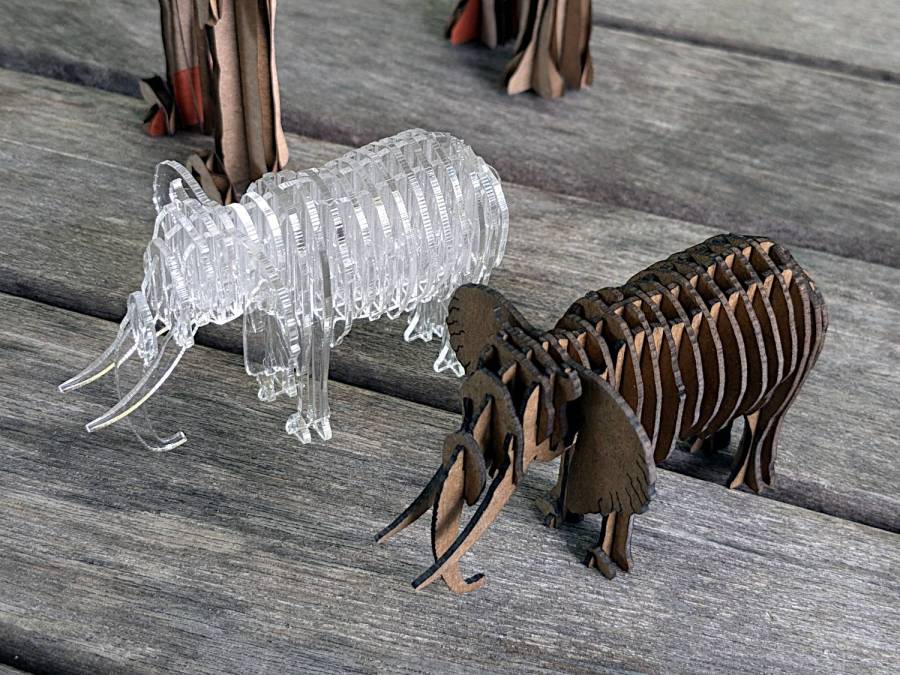
I put dots of cyanoacrylate in the acrylic joints, although the vapors scarred the surface enough to remind me why that’s the wrong adhesive for the job when you care about surface quality. Dots of wood glue hold the chipboard elephant together, with a quick shot of clear rattlecan paint to knock down the smell of the charred edges; I’d say the color came out about right.
All in all, they worked out rather well.