Ed Nisley's Blog: Shop notes, electronics, firmware, machinery, 3D printing, laser cuttery, and curiosities. Contents: 100% human thinking, 0% AI slop.
A flurry of alerts informed us about charges on an “inactive” credit card account: someone started using my card from a joint account with Mary. Our two cards have different numbers and security codes, although they produce charges to the same account.
The account was inactive for a simple reason: I’d never taken my card out of its mailer and never bought anything with that number. It was activated when Mary turned on her card, although it still carries that sticker:
Invalidated credit card
The customer service agent discovered Amazon had already issued a refund, so apparently the transaction tripped their fraud monitors.
He canceled that number and I’ll get another card, which I intend to continue not using, in a few days.
What I do not understand: how did my card number and security code end up in play, given that I never used it? AFAICT, the only two places that number appears are on the card and in the issuer’s database.
Do you know how such things work?
A casual web search for the (now invalidated) credit card number produces no hits. The simplest explanation: search engines don’t return results for sixteen digits resembling a credit card number.
Verily: just because you’re not paranoid doesn’t mean they’re not out to get ya!
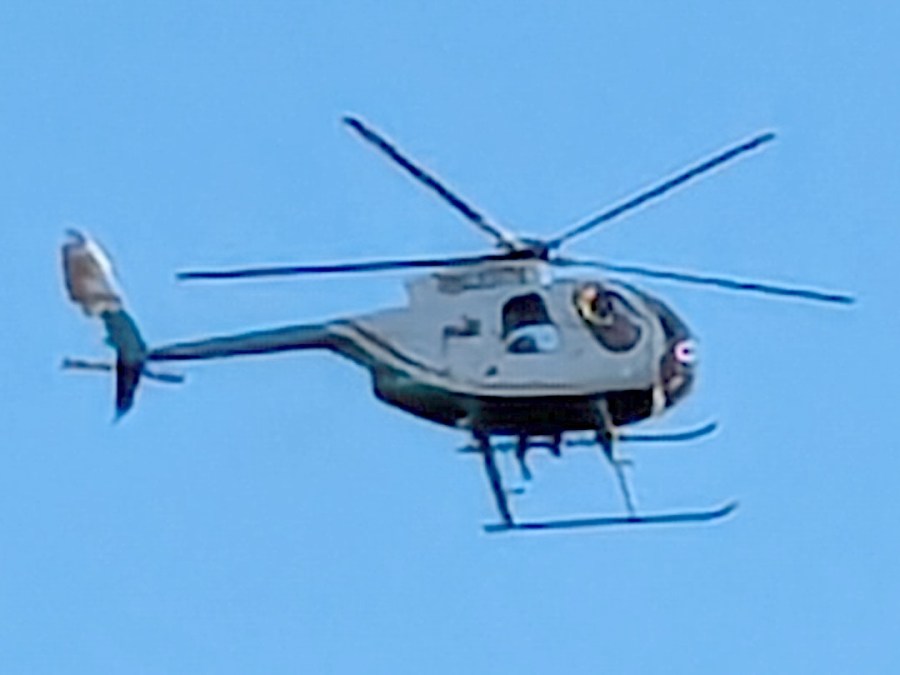
A power transmission line (probably 115 or 138 kV) runs along the Casper Creek (f.k.a. Casperkill) and through the Vassar campus beyond our back yard, which accounted for a loud roar one morning:
Helicopter power line inspection
The pilot hovered above each pylon long enough for the inspector seated in the open door to do whatever needed doing:
Helicopter power line inspection – clear view
A casual image search suggests it’s an MD520N (N = NOTAR = “No Tail Rotor”) helicopter. Although the NOTAR back end produces much less noise than an exposed rotor, it was plenty loud enough a few hundred feet away.
Folks who know more than I do about helicopters pointed out the tail rotor I didn’t see. Here’s a tight crop from another image with the rotor in plain view:
Here’s what I think is going on, referring to the 4×8 foot (!) machine in that discussion and lightly edited to improve readability & fix minor errors …
Mirror 1 alignment gets the beam parallel to the Y axis, averaged over the gantry travel between front and rear. The path length variation on your machine is four feet.
Mirror 2 alignment gets the beam parallel to the X axis, averaged over the laser head travel from left to right. The path length variation on your machine is eight feet.
When the laser head is in the left rear corner, the total path length is maybe a foot or two. When it’s in the front right corner, the total path length is upwards of twelve feet.
The “Fourth Corner” problem comes from a slight angular misalignment of Mirror 1, because you (and I and everybody) must set it with a maximum path length around four feet (Mirror 1 to Mirror 2 with the gantry at the front end of the machine). But with the laser head in the right front corner, the path length (Mirror 1 to Mirror 3) is three times longer, so the error due to a slightly mis-set angle at Mirror 1 is correspondingly larger.
A tiny tweak to Mirror 1 changes the spot position at Mirror 2 by very little, but moves the spot at Mirror 3 by much more due to the longer path length.
Tweaking Mirror 1 cannot compensate for a warped machine frame, but it will get the beam alignment as good as it can be made.
The next point of contention was my “middle of the mirror” suggestion. AFAICT, the spot burned into the target at each mirror marks only the useful part of the beam with stray energy in a halo around it. Centering the spot keeps that stray energy away from the mirror mounts, so it doesn’t cause unnecessary heating. This will be particularly important with a high-power laser.
Angular adjustment of each mirror puts the beam parallel to the axes, but cannot also center it on the mirrors. After it’s aligned, the path from the laser tube through the nozzle depends on the position of the tube relative to the nozzle: moving the tube up/down and front/back moves the beam position on the mirrors and through the nozzle, but (in an ideal world) doesn’t change the angular alignment.
So after aligning the beam parallel to the axes, you must move the laser tube, the mirrors (up/down left/right front/back), and maybe the laser head to center the beam in the mirrors and also in the nozzle. Because we don’t live in an ideal world, moving any of those pieces wrecks their angular alignment, so it’s an iterative process.
The goal is to reach this point:
Beam Alignment – Mirror 3 detail – 2023-09-16
Those are five separate pulses, one each at the four corners and center of the platform.
The beam then goes pretty much through the center of the laser head and lens:
An entry from The New Garden Encylopedia, copyright 1936 through 1946, gives recommendations for using arsenical poisons in your garden:
Arsenical poisons
My father always said anybody who talks fondly of The Good Old Days wasn’t alive back then. He was and thought things had definitely improved since then.
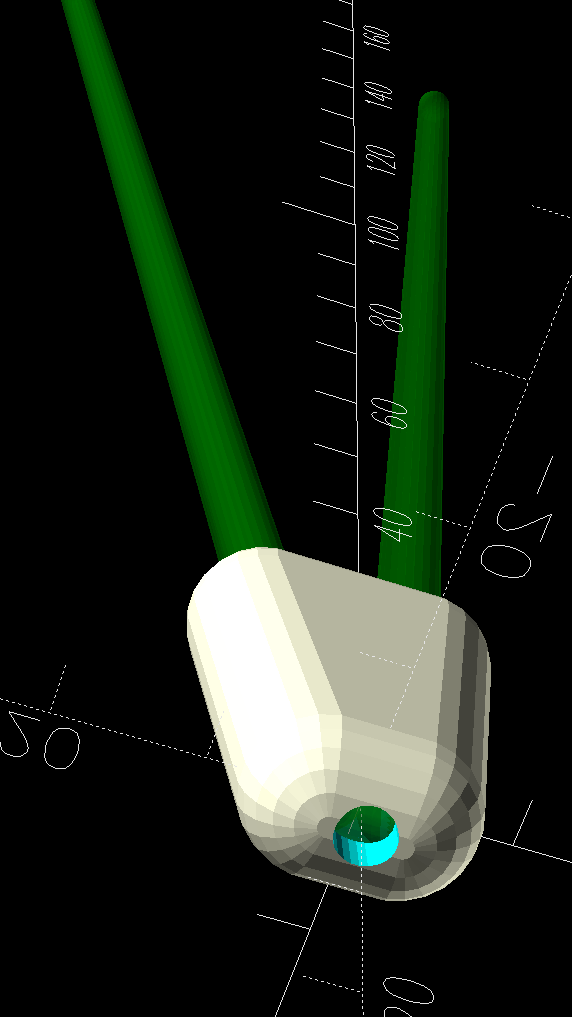
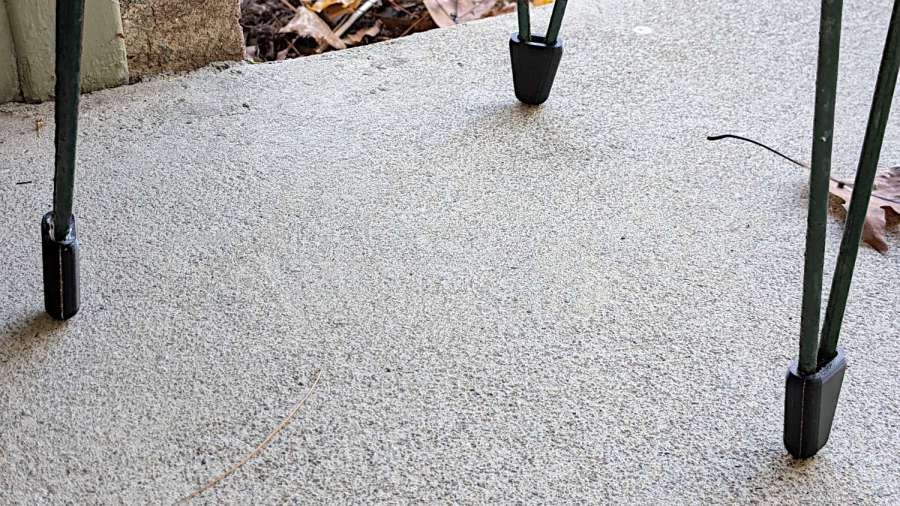
A pair of plant stands from a friend’s collection ended up in Mary’s care and cried out for feet to keep their welded steel wire legs from scratching the floor:
Wire plant stand feet – indoor stand
Admittedly, it’s not the prettiest stand you can imagine, but the sentimental value outweighs all other considerations.
The feet are shrink-wrapped around the legs with enough curviness to look good:
Wire plant stand feet – show side view
With a drain hole in the bottom to prevent water from rusting the wires any more than they already are:
Wire plant stand feet – show bottom view
I briefly considered a flat bottom at the proper angle to sit on the floor, but came to my senses; it would never sit at the proper angle.
The end results snapped into place:
Wire plant stand feet – indoor detail
Of course the other stand, at first glance identical to the one above, has a different wire size and slightly different geometry, which I only discovered after printing another trio of feet. Changing the appropriate constants in the OpenSCAD program and waiting an hour produced a better outcome:
Wire plant stand feet – outdoor stand
Living in the future is good, all things considered.
This file contains hidden or bidirectional Unicode text that may be interpreted or compiled differently than what appears below. To review, open the file in an editor that reveals hidden Unicode characters.
Learn more about bidirectional Unicode characters
That’s the compression spring inside the curtain rod over the kitchen sink, intended to push the ends against the cabinets on either side. The screw slides along the outer rod and when tightened, backstops the spring against the inner rod.
The end of the spring is apparently intended to twist and jam inside the inner half of the rod, but that seemed so … unesthetic.
Being in the midst of setting up a Windows 11 box for the laser cutter, I used it as an excuse to fiddle with the RDP configuration to get LightBurn running in full screen mode on the monitor atop my desk; more about all that later.
The little pusher block is a hull around a pair of circles the same diameter as the smaller dimension of the inner rod, spaced apart enough to match its width, then laser-cut from a scrap of 1/4 inch acrylic:
Curtain rod pusher block – overview
Which assembles as you’d expect:
Curtain rod pusher block – installed
The spring seems much happier pushing against the block, doesn’t it?
Admittedly, this was completely unnecessary, but if you think of it as a side effect of the Win 11 thing, it makes at least a little sense.