Ed Nisley's Blog: Shop notes, electronics, firmware, machinery, 3D printing, laser cuttery, and curiosities. Contents: 100% human thinking, 0% AI slop.
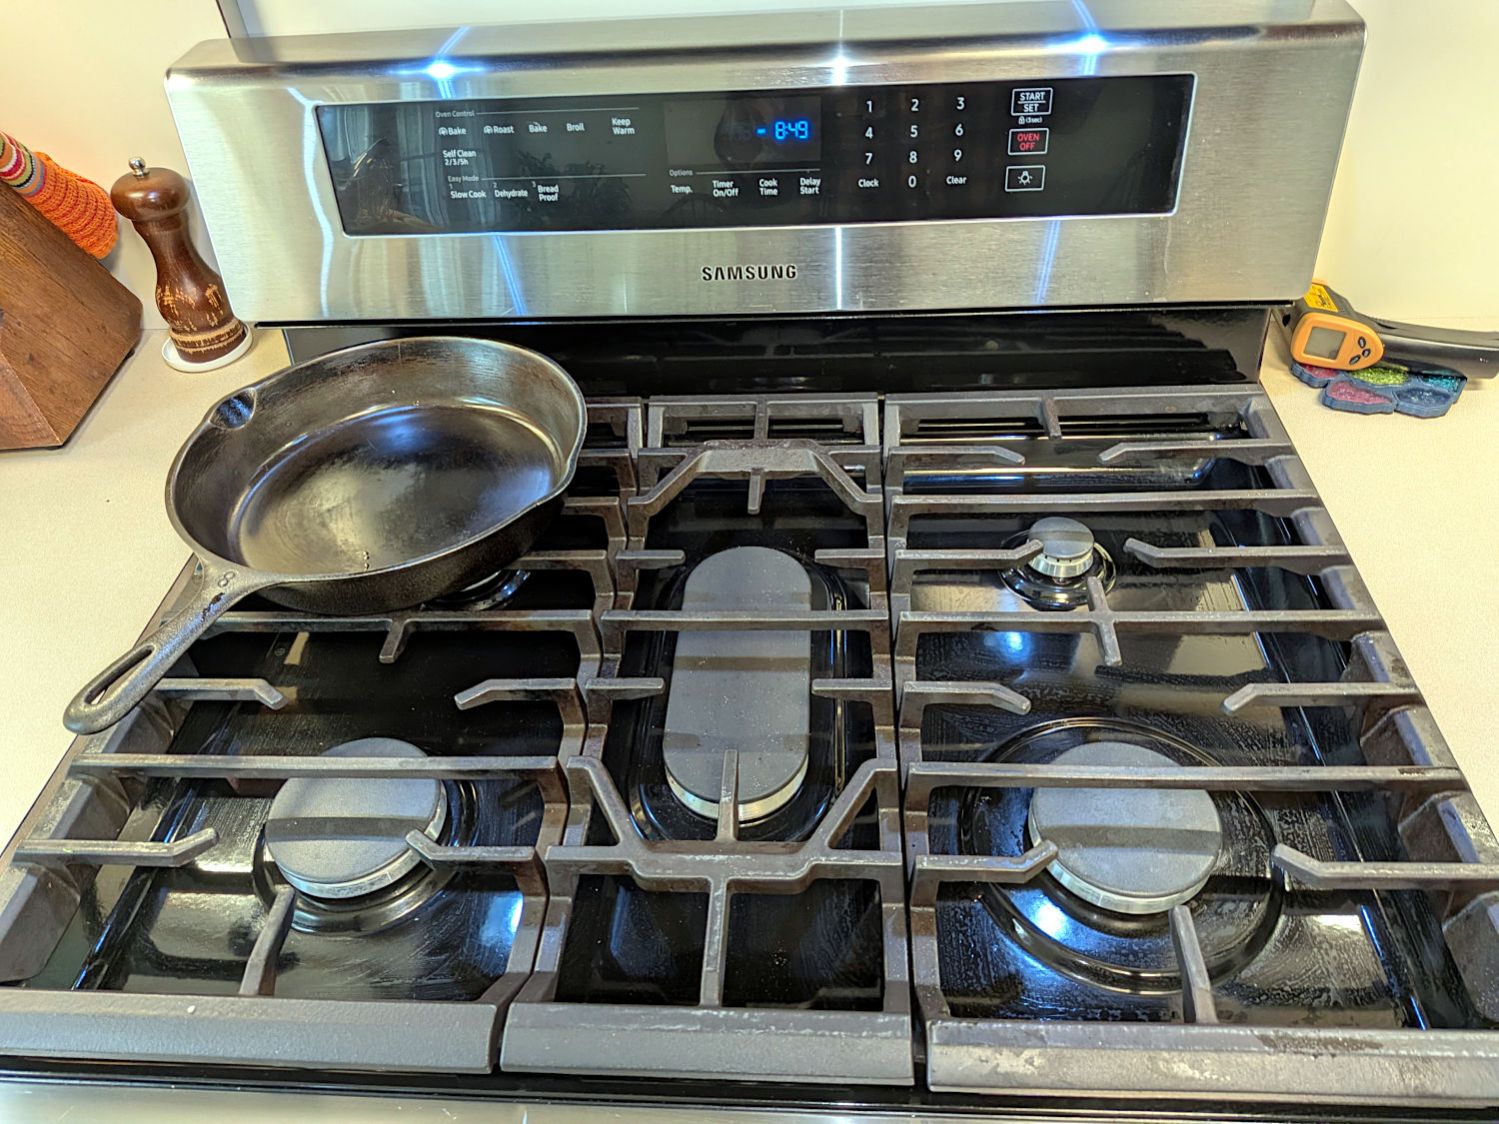
Be it hereby declared: laying the absurdly heavy cast-iron grates from the stove on sawhorses in the driveway and pressure-washing them produces a dramatic improvement:
Pressure-washed stove grates
They’re now devoid of the oil / grease / carbon accumulated during their decade of existence, little of which can be removed by hand; the shiny spots on the front right shrug off all solvents in my armory. The black finish still has plenty of scrapes & scuffs, but it’s no longer annoying.
You might think Samsung stove grates would fit in a Samsung dishwasher, but they’re too big and too heavy.
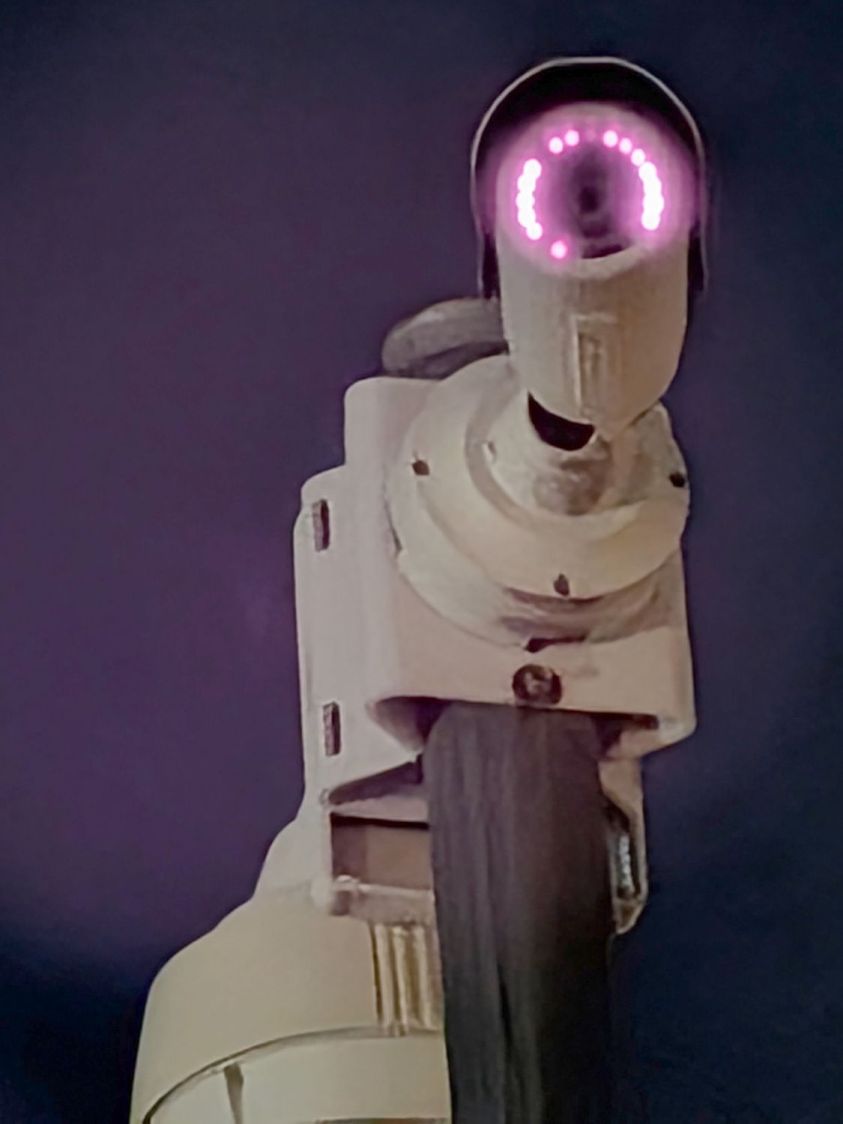
Under the plausible assumption the security / surveillance cameras along the Walkway Over the Hudson aren’t the cheapest junk available from a randomly named Amazon seller, this came as a surprise during a recent Walkway At Night stroll:
Walkway Over the Hudson – camera LEDs
The IR LEDs emit just enough red light to be dimly visible to the human eye, but appear much brighter to a silicon detector. I think the long gap at the bottom right is a sensor of some sort, so the array of 18 LEDs has two deaders, one near death, and six more fading away.
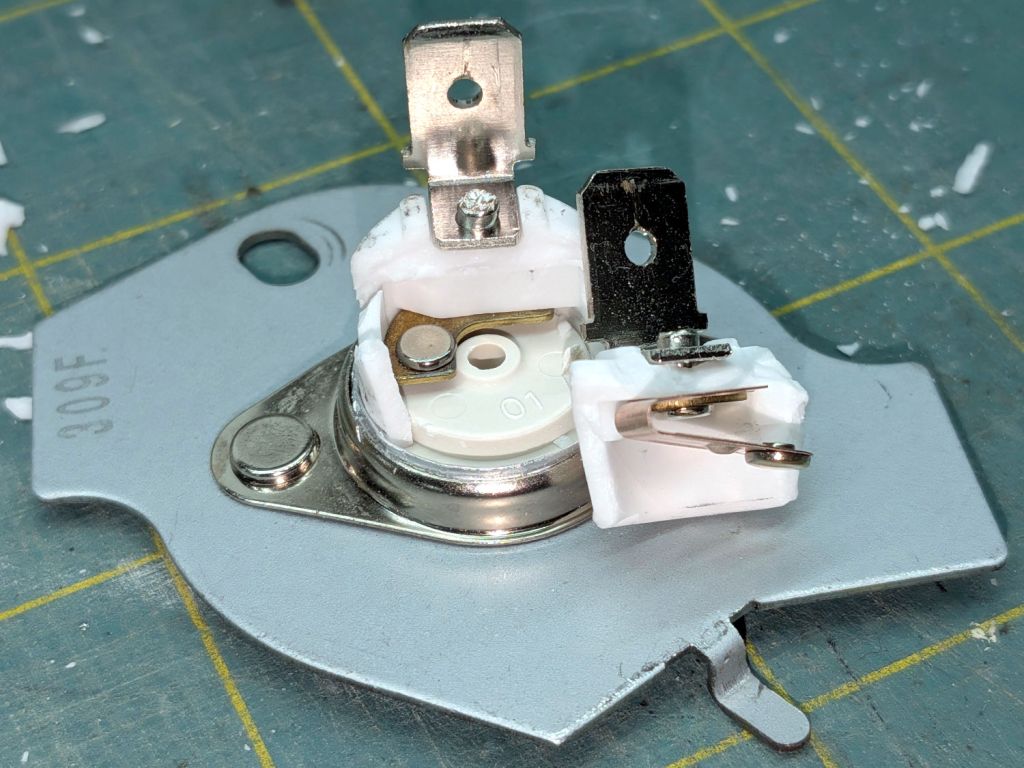
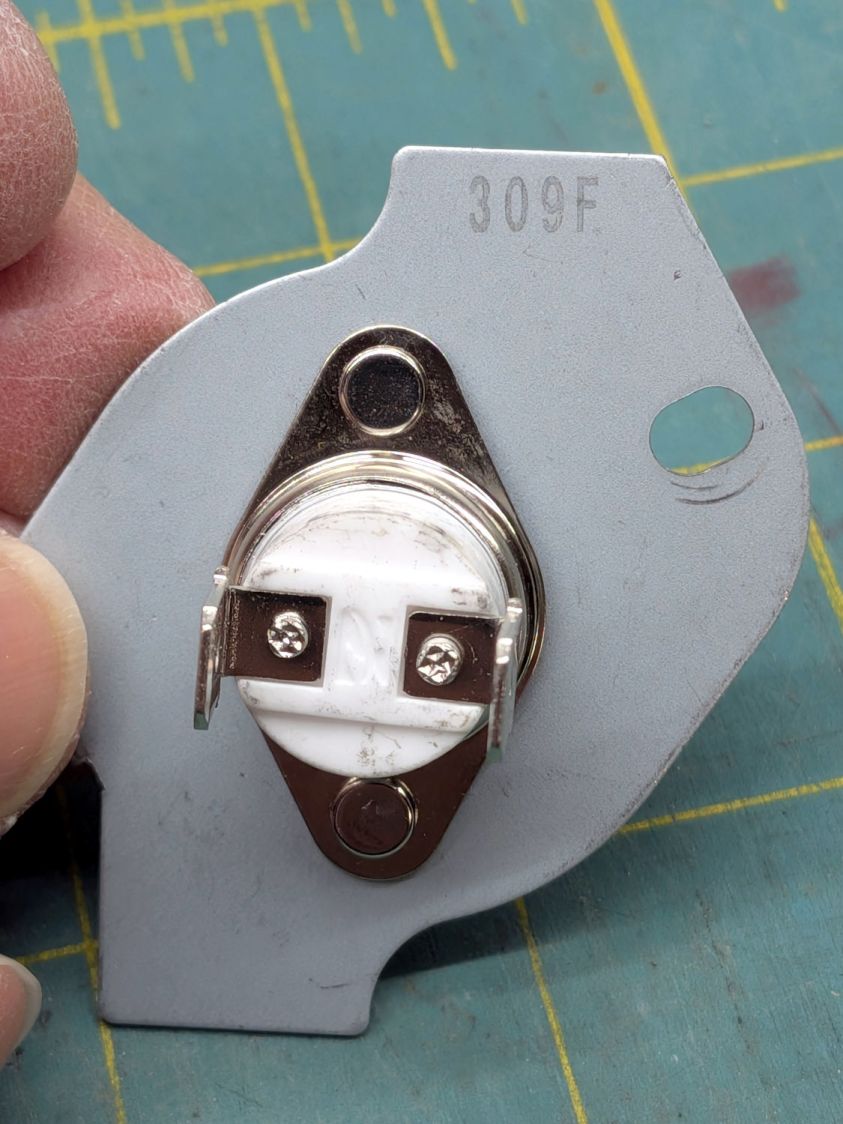
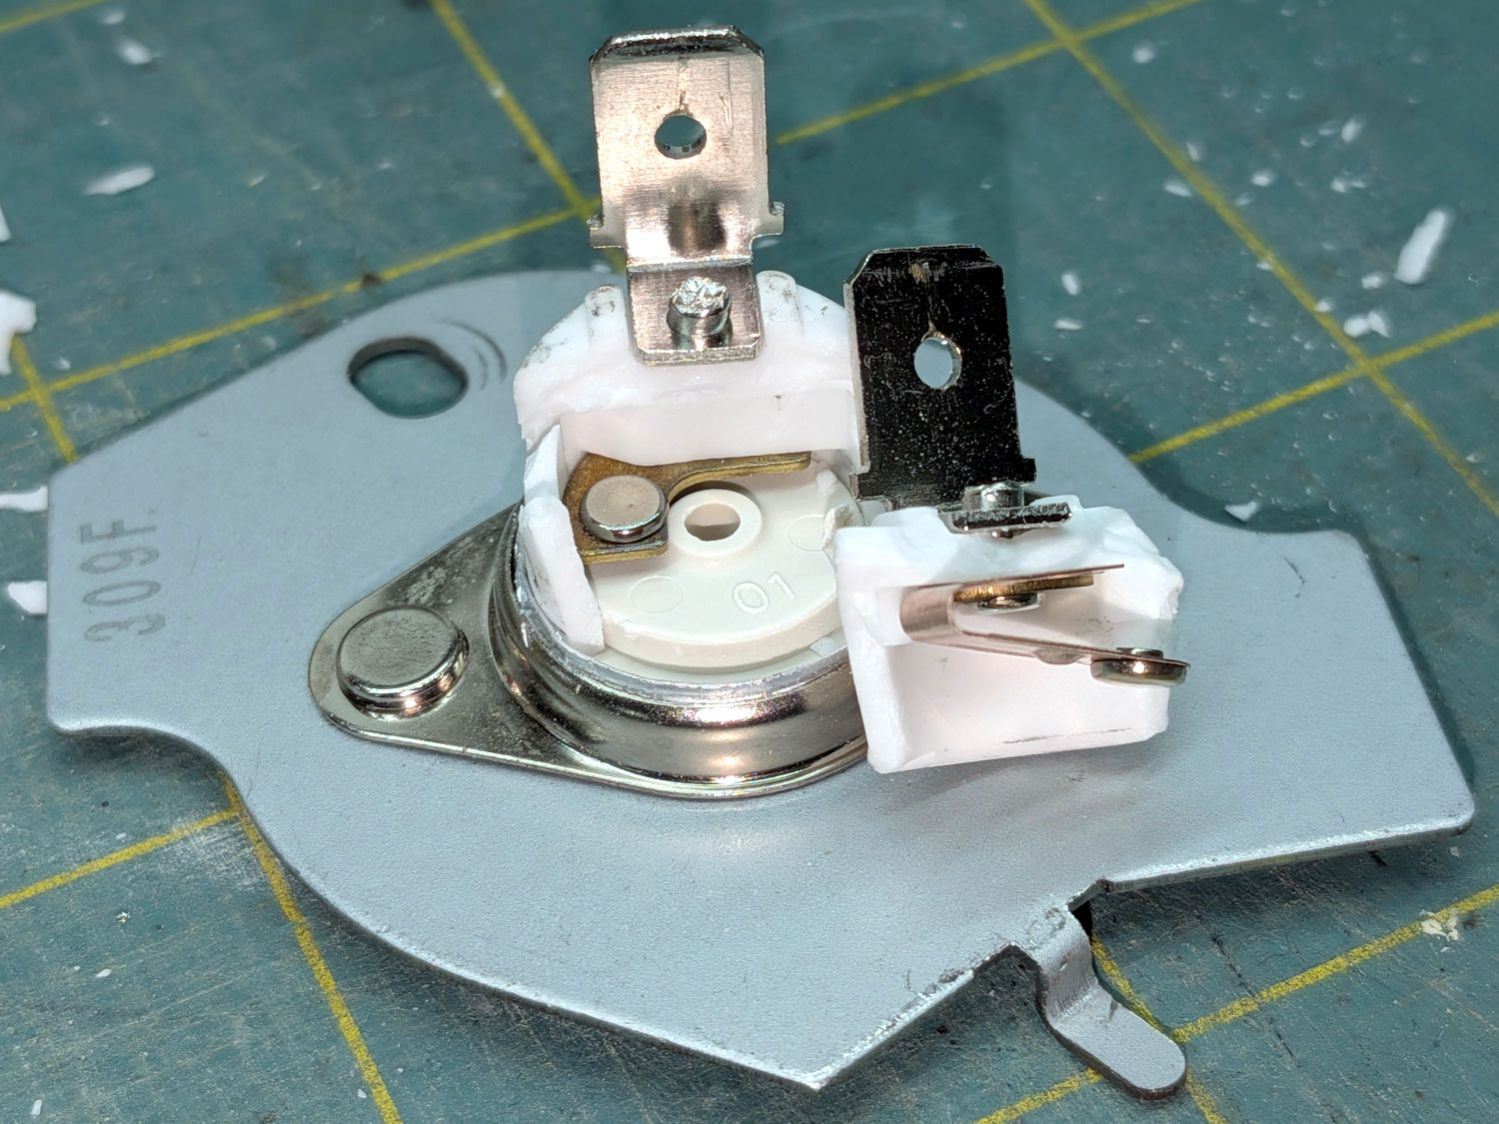
I don’t know what permanently opens the circuit in there, but it definitely happened. The contacts remain unblemished, so they were pressed firmly together until the end.
With nothing to lose, I reinstalled the Thermal Cutoff I removed last year (*) and the dryer works fine again.
It is possible lint accumulating in the filter bag I added to the exhaust vent restricted the airflow enough to overheat the cutoff, but the Operating Thermostat should keep the air around 155 °F and the Hi Limit thermostat should have tripped at 250 °F, long before the temperature reached 350°F.
Another cutoff will arrive shortly and will remain in the Box o’ Dryer Parts against future need.
(*) Which is why I keep the old parts around, because a dubious part on hand is much better than the new part I might not be able to get due to, oh, “supply chain issues”.
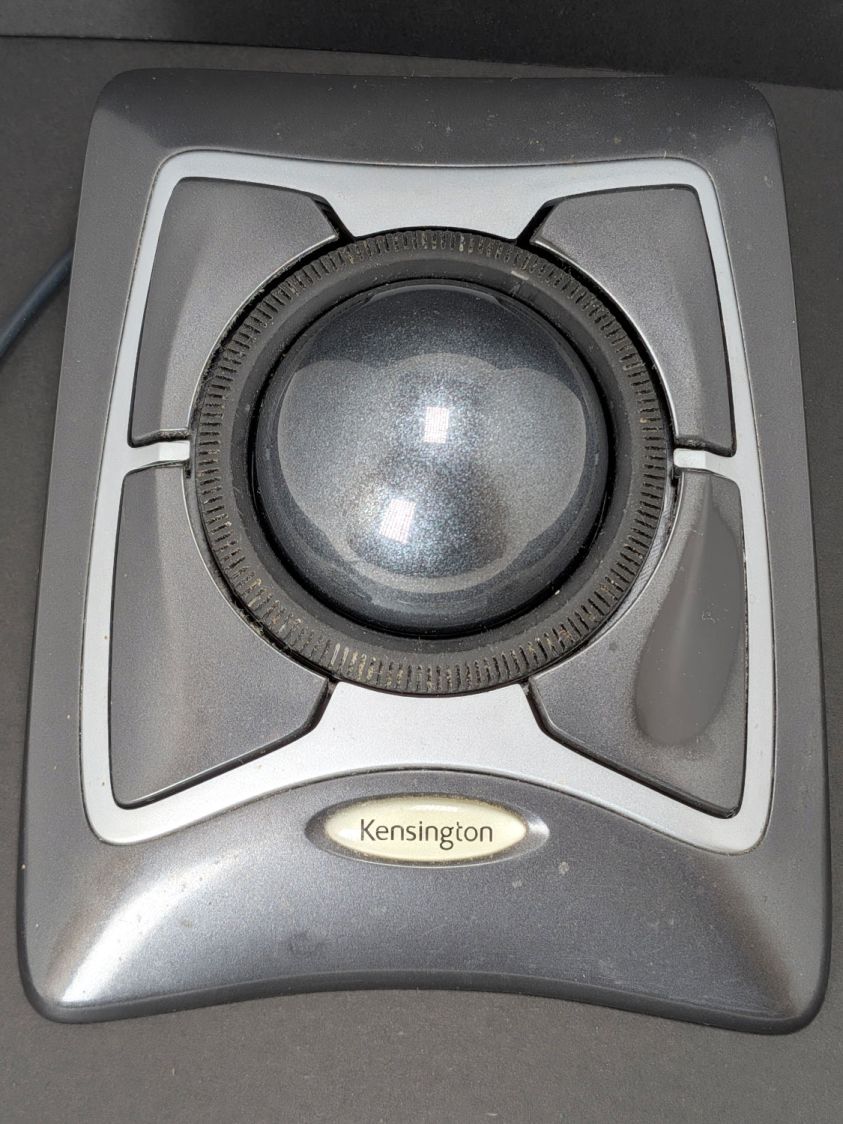
You can tell that button has done a lot of clicking:
Kensington Expert Mouse Trackball – worn button
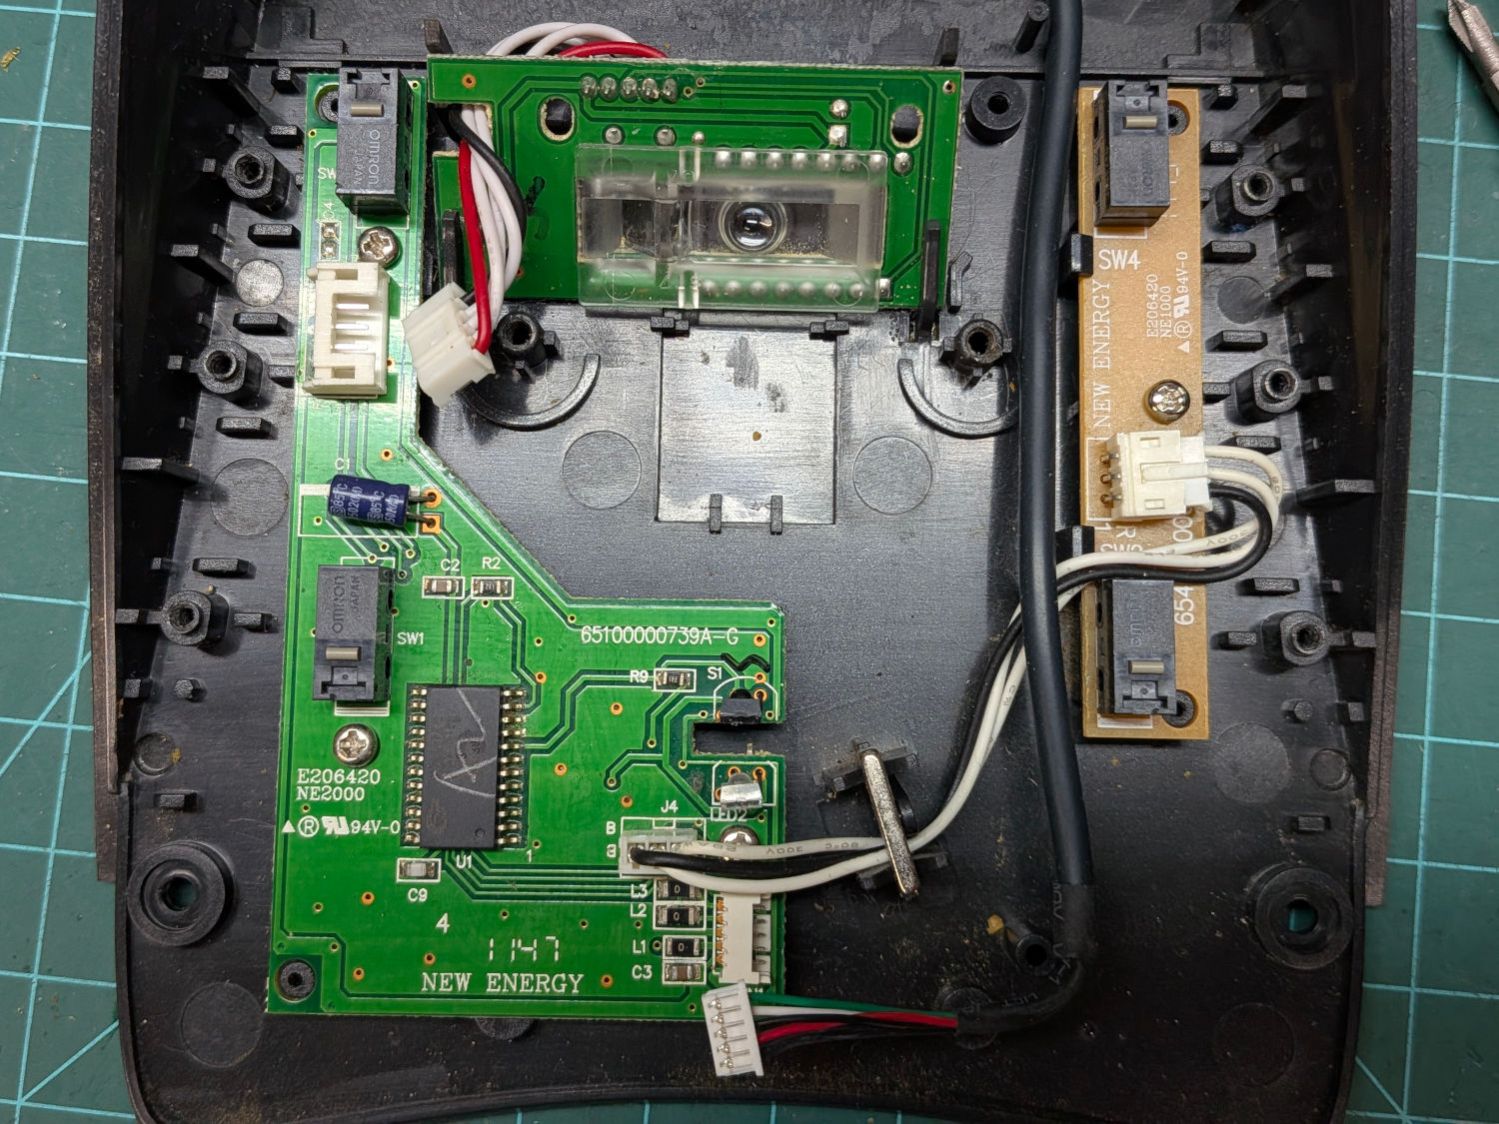
The switch layout comes as no surprise:
Kensington Expert Mouse Trackball – switch layout
Those are Genuine Omron D2F-01 SPDT switches and the replacements are Genuine Anonymous D2F-01F. While I had the cover off, I replaced all four switches.
Protip: The black cable on the right must go under the three wires between the PCBs. Arranged as shown, the scroll ring will drag on the cable.
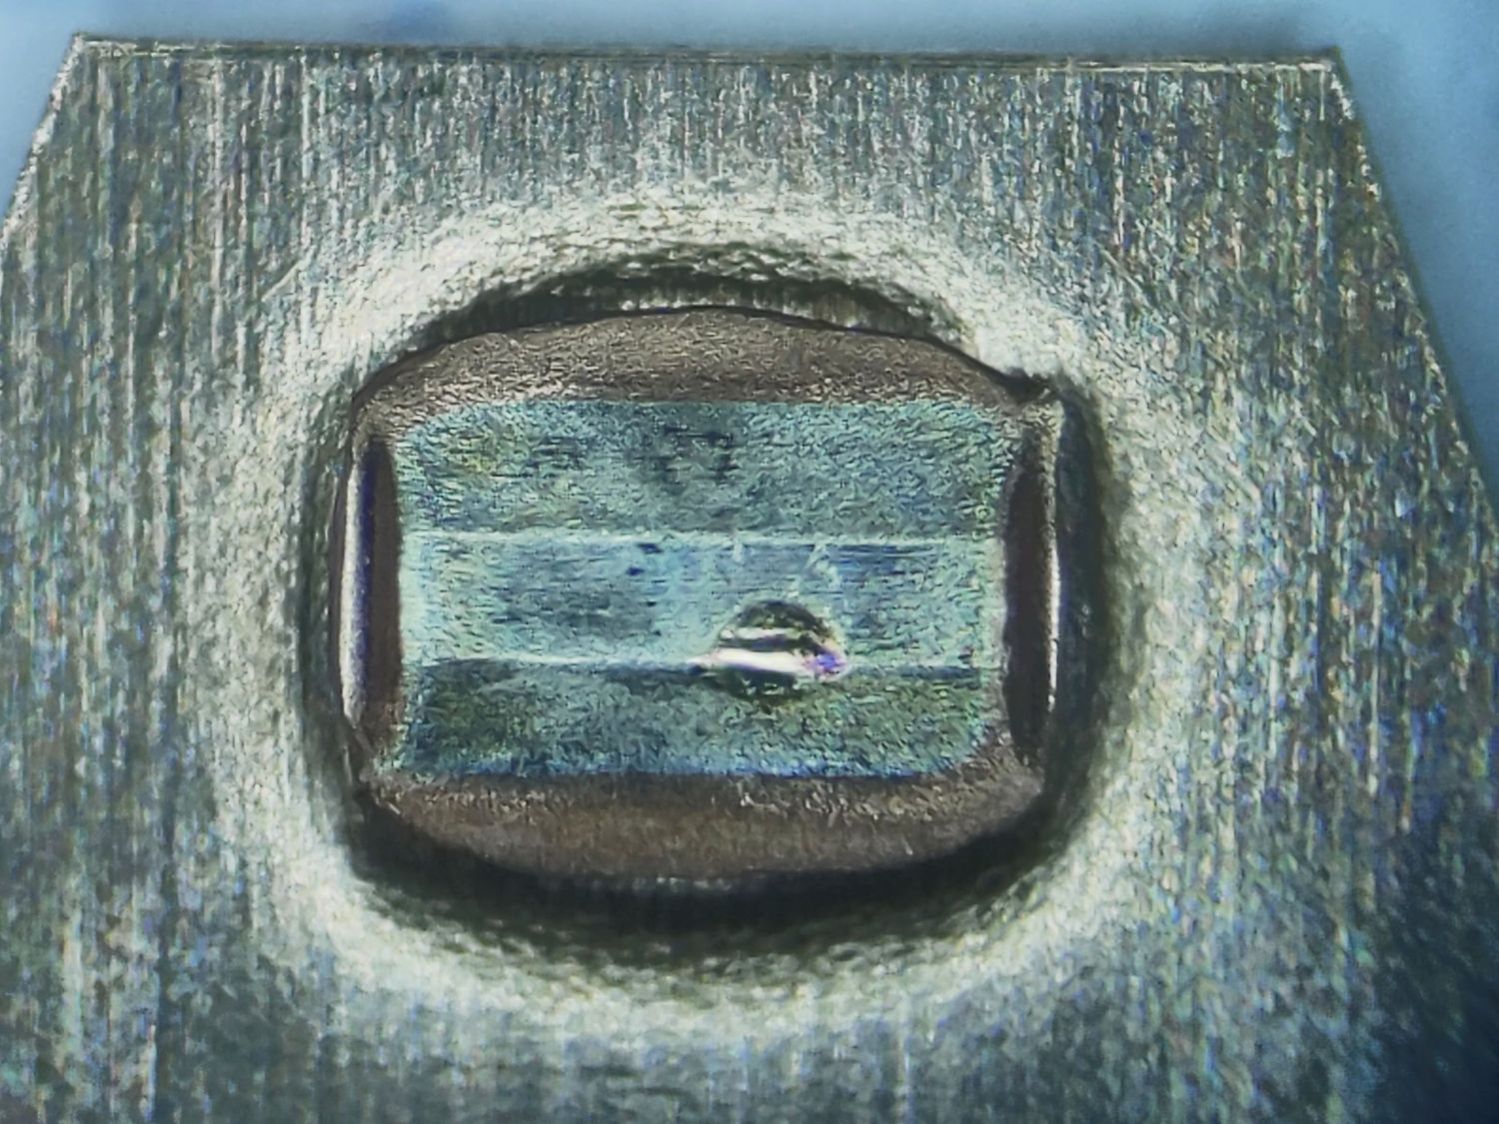
I dismantled the switches and put their Common bar under the microscope. I believe these contacts rest on the Normally Closed switch terminal, which is electrically inert:
Kensington Expert Mouse Trackball – NC contacts
Three of them have about the same amount of wear:
Kensington Expert Mouse Trackball – NC contact 2
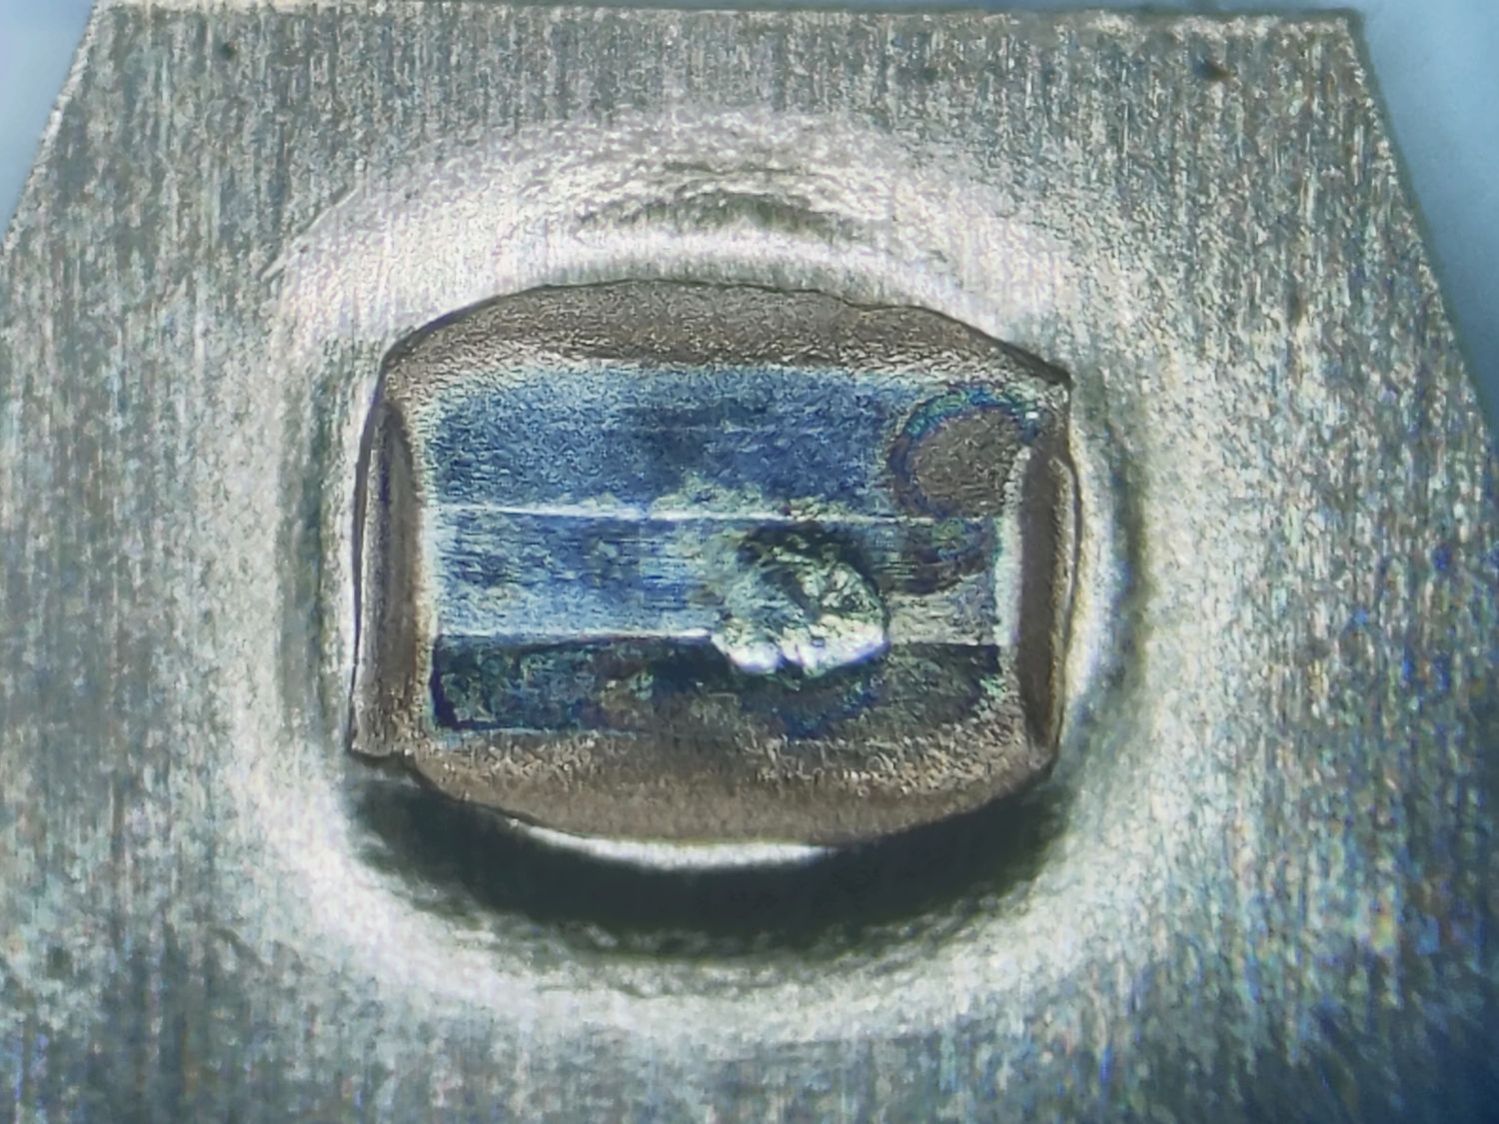
The leftmost one looks worse:
Kensington Expert Mouse Trackball – NC contact 1
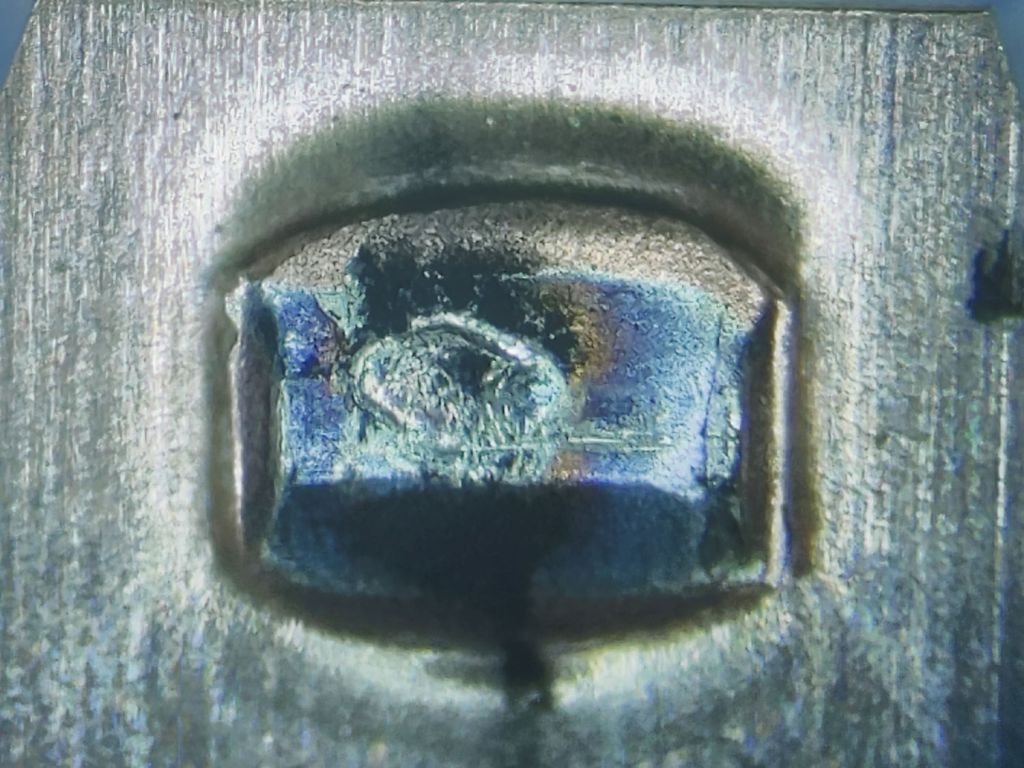
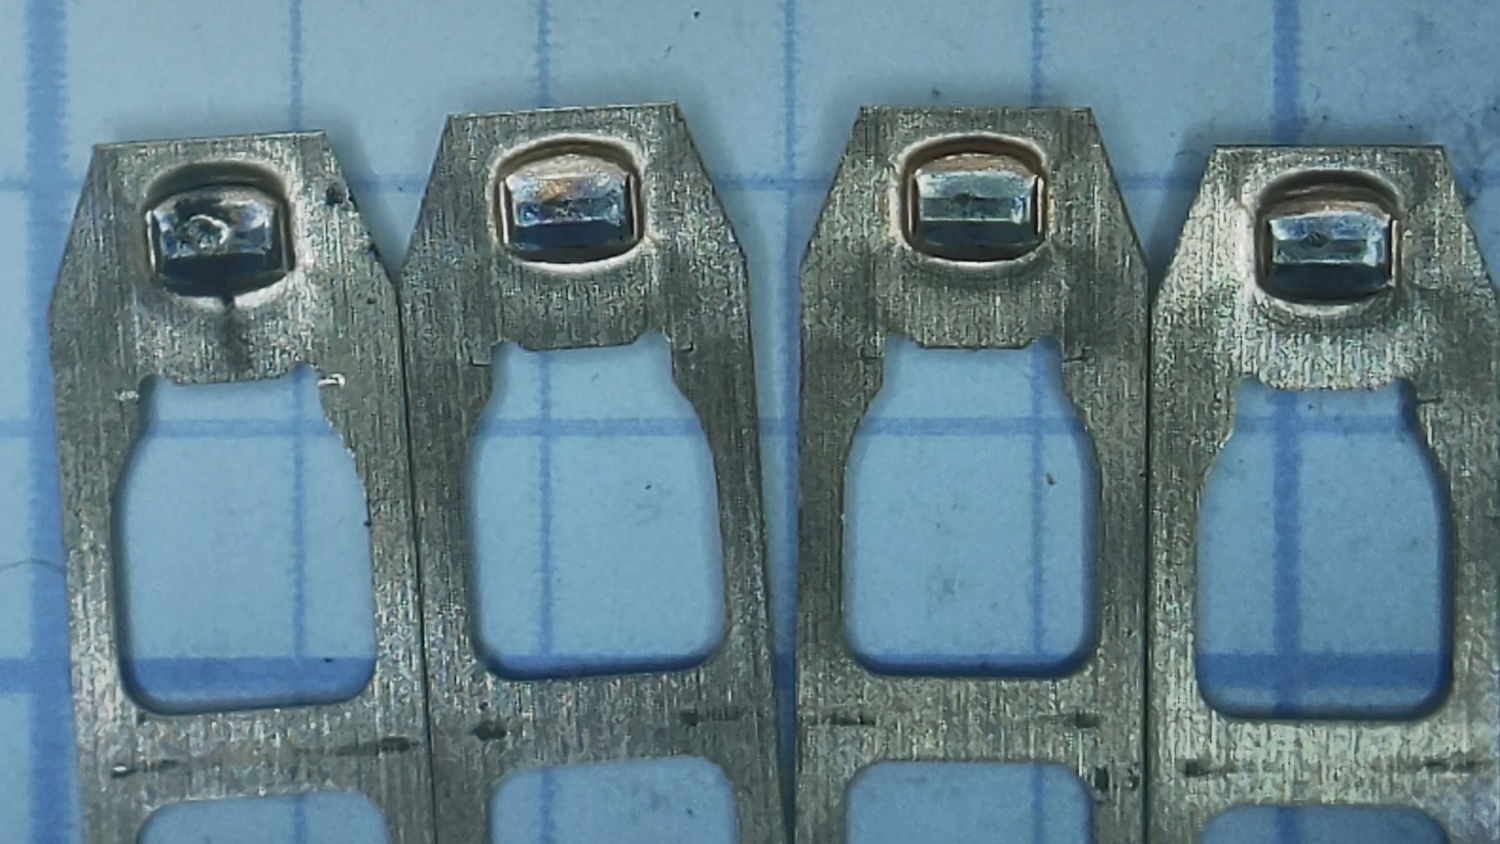
Flipping them over (in the same order) exposes what I think are their Normally Open contacts responsible for all the button action:
Kensington Expert Mouse Trackball – NO contacts
Again, the rightmost three look about the same and the contact on the left shows more wear, plus what looks like a soot streak:
Kensington Expert Mouse Trackball – NO Contacts 1 2
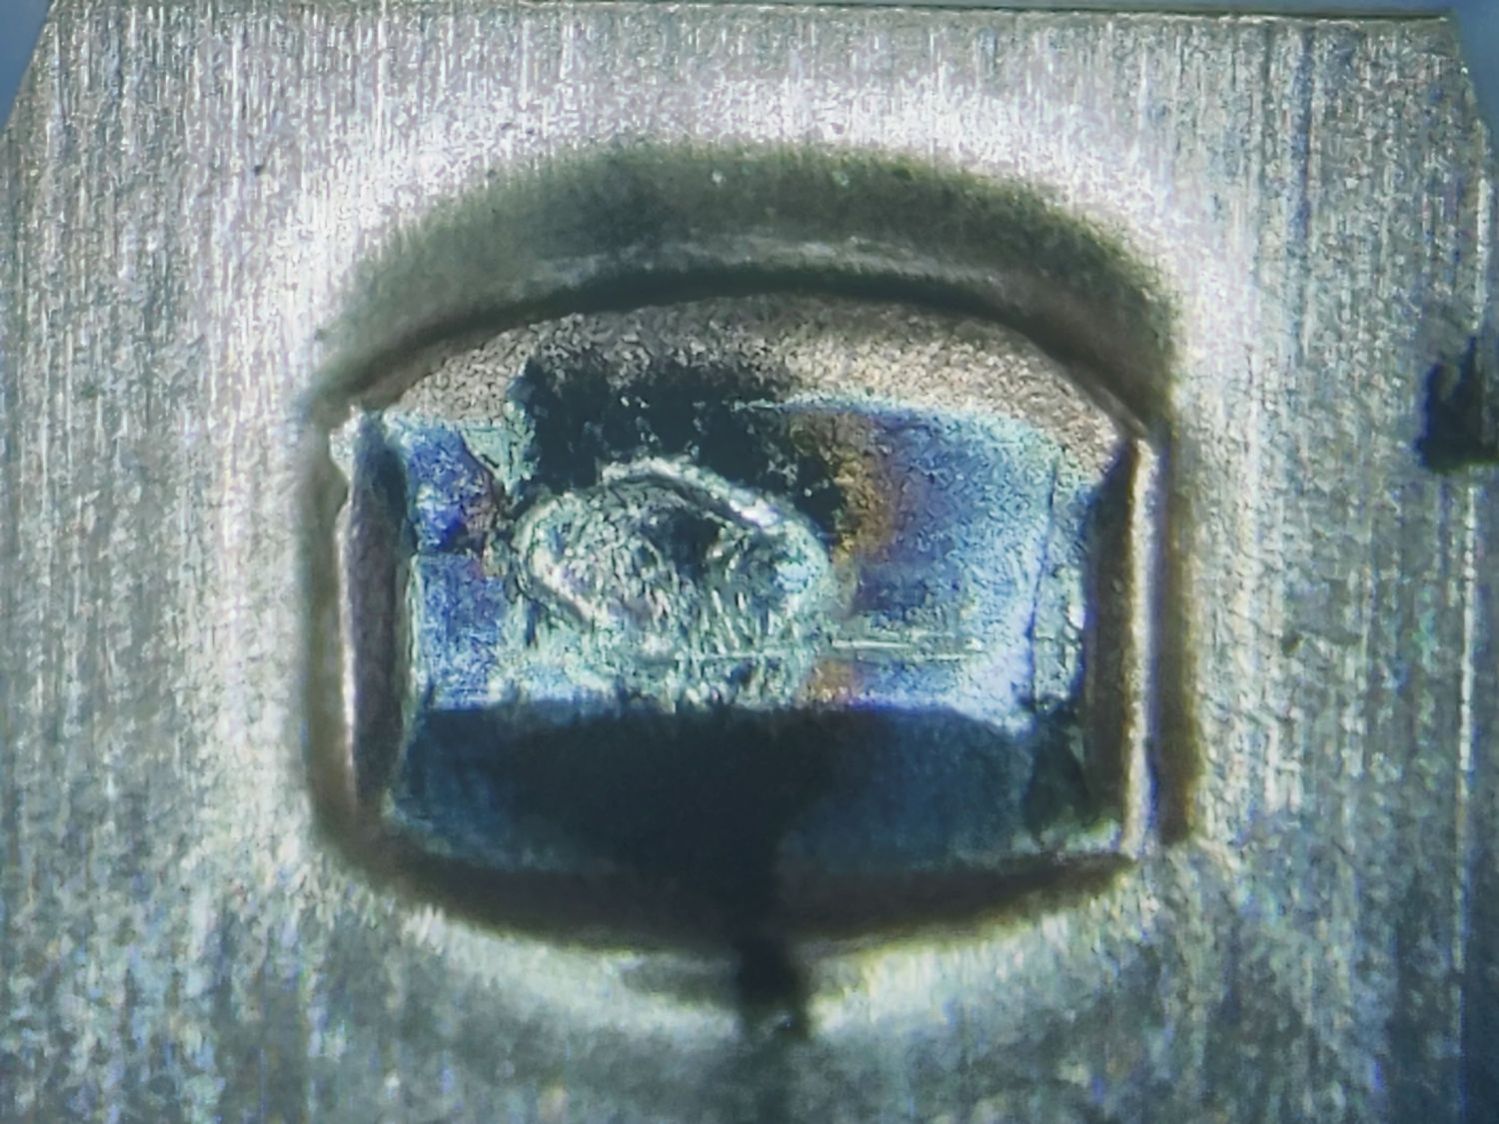
A closer look:
Kensington Expert Mouse Trackball – NO Contact 1
These things operate at logic levels, so most of the damage surely comes from mechanical erosion and the soot is pulverized metal.
While waiting for the switches to arrive, I deployed an Expert Mouse Trackball from a PC in the Basement Shop. The repaired unit went down there, so its new switches should survive longer even if they’re of mediocre quality.
Our square oak stool developed an annoying creak in two of its legs, resulting in a teardown & glue-up.
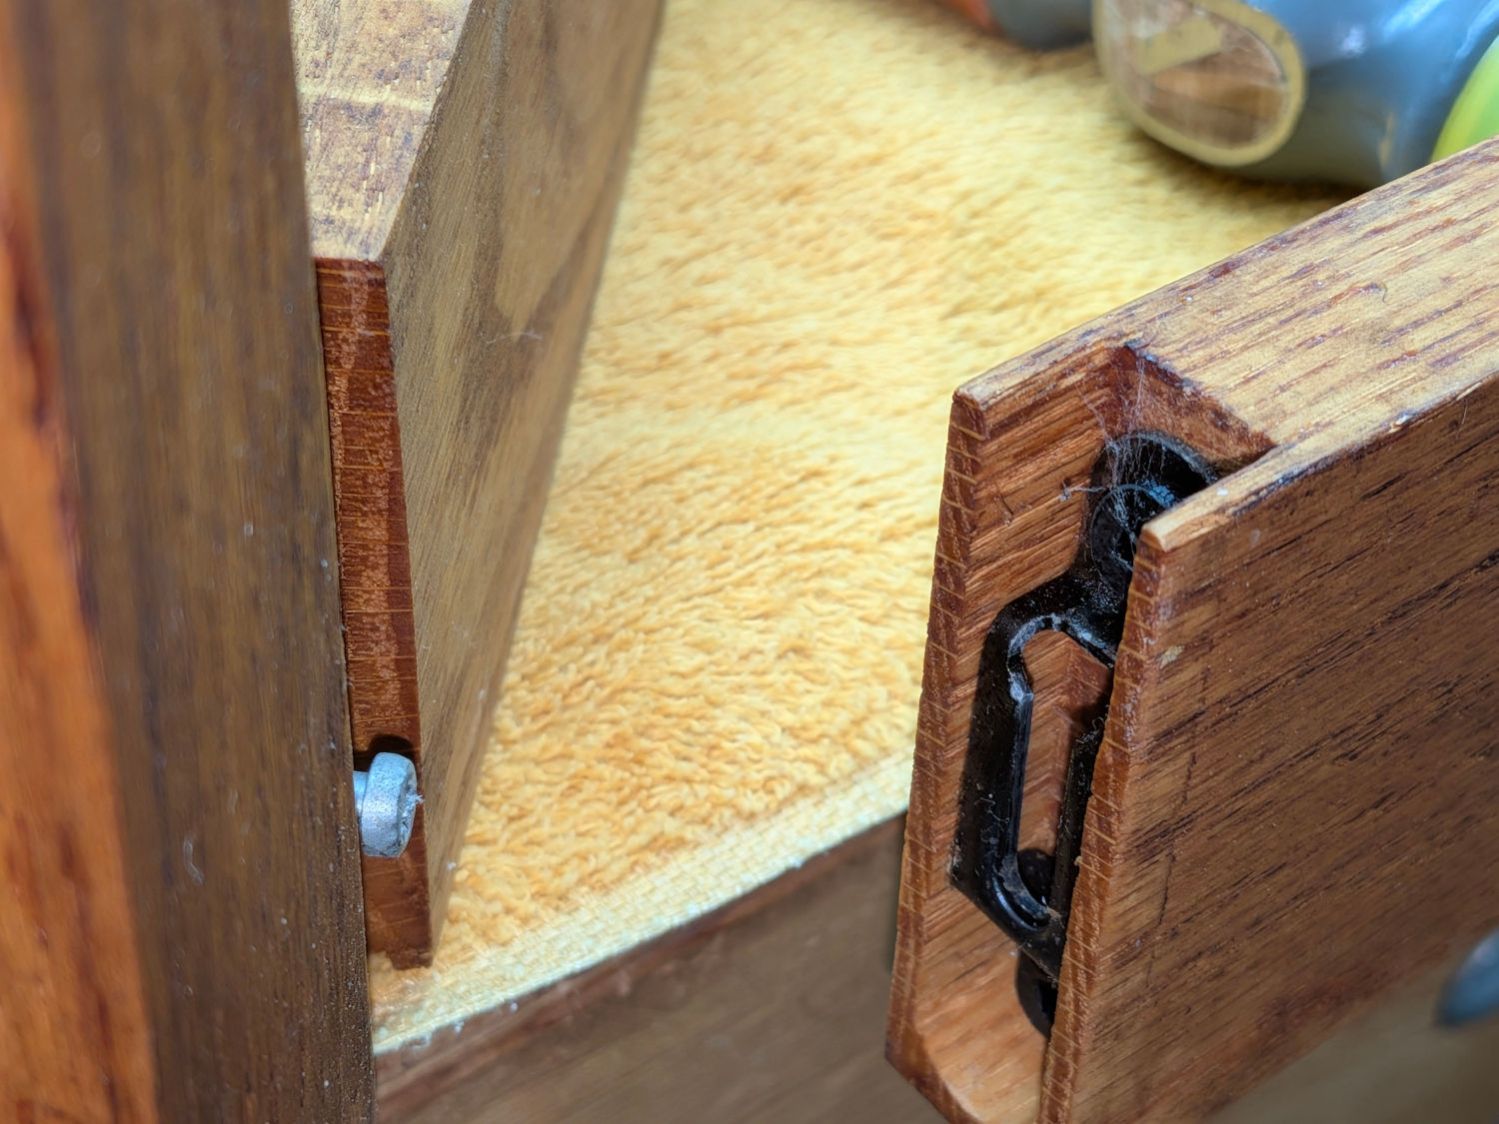
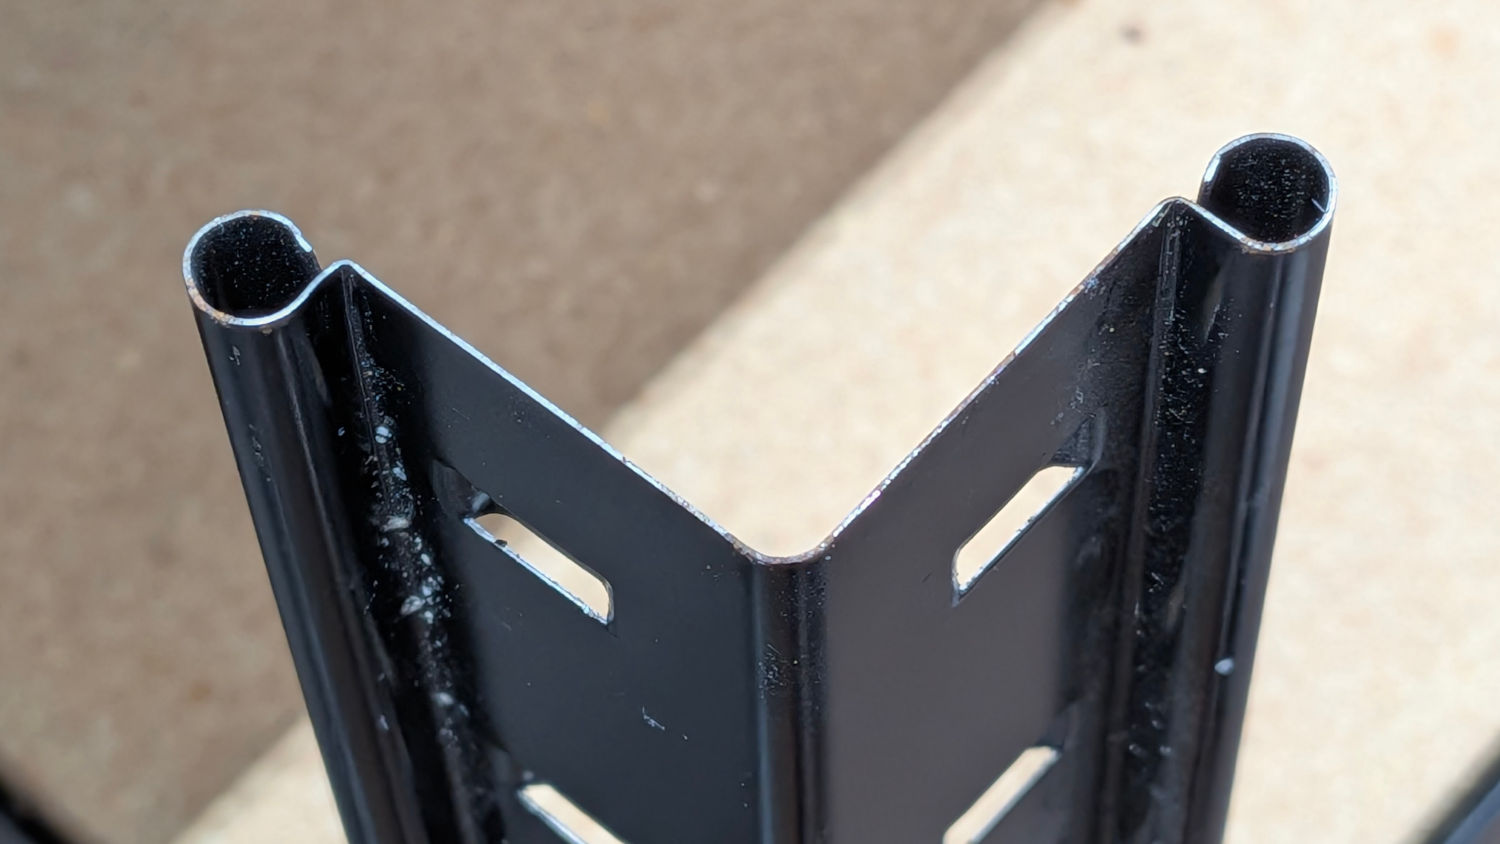
The legs come in pairs held in place by snug screw fittings:
Oak Stool Legs – mechanical joint
The screw on the left slides into the tapered fitting on the right and latches firmly in place: no creaks in there! I have no idea what that fitting is called; my search-fu is unavailing.
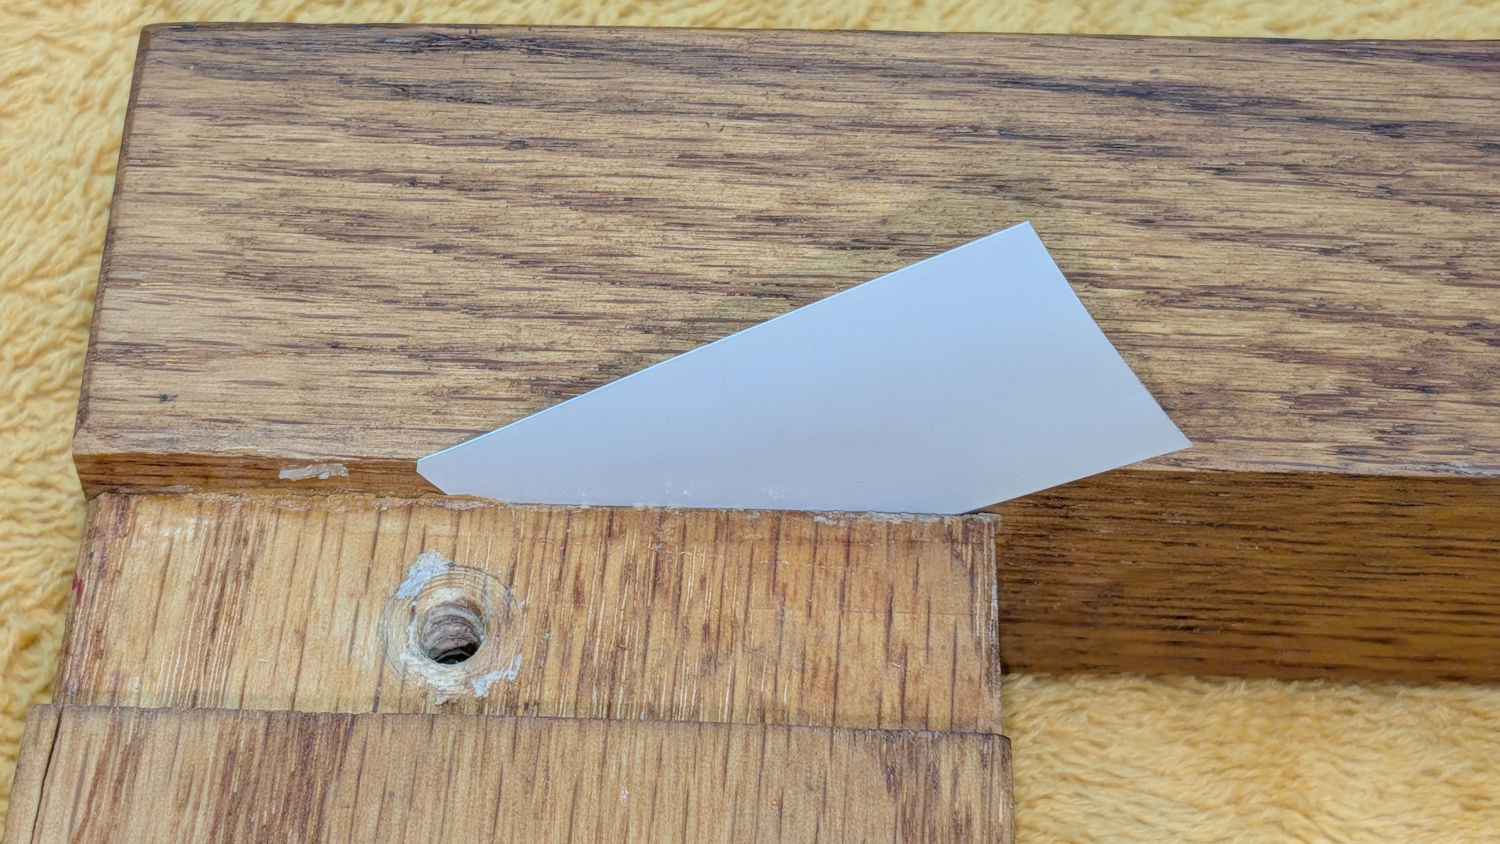
In any event, the offending legs were loose enough to admit a 6 mil = 0.16 mm miniblind snippet shim:
Oak Stool Legs – loose joint
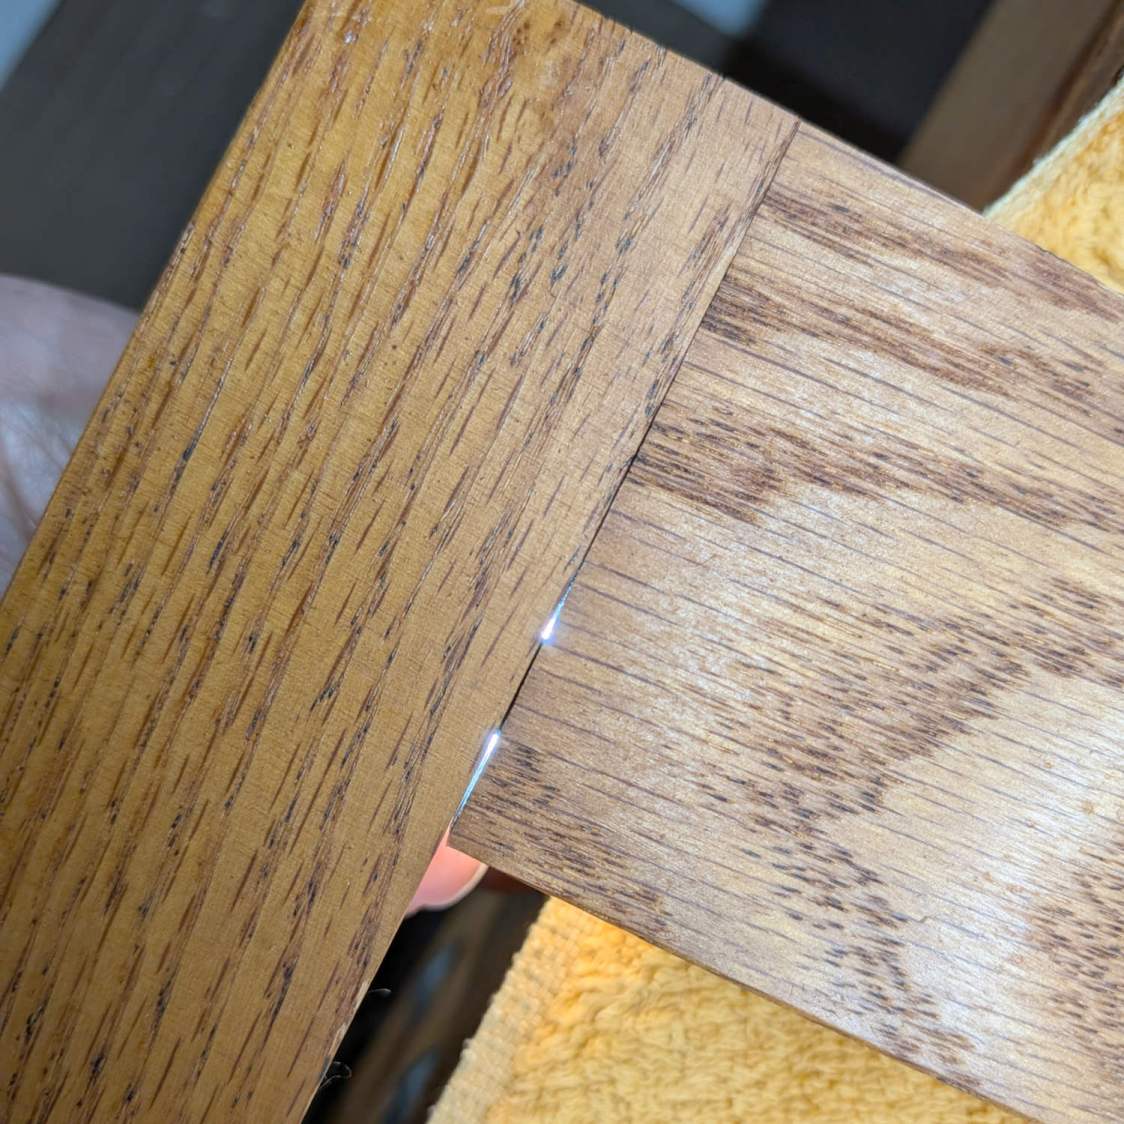
Our Young Engineer, having taken up woodworking as a serious hobby, suggested the joint might have a loose dowel, which will be difficult to fix. Peering into the gap with a flashlight below showed that was the case:
Oak Stool Legs – dowel revealed
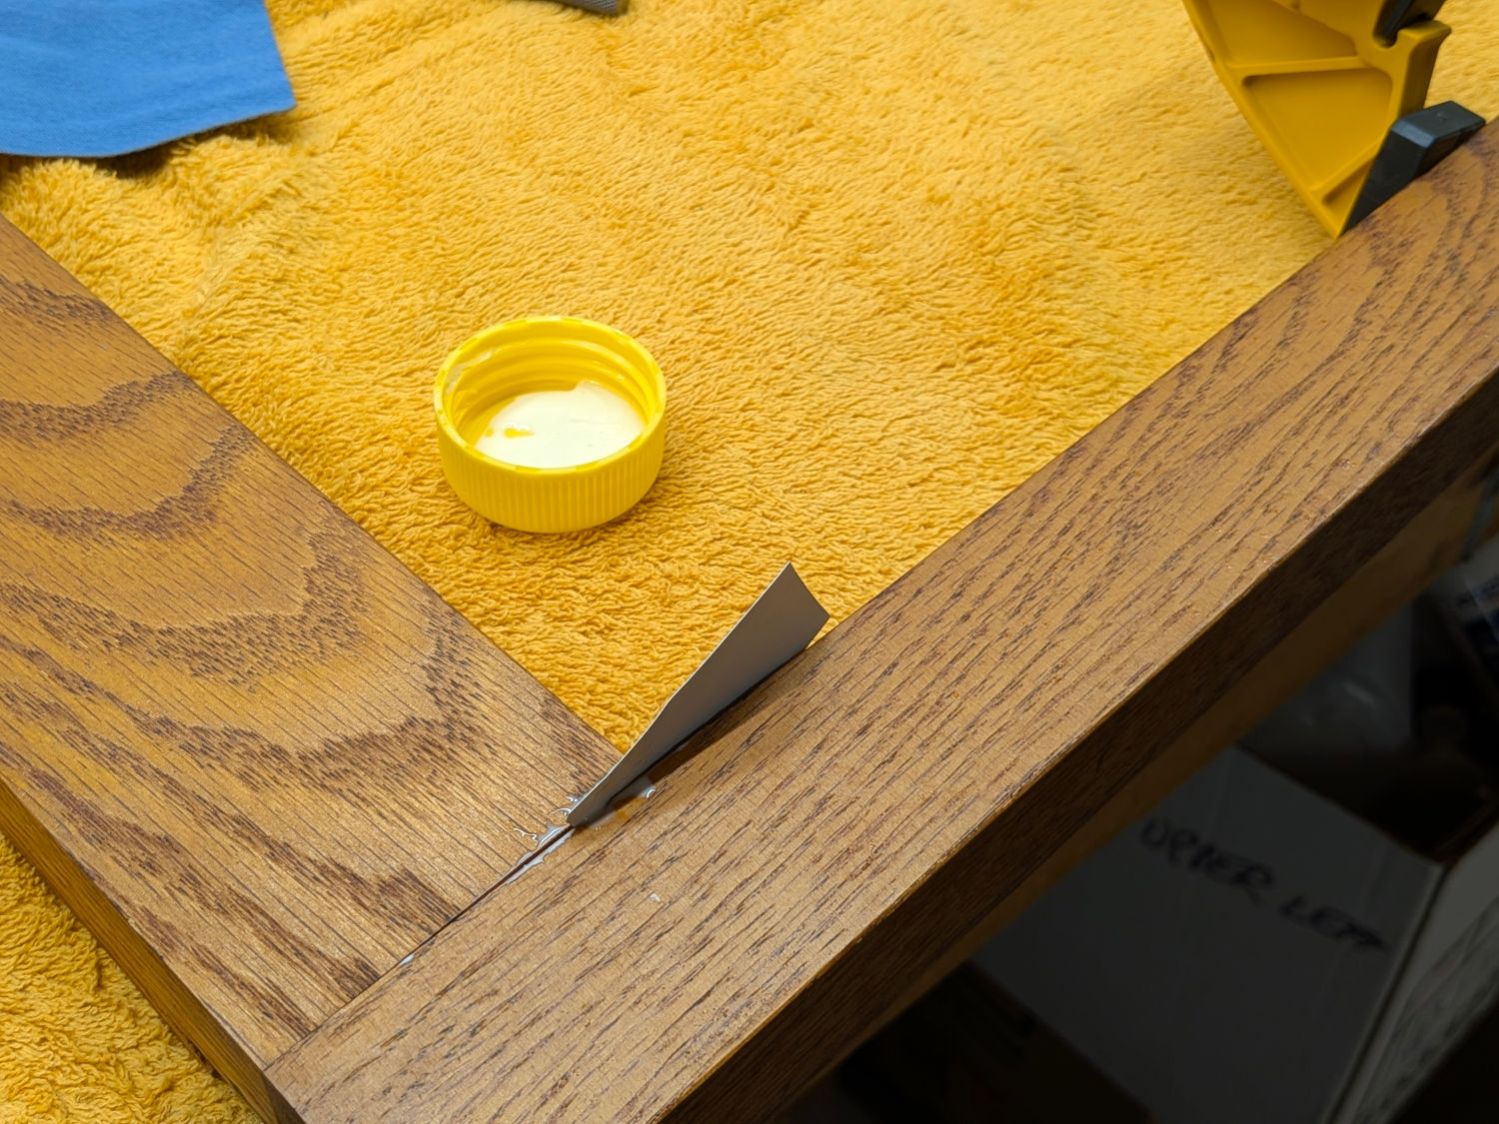
While it might be possible to force the joint apart enough to properly re-glue the dowels, I opted for a half measure by applying a spreader and easing wood glue into the gaps using the shim:
Oak Stool Legs – gluing
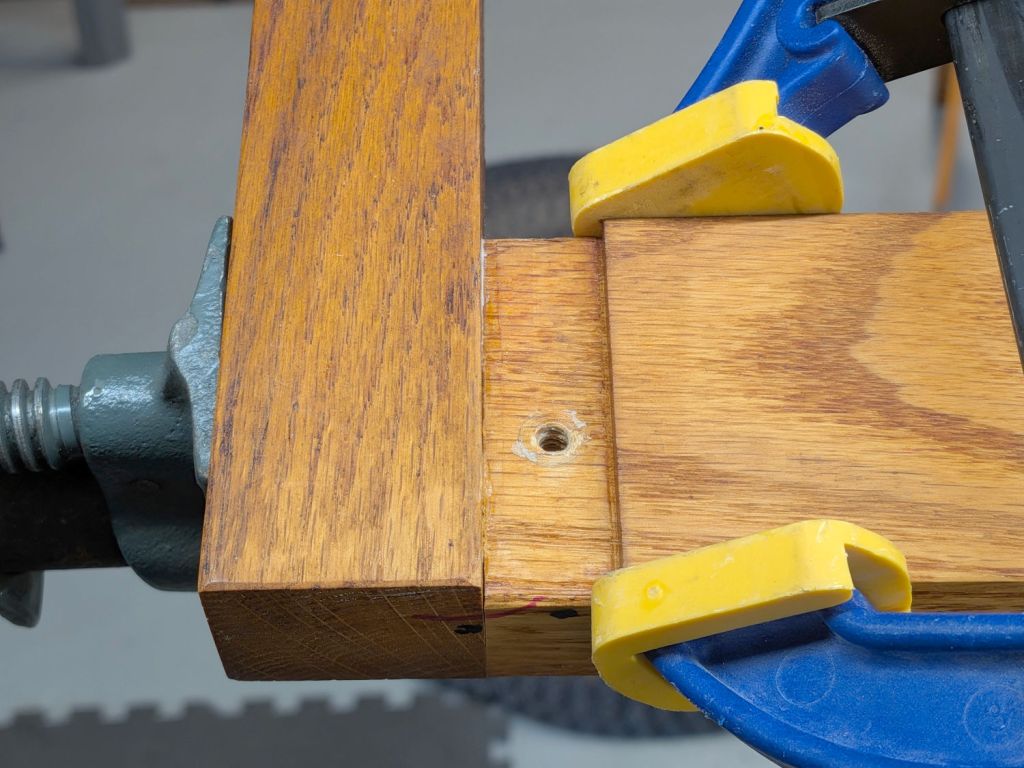
An overnight session with the pipe clamp eliminated the creak, at least for now:
Oak Stool Legs – clamping
The blue-and-yellow clamp fixed the loose splinter you didn’t notice in the second picture.
Traces of glue along inside the joints suggest I’d done something like in the deep past. Ideally, I’ve learned enough to get it right this time.
This file contains hidden or bidirectional Unicode text that may be interpreted or compiled differently than what appears below. To review, open the file in an editor that reveals hidden Unicode characters.
Learn more about bidirectional Unicode characters
Most of the PolyDryer boxes had the same humidity as before, so I didn’t disturb them. When the humidity starts to rise, then we’ll see what’s going on in there.
The PETG Orange meter continues to misbehave and has been glitching from 22% to 30%. The indicator card shows the humidity is around 10% inside and the relatively low weight gain suggests there’s not much water to be adsorbed.
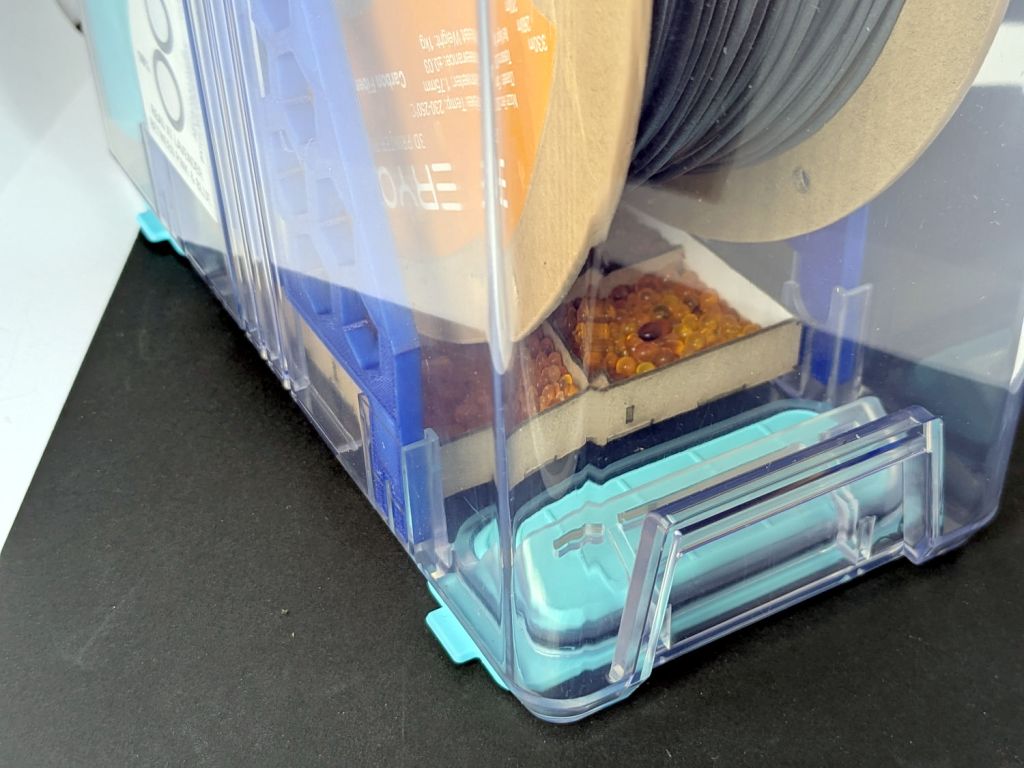
The PETG-CF Blue spool is new and, once again, shows filament does not arrive bone-dry in the factory wrapper.
Those two boxes now have alumina beads.
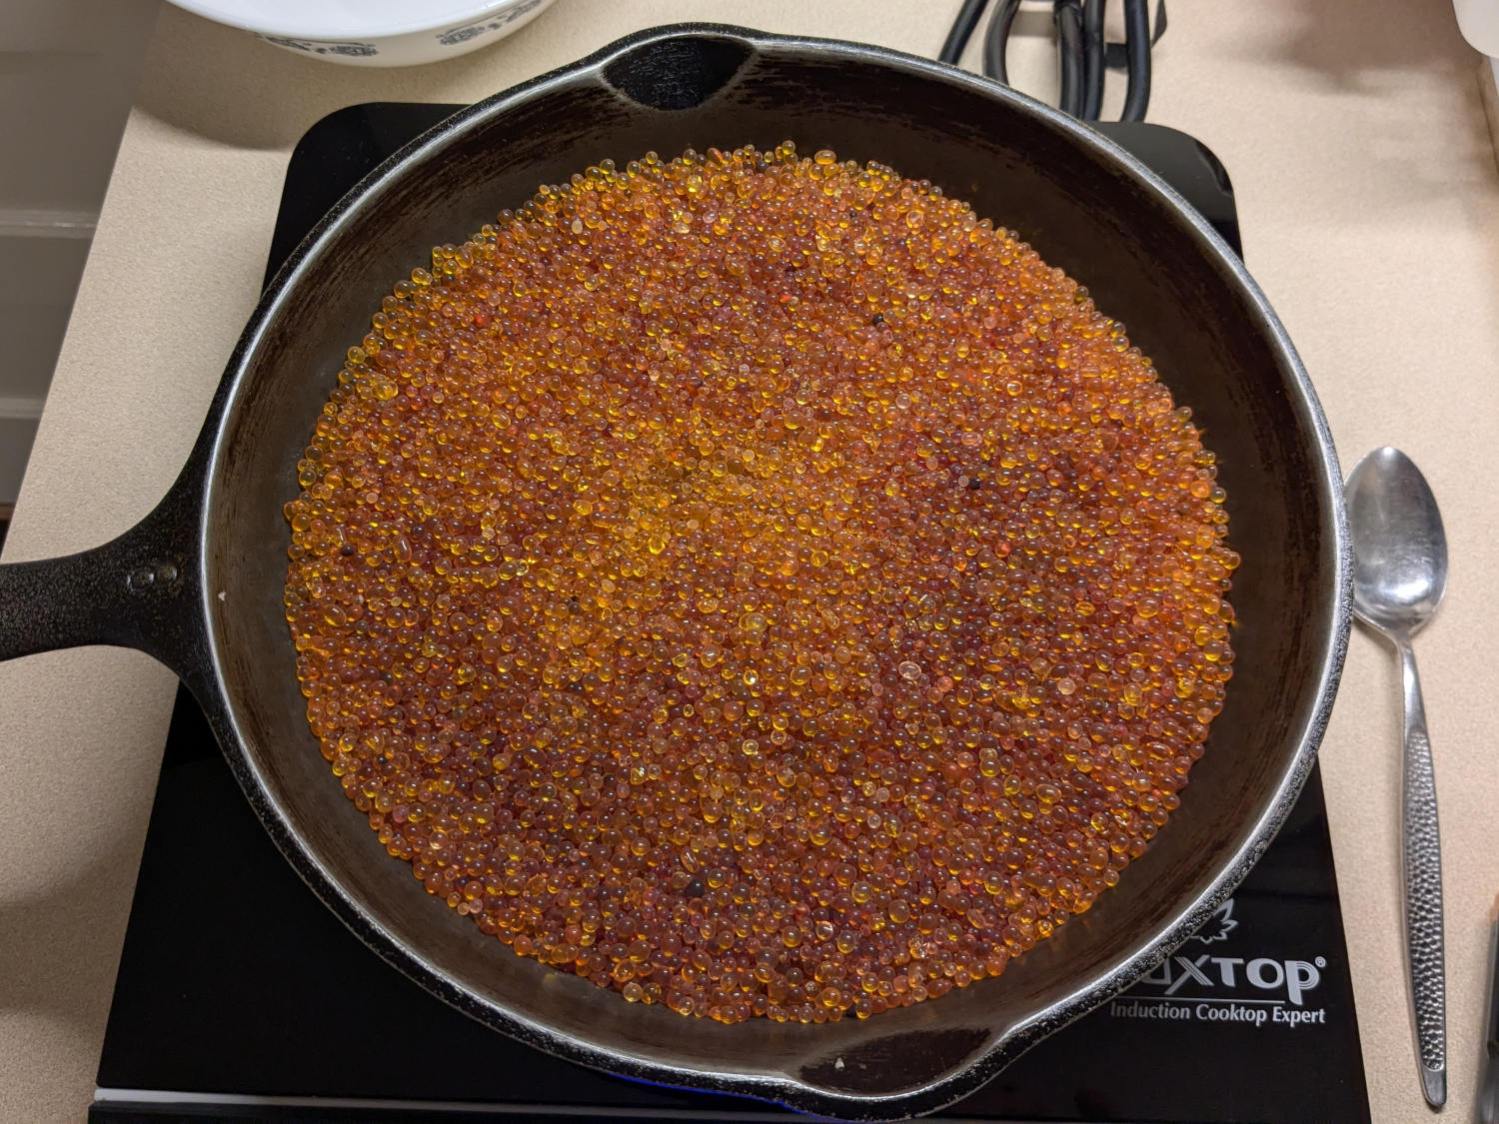
Dehydrating the jar of wet silica gel on the induction cooktop (set for 405 °F) sweated it down from 532 g to 503 g over the course of four hours, with nearly all of that change in the first two hours.
Obligatory photo from a while ago, because it looks pretty much the same now: