The Smell of Molten Projects in the Morning

Ed Nisley's Blog: Shop notes, electronics, firmware, machinery, 3D printing, laser cuttery, and curiosities. Contents: 100% human thinking, 0% AI slop.

Author: Ed

  • Vacuum Tube LEDs: Bowl of Fire Floodlight

    Although I didn’t plan it like this, the shape of the first doodad on the mini-lathe reminded me that I really wanted something more presentable than the (now failed) ersatz Neopixel inside the ersatz heatsink atop that big incandescent bulb.

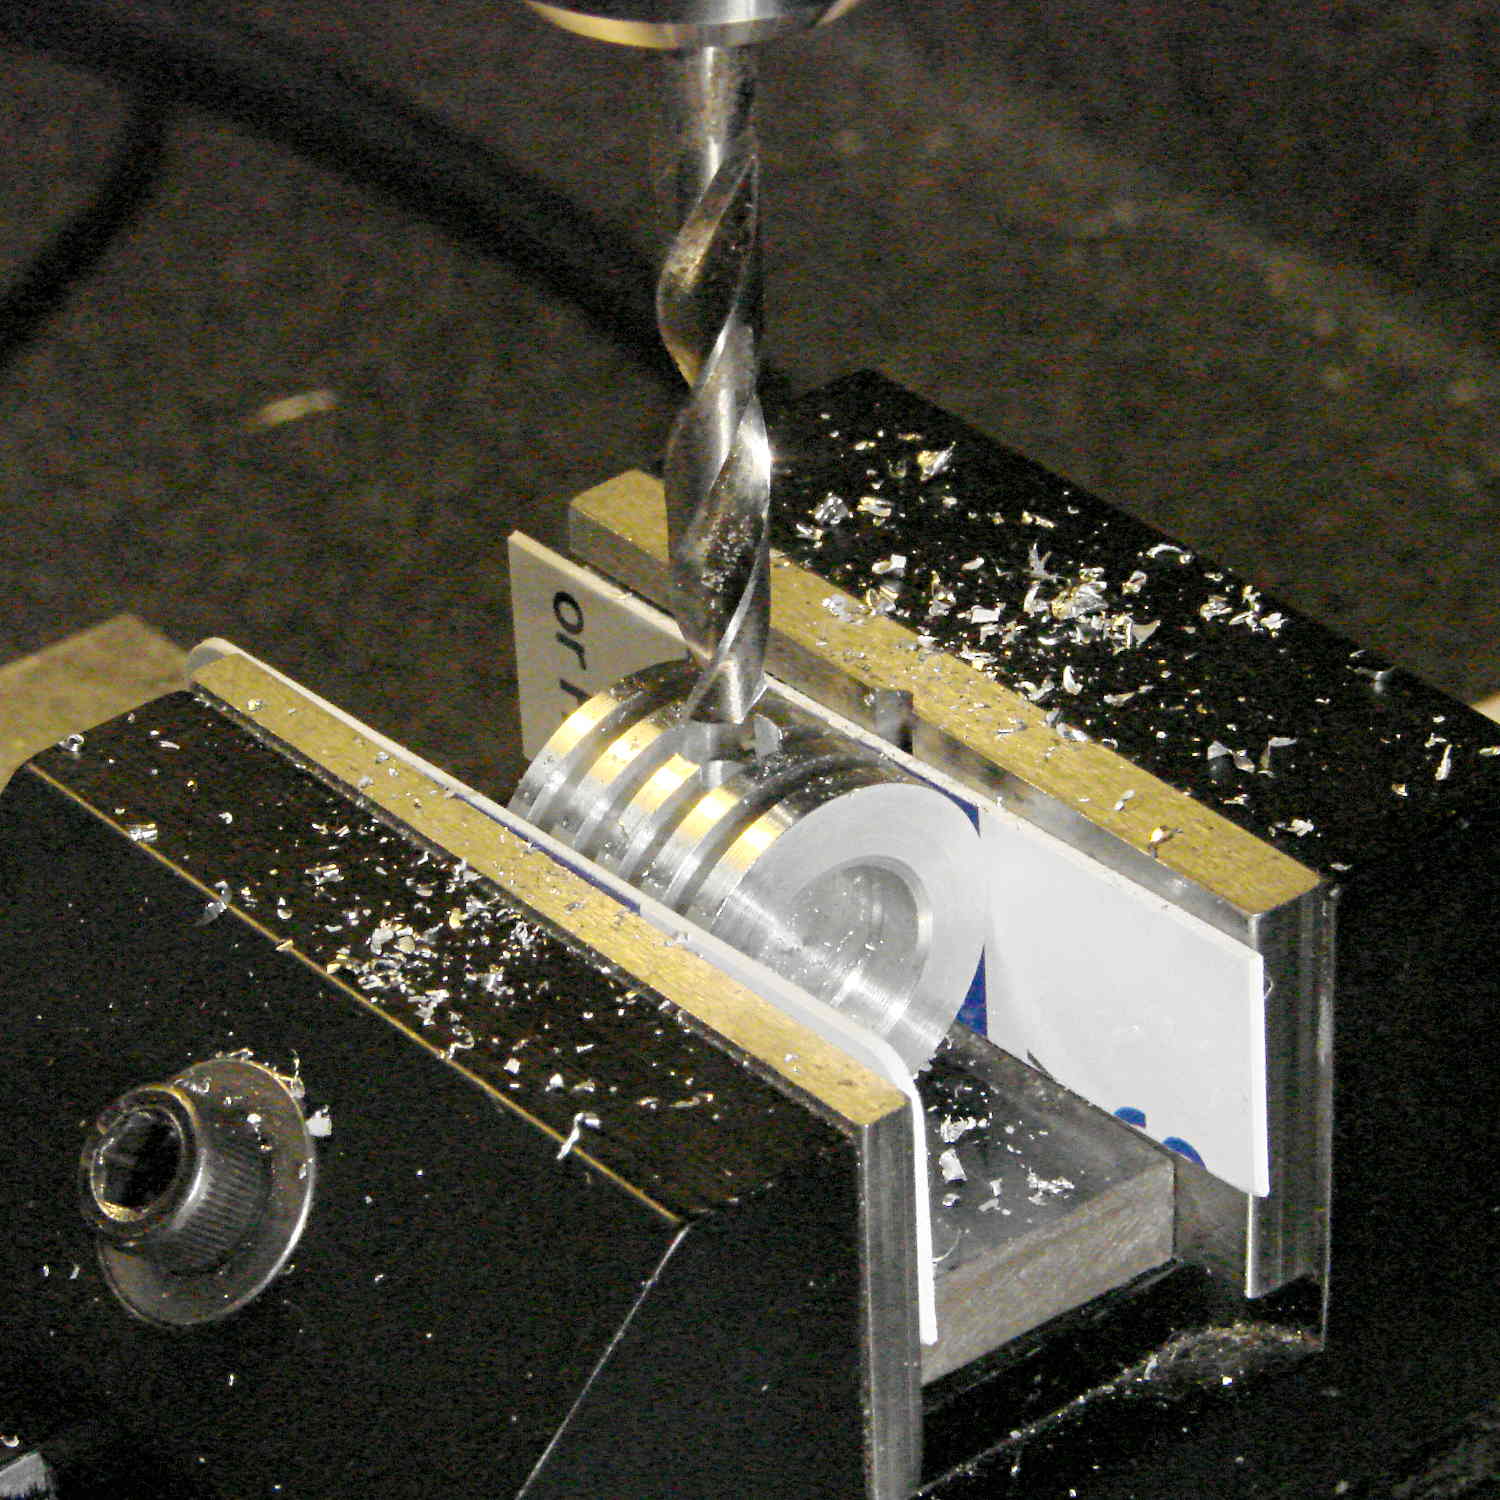
    So, drill a hole in the side:

    Ersatz aluminum heatsink - drilling
    Ersatz aluminum heatsink – drilling

    Epoxy a snippet of brass tubing from the Bottomless Bag o’ Cutoffs into the hole:

    Ersatz aluminum heatsink - tubing trial fit
    Ersatz aluminum heatsink – tubing trial fit

    Recycle the old wire and PET loom, solder to another fake Neopixel, blob epoxy inside to anchor everything, and press it into place:

    Ersatz aluminum heatsink - epoxying LED
    Ersatz aluminum heatsink – epoxying LED

    Cutting the failed LED & plastic heatsink off the wire left it a bit too short for that tall bulb, but some rummaging in the heap produced a 100 W incandescent floodlight with a nicely pebbled lens:

    Reflector floodlight - overview
    Reflector floodlight – overview

    A thin ring of clear epoxy secures the ersatz heatsink to the floodlight:

    Reflector floodlight - finned LED holder
    Reflector floodlight – finned LED holder

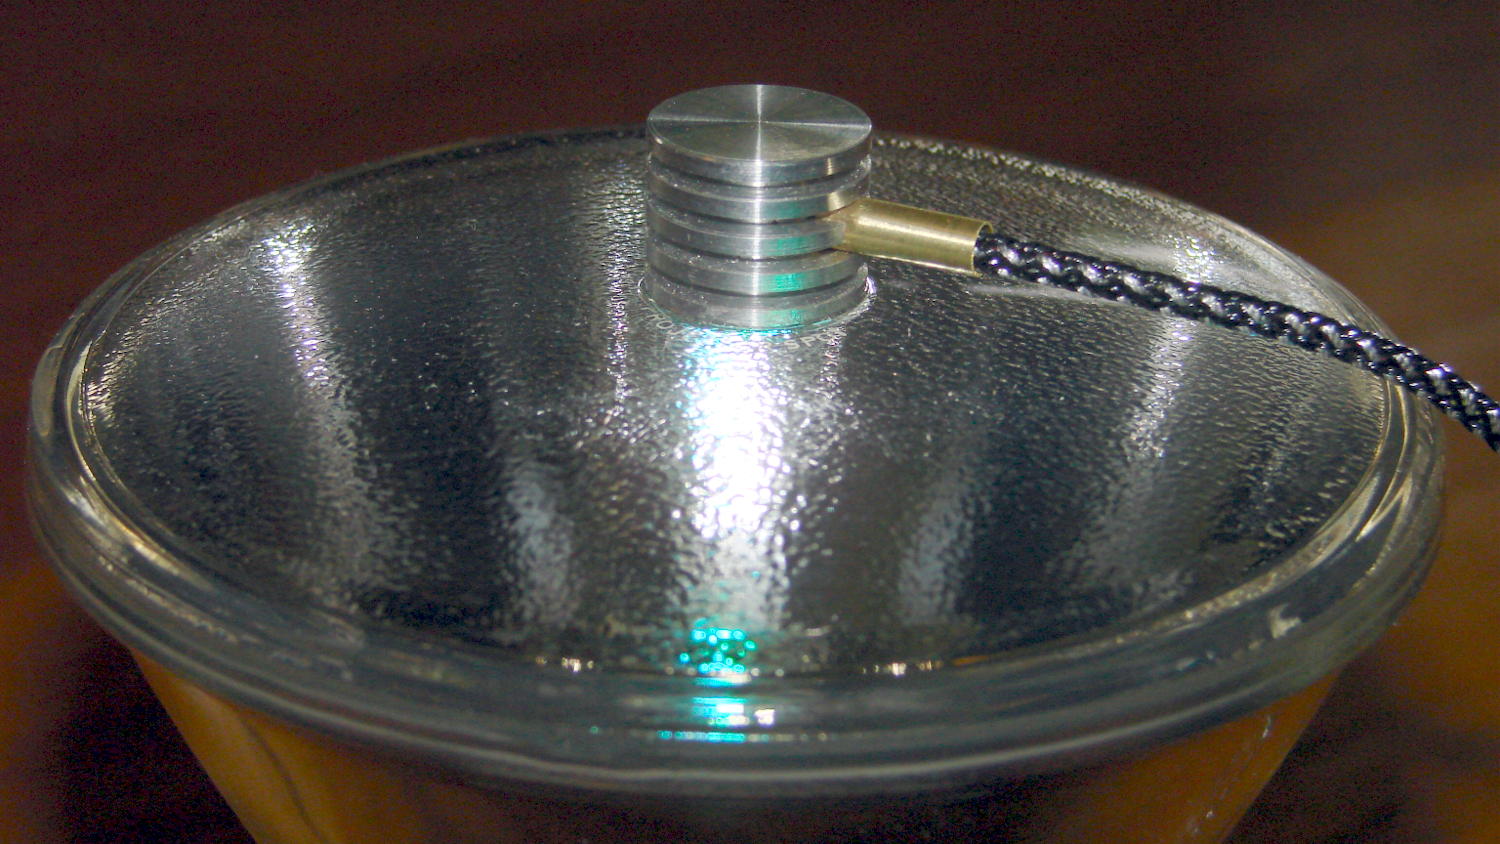
    This time, I paid more attention to centering it atop the General Electric logo ring in the middle of the lens, which you can just barely see around the perimeter of the aluminum fin. By pure raw good fortune, the cable ended up pointed in the general direction of the socket’s pull-chain ferrule; you can’t unscrew the bulb without tediously unsoldering the wires from connector atop the knockoff Pro Mini inside the base and squeezing them back out through the ferrule.

    With the firmware set for a single fake Neopixel on pin A3 and a 75 ms update rate, the floodlight bowl fills with color:

    Reflector floodlight - purple phase
    Reflector floodlight – purple phase

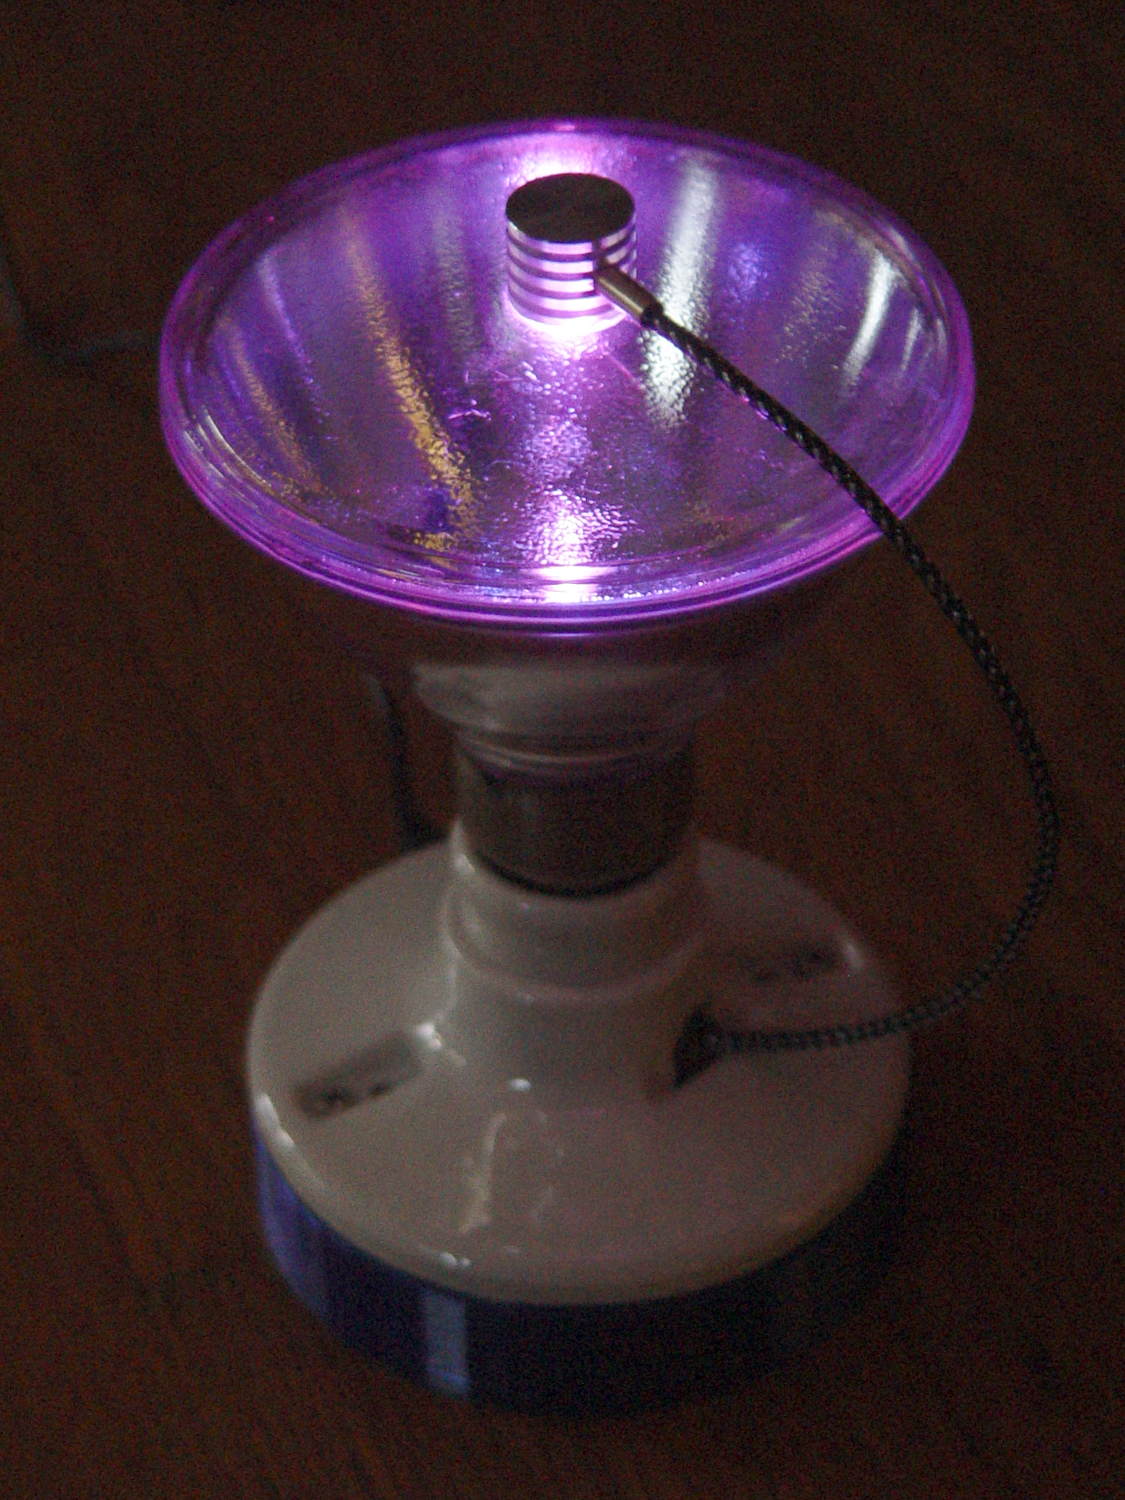
    It puts a colored ring on the ceiling and lights the whole room far more than you’d expect from 200 mW of RGB LEDs.

    Pretty slick, even if I do say so myself …

  • Mini-Lathe: First Cuts

    Despite the craptastic way finishing and the cross slide DRO malfeature, the Little Machine Shop 5200 lathe works well enough for my simple needs. I really like the quick change toolpost:

    LMS Mini-lathe - first cuts
    LMS Mini-lathe – first cuts

    The QC post and tool holders have very nice machining and surface finish; they evidently come from an entirely different production line than the lathe components. I can definitely get used to using carbide inserts, although I ordered some HSS inserts for interrupted cuts.

    The HSS cutoff tool does what you’d expect:

    LMS Mini-lathe - first cut - drilled and slotted
    LMS Mini-lathe – first cut – drilled and slotted

    The holes in the end came from short (“screw machine”) drill bits I got for the Sherline’s painfully limited Z axis travel. Even so, chucking one in the 1/2 inch capacity LMS drill chuck shows why a 16 inch bed isn’t excessive:

    LMS Mini-lathe - drill chuck vs bed length
    LMS Mini-lathe – drill chuck vs bed length

    The 6 inch = 150 mm scale on the bed (to the right of the tailstock) extends to the limit of tailstock travel, so you could have another half foot of stock sticking out of the 3 jaw chuck. A collet in the spindle would give you another two inches, but it’s snug in there.

    On the other paw, this is a little lathe intended to make little things. It’ll do fine…

  • Mini-Lathe: Control Box Cover Screws

    It’s easier to remove the leadscrew while dismantling the carriage and apron, which requires removing the cover from the control box containing all the switches & knobs. Come to find out the “cover” actually holds all the gadgetry onto the headstock:

    LMS mini-lathe - control box interior
    LMS mini-lathe – control box interior

    I want to replace the Power indicator with something visible in normal shop light; judging from the connectors and overall brightness, it’s a neon bulb inside a green housing.

    Anyhow, the four screws holding cover to the headstock weren’t identical:

    LMS Mini-lathe - cover screws
    LMS Mini-lathe – cover screws

    I thought the oddball screw was deliberate, perhaps fastening that corner to a plastic frame of some sort, but it turned out to be a quick fix for a boogered tap job:

    LMS Mini-lathe - mistapped cover hole
    LMS Mini-lathe – mistapped cover hole

    A bag of 4 mm knurled brass inserts will arrive in a while, after which I’ll drill out all four holes and epoxy inserts in their place. Might have to use stainless hardware, just for nice…

  • Tool Drawers: Cheap Foam Liner

    You can get fancy closed-cell foam sheets for the bottom of your tool chest drawers and tote, but it seems awfully spendy, even with Harbor Freight quality plastic, for something that you must cut-to-fit. The drawers are just under 22×11 and 22×17 inches, so a 18×72 inch roll would line maybe three drawers; call it three bucks per drawer and, with nearly three dozen drawers to line, I’d rather drop a hundred bucks on tools.

    Rather than do that, the usual eBay supplier provided 150 feet of 1/8 inch x 24 inch white polyethylene closed-cell foam sheet for $27 delivered:

    Polyethylene foam sheet - roll
    Polyethylene foam sheet – roll

    It’s intended for packaging small items for shipping, but I’ll never tell.

    I mooched Mary’s 2×3 foot rotary cutting mat (this reenactment shows the awkwardly sized 17×23 inch mat), her longest quilting rulers, and dullest rotary blades:

    Rotary cutting foam sheets
    Rotary cutting foam sheets

    After a few mis-steps, I got the hang of it:

    Foam-lined tool tray
    Foam-lined tool tray

    It’s not as contrast-y as black foam, but I can still find the tools:

    Foam-lined tool drawer
    Foam-lined tool drawer

    And I have plenty of foam left over for shipping small things, if I ever do any of that…


  • Salted Rabbit

    The original owner of our house positioned two blue plastic barrels along the driveway, filled with salt for ice melting. We’ve neither used the salt (a snowblower suffices for most storms) nor removed the barrels; they’ve been in those spots for at least three decades.

    Many critters pause in front of the barrels:

    Rabbit at salt barrel
    Rabbit at salt barrel

    Those who fit often hop inside:

    Rabbit inside salt barrel
    Rabbit inside salt barrel

    We’re pleased to provide public salt licks!

  • Mini-Lathe: De-oiling the Chuck

    The mini-lathe arrives covered in oil and the chuck is no exception. Wrap it in a paper towel, spin it up, let it sling out (nearly all) of the excess oil:

    LMS mini-lathe - chuck de-oiling
    LMS mini-lathe – chuck de-oiling

    Unwrap, enjoy…

  • Mini-Lathe: Carriage Stop Improvements

    I got an LMS adjustable carriage stop along with the mini-lathe to simplify cutting things to length. A few tweaks make it much less annoying to use:

    LMS Mini-lathe - carriage stop - crude shim
    LMS Mini-lathe – carriage stop – crude shim

    The fluorescent red tape makes the handle stand out vividly against the general clutter. It lives in the shadow of the chuck, where an extended jaw could end its life, so some protective coloration seemed in order.

    The screw threaded into the lower part holds it together, but, as with the carriage retaining plates, only the outer edge clamped onto the lower part of the bed. Three layers of credit card plastic fill the gap and allow just enough compression to go from “freely sliding” to “firmly clamped” in half a turn of the lever.

    The washer lets the lever turn easily on the upper block.

    Remove the screw and spring from the lever to lift and properly re-index it on the internal nut.

    The spring on the adjusting screw seems too long and exceedingly stiff for the task at hand. The Big Box o’ Little Springs didn’t offer a suitable replacement, so adapting / making one goes on the to-do list.

    It really needs a sliding pin just to the left of the lever screw to hold the lower block in alignment, but that’s definitely in the nature of fine tuning.