Ed Nisley's Blog: Shop notes, electronics, firmware, machinery, 3D printing, laser cuttery, and curiosities. Contents: 100% human thinking, 0% AI slop.
We were sitting in the Credit Union and, as usual, I scouted out the WiFi situation:
IoT Thermostat in the Credit Union
Huh. Not what you’d expect to find in a bank lobby.
In case you haven’t seen what can happen with a thermostat, you can pwn a Nest.
Searching with the obvious keywords should provide plenty of reasons why the Internet of Things isn’t ready for prime time, not that that will slow it down in the least.
A few days after installing the replacement cord caps, I bumped the bottom rail of the miniblind while opening the window and had one endcap disintegrate; apparently window hardware isn’t hardened against prolonged UV exposure. Who knew?
Fortunately, I can fix that:
Miniblind bottom rail caps
Making the walls three threads wide provides enough room for a single solid infill thread:
Miniblind Endcaps – Slic3r Preview
The exterior shape comes from a hull wrapped around six circles: four to define the corner radius and a pair that bump the center out by the calculated chord height. The interior shape comes from a pair of chord-radius polygonal circles (they only have three facets across the length of the inside wall) that fit the bottom rail almost perfectly.
As always, natural PETG has a crystalline, slightly transparent, appearance:
Miniblind bottom rail cap installed
I should spring for some opaque white filament, but that way lies madness; I might start caring what these things look like.
You can buy entire miniblinds for a few bucks a pop, but the last time we did that, they were different than the ones we had before. That wouldn’t matter if the standard miniblind mounting brackets fit our 1955 Anderson windows, but noooo they don’t: the custom adapters I machined for the first miniblind brackets, of course, didn’t fit the new miniblinds.
Now I can just snap the replacement endcaps (and cord pulls) in place, declare victory, and move on.
This file contains hidden or bidirectional Unicode text that may be interpreted or compiled differently than what appears below. To review, open the file in an editor that reveals hidden Unicode characters.
Learn more about bidirectional Unicode characters
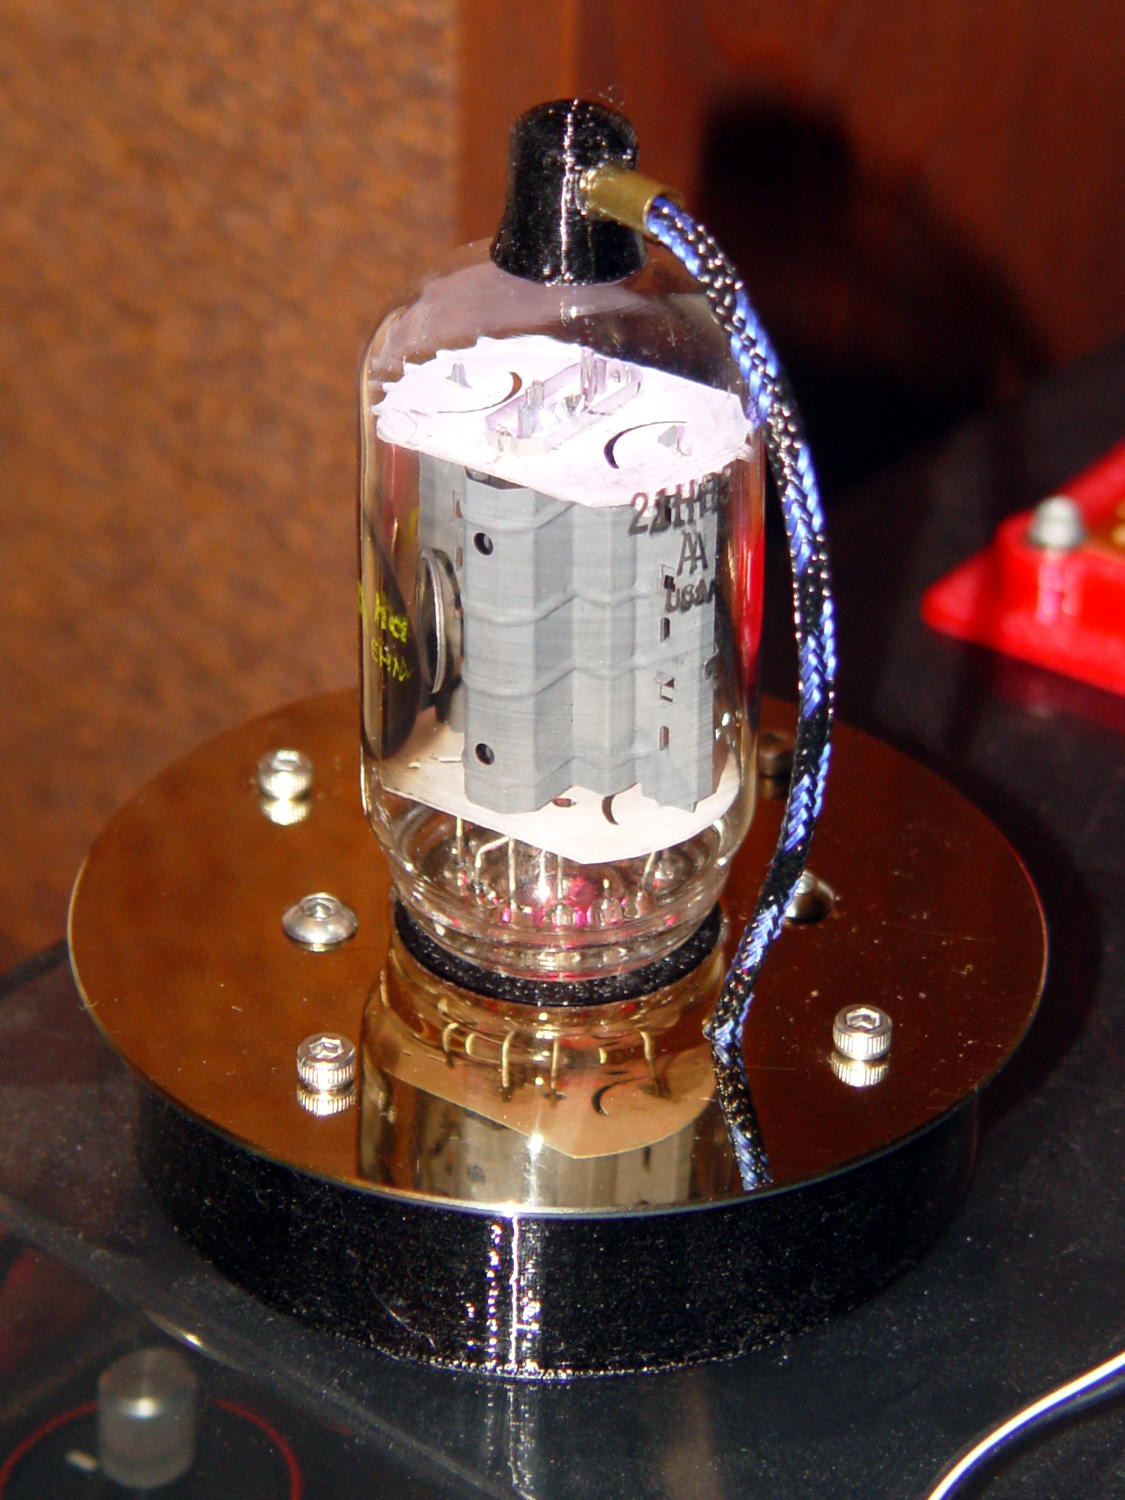
Apart from the Bakelite bases on octal tubes, I figured there should be no problem shining a light up through the glass envelope. Come to find out that some of the tubes with Miniature 7 bases have an electrostatic shield (?) across the bottom that pretty well blocks the light.
This 6BJ6 has a neatly trimmed octagon:
6BJ6 – octagon shield
The shield plate, if that’s what it is, doesn’t have a standardized shape. This 6CB6 sports a simple square:
6CB6 Square Shield
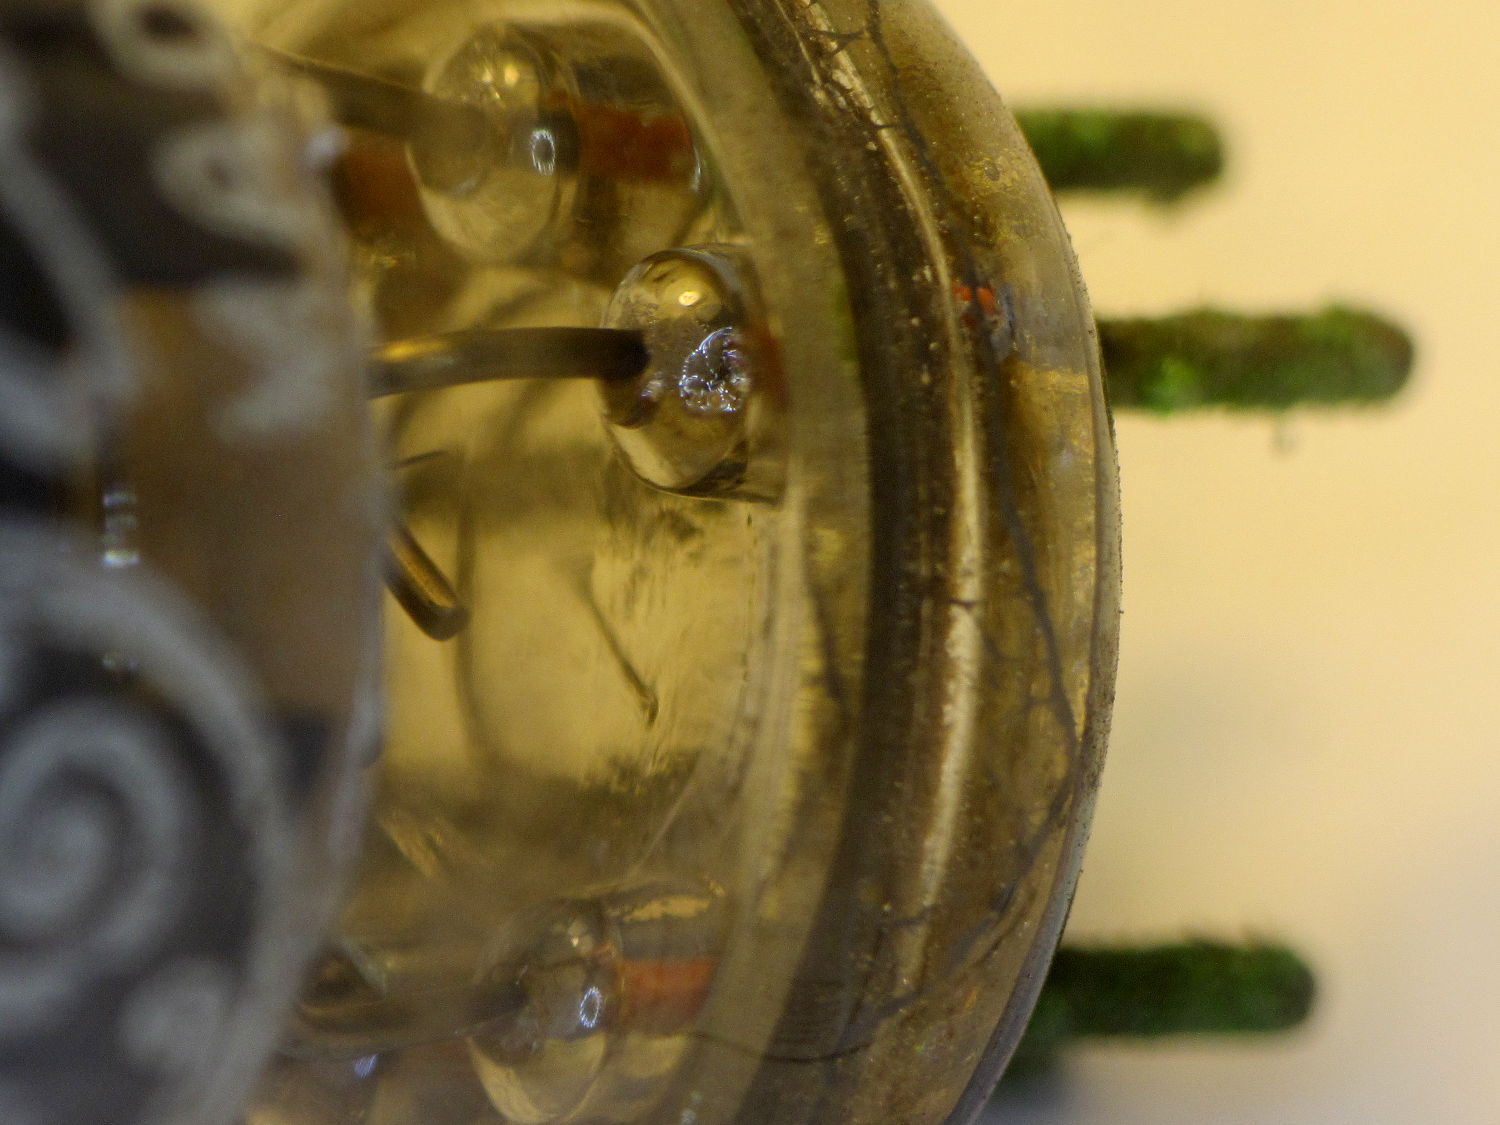
The Box o’ Hollow State Electronics contains one 6BE6 tube (a heptode with five grids connected to four pins) without a shield:
6BE6 – Clear base
Yeah, those pins are rather grotendous.
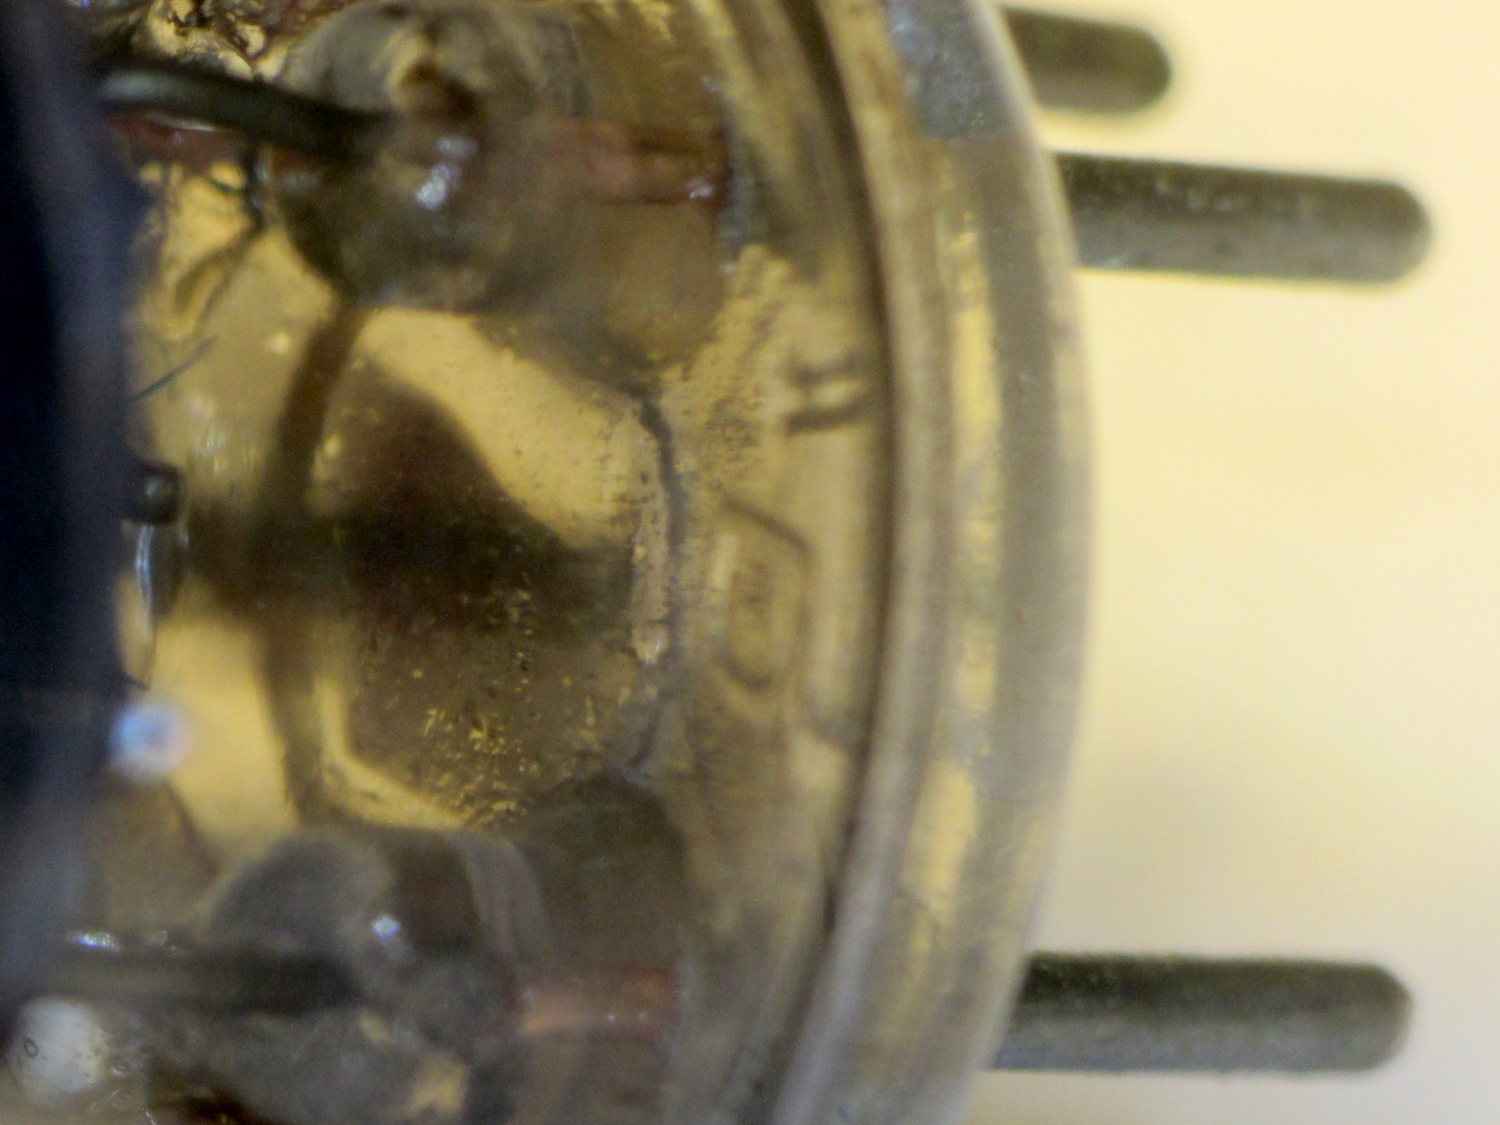
And another 6BE6 with a semitransparent smudge not connected to anything else; it would look accidental if it weren’t inside the tube:
6BE6 – Tinted Base
All the shielded tubes are pentodes, for whatever difference that makes.
The APRX iGate program I’m using produces a hardware & software event log file:
2016-09-03 11:24:40.368 TTY /dev/serial0 read timeout. Closing TTY for later re-open.
2016-09-03 11:25:10.373 TTY /dev/serial0 Opened.
2016-09-03 11:32:05.485 CLOSE APRSIS noam.aprs2.net:14580 heartbeat timeout
2016-09-03 11:32:15.495 CLOSE APRSIS noam.aprs2.net:14580 reconnect
2016-09-03 11:32:15.776 CONNECT APRSIS noam.aprs2.net:14580
2016-09-03 12:25:11.154 TTY /dev/serial0 read timeout. Closing TTY for later re-open.
2016-09-03 12:25:46.154 TTY /dev/serial0 Opened.
2016-09-03 15:50:14.905 TTY /dev/serial0 read timeout. Closing TTY for later re-open.
2016-09-03 15:50:46.155 TTY /dev/serial0 Opened.
2016-09-03 16:50:51.155 TTY /dev/serial0 read timeout. Closing TTY for later re-open.
2016-09-03 16:51:26.155 TTY /dev/serial0 Opened.
I have no idea what’s going on with the “read timeout” messages. They seem to occur almost exactly a hour apart, except when they’re a few hours apart. The TNC-Pi2 board includes a PIC processor; maybe it loses track of something every now & again, but APRX only notices if it happens in the middle of a read operation.
The APRSIS server connection drops every few days and APRX seems well-equipped to tolerate that.
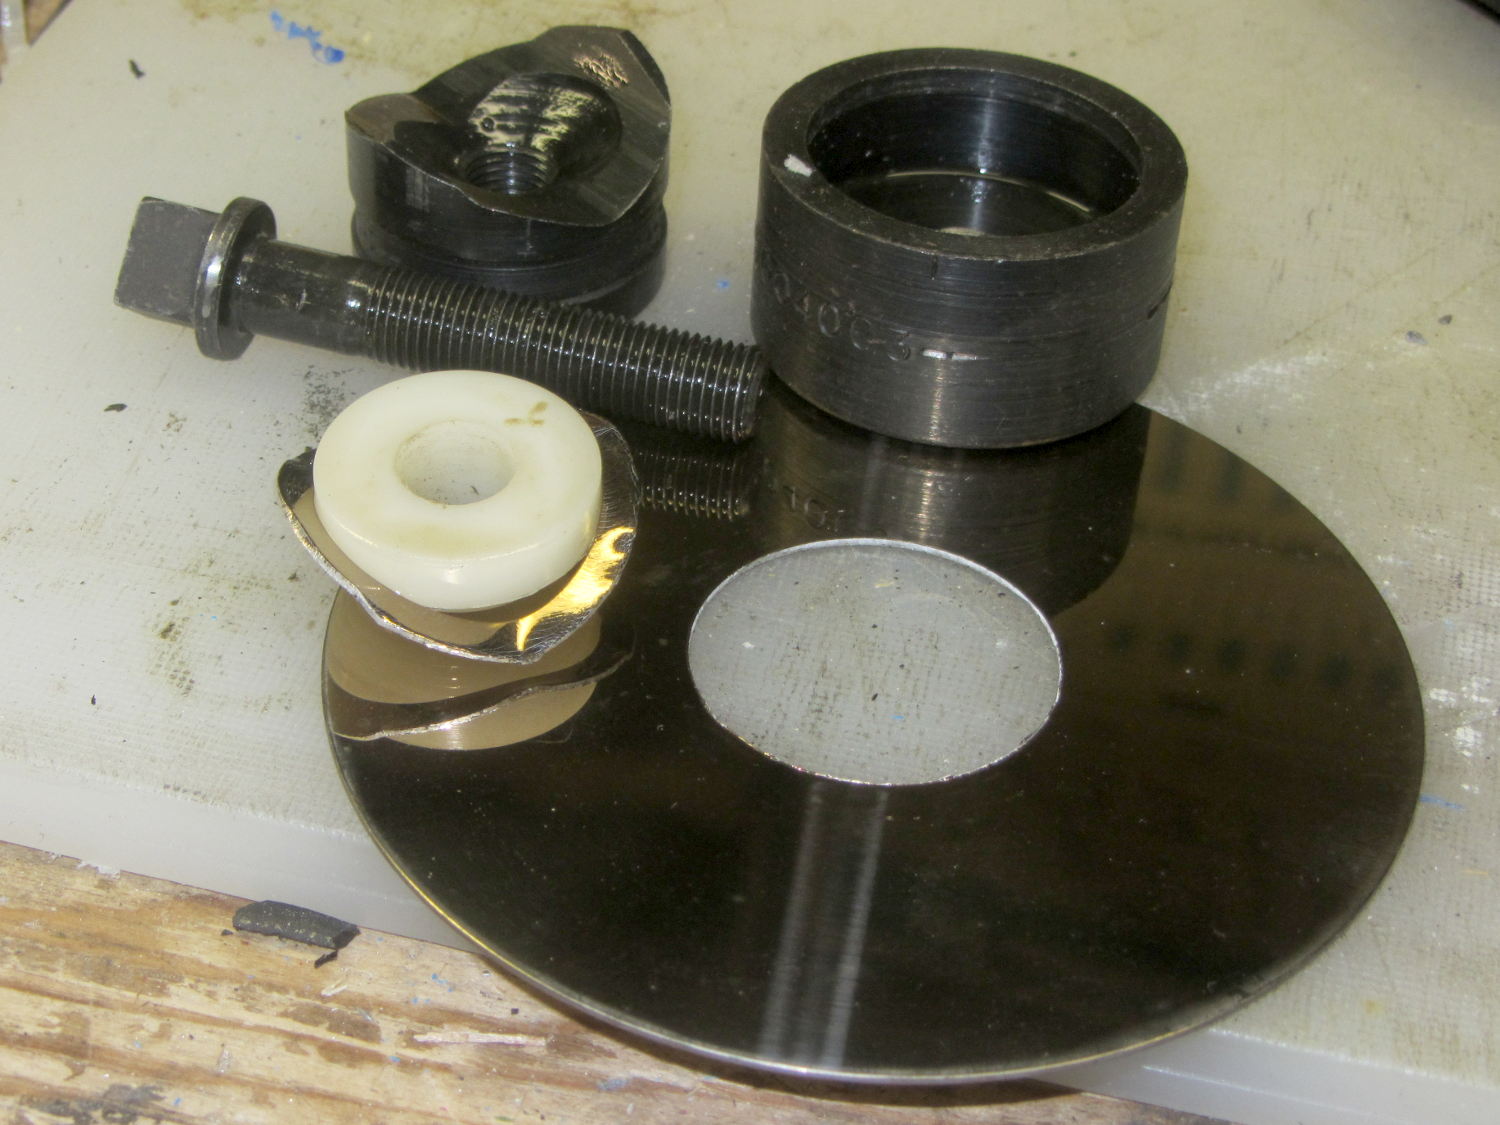
The OD centers the bushing inside the punch body, the ID captures the screw, and the raised boss captures the platter.
After drilling the platter on the new fixture, it’s ready for punching:
Hard drive platter – Greenlee punch bushing
Line everything up, turn the screw, and It Just Works:
Hard drive platter – punched
The masking tape holds the platter to the bushing, eliminating the need for a third hand. The bushing emerges unscathed, ready for another platter. Overall, I think that’s faster and less messy than milling the platter ID on the Sherline.
The Duodecar pin circle (19.1 BCD + 1.05 pin diameter) will actually fit inside a hard drive platter’s 25 mm unpunched ID. It might look a bit squinched, but the less you see of the socket, the better. I’ll try that on the next one.
The OpenSCAD source code is the same as before; set Layout = Bushings; and a bushing will pop out.
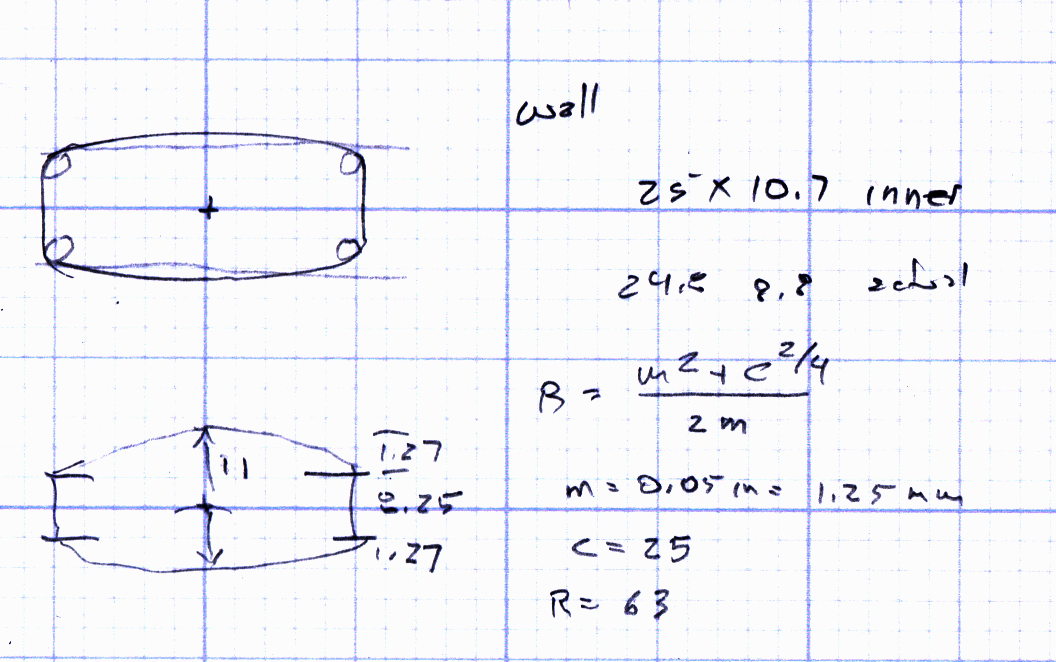
The original bushing doodle with dimensions:
Greenlee 1.25 inch punch bushing for hard drive platter – dimension doodle
Another Walkway Over the Hudson Moonwalk provided a good view of the Poughkeepsie waterfront:
City of Poughkeepsie Waterfront – night view
The railroad station’s parking garage produces the big mass of sodium light in the middle and (I think) the bleached church on the far left has mercury vapor floodlights.
The smaller spots of cold-white LED lighting scattered here-and-there will gradually expand and, in five years or so, take over the entire vista …