Ed Nisley's Blog: Shop notes, electronics, firmware, machinery, 3D printing, laser cuttery, and curiosities. Contents: 100% human thinking, 0% AI slop.
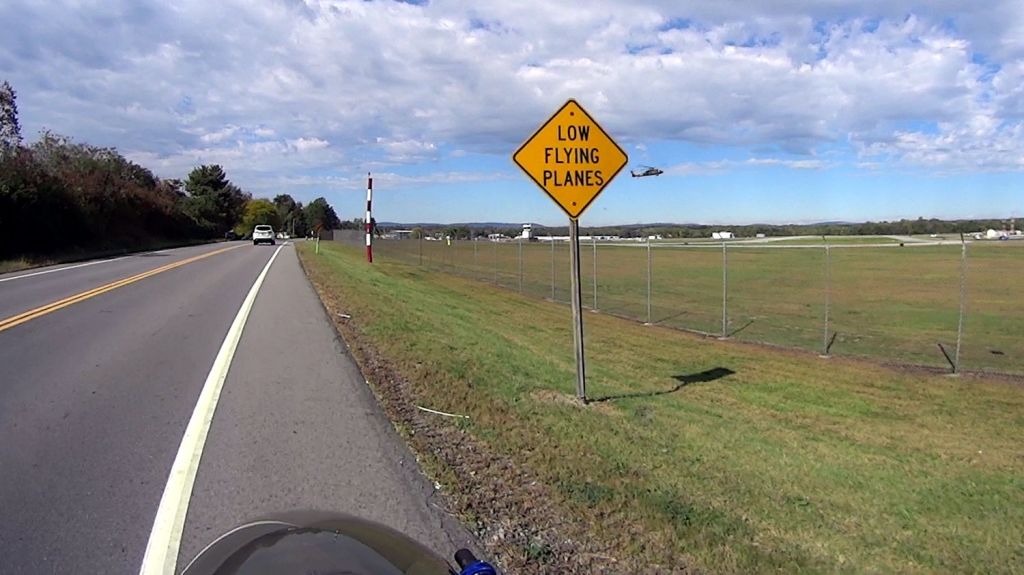
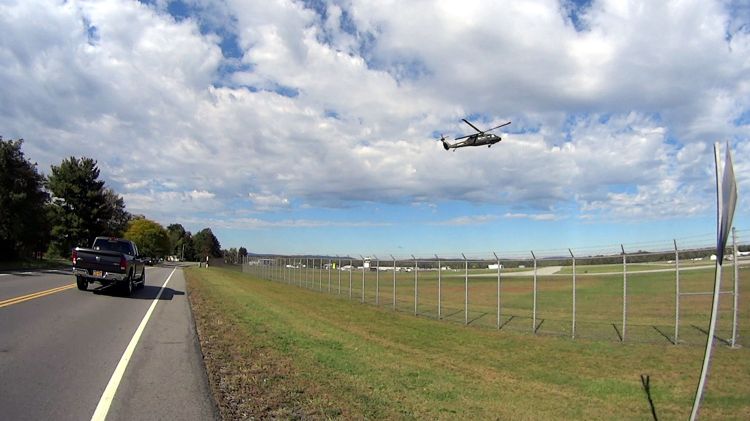
The same helicopter thumped over our house, about two miles from the runway as the chopper flies, while I was getting ready for the ride, and it was hovering as I reached the airport. I think the pilot was practicing, because the chopper made very precise movements across the airport, translated front / back / left / right, and hovered motionless for minutes at a time despite wind gusts.
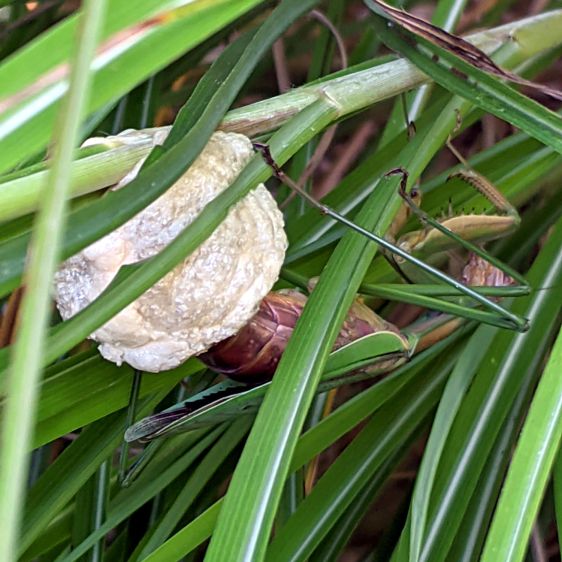
The appendages at the tip of her abdomen were spread to the sides and her whole body moved in small circles, although I couldn’t get a good view of the proceedings. Building an ootheca apparently requires concerted effort, as she was still hard at work when dusk fell.
Despite carrying a glass-fronted gadget in my pocket for most of the past two decades, this is the first time I’ve done this:
Pixel 3a screen protector – as broken
Turns out you can’t trust a rolling seat on a slightly unlevel surface, as shifting your weight can let the thing roll out from under you with no warning. If you’re taking a picture at the same time, the phone reaches the impact point before your hand: even a nice case with bumpers all around won’t be quite enough protection.
I was tempted to leave it un-fixed as a constant reminder to not do that again, but the broken glass was rough to the touch and interfered with Android’s swipe-upward gestures.
Fortunately, the tempered-glass screen protector absorbed the energy without damage to the actual screen:
Pixel 3a screen protector – sidelit
A thin plastic layer holds the protector’s fragments together; I hadn’t known it was a two-layer structure.
Being that type of guy, I had a spare protector in a desk drawer and managed to apply it without trapping any bubbles or fuzz underneath.
It’s been hiding back there since the first (attempted) use showed it wasn’t a quadruped:
Erick Magna Holder – as-delivered stance
Grabbing the other end in the bench vise and whacking the top of the offending leg with a brass persuader pretty much lined it up. Closer inspection showed a problem with the push-to-detach lever:
Erick Magna Holder – rivet pivot
The rivet head and thin washers extend a bit beyond the circular arc, with the rivet holding the leg above whatever it’s supposed to stick to. I think the scarring on the rivet was an attempt to improve the situation, perhaps during a QC adjustment session, that didn’t quite work.
The hole through the leg is a touch under 4 mm and the Big Box o’ Random Small Screws disgorged a 6-32 screw with what might have been a 5/32 inch = 4 mm nominal = 3.8 mm actual shoulder of exactly the right length:
Erick Magna Holder – 6-32 screw clearance
The screw head flange cleared the floor, but wasn’t much of an improvement over the rivet. I eventually chucked it in the lathe and removed the flange & hex-head corners, an improvement you won’t see here.
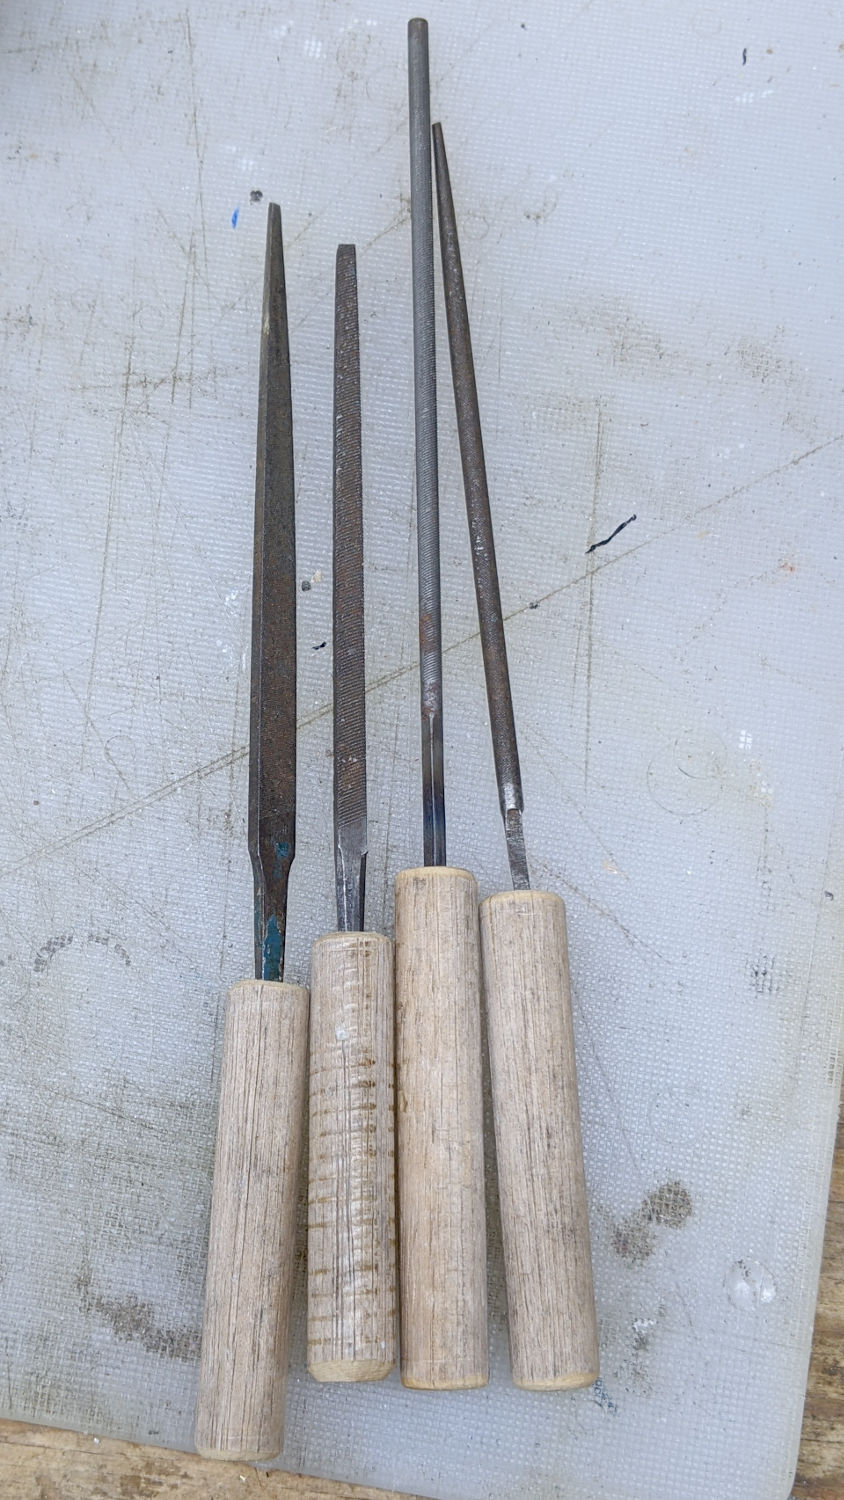
Even with the frame whacked into alignment, all four feet didn’t contact the surface plate along their entire lengths. Absent a surface grinder, I deployed a big blue Sharpie and the largest file on hand:
Erick Magna Holder – filing base
Iterating Sharpie and file eventually knocked off enough of the high spots to make it Good Enough™ for the intended purpose, which is definitely notprecision metrology:
Erick Magna Holder – bottom filed
Those chunky cross-pieces are Old School alnico magnets, which is the only reason a simple lever can pry it off a steel plate.
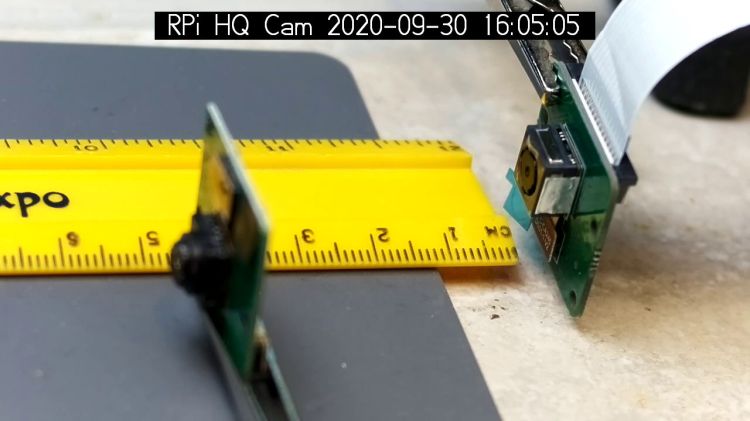
Despite the company name, the Arducam 5 MP Motorized Focus camera plugs into a Raspberry Pi’s camera connector and lives on a PCB the same size as ordinary RPi cameras:
Arducam Motorized Focus RPi Camera – test overview
That’s a focus test setup to get some idea of how the control values match up against actual distances.
It powers up focused at infinity (or maybe a bit beyond):
Arducam Motorized Focus RPi Camera – default focus
In practice, it’s a usable, if a bit soft, at any distance beyond a couple of meters.
The closest focus is around 40 mm, depending on where you set the ruler’s zero point:
Pondering the sample code shows the camera focus setting involves writing two bytes to an I²C address through the video controller’s I²C bus. Enable that bus with a line in /boot/config.txt:
dtparam=i2c_vc=on
If you’re planning to capture 1280×720 or larger still images, reserve enough memory in the GPU:
gpu_mem=512
I don’t know how to determine the correct value.
And, if user pi isn’t in group i2c, make it so, then reboot.
The camera must be running before you can focus it, so run raspivid and watch the picture. I think you must do that in order to focus a (higher-res) still picture, perhaps starting a video preroll (not that kind) in a different thread while you fire off a (predetermined?) focus value, allow time for the lens to settle, then acquire a still picture with the video still running.
The focus value is number between 0 and 1023, in two bytes divided, written in big-endian order to address 0x0c on bus 0:
i2cset -y 0 0x0c 0x3f 0xff
You can, of course, use decimal numbers:
i2cset -y 0 0x0c 63 255
I think hex values are easier to tweak by hand.
Some tinkering gives this rough correlation:
Focus value (hex)
Focus distance (mm)
3FFF
45 (-ish)
3000
55
2000
95
1000
530
0800
850
Arducam Motorized Focus Camera – numeric value vs mm
Beyond a meter, the somewhat gritty camera resolution gets in the way of precise focusing, particularly in low indoor lighting.
A successful write produces a return code of 0. Sometimes the write will inexplicably fail with an Error: Write failed message, a return code of 1, and no focus change, so it’s Good Practice to retry until it works.
This obviously calls for a knob and a persistent value!
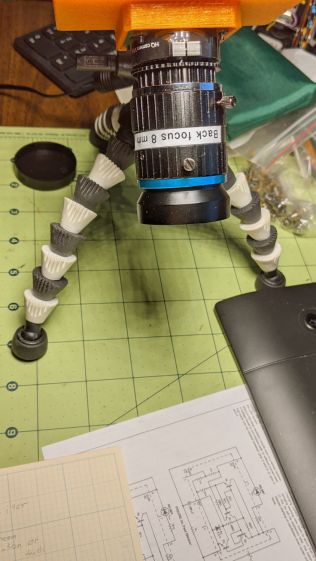
Part of the motivation for getting a Raspberry Pi HQ camera sensor was being able to use lenses with adjustable focus and aperture, like the Official 10 MP “telephoto” lens:
RPi HQ Camera – aperture demo setup
Yes, it can focus absurdly close to the lens, particularly when you mess around with the back focus adjustment.
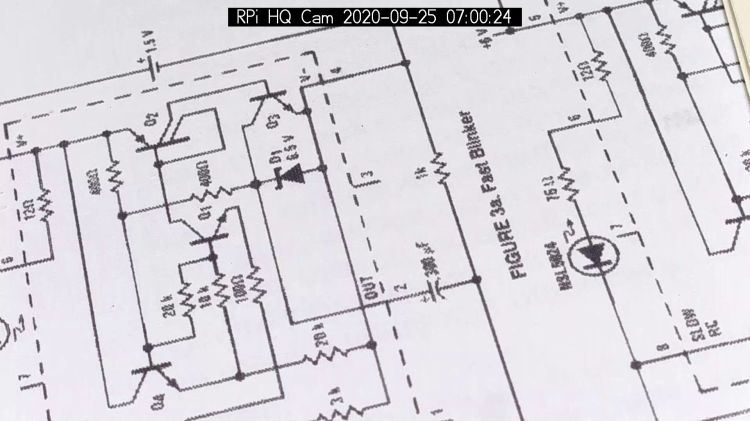
With the aperture fully open at f/1.4:
RPi HQ Camera – aperture demo – f 1.4
Stopped down to f/16:
RPi HQ Camera – aperture demo – f 16
The field of view is about 60 mm (left-to-right) at 150 mm. Obviously, arranging the camera with its optical axis more-or-less perpendicular to the page will improve everything about the image.
For normal subjects at normal ranges with normal lighting, the depth of field works pretty much the way you’d expect:
At f/1.4, focused on the potted plants a dozen feet away:
Raspberry Pi HQ Camera – outdoor near focus
Also at f/1.4, focused on the background at infinity:
Raspberry Pi HQ Camera – outdoor far focus
In comparison, the laptop camera renders everything equally badly (at a lower resolution, so it’s not a fair comparison):
None of this is surprising, but it’s a relief from the usual phone sensor camera with fixed focus (at “infinity” if you’re lucky) and a wide-open aperture.