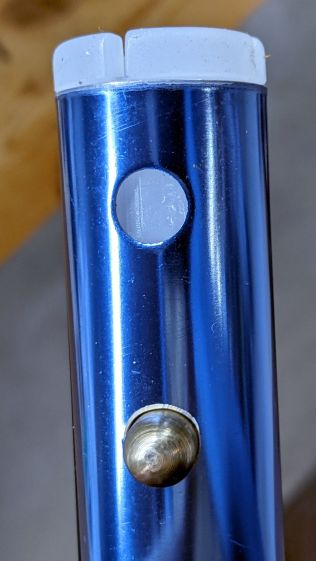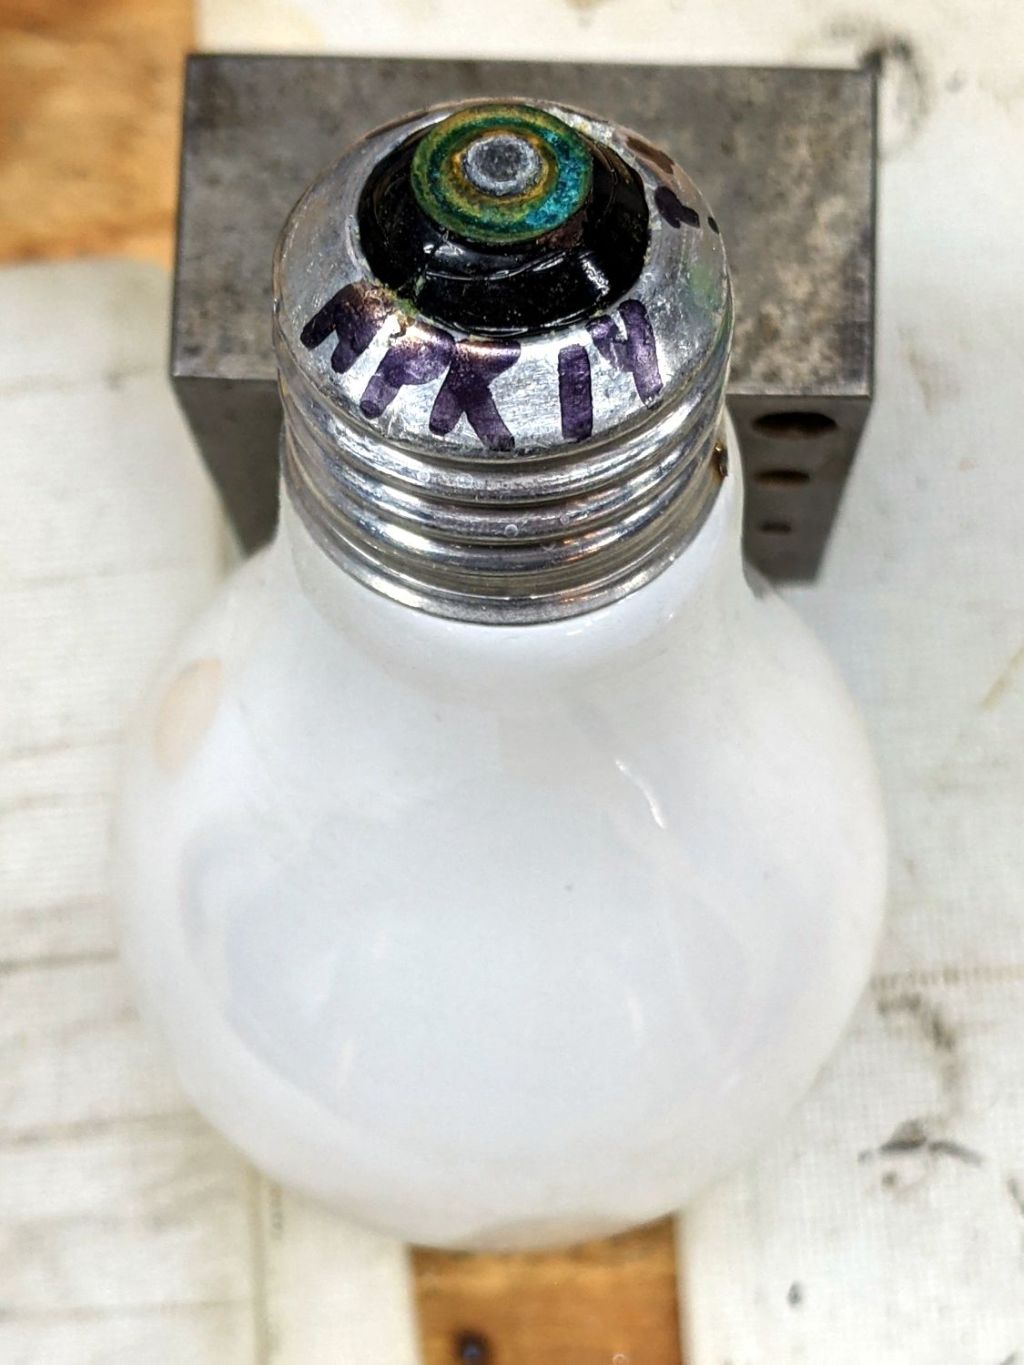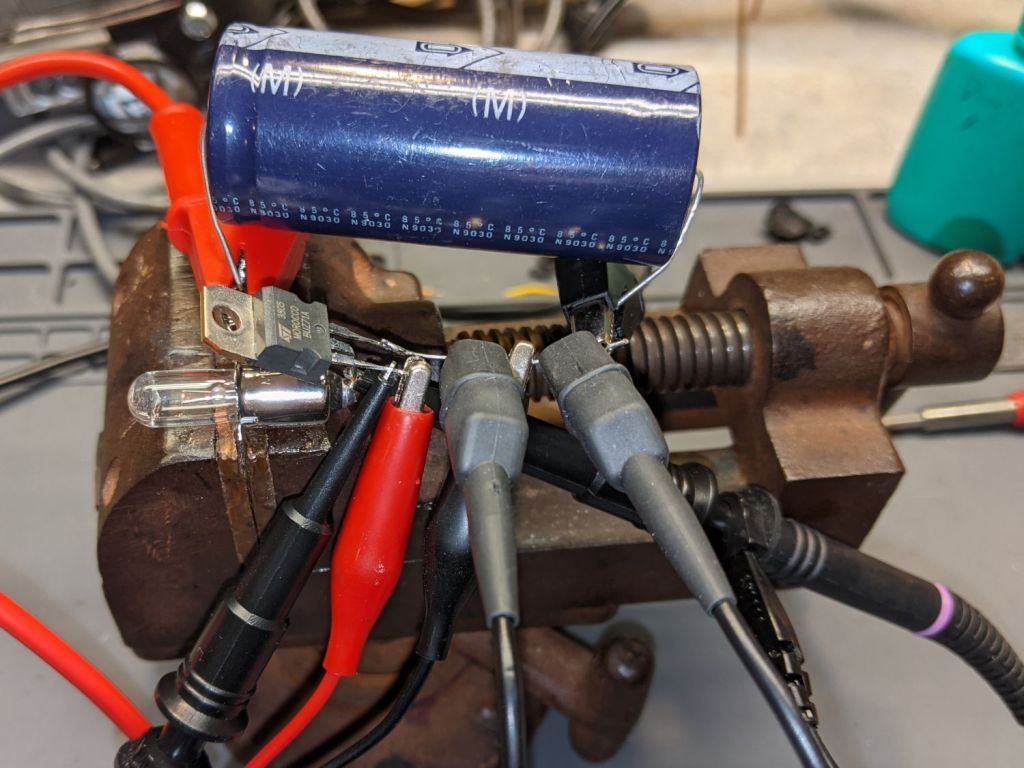
Dropping the ordinary flashlight bulb into the drawer where it belonged revealed what I think is a halogen flashlight bulb, so I rebuilt the blinky test setup:

This time I used a BUZ71A MOSFET (13 A, 100 mΩ RDS) driven with a 10 V gate pulse to make sure it acted like a switch instead of a current sink.
The first attempt looked … odd:
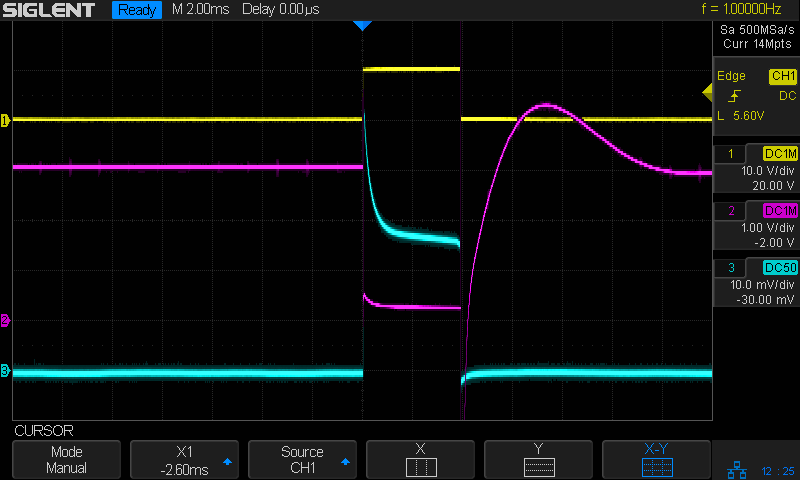
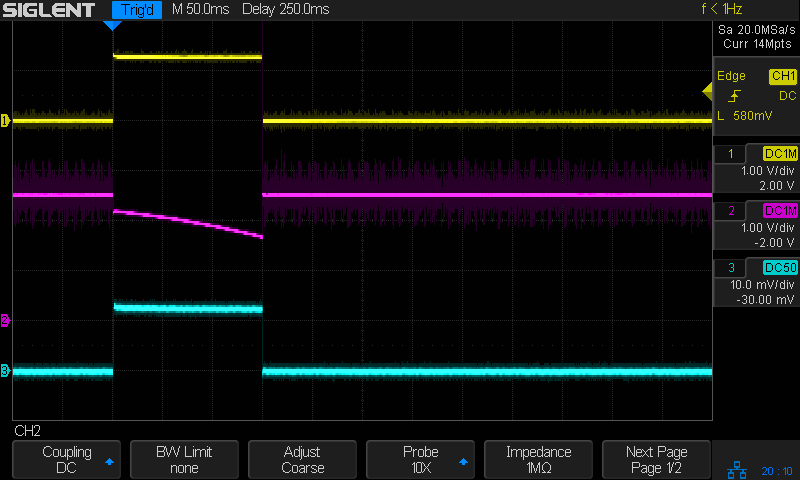
The gate pulse is yellow, the drain voltage is magenta, the bulb current is cyan at 1 A/div, and the timebase ticks along at 2 ms/div.
Moving the magenta trace to the supply voltage on the other side of the bulb produces even more weirdness:
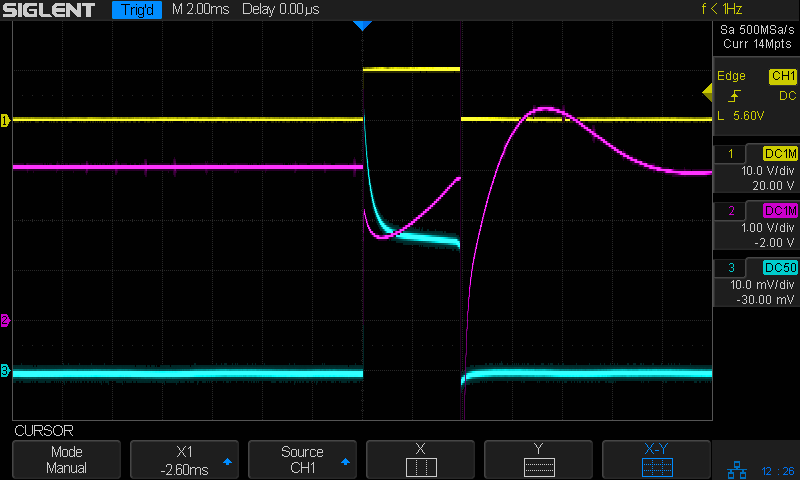
Apparently, slugging a 3 A bench supply with a 3 A pulse lasting only 4 ms causes distress of the output tract.
Kludging a hulking 22 mF (yes, 22000 µF) cap across the power supply provides enough local storage to make things work properly:

With the cap in place, the drain terminal looks less unruly:

The drain voltage starts at about 600 mV with the 3 A pulse, a bit more than you’d expect from the alleged 100 mΩ drain-source resistance, but those numbers are generally aspirational and the test setup leaves a lot to be desired.
A 10 ms pulse produces a distinct flash, rather than a dull orange blip (timebase now at 10 ms/div):

A 30 ms pulse reaches full brightness as the filament settles at normal operating temperature:

A 20 ms flash might suffice for decorative purposes, in which case each pulse requires 90 mW·s = 3 V × 1.5 A × 20 ms of energy. Running it all day requires 7.8 kW·s = 2.2 W·h, so it’s even less appealing than that old skool tungsten bulb.
Which is, of course, why LED flashlight bulbs are a thing.