With a printed card in a fixture and aligned to the punch pattern, all that’s left is to Fire The Laser:

When the card drops free, then:
- Remove card from fixture
- Insert next card
- Import next SVG file
- Verify alignment
- Fire The Laser
The gotcha lies in Step 3, which requires mousing & clicking through a tedious file selection dialog. For whatever reason, Windows / LightBurn does not remember your place in the file directory, so you must not only remember which card you just punched, but maneuver to the next card in the sequence.
It turns out there exists a lightly documented SendUDP.exe command-line program to send a file to the running LightBurn instance, which will (in the case of an SVG file) import it and center the layout at the middle of the workspace.
Which means a Windows batch file can feed SVG files, one at a time, in order, to LightBurn. Before importing the file, however, LightBurn verifies you want to blow away the previous layout:
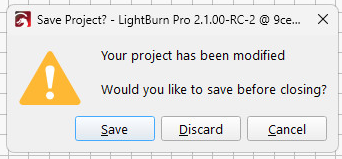
Tapping D lets the import proceed.
The feed-lb.bat batch file:
@echo off
for %%f in (%1) do (
    echo Sending: %%f
    "c:\Program Files\LightBurn_Prerelease\sendudp" "%CD%\%%f"
    pause
)
echo Done!
Because the SVG files have convenient sequential names, this does what’s needed:
…snippage…>.\feed-lb.bat Cards\Tests\test-?-lb.svg
Sending: Cards\Tests\test-1-lb.svg
Press any key to continue . . .
Sending: Cards\Tests\test-2-lb.svg
Press any key to continue . . .
Set up the process:
- Start LightBurn with the proper layer defaults
- Start a
Command Prompt - Get to the proper directory
- Run
feed-lb.bataimed at the SVG files - Align the first card
- Click in LightBurn window
Alt-Sto start cutting
When the cutting is done, the loop continues:
- Replace / align card
- Click the
Command Promptwindow - Hit (almost) any key to send the next file
- Click the LightBurn window
Dto discard old layout / import next SVGAlt-Sto start cutting- Iterate
Assuming you don’t spend too much time aligning a card, punching it can take up to four minutes. This process is definitely not competitive with an experienced operator on a real IBM 029 keypunch machine, but it’s as good as it gets in the Basement Shop.
One wrinkle: The imported SVG file uses LightBurn layer colors, so the various shapes appear on those layers with their default speed / power cut settings. It’s your responsibility to make the cut setting defaults match the cardstock, because that’s the only way (short of per-card clicking) to make it happen.
Another wrinkle: the Command Prompt window opens at your Windows home directory, thus requiring a little setdir.bat file in there to get you where you want to go:
@echo off
z:
cd "\Project Files\Laser Cutter\Punched Cards\Programs\"
dir
Now it’s just a matter of punching and stacking cards:
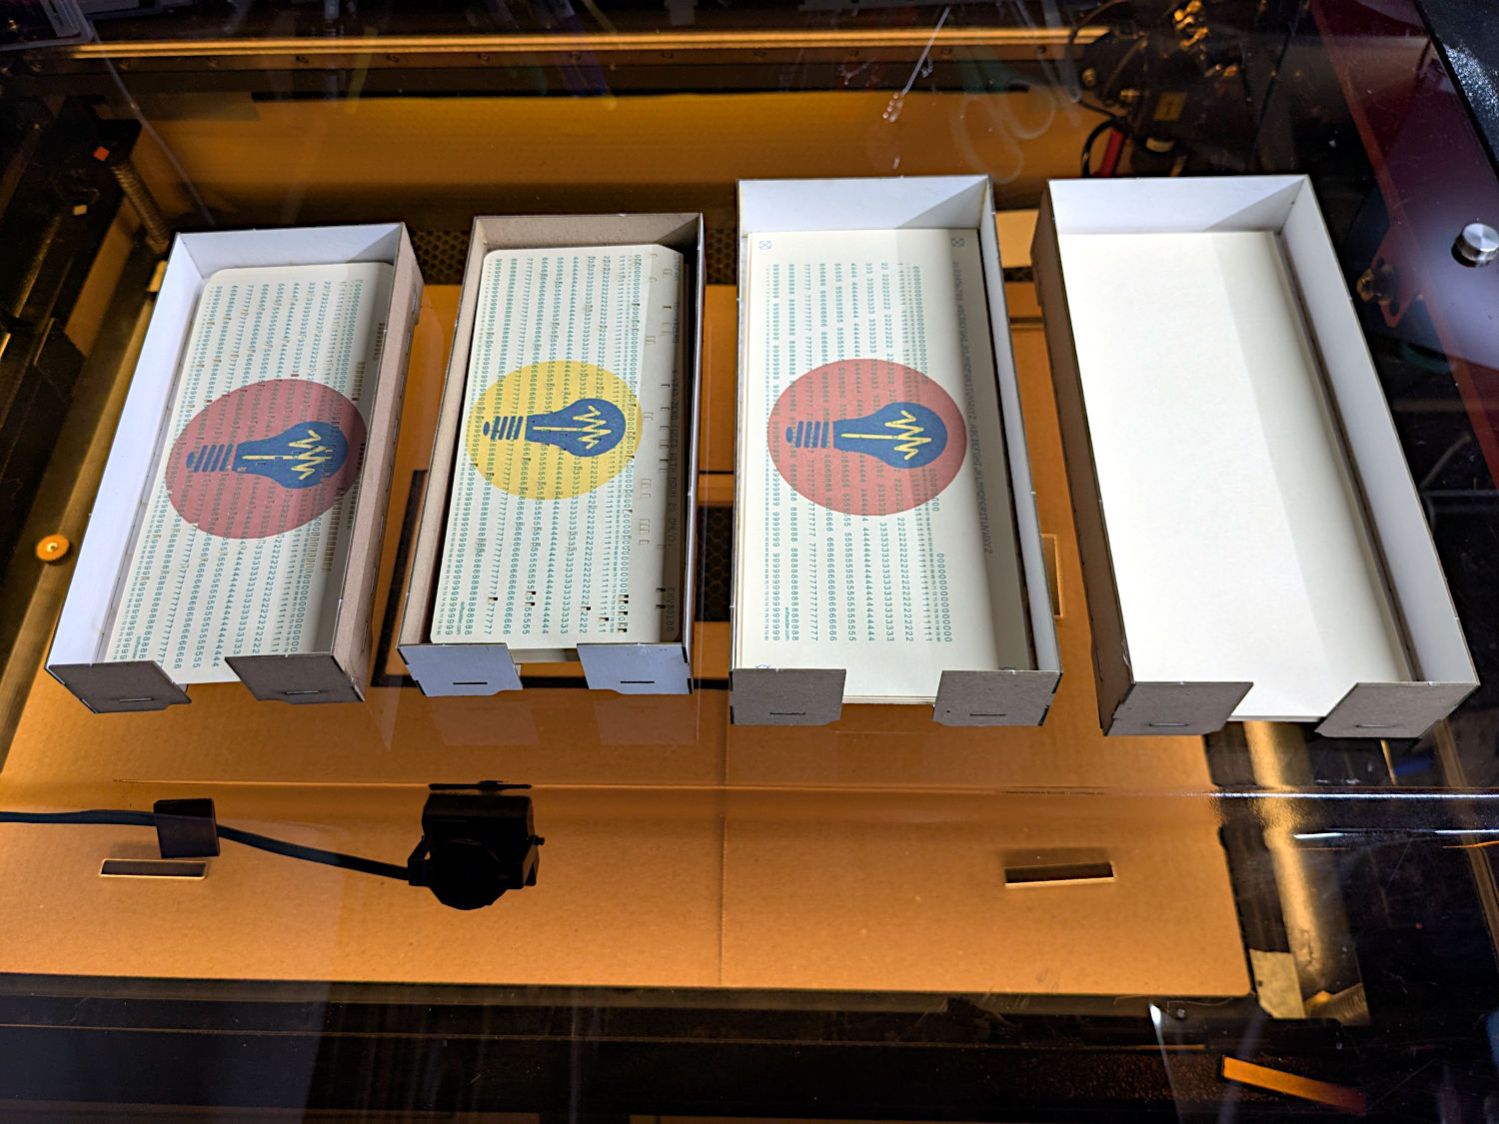
It’ll take a while before I’m ready for the next step …

Spam comments get trashed, so don’t bother. Comment moderation may cause a delay.