Unlike the OEM 24 V supply in the laser, the “new” supply from my heap does not have mounting flanges; it’s intended to be attached to a mounting plate from the back side. It turns out the laser does have a mounting plate with All The Things screwed onto it, but there is no way I am going to disconnect all the wiring just to drill four more holes in that plate.
So I made a pair of brackets to screw into the back of the supply and then into suitable holes in the mounting plate:
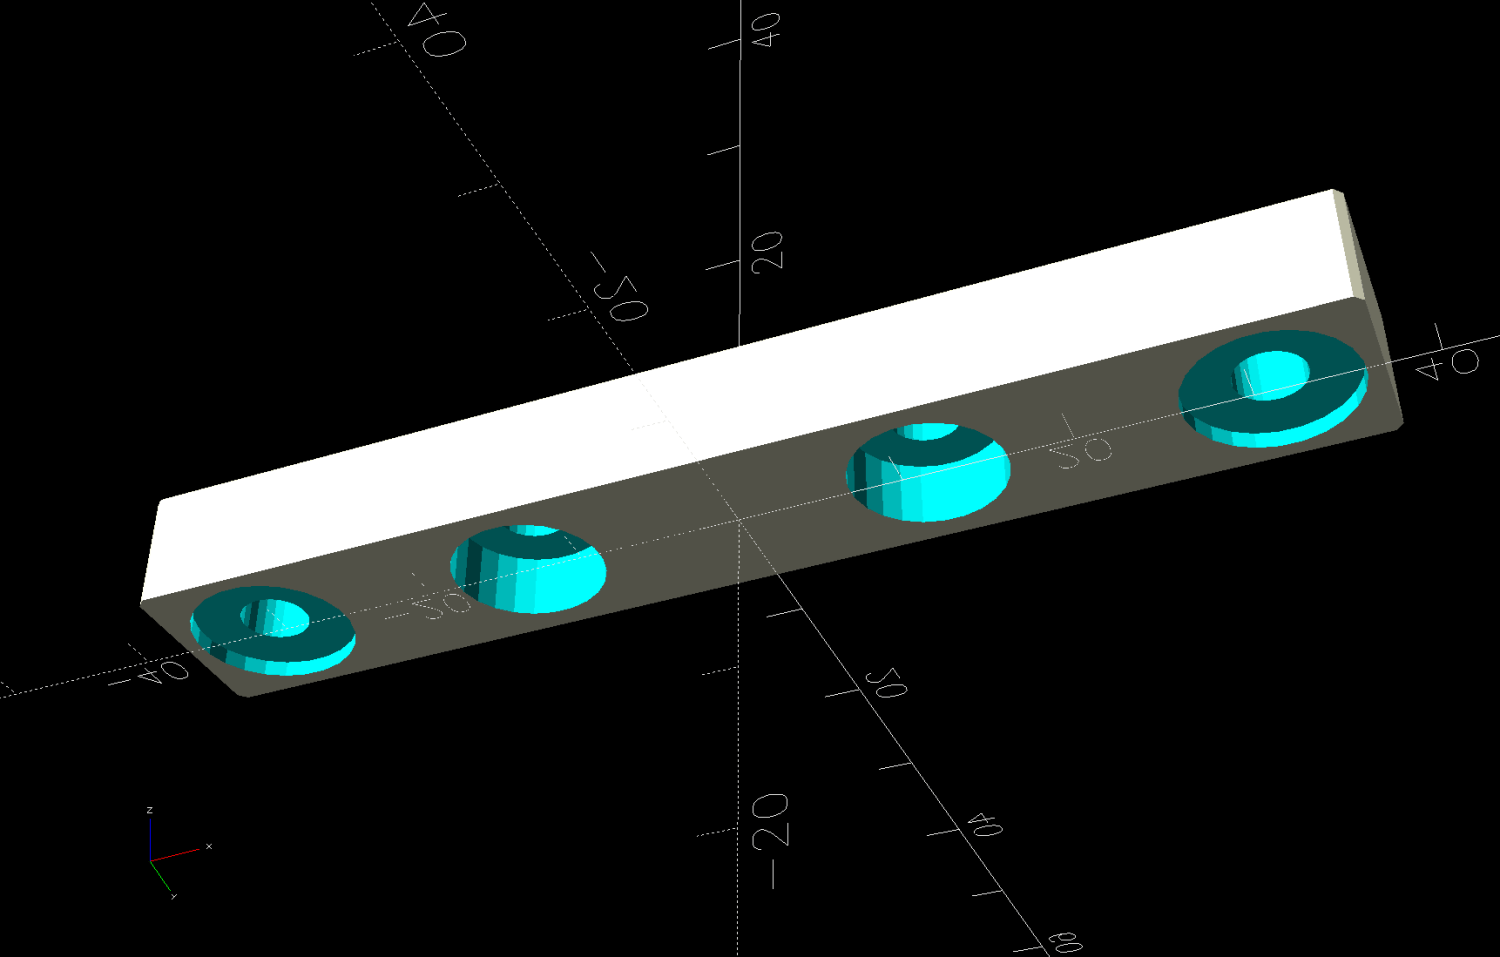
Which look like this in real life:

Those M4 rivnuts just beg for 6 mm holes in the mounting plate.
However, it turns out that their unsquished length exceeds the distance behind the panel, which means there’s no way to install them flush to the panel with the proper backside squish.
So:
- Loosen the four nuts holding the panel to the bolts welded to the machine frame
- Ease it forward a bit
- Tuck 6 mm acrylic scraps behind all four corners
- Snug the nuts again to hold the plate against the acrylic with plenty of room behind it
The OpenSCAD code generates a simpleminded drill template:
Press a scrap of rubber firmly against the plate to dampen vibrations and thwack each hole with an automatic center punch set to stun. Deploy a succession of drills up through 6 mm, catching most of the swarf in tape strips:
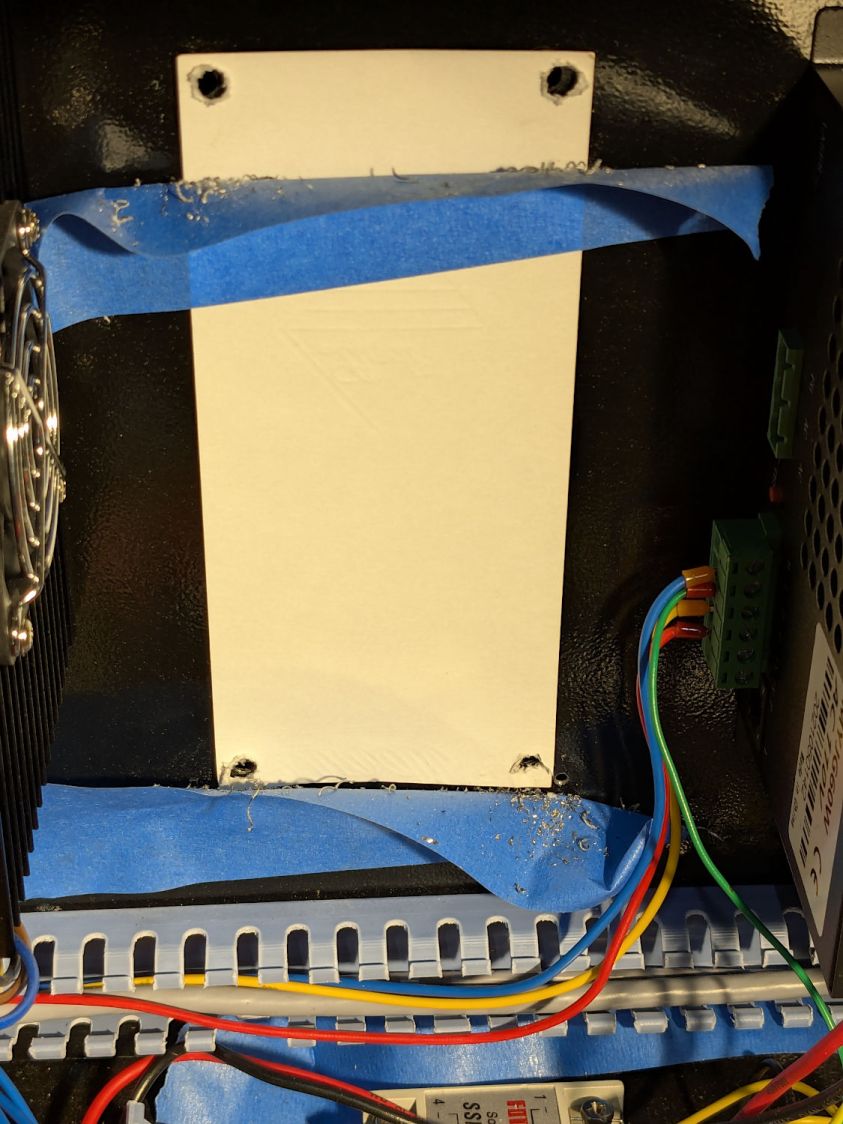
Squish the rivnuts in place:
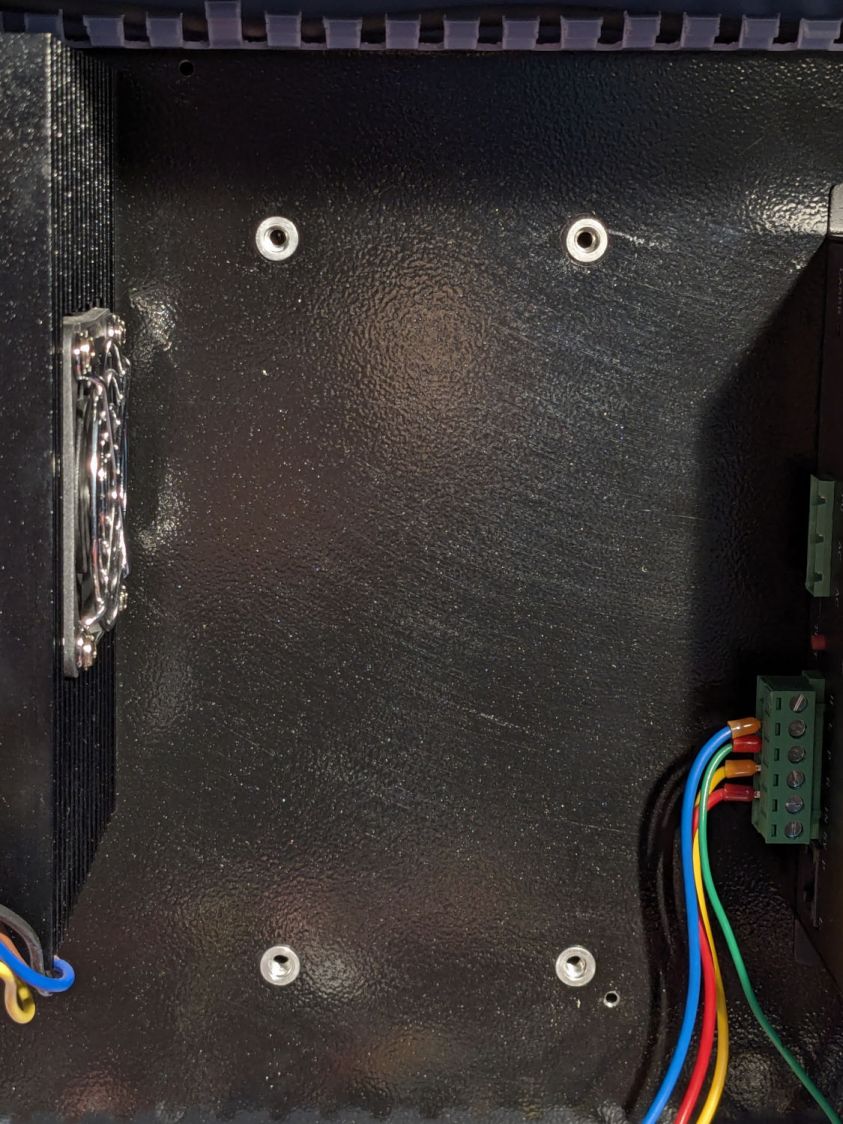
The small, vaguely tapped hole on the lower right was the “good” screw for the OEM power supply; the “bad” screw hole is invisible to the upper left, just under the raceway.
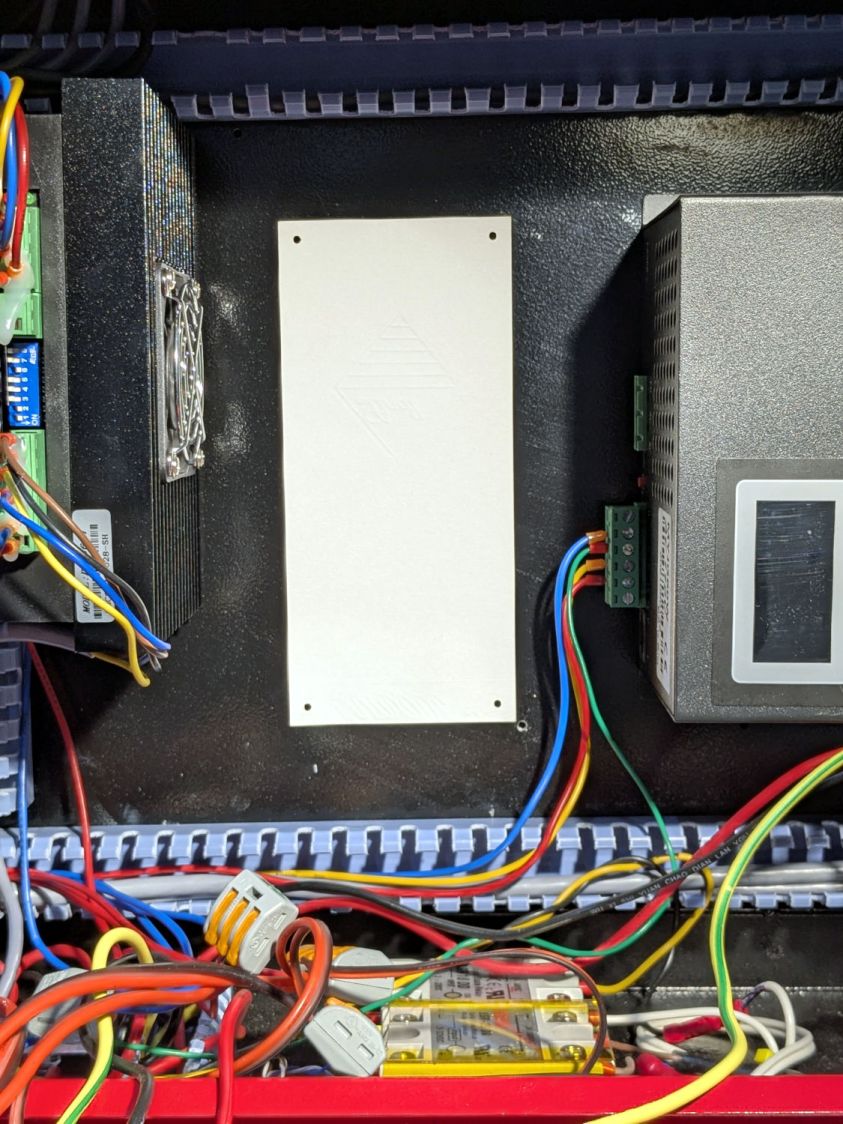
Remove the plastic spacers, snug the nuts holding the plate again, install the power supply, and it looks like it grew there:
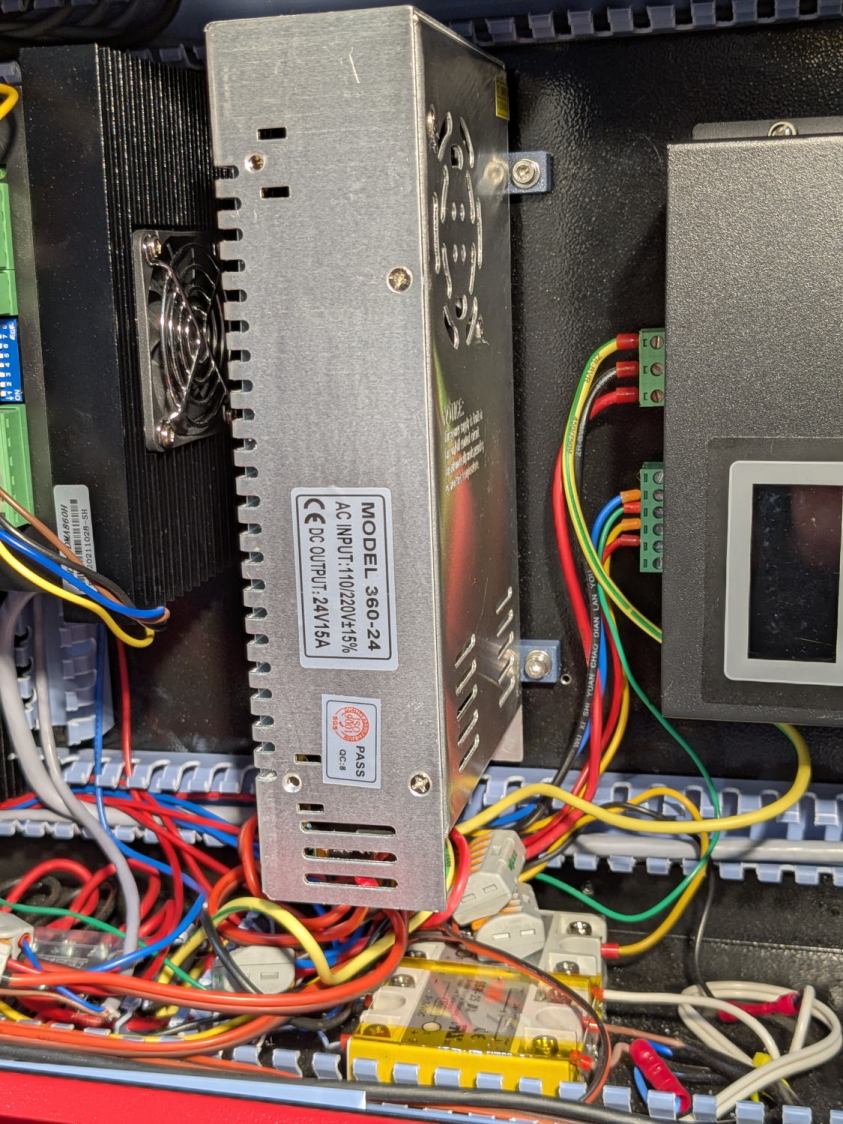
The wires and Wago connectors scrunched underneath aren’t anything to be proud of, but longer wires didn’t seem likely to improve the outcome.
The OpenSCAD source code as a GitHub Gist:
| // Mount for 24 V laser power supply | |
| // Ed Nisley – KE4ZNU | |
| // 2025-12-07 | |
| include <BOSL2/std.scad> | |
| Layout = "Show"; // [Show,Build,Guide,Block] | |
| /* [Hidden] */ | |
| ID = 0; | |
| OD = 1; | |
| LENGTH = 2; | |
| HoleWindage = 0.2; | |
| Protrusion = 0.1; | |
| NumSides = 2*3*4; | |
| $fn=NumSides; | |
| Gap = 5.0; | |
| Rivnut = [4.0,6.0,9.0]; // body + head OD | |
| RivnutHead = [6.0,10.0,1.0]; // flat head | |
| WallThick = 6.0; // a bit more than half rivnut head OD | |
| SupplyCase = [50.0,215.0,112.0]; // power supply case size | |
| SupplyOC = [25.0,150.0,0]; // power supply mounting screw centers | |
| SupplyOffset = -1.0; // the screws are not centered on the case! | |
| SupplyScrew = [4.0,9.0,4.0]; // … LENGTH outside supply case | |
| MountOC = SupplyCase.x + 2*WallThick; | |
| MountScrewLength = 8.0; // … head-to-baseplate | |
| MountRadius = 0.5; | |
| BlockOA = [MountOC + 2*WallThick, 2*WallThick, MountScrewLength]; | |
| GuideOD = 2.0; | |
| //—– | |
| // Single mounting block | |
| module MountBlock() { | |
| difference() { | |
| cuboid(BlockOA,chamfer=MountRadius,except=BOTTOM,anchor=BOTTOM); | |
| for (i = [-1,1]) { | |
| right(i*MountOC/2) { | |
| cyl(2*RivnutHead[LENGTH],d=RivnutHead[OD],circum=true,anchor=CENTER); | |
| cyl(2*BlockOA.z,d=Rivnut[ID] + HoleWindage,circum=true,anchor=BOTTOM); | |
| } | |
| right(i*SupplyOC.x/2 + SupplyOffset) { | |
| down(SupplyScrew[LENGTH]) | |
| cyl(BlockOA.z,d=SupplyScrew[OD] + HoleWindage,circum=true,anchor=BOTTOM); | |
| cyl(2*BlockOA.z,d=SupplyScrew[ID] + HoleWindage,circum=true,anchor=BOTTOM); | |
| } | |
| } | |
| } | |
| } | |
| //—– | |
| // Guide holes in a 2D layout | |
| module DrillGuide() { | |
| difference() { | |
| square([BlockOA.x,SupplyOC.y + BlockOA.y],center=true); | |
| for (j=[-1,1]) | |
| fwd(j*SupplyOC.y/2) | |
| for (i = [-1,1]) { | |
| right(i*MountOC/2) { | |
| circle(d=GuideOD); | |
| } | |
| } | |
| } | |
| } | |
| //—– | |
| // Build things | |
| if (Layout == "Block") | |
| MountBlock(); | |
| if (Layout == "Guide") | |
| DrillGuide(); | |
| if (Layout == "Show") { | |
| for (j=[-1,1]) | |
| fwd(j*SupplyOC.y/2) | |
| MountBlock(); | |
| color("Gray",0.5) | |
| up(BlockOA.z) | |
| cuboid(SupplyCase,anchor=BOTTOM); | |
| } | |
| if (Layout == "Build") { | |
| for (j=[-1,1]) | |
| fwd(j*(BlockOA.y/2 + Gap/2)) | |
| up(BlockOA.z) zflip() | |
| MountBlock(); | |
| } | |

Spam comments get trashed, so don’t bother. Comment moderation may cause a delay.