Each of the glass fragments in a 3D printed coaster sits atop a metallized paper reflector in its own recess and gets covered with epoxy:
That’s an early printed coaster with the epoxy pool covering the entire surface. Putting a rim around each fragment to form separate pools works better.
Assuming I do a tidy job of filling the recesses, this process worked exactly as you’d expect until I printed a coaster with blue PETG-CF filament:
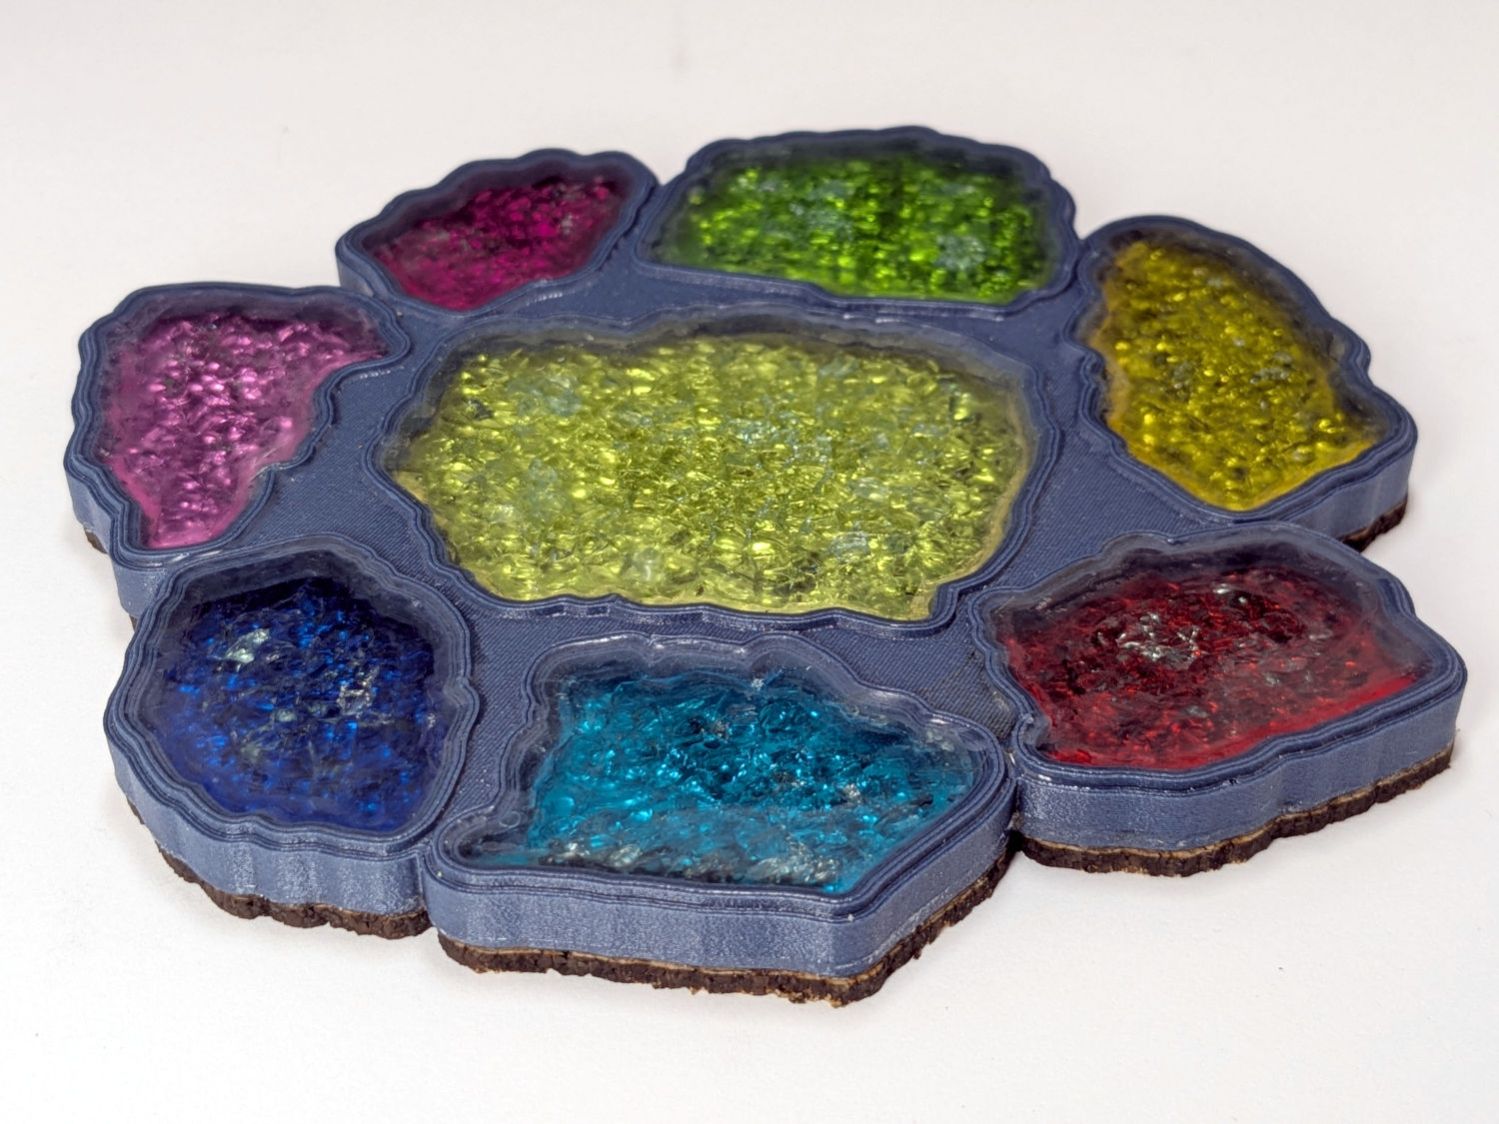
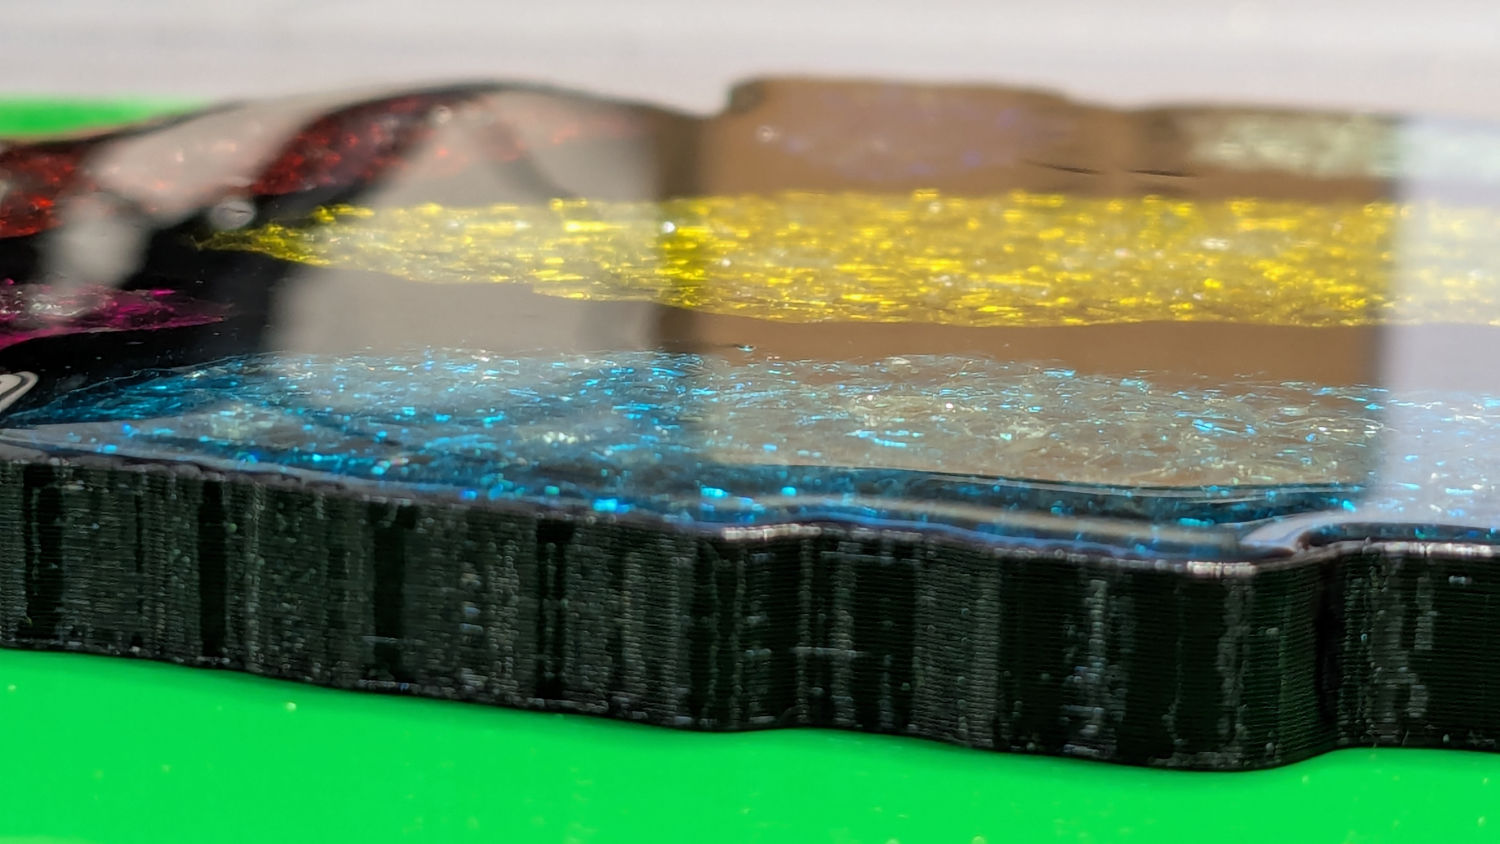
Other than a slightly ragged cork layer motivating me to make the cork slightly smaller and use a fixture to align it properly, the coaster looks reasonably good. However, a close inspection shows all the epoxy pools are slightly recessed below their rims.
It turns out printing PETG-CF with an extrusion multiplier of 0.8, which I figured based on fitting threaded parts together, doesn’t fuse the threads into an epoxy-tight surface:
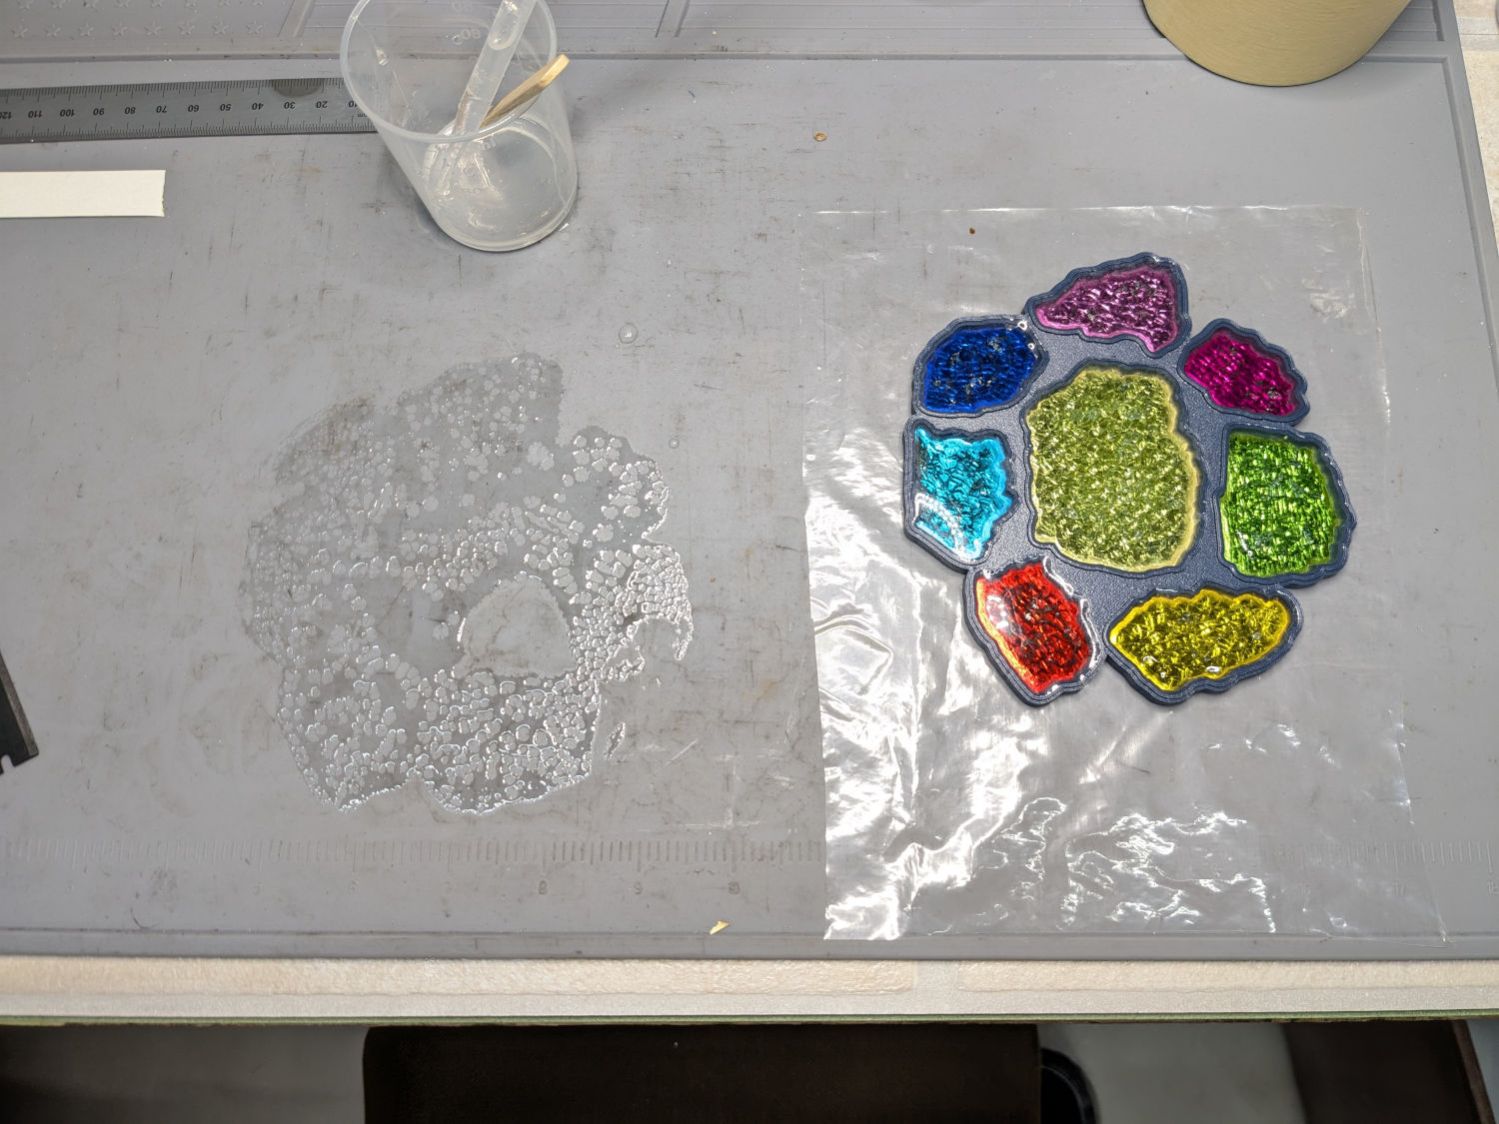
Fortunately, I’d been working on a silicone mat that could take a joke. I managed to move the coaster to a plastic sheet and refill the drained pools, although they continued to drain while curing.
After the epoxy cured to a rubbery texture, I scraped off the meniscus around the perimeter of the coaster, but the bottom shows it cured in a pool of its own making:

The cork conceals the evidence and the result looks good enough for my simple needs:
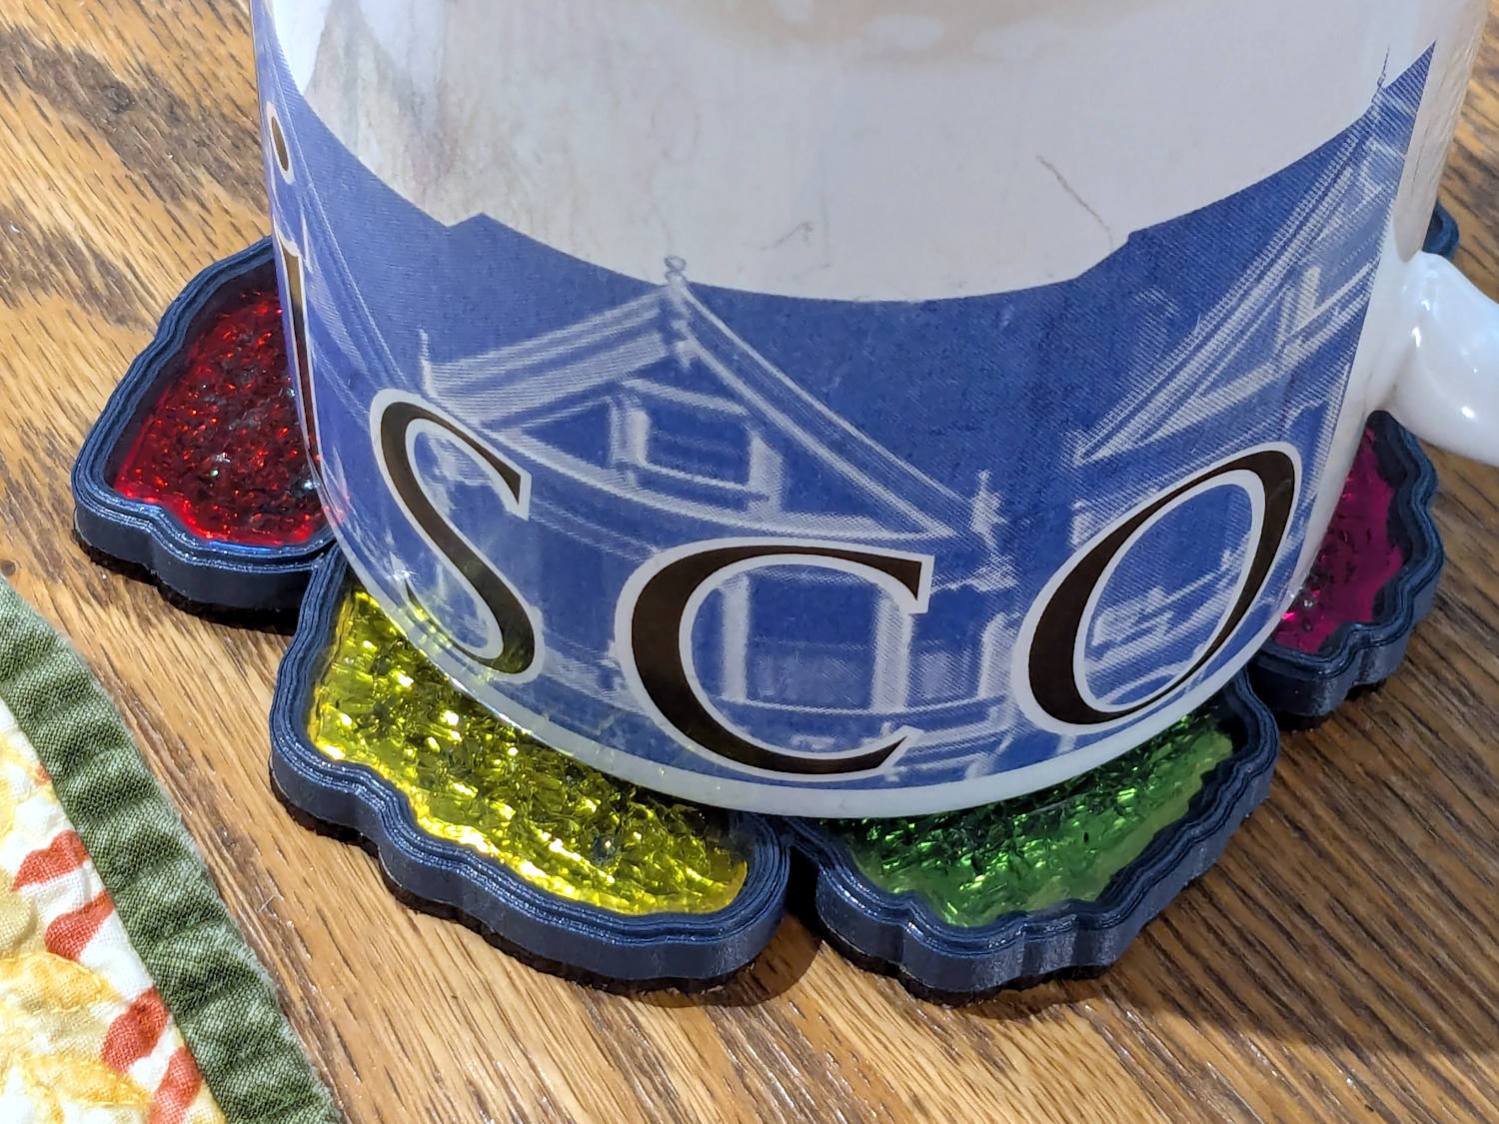
Memo to self: Use the correct filament preset for the job!

Comments
3 responses to “3D Printed Smashed Glass Coasters: Being Epoxy-Tight”
Alternatively, could you use thicker epoxy that doesn’t wick through the tiny voids to seal the base first?
Maybe!
I suppose squooshing the reflectors atop that sealant and gooping it on the walls would work, but I’d expect it to slump enough to make seating the fragments a problem.
Likely more trouble than printing a fit-for-purpose base. :sigh:
[…] printed the frame with the same blue PETG-CF that leaked epoxy the last time around. Using the correct filament setting (Extrusion Multiplier = 1.0) produced an epoxy-tight […]