Because all smashed glass fragments are different, the problem boils down to locating their borders in order to create recesses to hold them.
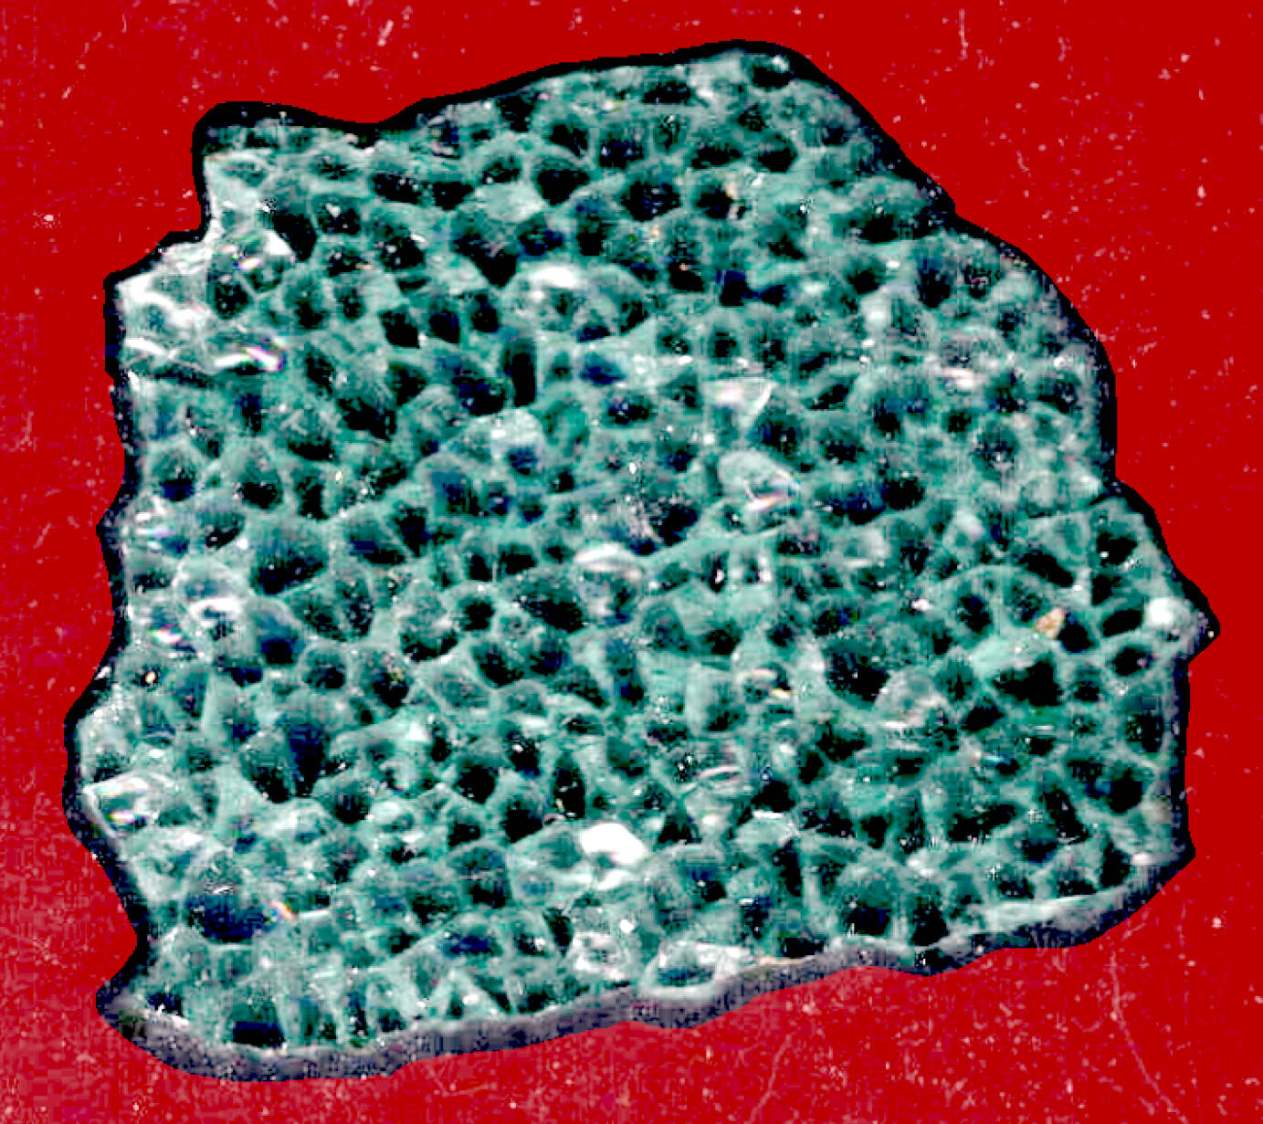
The fragments, being slightly green-tinted glass, have very low contrast against any background color. This picture shows the result of applying GIMP’s Select by color tool with a reasonable color tolerance:
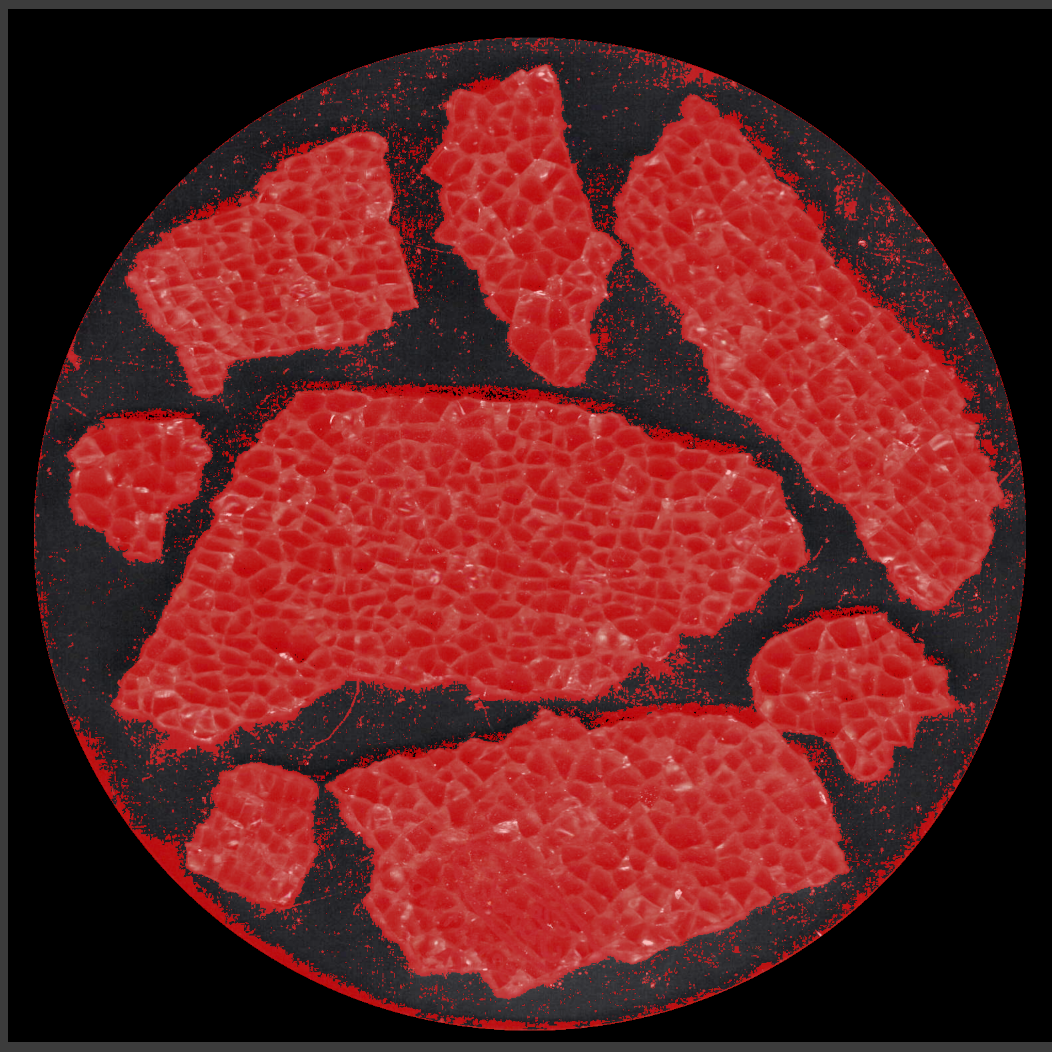
Fiddling with the tolerance trades off more trash outside the fragments with less accurate selection inside them. While it’s possible to clean up the ensuing mess, it’s incredibly tedious and more trouble than just tracing the edges manually using a stylus and graphic tablet. For the record, a white background produces similar results.
I began tracing the fragments with meticulous attention to following their exact outline, which certainly produced angular shapes:
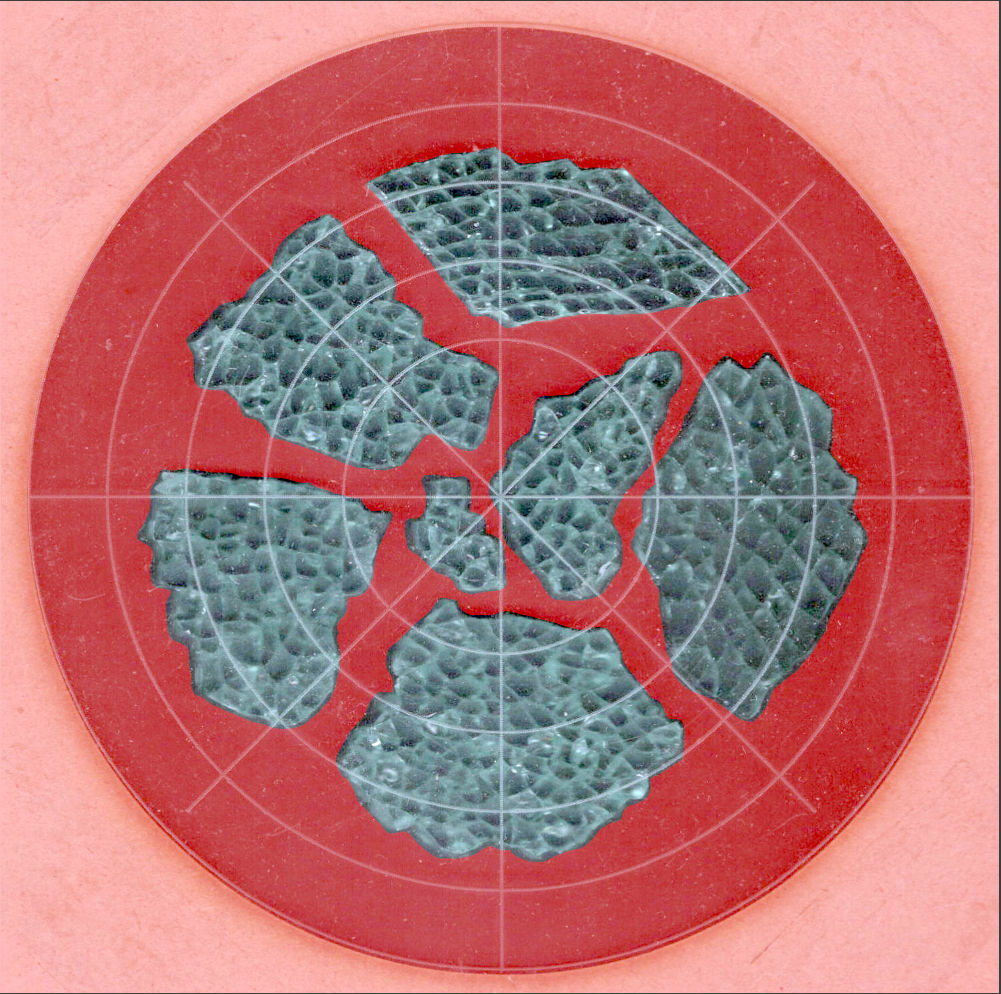
It also takes approximately forever and is way tedious.
The intent was to apply a uniform offset to those outlines in OpenSCAD, but it turned out the fragment edges aren’t exactly perpendicular to the scanner platform and the protruding glass extends beyond any reasonable offset; determining how unreasonable the offset must be requires cutting a fitting template:
Incidentally, the dark smudge in the bottom fragment isn’t dirt, it’s the Ford logo above the identification numbers for that particular window:
You’ll note the rather sloppy fit inside the template.
However, the little glass shard sticking out on the upper right side does not match a corresponding template notch. You’re looking at the top of the fragment, but the scanner was looking at the bottom and that shard angles outward toward the top, where it was out of focus and I didn’t notice it.
Although that fragment fit its recess, such things eventually cause problems:
The chipboard template isn’t as tall as the printed recess, which means some of those protruding shards can wiggle through.
Protip: Avoid the temptation to just press a fragment into its ill-fitting recess, as shattered glass doesn’t have much strength. AFAICT, only air pressure holds the shards in place (they’re not windshields and not laminated), so you must handle them like they’re made of ahem glass.
The scans produce 300 DPI images, so each pixel is 0.085 mm across and half a millimeter is about 6 pixels wide. I tried tracing the fragments with the center of a 12 pixel circular GIMP brush, so the outer edge of the brush painted a 0.5 mm margin around the fragment, but keeping the middle of the brush on the edge was entirely too fussy.
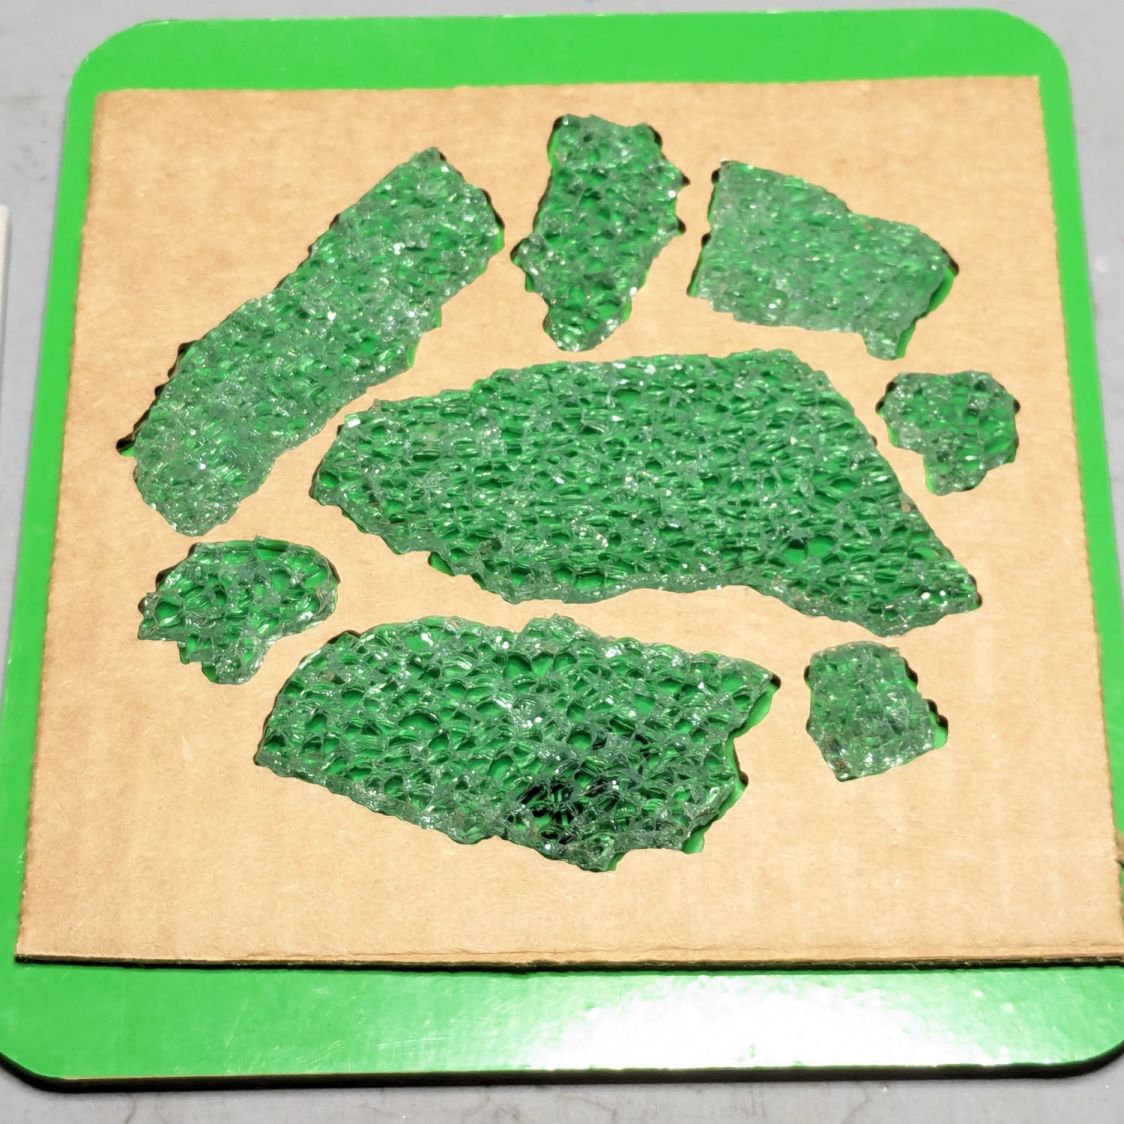
I eventually settled on a 6 pixel brush, painted it just outside the margin, and paid more attention to shadows that might be shards protruding toward the top:
That works out well with the fragments on the desk to resolve any issues.
The garish red in those screenshots is GIMP’s Quick Mask mode allowing you (well, me) to paint the selection with either black or white to mask or select the pixels.
After painting the entire perimeter of the fragment, use the Bucket Fill tool to pour white into the interior and select the entire fragment. This is much easier than scribbling over the fragment, which is what I did until I realized I was working too hard.
Get out of Quick Mask mode, convert the selection to a Path, then export the path (or paths) to an SVG file.
The initial test piece was a round coaster:
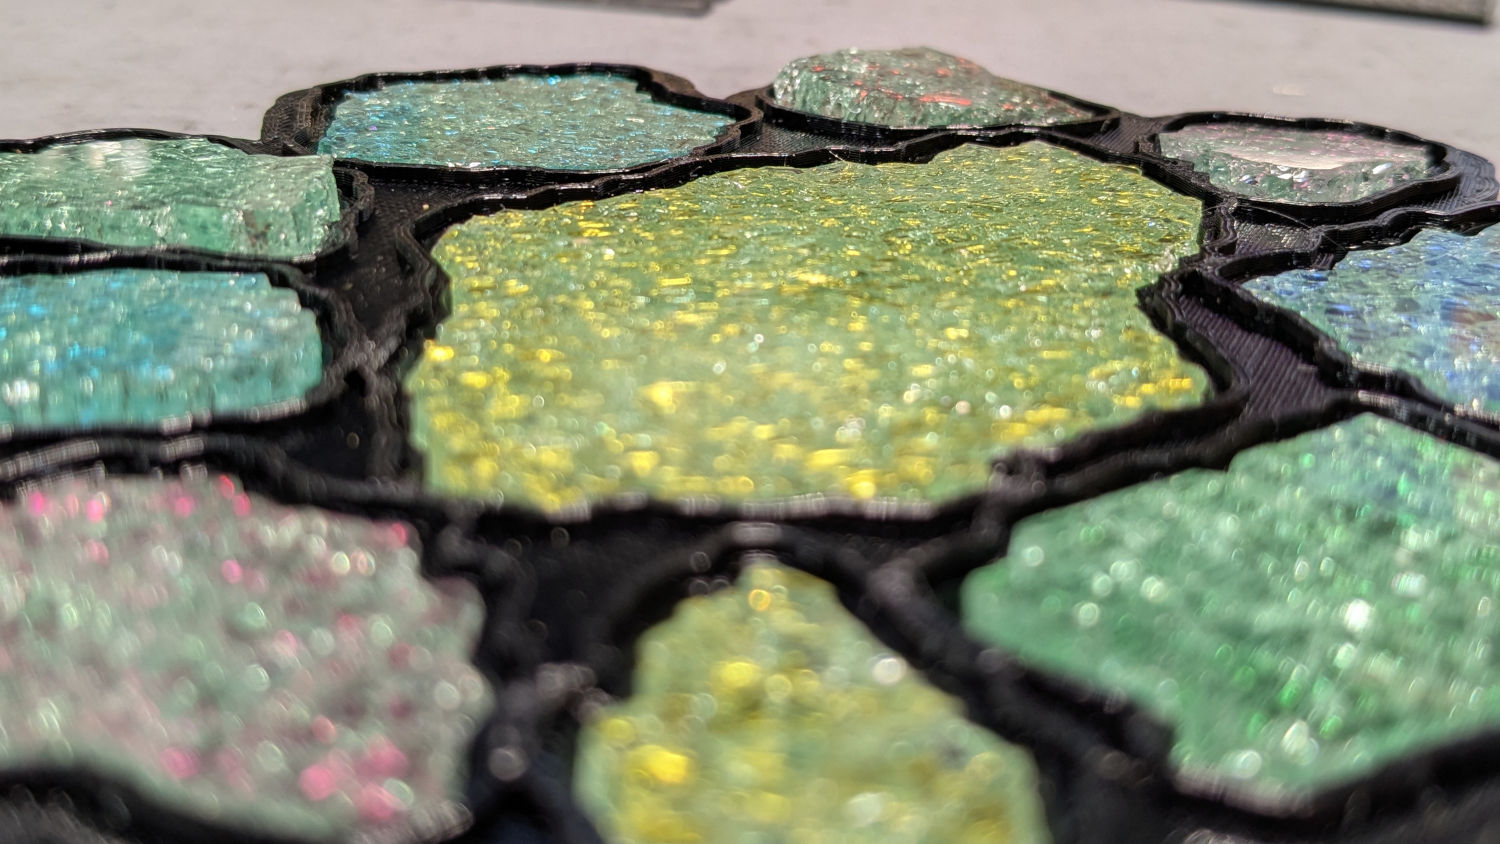
But a conformal perimeter is much more interesting:
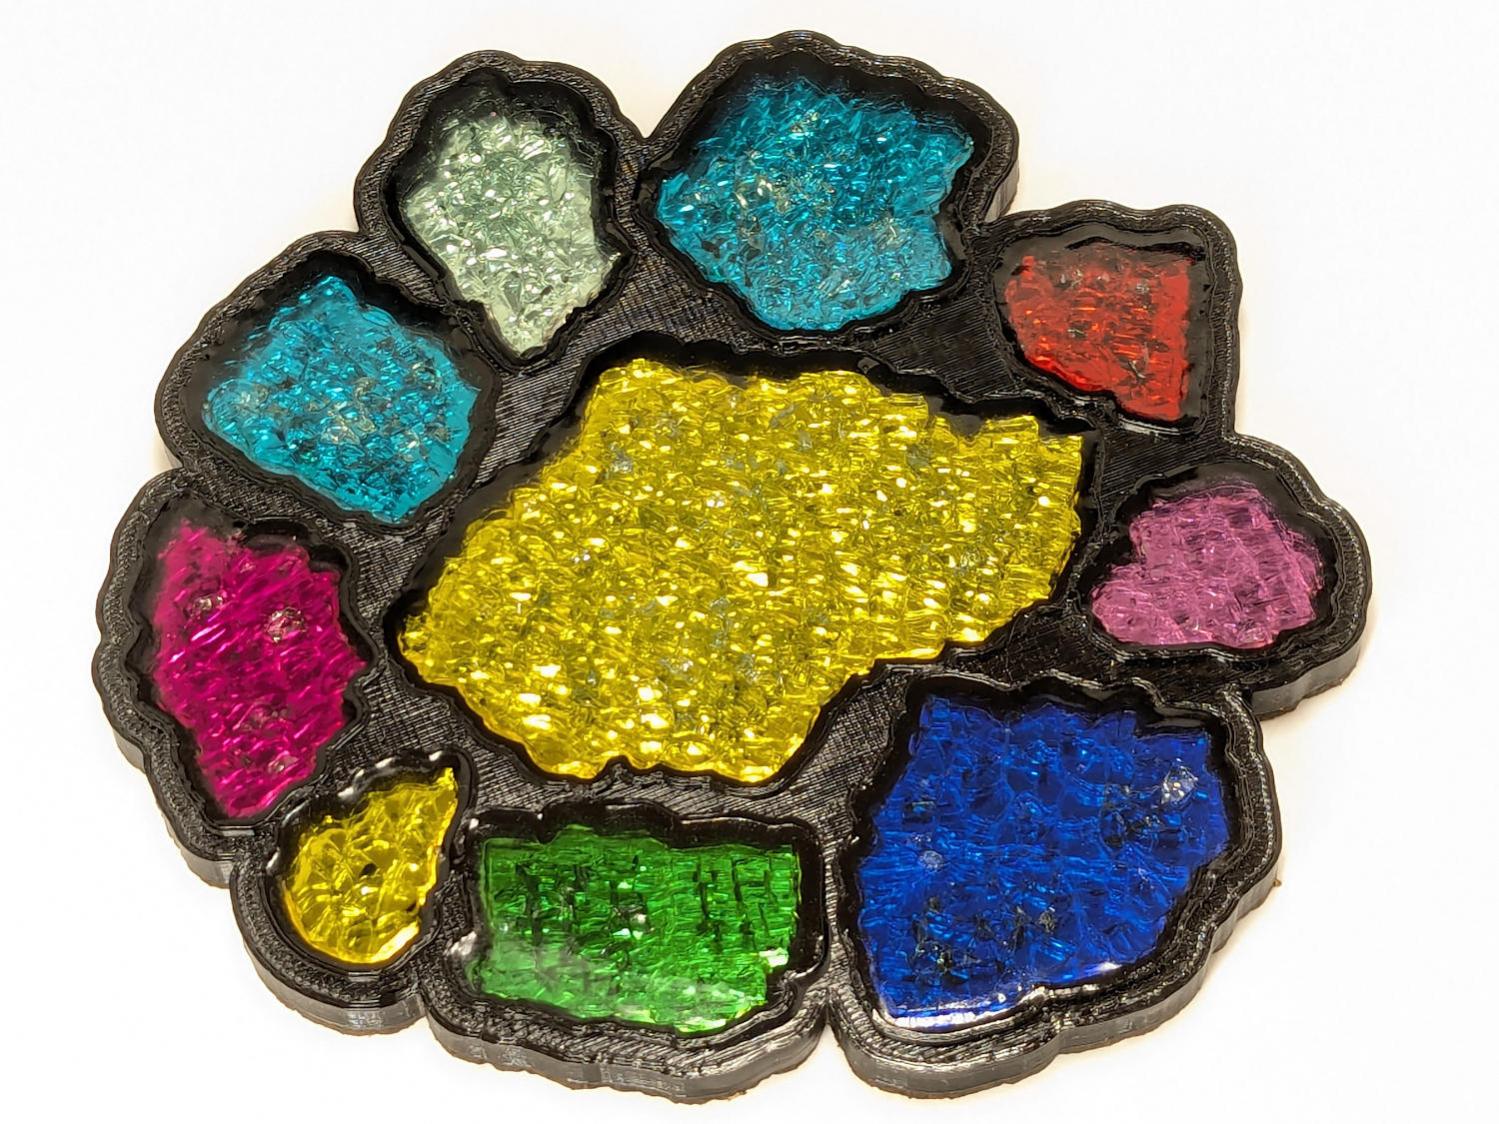
However, an interesting perimeter requires an interesting fragment layout …

Comments
One response to “3D Printed Smashed Glass Coasters: Fragment Outlines”
[…] Mark the fragments in GIMP […]