The Branson 200 ultrasonic cleaner in the bathroom has been with me for a long time. If I’m reading the IC date codes correctly, it’s one of the first things I bought after real paychecks began arriving back in 1974:
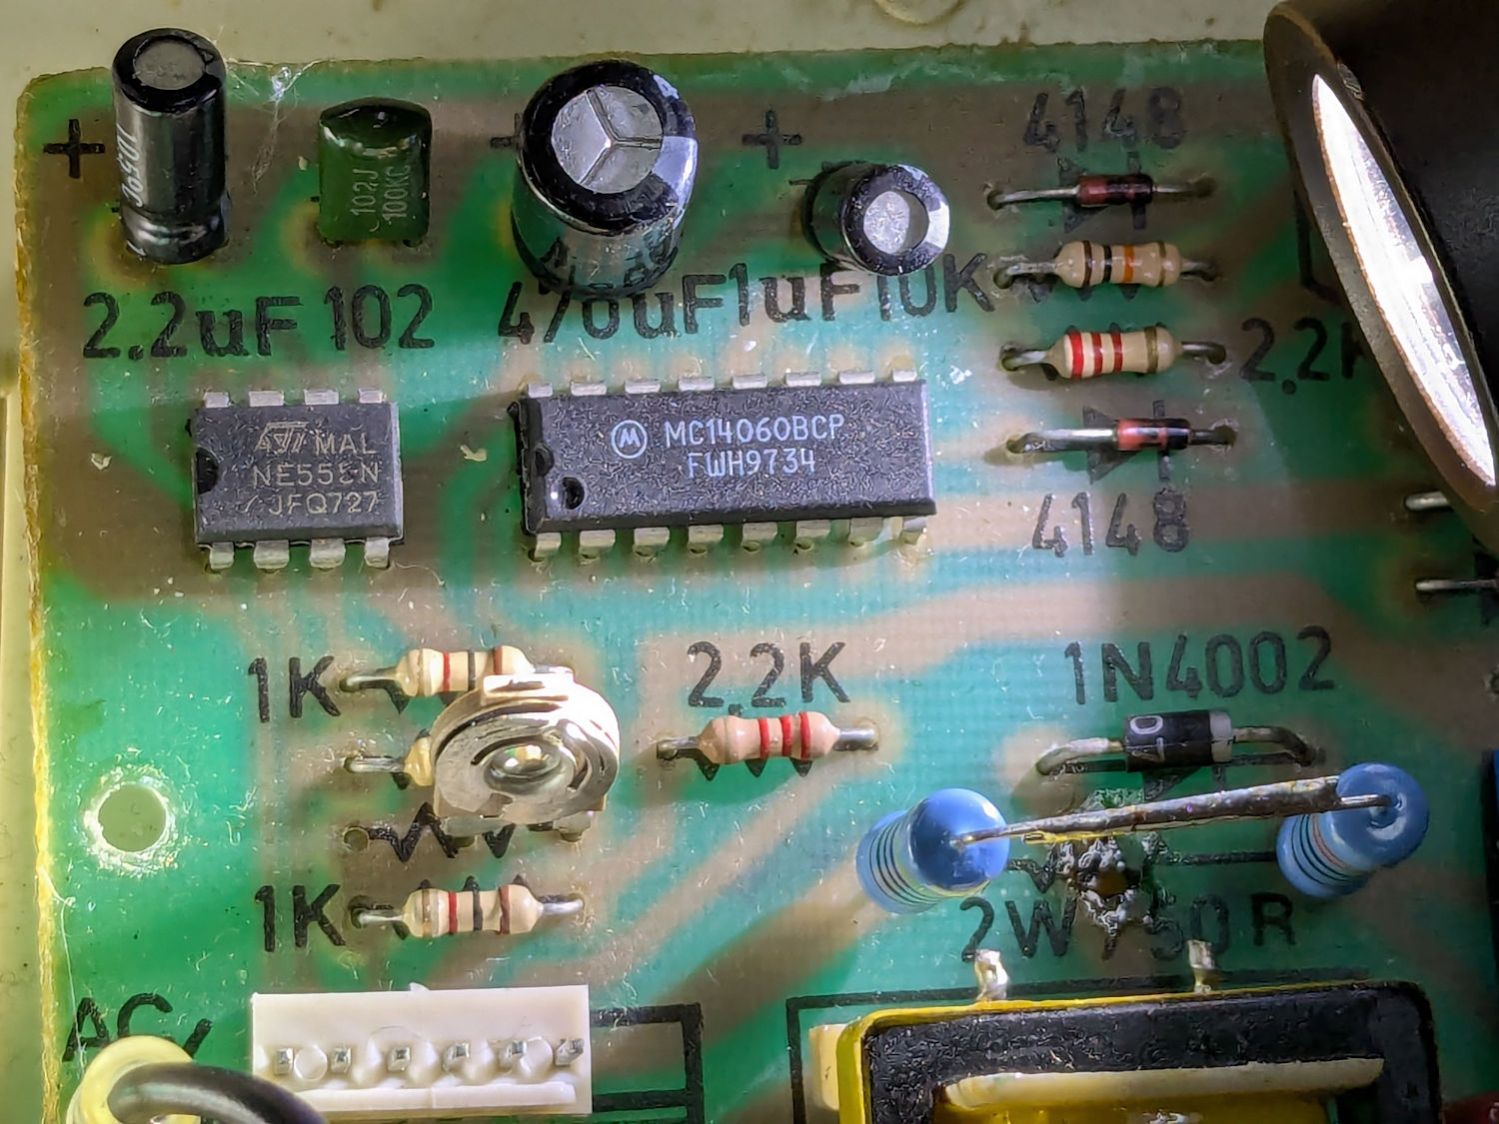
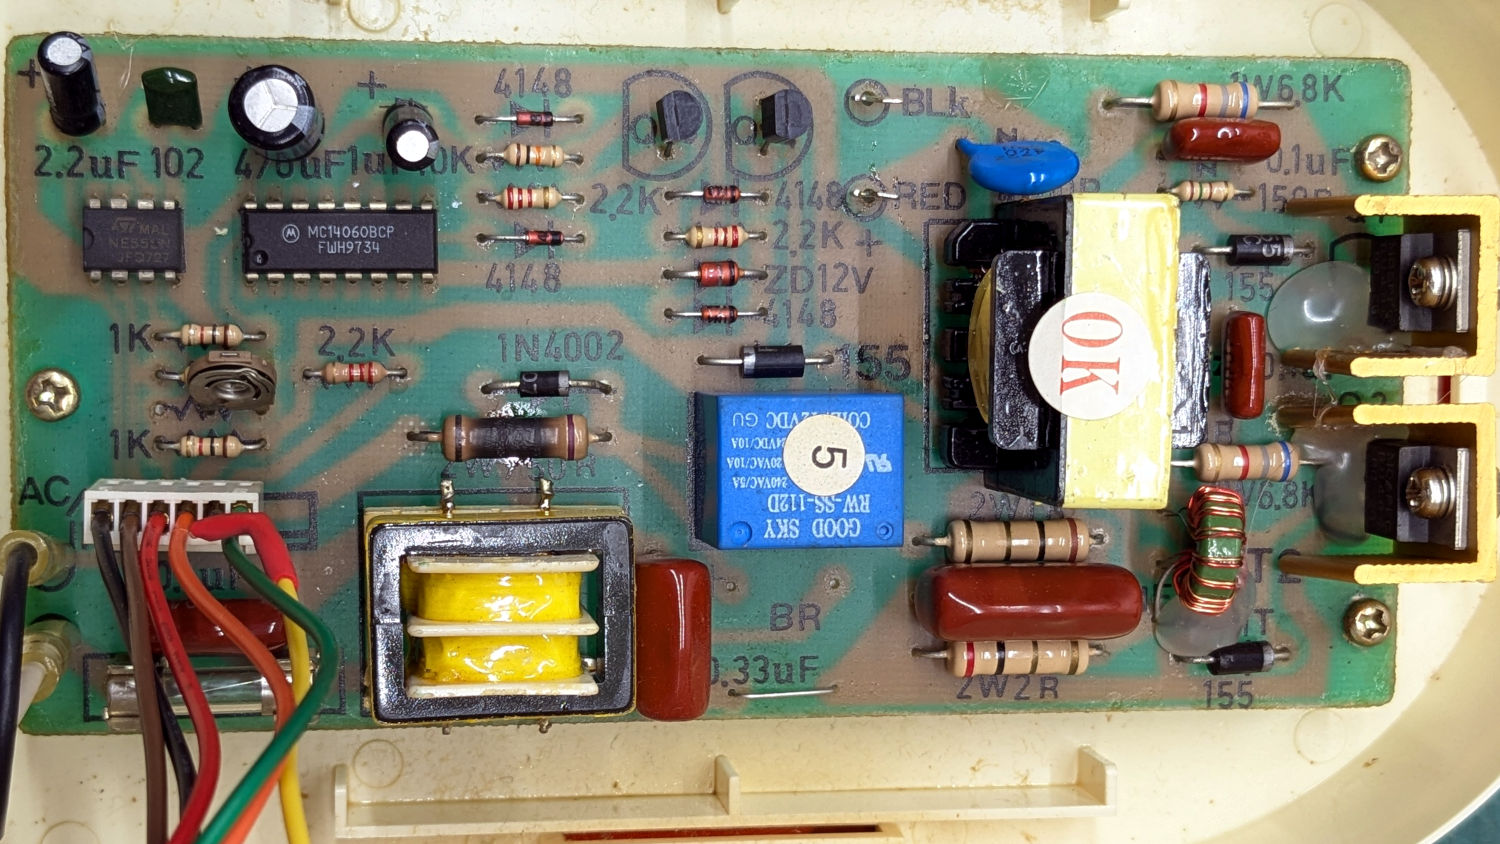
The circuit board has that spacious old-time layout:
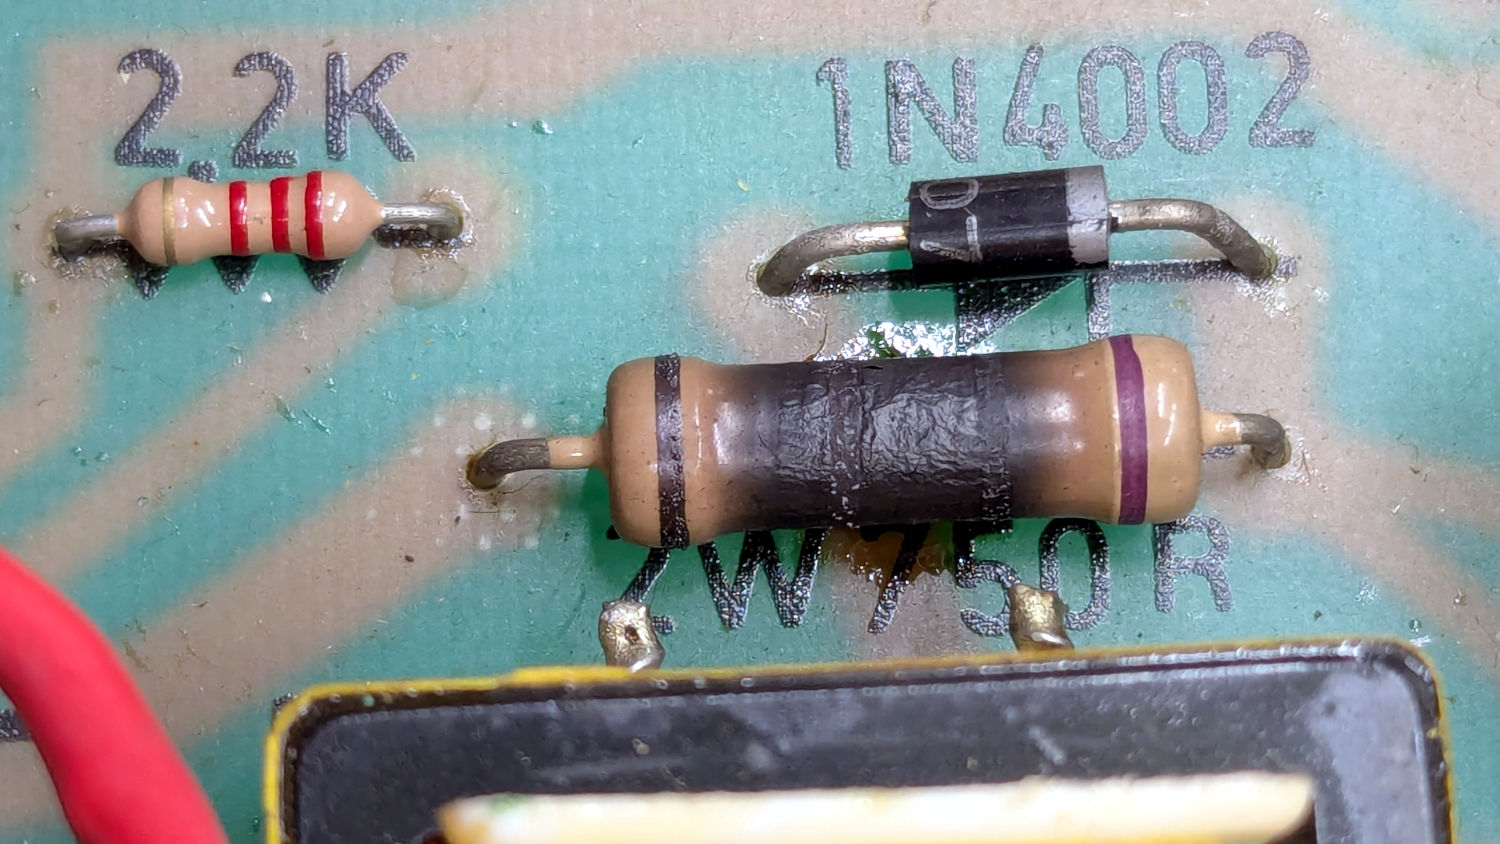
Believe it or not, this isn’t why I took the thing apart:
I’ve never seen a PCB with the component values printed on it, but they definitely came in handy!
That resistor measured 743 Ω: still good, even with an extra-crispy coating.
Assuming it was dissipating a bit more than its 2 W rating could handle, I replaced it with a 470 Ω + 330 Ω series combination of 2 W 1% metal film resistors:
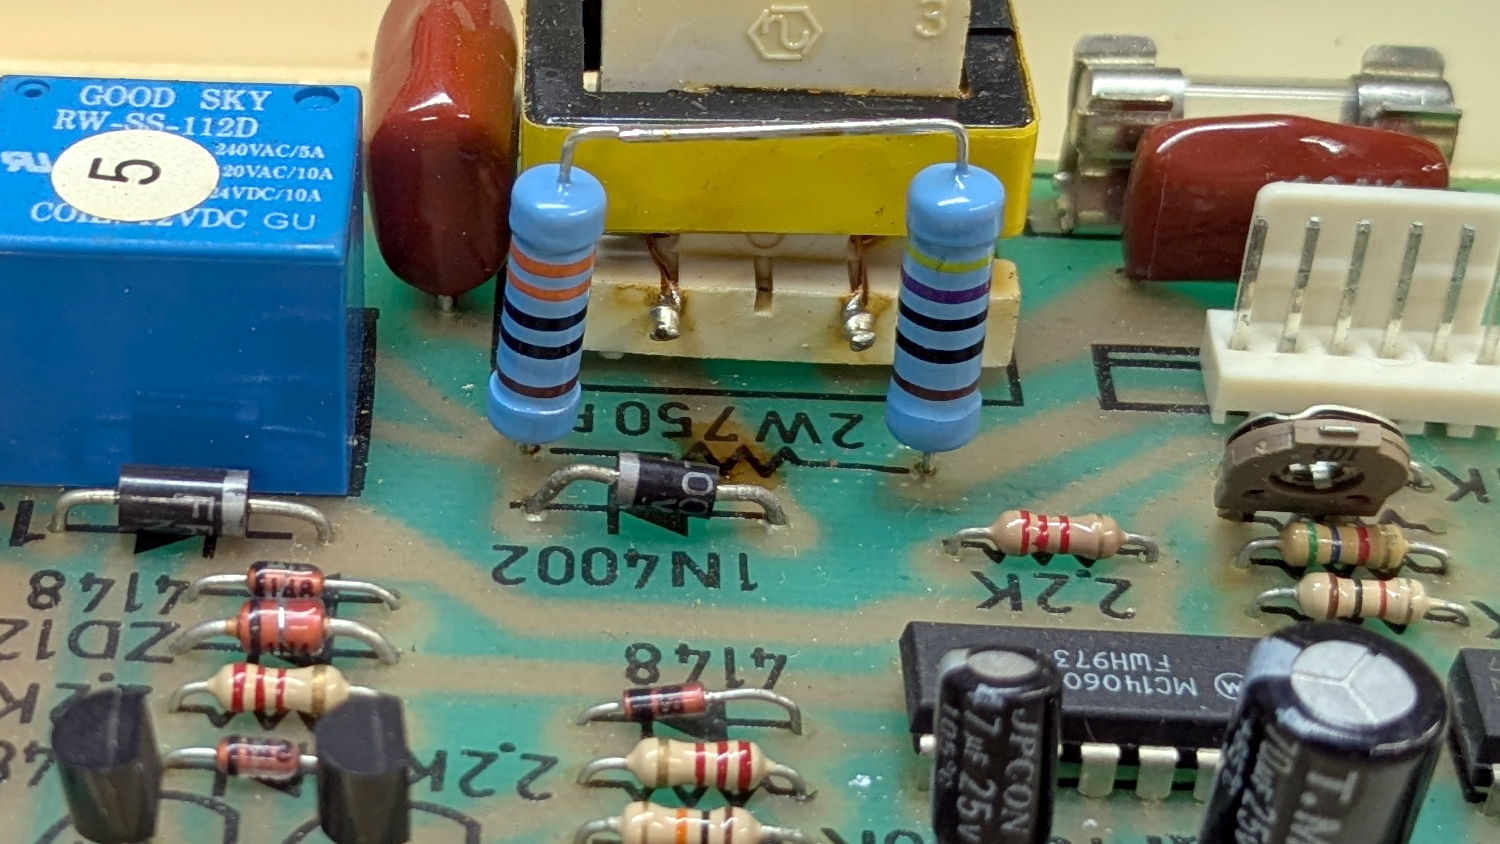
In parallel with a 15 kΩ resistor on the back of the PCB to bring them down to 759 Ω:

Which seems Close Enough™.
The 470 Ω resistor will dissipate 60% of whatever toasted the original resistor, so it should survive for Long Enough™.
With that settled, the real reason I took the thing apart was the power switch had finally failed:
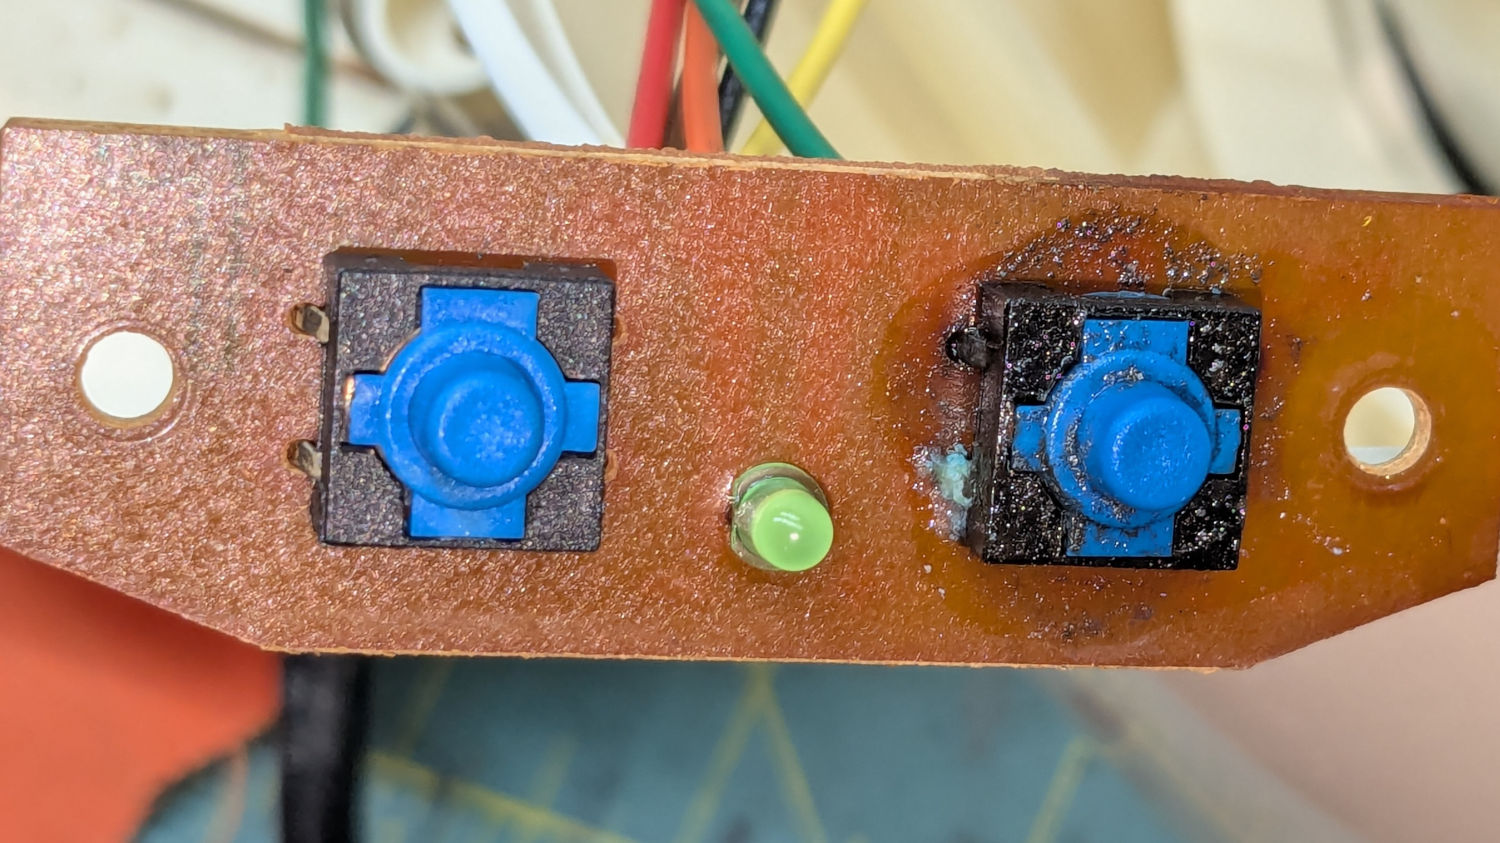
Because the Kapton tape I’d used most recently to cover the disintegrating original switch cover had begun leaking:
There should be a black disk inside the hole for the 1 switch, but it had long ago broken free and was held in place only by the failed Kapton tape.
A pair of switches from the Warehouse Wing fit perfectly into the holes of the PCB:
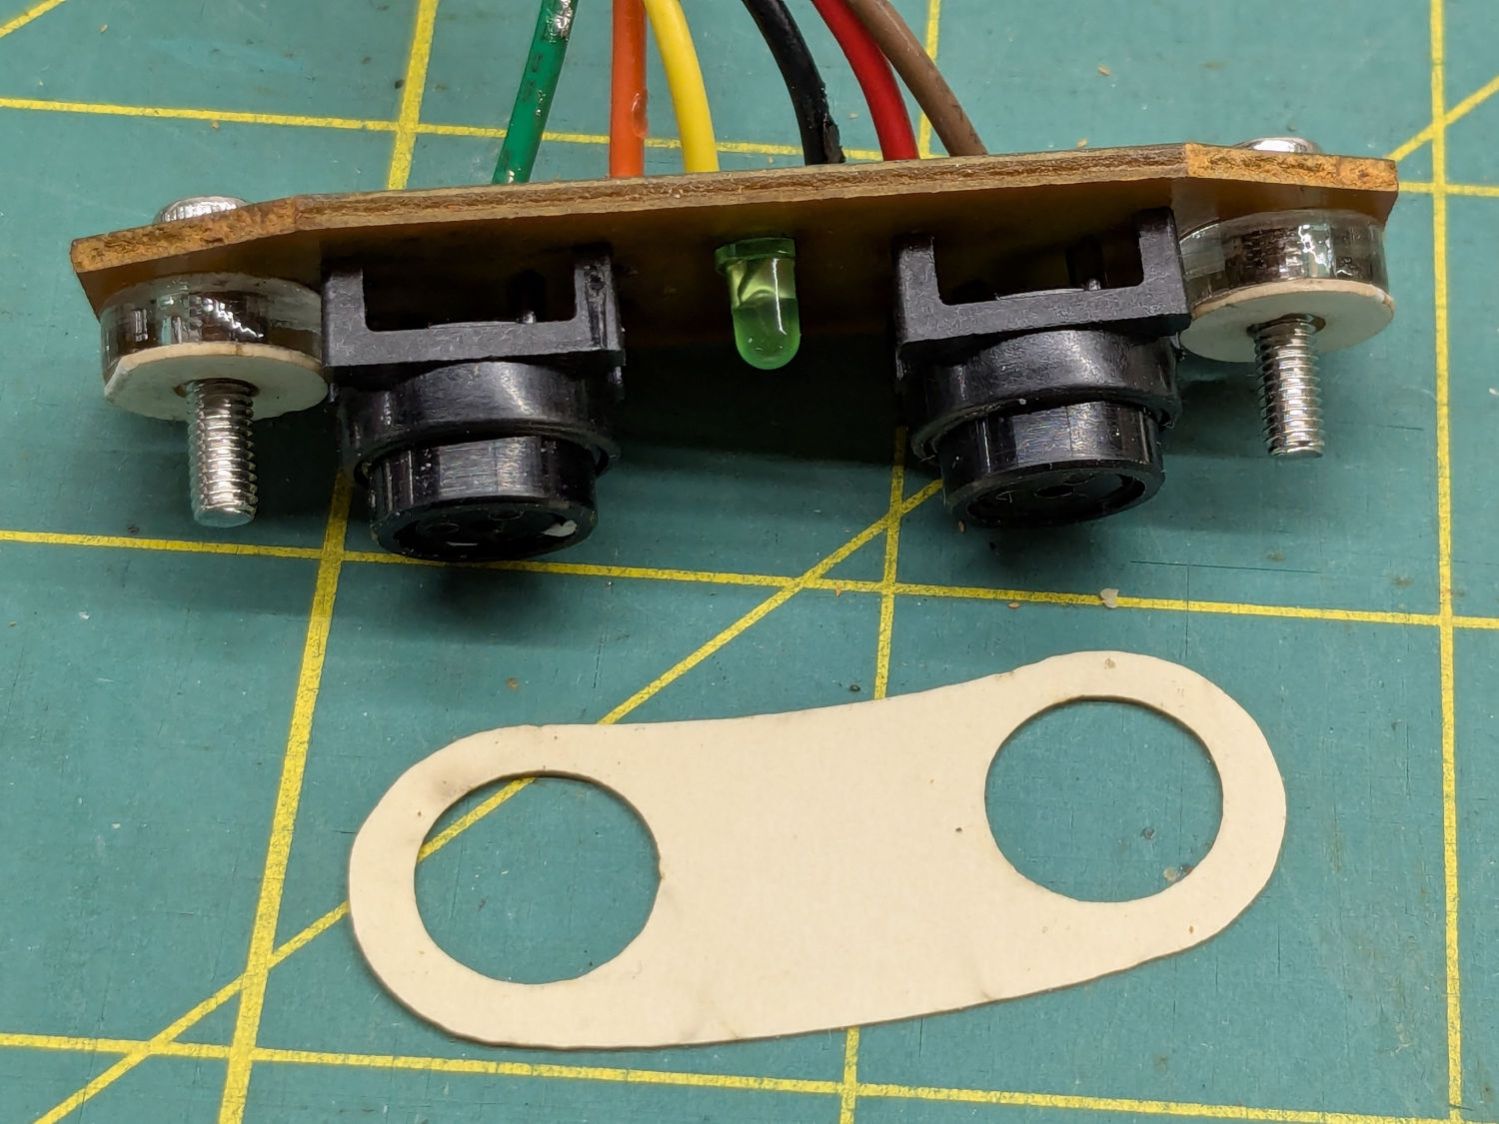
Well, almost perfectly. The original case holes were a snug fit around a 25/64 inch = 9.8 mm drill , so I hand-twisted X and Y drills (10.1 and 10.3 mm, respectively) to embiggen the holes for a loose fit around the new switches.
The two small plastic disks + paper shims hold the PCB just far enough away from the case to put the switch actuators flush with the case surface, with 12 mm M3 SHCS replacing the original 6 mm screws.
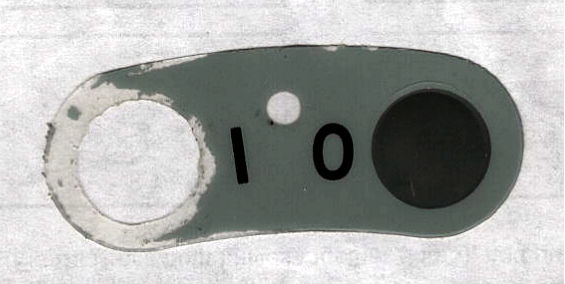
The cardboard test piece came from the usual scan of the original switch cover and, after a few iterations, we now have a stylin’ paper replacement:
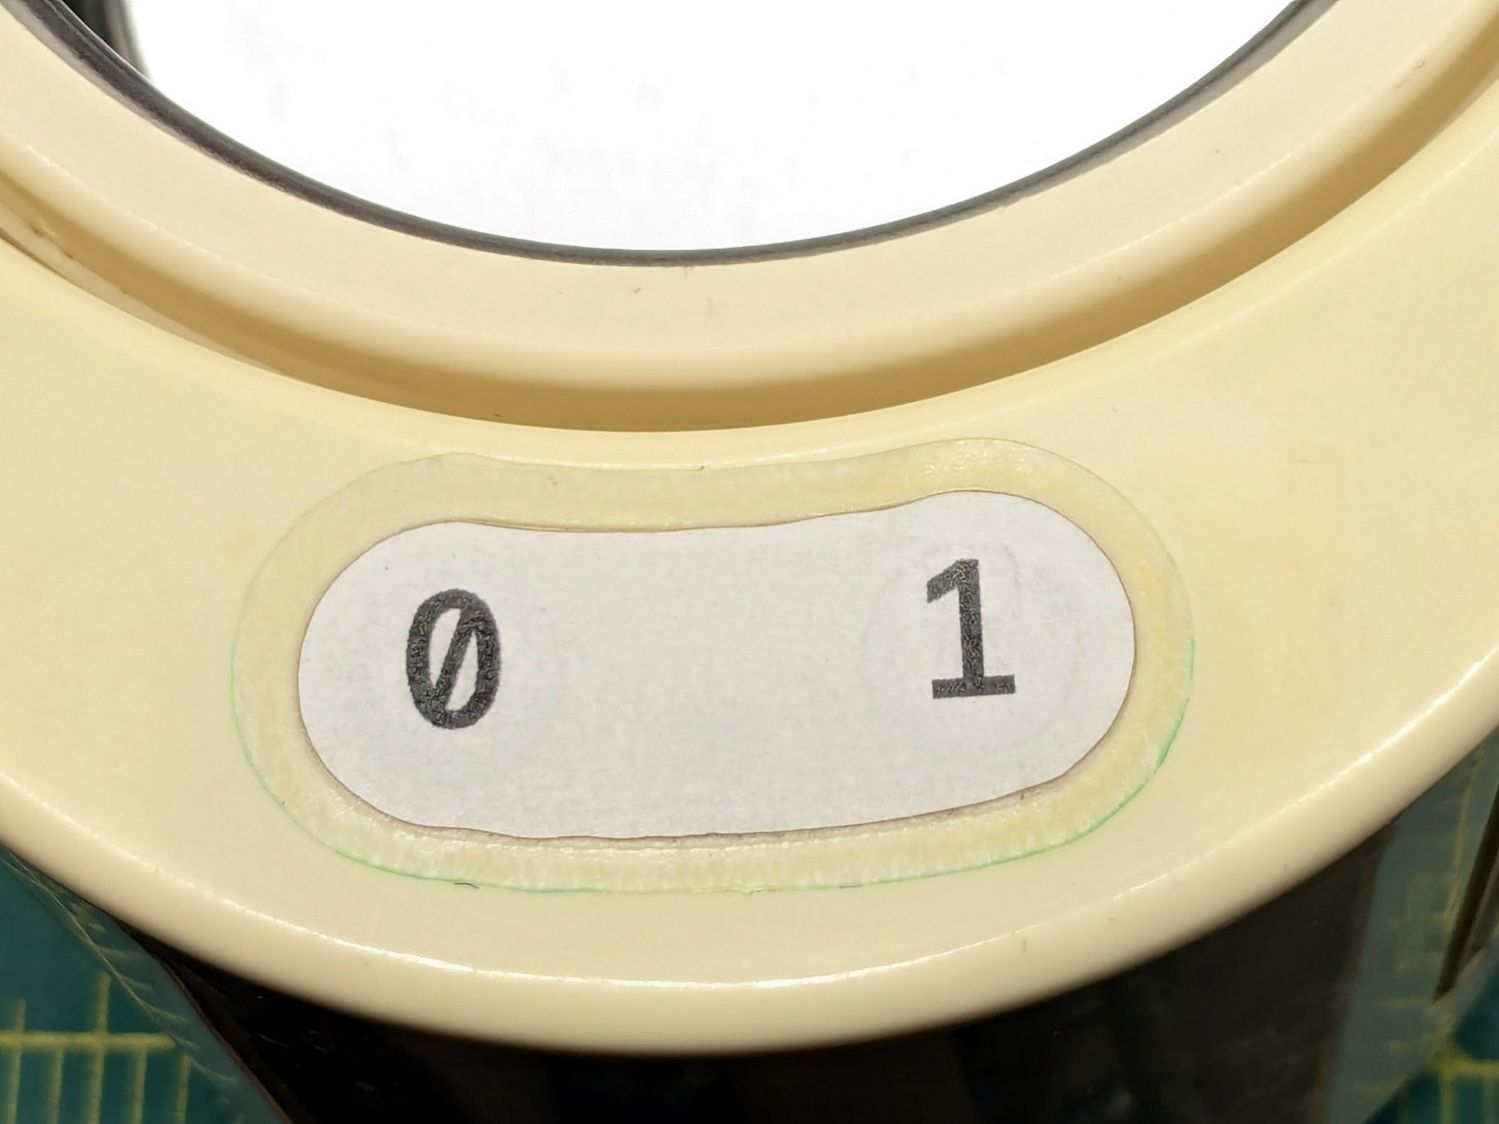
The transparent cover with greenish edges is transfer tape intended for vinyl sheets, which will likely not survive very long at all. It’s outset 3 mm from the paper label, just barely enough to get any traction at all on the case.
While I was at it, I replaced the worn black rubber feet with fancy red stamp-pad rubber feet:
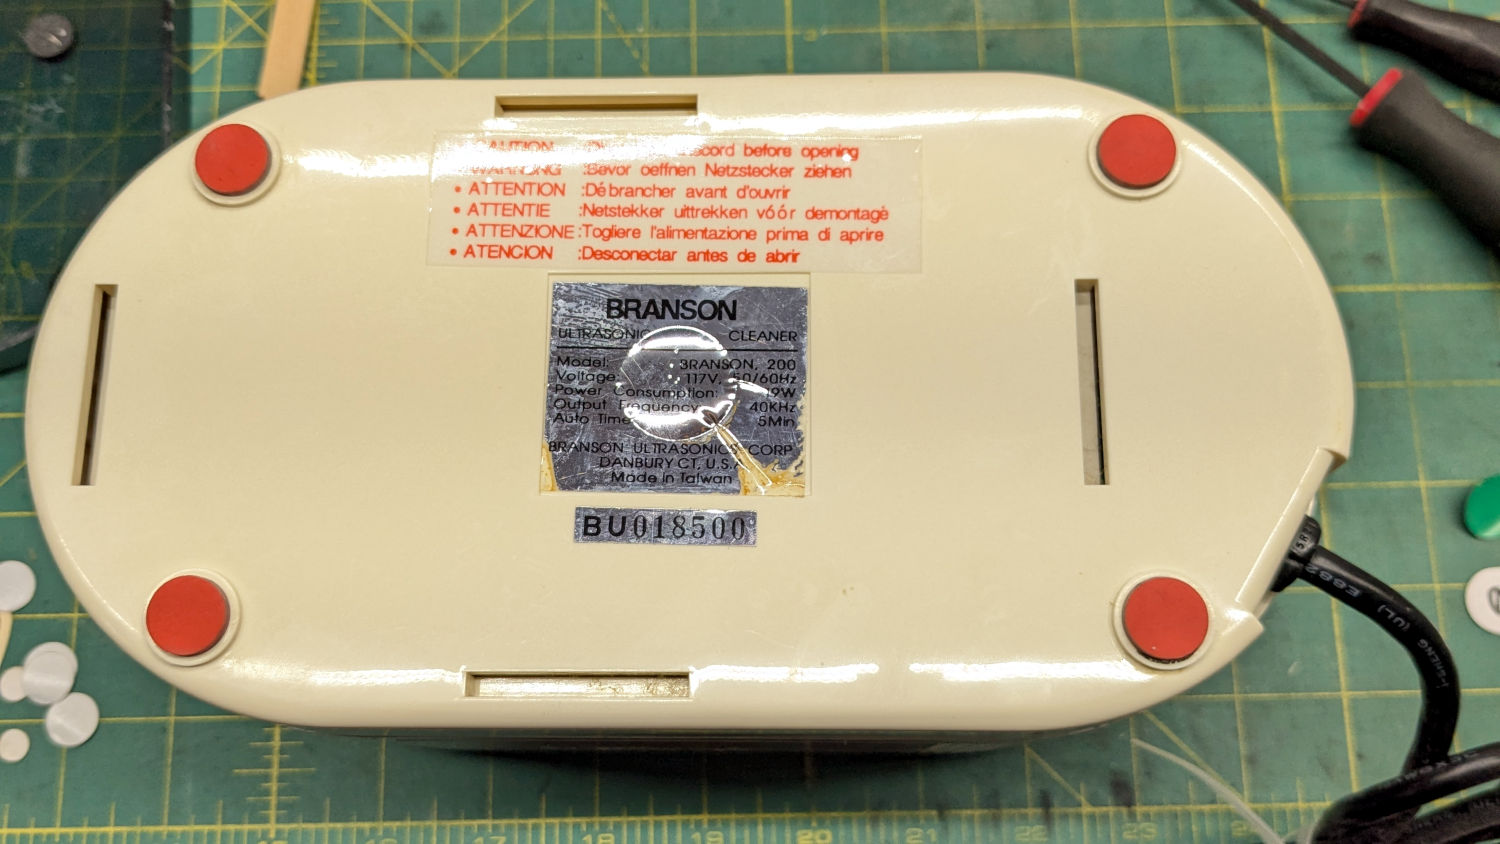
For the record, only two screws secure the top & bottom parts of the case. They’re on the power-cord end of the bottom, so those are the only two feet you must peel off to get inside.
All of which put the cleaner back in operation while I figure out what kind of tape will seal the power switches more permanently.

Leave a reply to Ed Cancel reply