Just to see what it’d look like, I tweaked the SVG generator to reduce the size of the square blocks on successive layers:
        MatrixEls.append(
            svg.Rect(
                x=as_mm(SheetCenter[X] - MatrixOA[X]/2 + x + ThisLayer*args.inset),
                y=as_mm(SheetCenter[Y] - MatrixOA[Y]/2 + y + ThisLayer*args.inset),
                width=as_mm(CellSize[X] - 2*ThisLayer*args.inset),
                height=as_mm(CellSize[Y] - 2*ThisLayer*args.inset),
                stroke=s,
                stroke_width=DefStroke,
                fill="none",
            )
        )
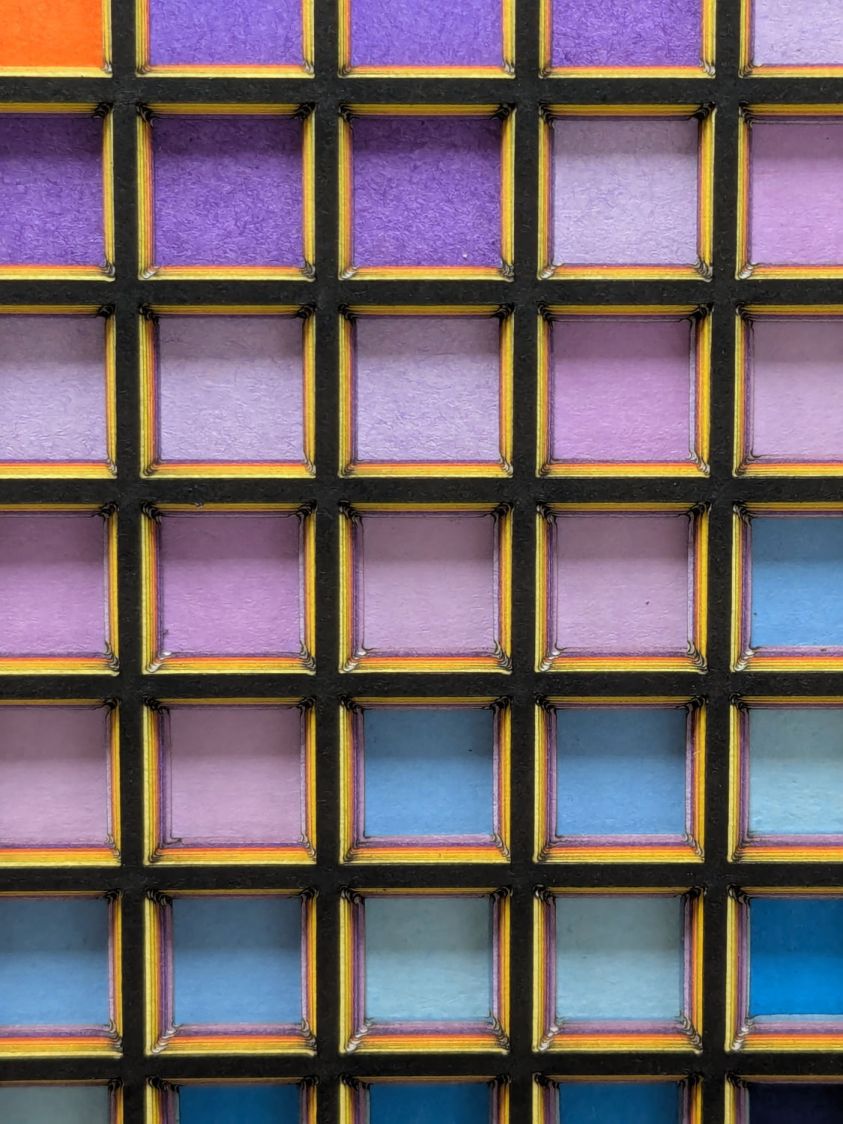
Which looks OK-ish, although not significantly different from the straight-hole versions:

The taper shows off the layer colors along the sides of the holes:

Unfortunately, it also makes the corner blemishes painfully obvious:
My first attempt didn’t skootch the squares over by the size of the inset, thus neatly aligning the upper left corners and giving the bottom right corners twice the inset:

Which made those gnarly corners painfully obvious.
I tried stacking the sheets with their bottom side upward, hoping to disguise the edge charring, but to no avail.
The inset code remains in place with a default of zero:
parser.add_argument('--inset', type=float, default=0.0)
Sometimes the simplest choice is the right one.

Comments
4 responses to “Layered Paper: Tapered Blocks”
You should be able to fix those burnt corners by reducing the “min power” setting, no? While calibrating mine I was happy to find that fractional (well, decimal) values worked (even though I typically think of “power” in integer percents. Mine ended up being 9.4
The colors run at 40%/25%, so I could probably drop it to 20%. I really don’t want more than one or two hanging chads per layer, because avoiding deft Xacto work is why I got the laser in the first place. :grin:
I keep procrastinating on discovering how much more acceleration that gantry can stand, because even at 3000 mm/s² it sort of gains momentum rather than actually accelerating.
Does it cut the blocks linearly or one at a time? I wonder if you cut all the horizontal segments and then all the vertical segments if the cut wouldn’t a) be faster and b) avoid the corner blemishes?
The LightBurn path planner relentlessly does each shape individually, so the squares drop out one at a time.
I converted all the squares in one layout to paths and broke them apart into lines, but the planner still loves following those corners around the lines of each not-still-a-square. Dinking with the optimization settings didn’t change its obsession, either.
Perhaps building the whole layout from successive lines across the entire width / height, rather than successive squares, would encourage it to follow them in order, but IMO that’s the planner outsourcing its optimization task to me. :grin: