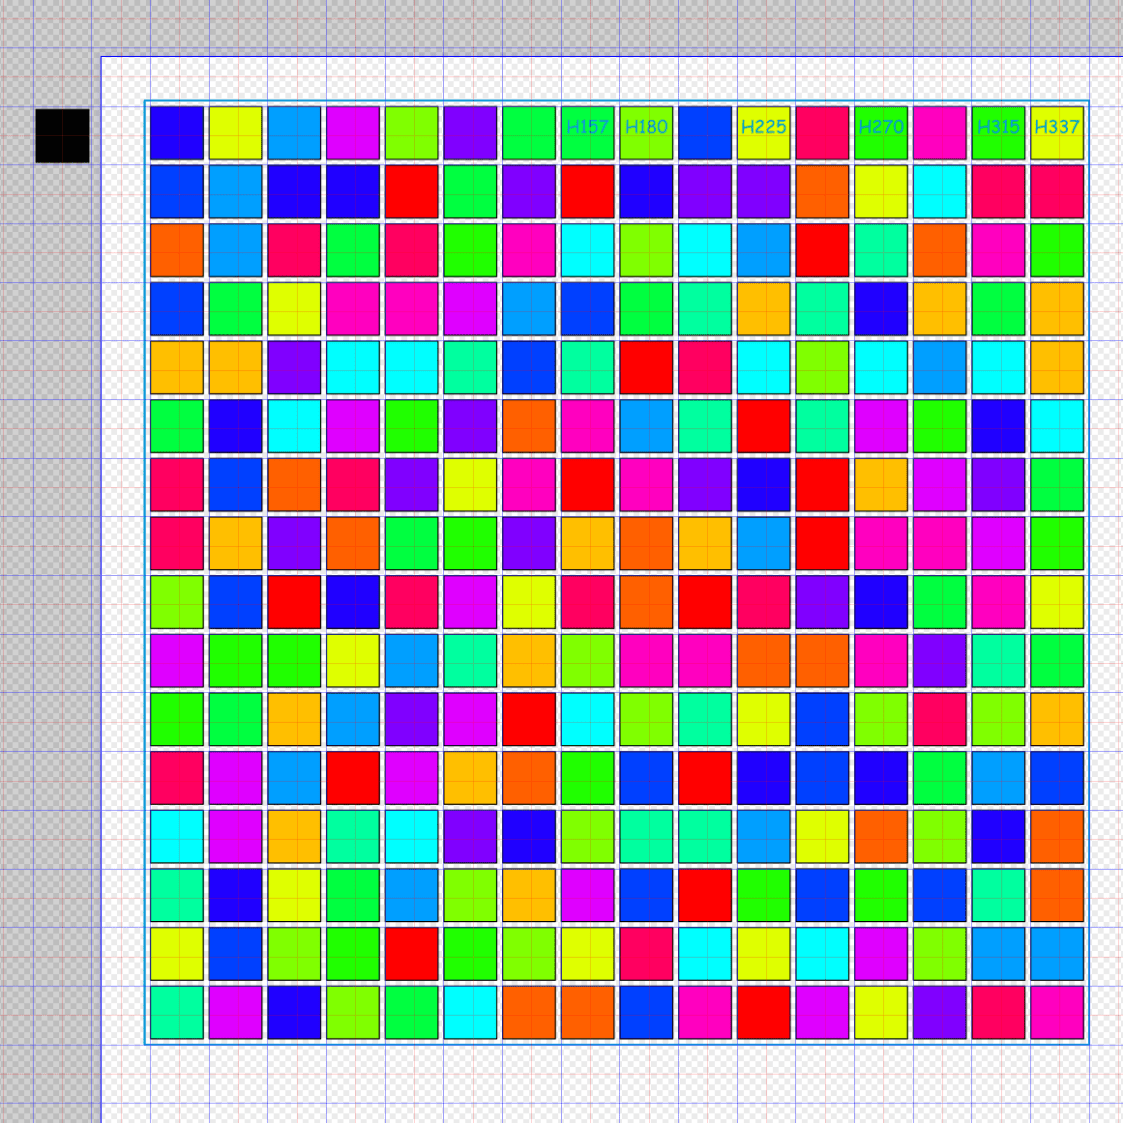
The Inkscape file contains the overall 16×16 layout of random squares, with the color of each square indicating which of 16 (Inkscape) layers it belongs to:
The next step involves creating a corresponding set of LightBurn layouts to burn those holes out of colored paper sheets to produce layered paper art:
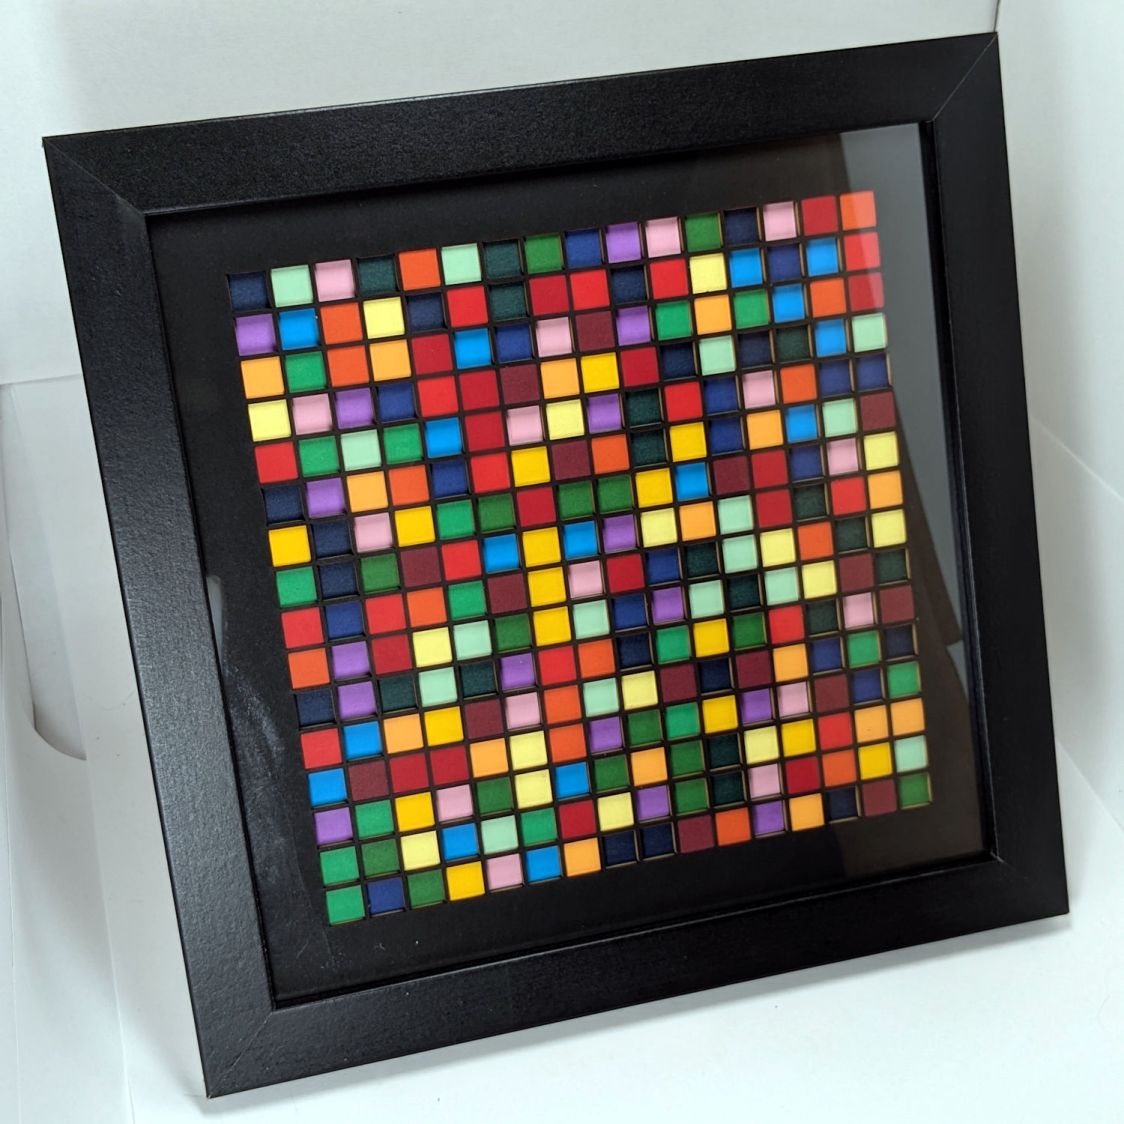
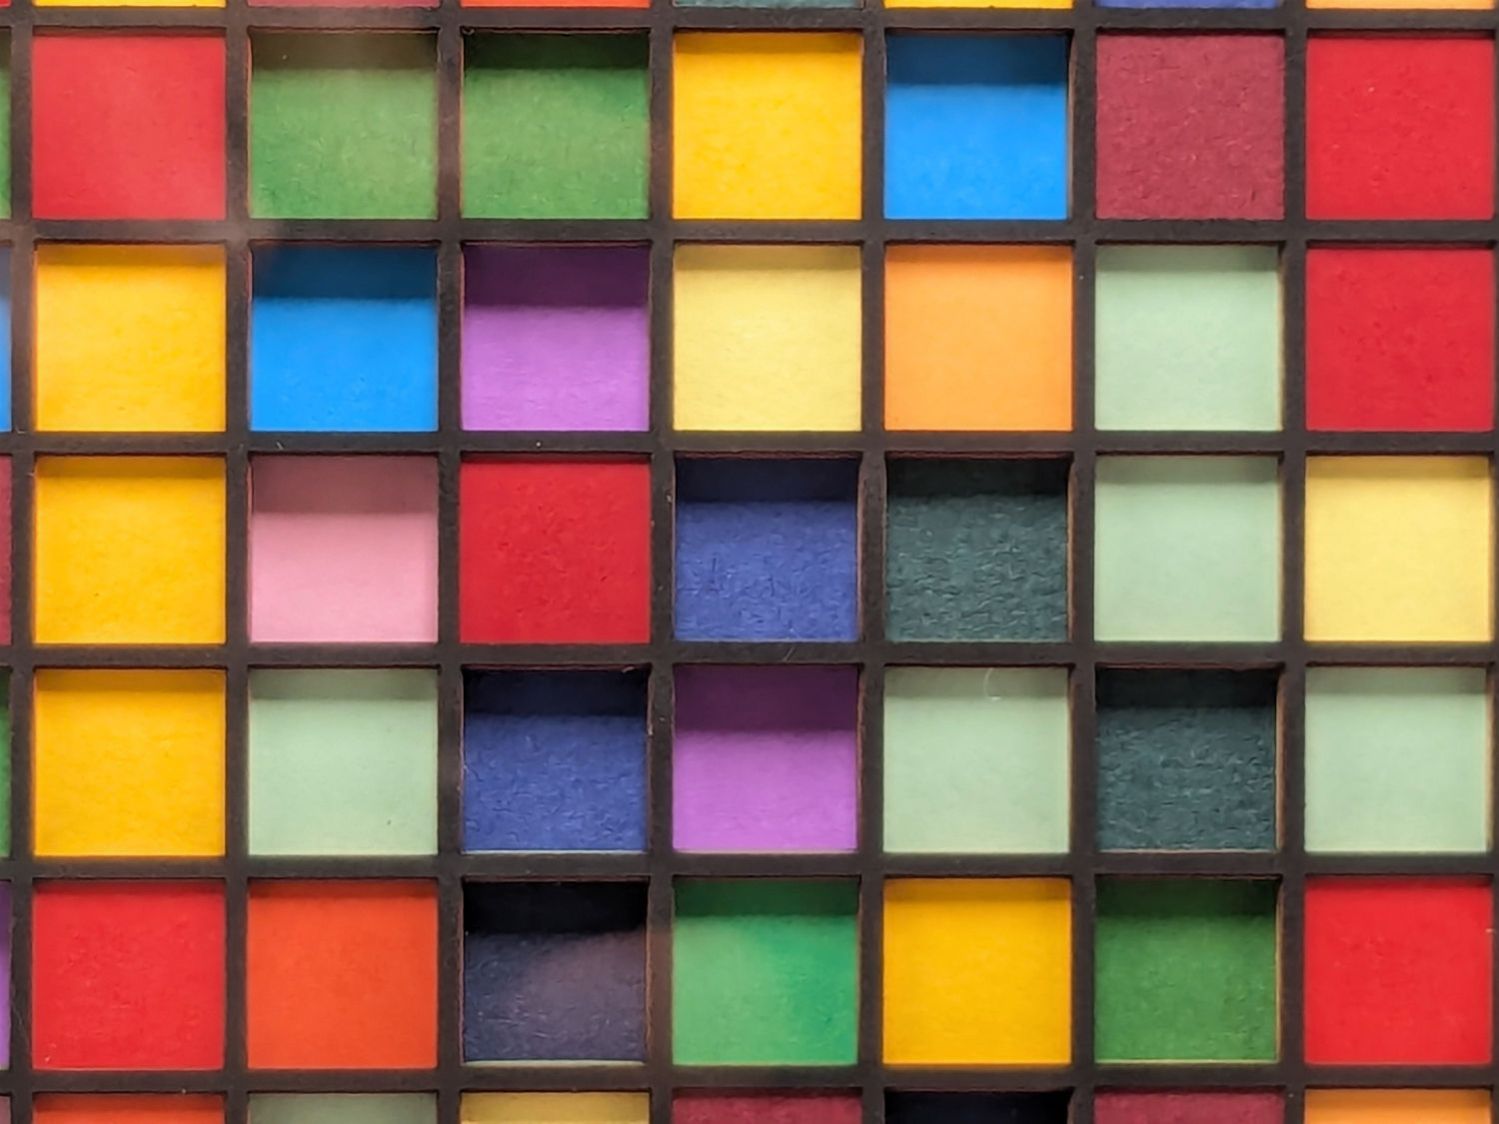
I know it’s art, because that’s what I was thinking when I made it.
Setting up the LightBurn layouts requires enough manual effort to make the whole thing impractical except as a testcase to see how it all worked out. An overview of the LightBurn workspace:
The little bitty grid in the upper left quadrant represents the 700×500 platform of my laser and each of the blue squares is 159 mm on a side. I tend to not delete the intermediate steps, because they serve as some sort of documentation the next time I wonder how I did that thing.
So, we begin.
Import the Inkscape SVG file:
The blue outer square and the blue text identifying it are on LightBurn’s T2 tool layer, with the black squares on the C00 layer. All of that happens automagically, because I used colors from the LightBurn palette in Inkscape.
The lonely square in the upper right is the template from which the other 256 squares were cloned, but it has no further purpose in life.
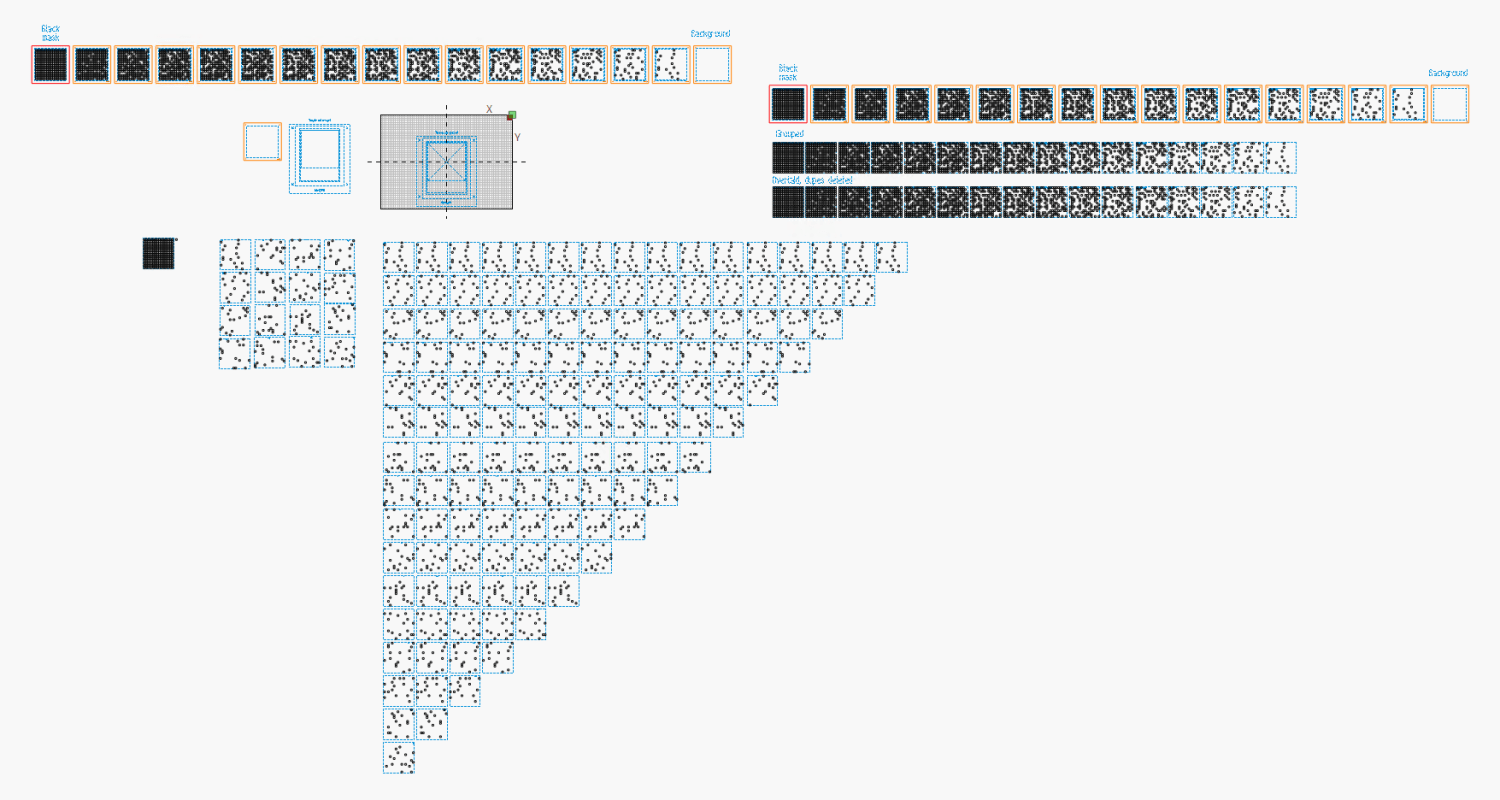
The 16×16 grid consists of sixteen overlaid groups, which need sorting out for ease of access, so drag each one off into a more useful arrangement:
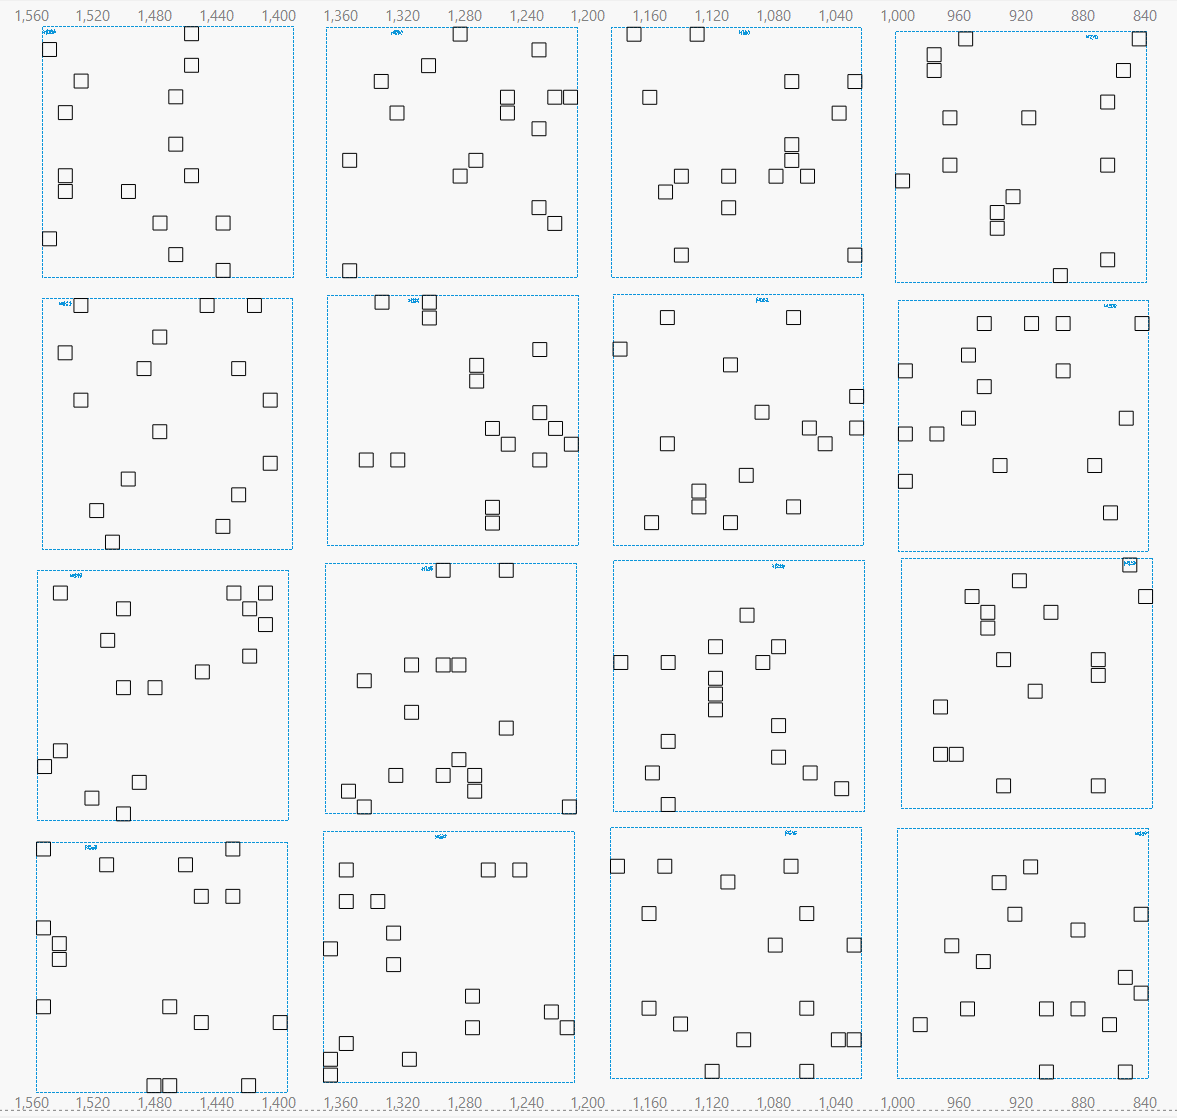
Note that each of the 256 possible positions has a square in only one of those groups.
Each of the 16 groups corresponds to a sheet of paper, with the squares indicating holes exposing the sheet below it. The color of each square, as seen from the top of the stack, comes from the first sheet in the stack without a hole. Perforce, every sheet above the one without a hole must have a hole, which means you must merge all those sheets.
Line up (duplicates of) those 16 groups in the vertical line forming the left column in this arrangement:
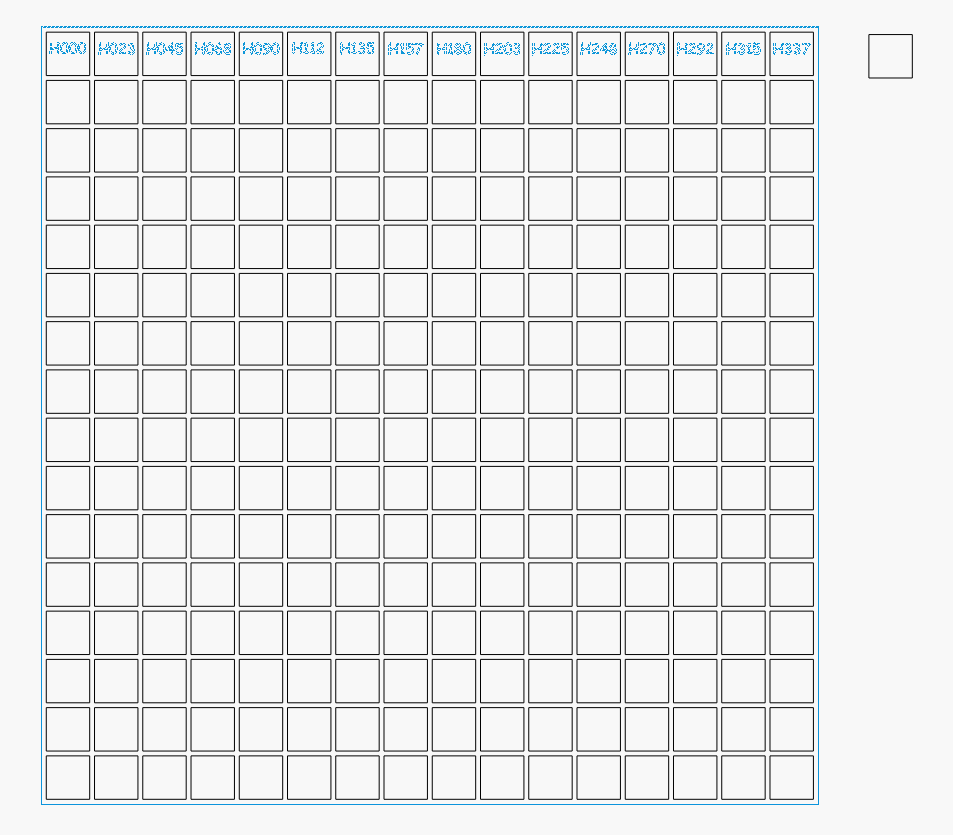
The top group is the layer I named H000 in Inkscape, with the others in order down to H337 on the bottom. You can see why labeling them is pretty much required.
I should have equalized the vertical spaces between the groups in the left column, but it doesn’t really matter.
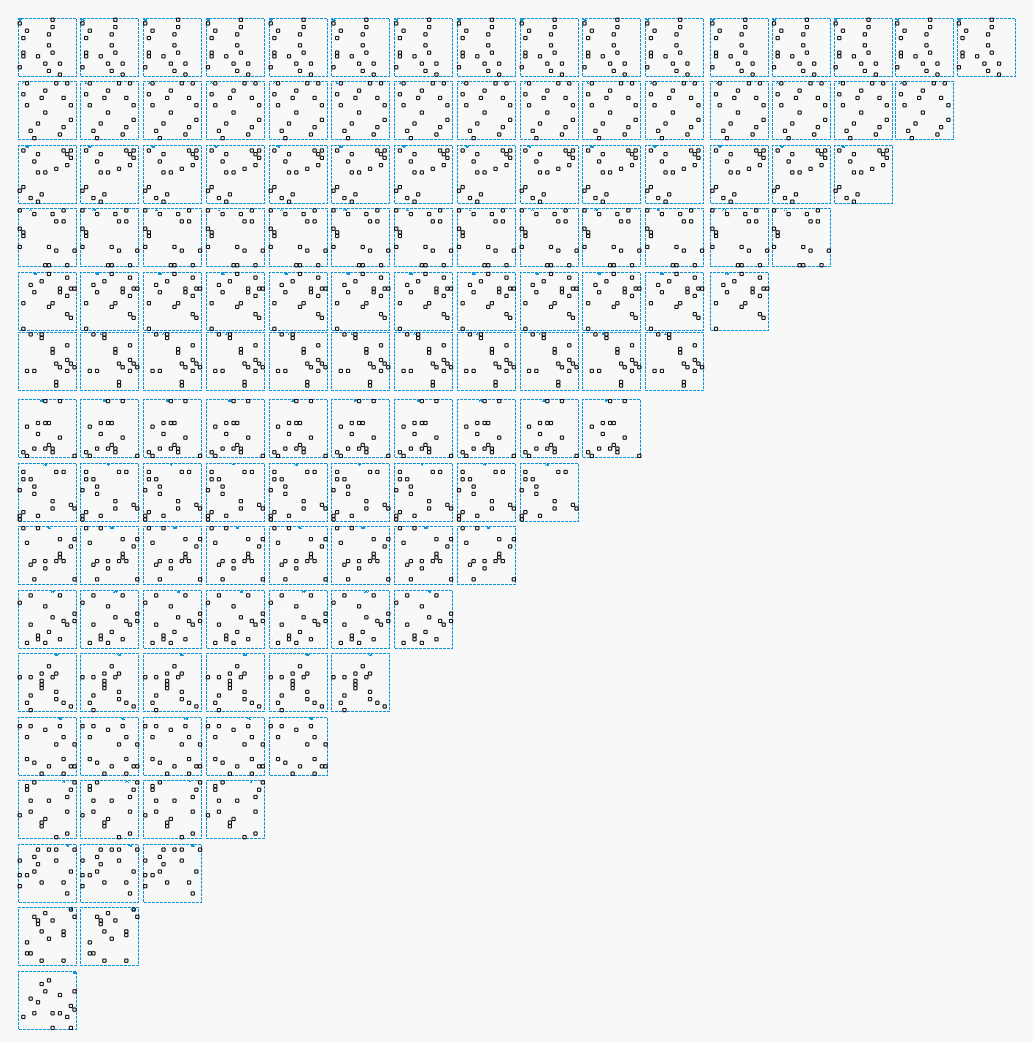
The rest of the triangle comes from duplicating each group using LightBurn’s Grid Array tool with a convenient space between each copy. Make 15 copies of the top group for a total of 16 H000 and no copies of the bottom H337.
Now the magic happens:
- Select and duplicate the entire triangle
- Drag the duplicate off to the side
- Hit the LightBurn
Align Horizontal Centerstool to stack each column into one tidy layout - Hit
Delete Duplicatesto get rid of all the overlaid outer squares - If you’re fussy,
Duplicatethe line of blocks and move it up Groupeach block individually to keep all the little squares together with the outline
Thusly:

Combine each of those blocks with the sheet cutting template, tweak the binary sheet identification holes, and group the result:

The leftmost block has All The Holes, the next one is missing a few, and so on across the line:
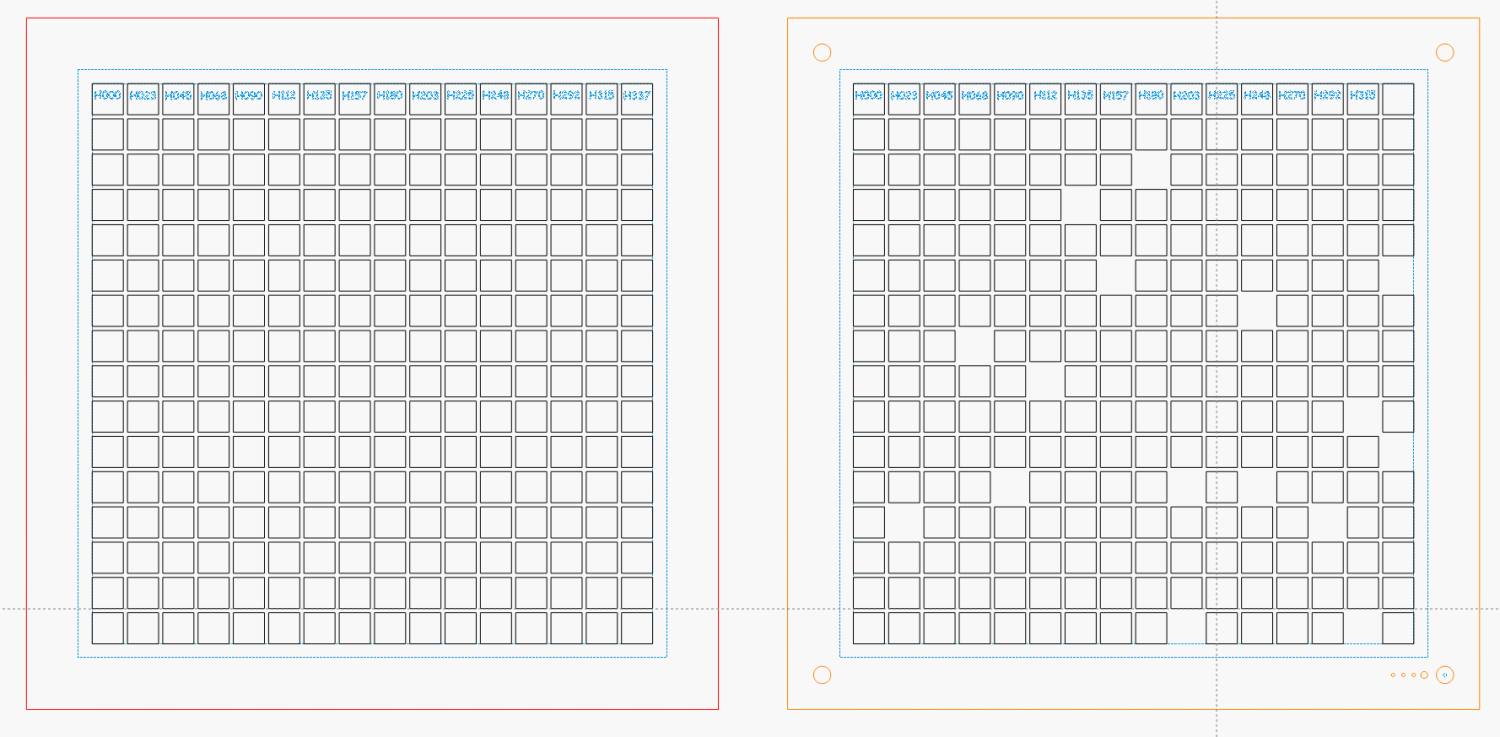
So the leftmost block corresponds to the black mask atop all the layers. Because it doesn’t have alignment holes in the corners or a binary sheet number, you get to align it by eyeball after gluing up the rest of the stack.
The rightmost block has no cutout squares at all and goes on the bottom of the stack. It also lacks a sheet number, but it’s easy to identify.
Set the LightBurn speed / power values for the layers to cut your stock of colored art paper.
Position the Letter Page Holder template to put the center of the sheet cutout at the center of the platform:
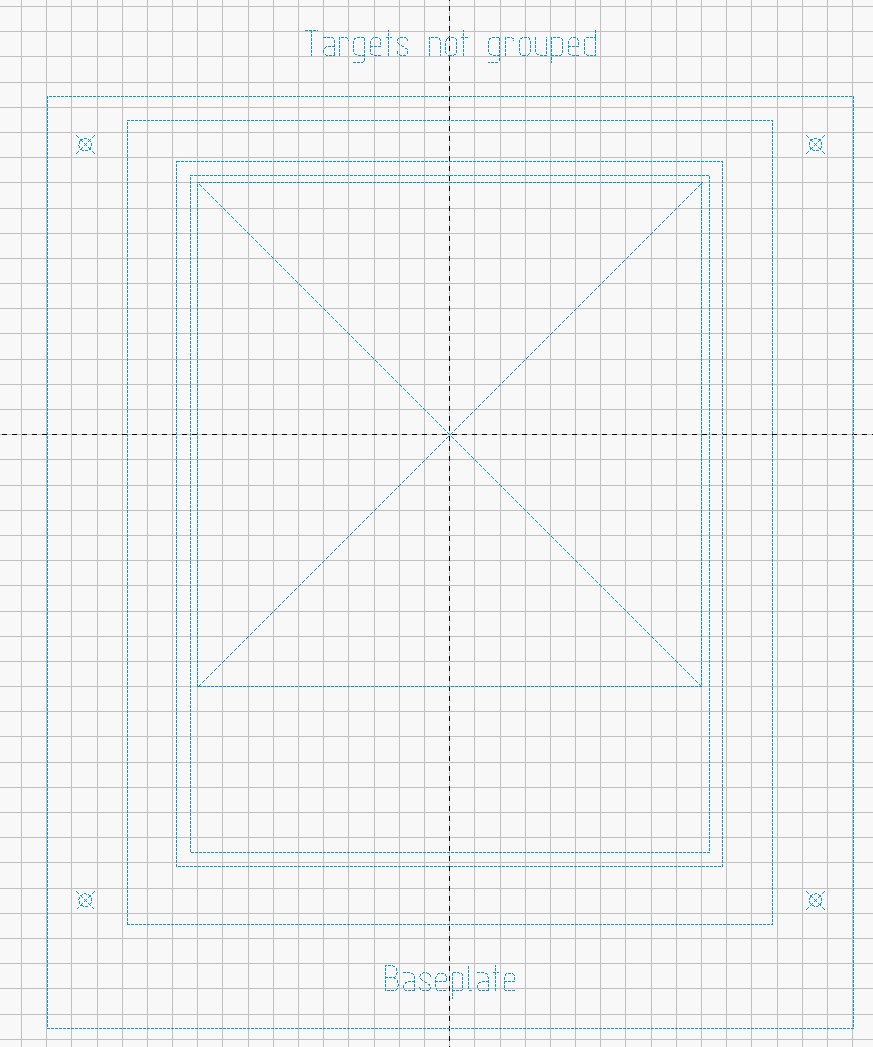
Drop the fixture on the platform, use magnets to hold it down, then do a Print and Cut alignment on the corner targets so the template matches the fixture.
Then:
- Click to select one of the blocks
- Hit
Ctrl-Dto duplicate it - Hit
Pto slam it to the middle of the template - Hit
Alt-Sto Fire The Laser - Hit
Delto delete the block - Iterate until done
I used a stack of paper in rainbow order roughly corresponding to the Inkscape layer colors, but you could stack them backwards or even use random colors and nobody would ever know:
I kinda like it, but wow that took a lot of prep work …
