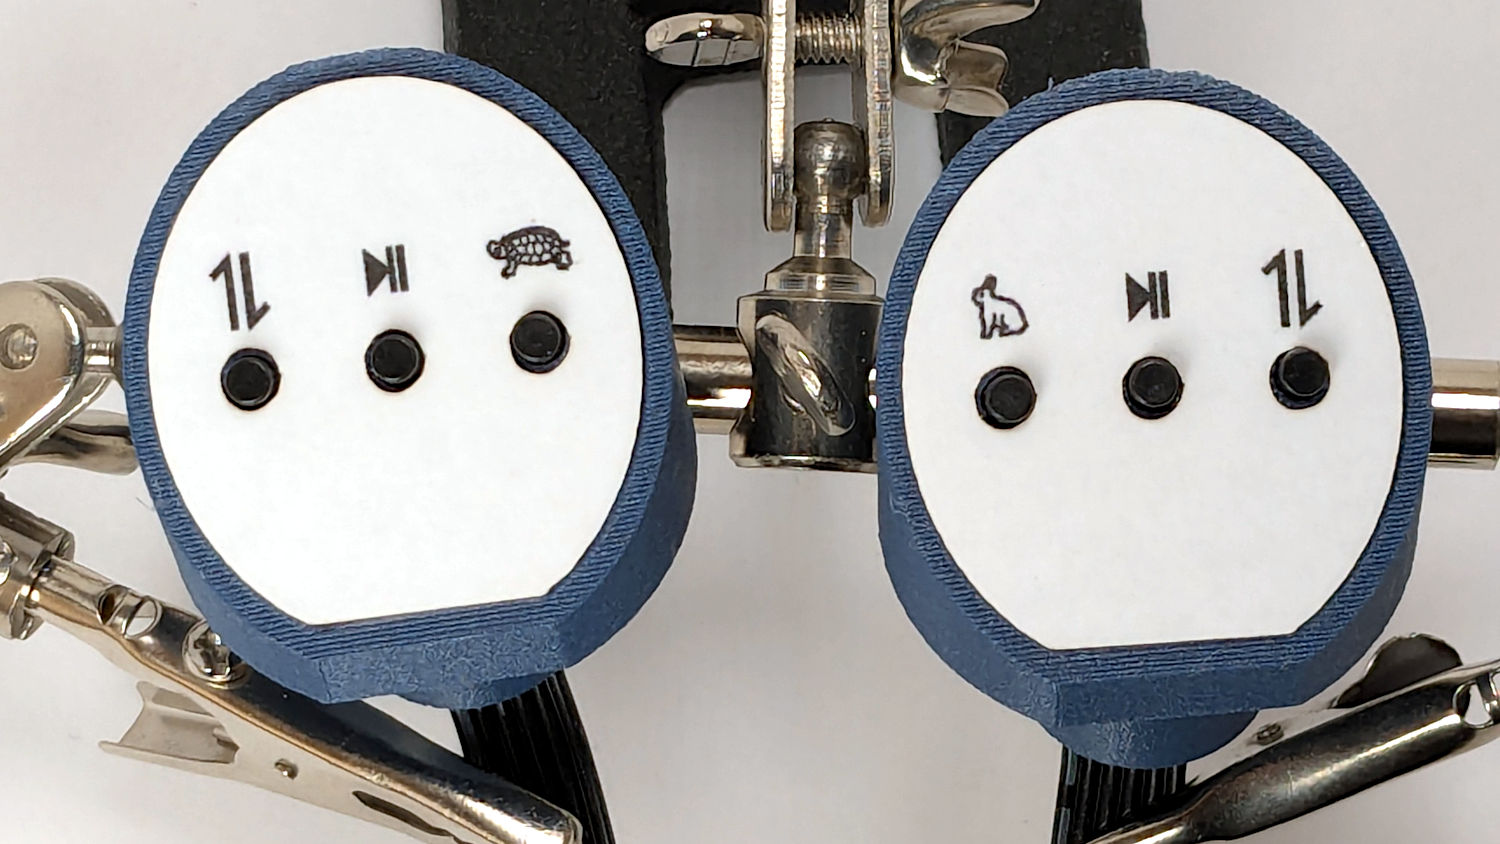
The recessed faceplate on the new handlebar control caps for Mary’s HQ Sixteen puts the label flush with the rim:

The current version of the labels isn’t much to look at:
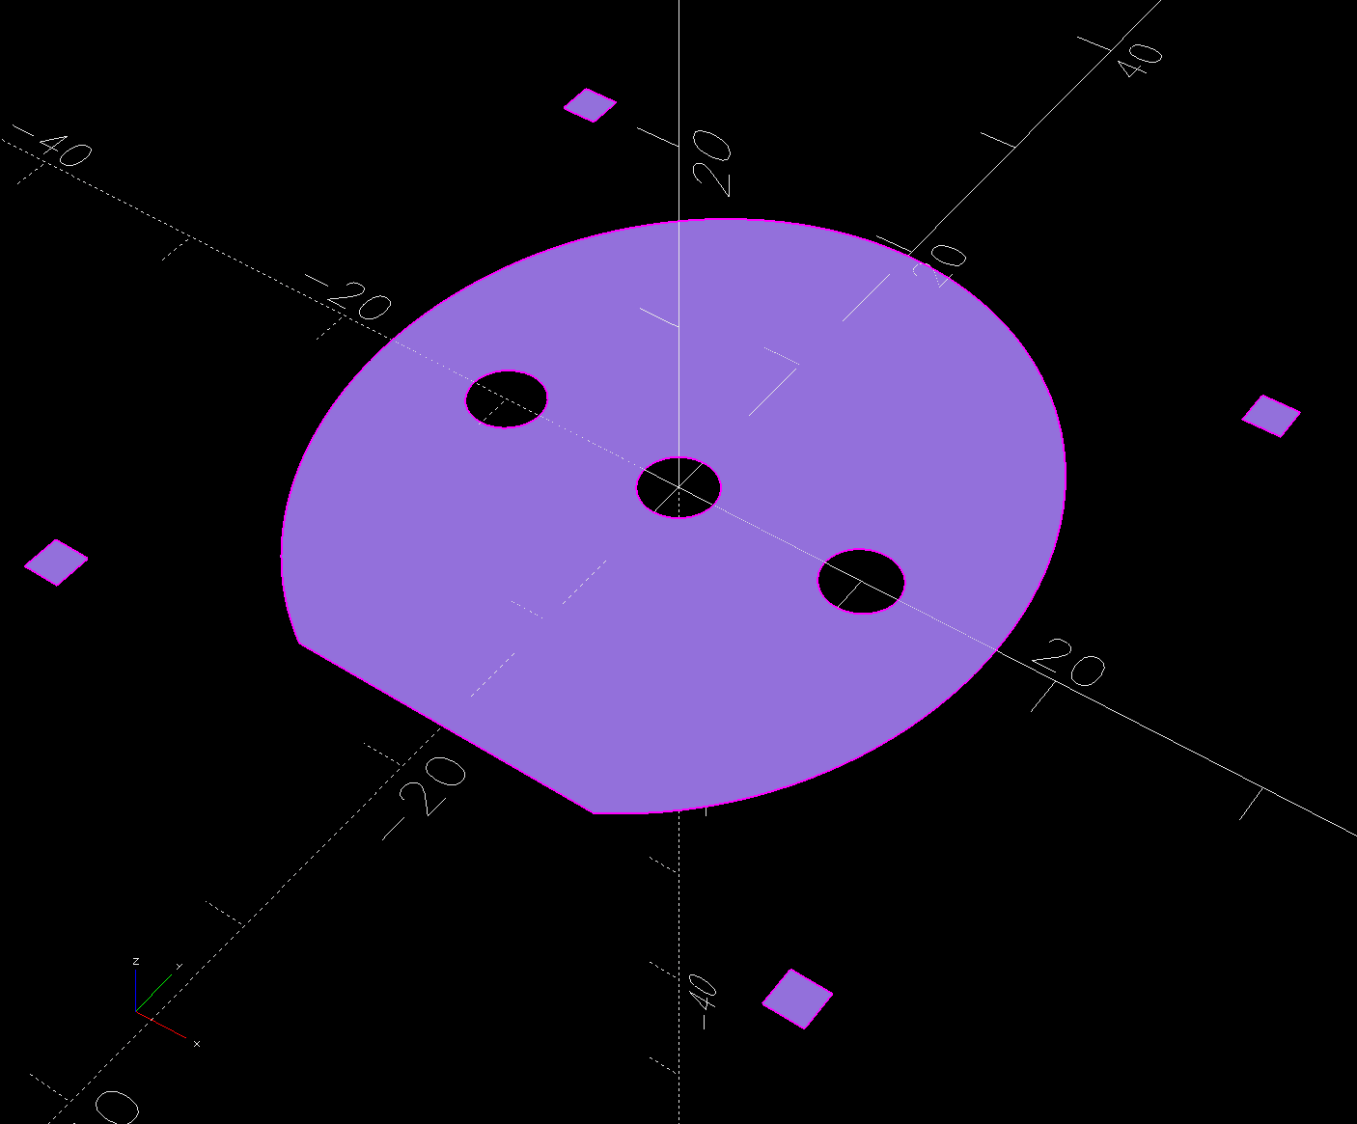
The OpenSCAD code produces an SVG outline of the faceplate, surrounded by four alignment targets:
Import the SVG into Inkscape and tart it up:
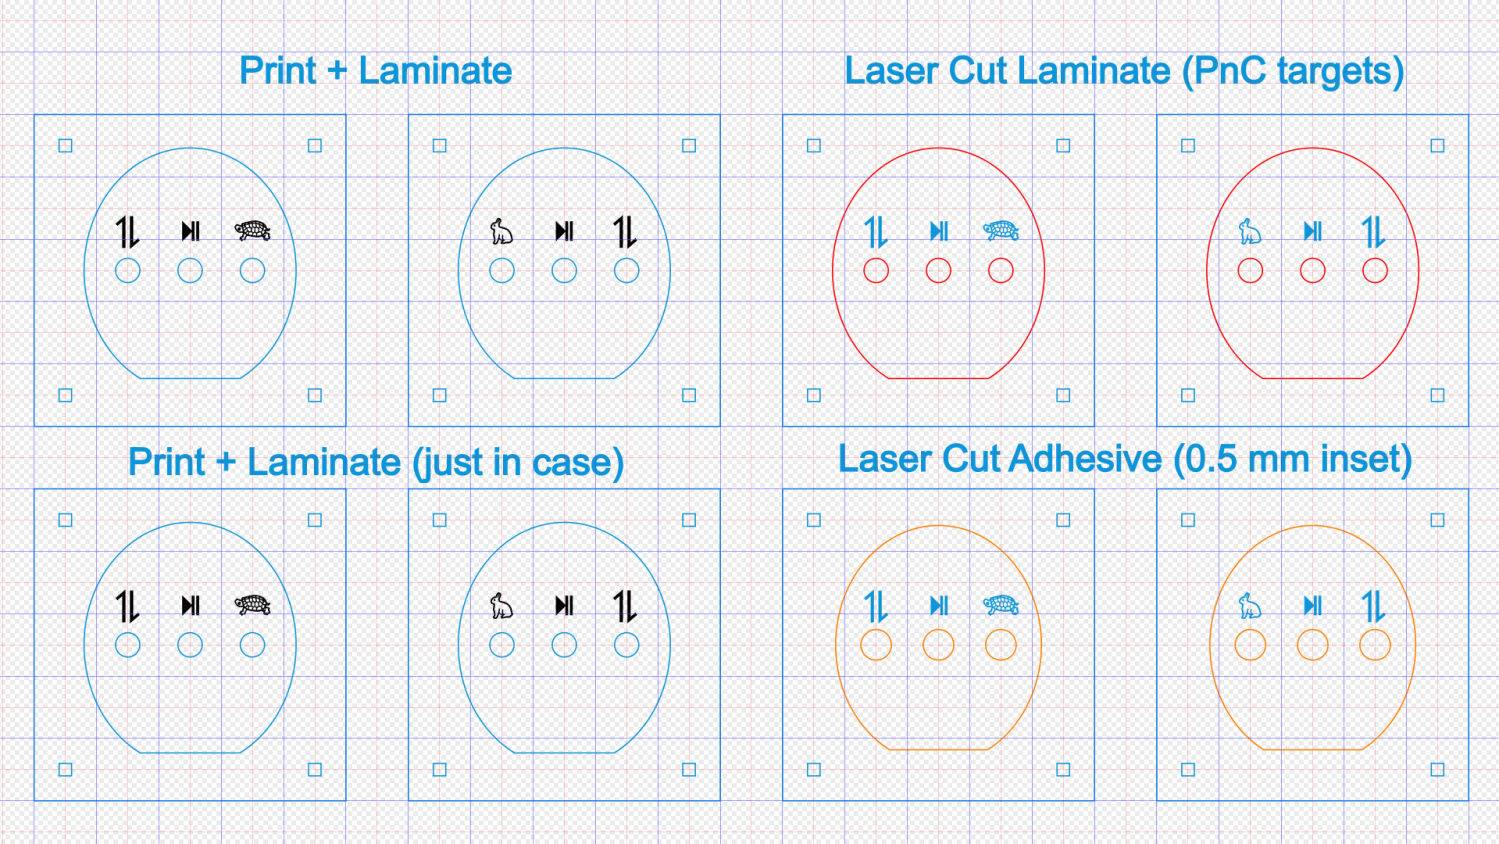
The alert reader will note the labels are swapped left-for-right.
The black characters on the left get printed on heavy white paper and laminated; feel free to add artistic embellishments. You must delete the cyan-ish shapes showing the faceplate and switch openings, which just show where the characters will end up, but you must print the four corner targets for alignment.
The red and orange shapes on the right define the outlines for laser-cutting the laminated paper and adhesive sheet after you import the Inkscape SVG file into LightBurn. The Inkscape colors will automagically put the shapes on separate LightBurn layers, with the cyan-ish shapes going onto non-cutting Tool Layer T2.
Set the cutting speed & feed to match your machine, lay the laminated labels on the platform, use Print and Cut to align two diagonal corner targets with the corresponding printed targets, then Fire. The. Laser.
The orange shapes have half a millimeter inset to leave a slight non-sticky margin around the edges:
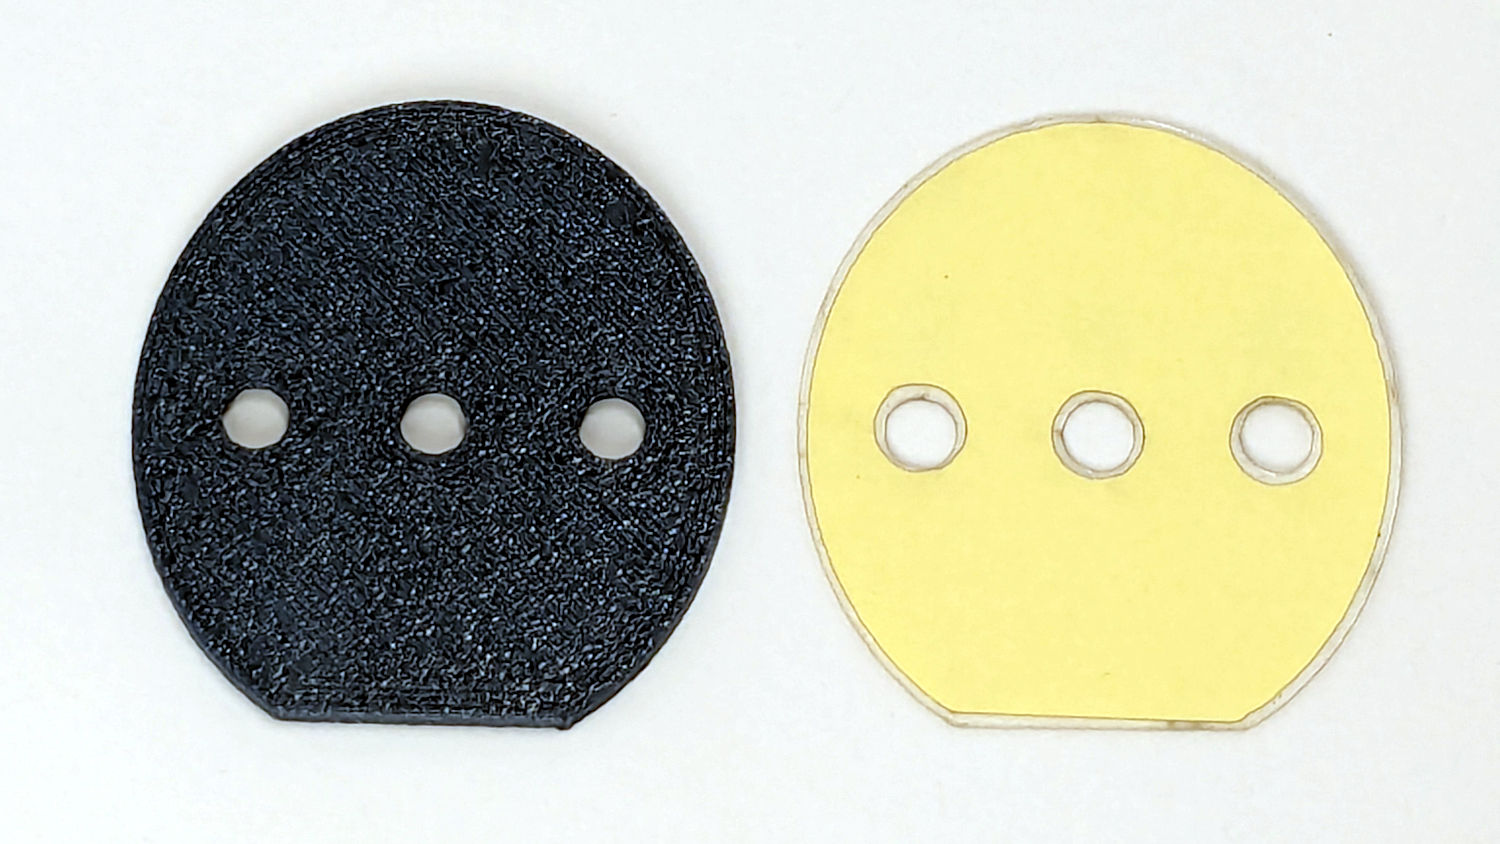
Although those shapes have the same four targets, you align the adhesive by hand and eye. Cut them out, peel one side, stick adhesive to the label, peel the other side, stick adhesive to the faceplate, and you’re done.
Now, to figure out the switch wiring …
